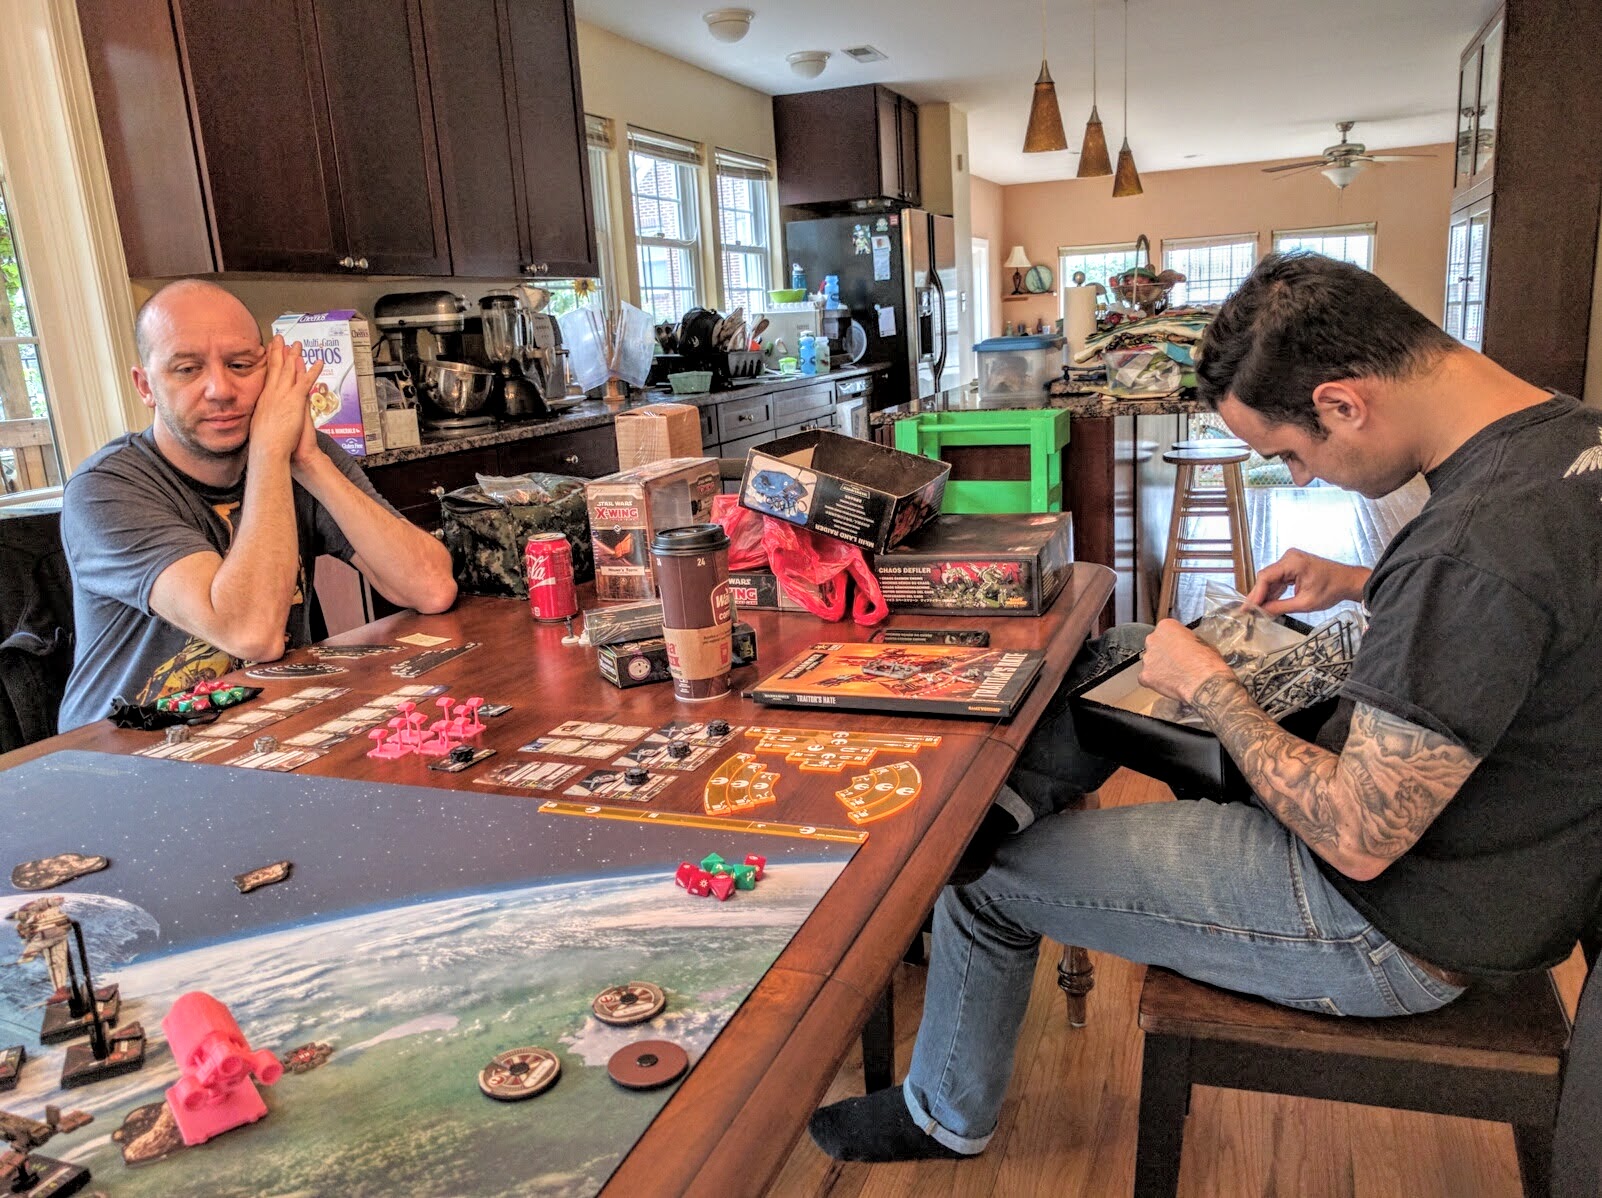
The Sword Sworn Campaign

Unfortunately, my friend Sascha is moving away. So we all decided to send him off proper by burning down a monastery of his beloved Swords of Dorn Space Marines!

Fourteen players came together Saturday for our Sword Sworn one-shot narrative campaign. Many heroes were made, villains created, and a ton of great games fought, with literally not a single unpainted model in play. This is a quick recap of the action. Many more photos are available via Flickr or Facebook.

In the grimdark of the far future, a new hero is born every minute… and eaten the next.

Backstory

Brother Mynaugh’s eyes swept the grounds from his perch in the east tower. Even with his superhuman vision he couldn’t see the group of his fellow initiates he knew would be assembling outside the chapel for night training beyond the walls. So soon now they would all deploy to the 10th company, full and true battle brothers of the Swords of Dorn.
Shattering his moment of reverie, the jaw of a servo skull in the tower’s cogitator bank suddenly sprung open and began emitting a piercing inhuman shriek. As Mynaugh looked on in the dim red lighting another and then another followed suit. The import came to the scout like lightning. He whirled around. Far on the horizon, faint lines streaking from orbit. This was no expected landing, no scheduled drop training. Mynaugh tugged his bolter off its wall bracket and pulled it close, not believing this to be any suprise drill either. Perhaps the initiates’ time had come early…

On the quiet planet of Hedron IX, the Swords of Dorn maintain one of their chapter’s training monasteries. This one specifically focuses on training Scouts in the art of piloting Landspeeder Storms to swoop onto objectives in turn five. The monastery has unexpectedly come under attack by the Blood Fed, a wretched mob of traitors, xenos, and galactic refuse come treacherously from their hiding holes to avenge imagined slights and punish the ostensibly vainglorious Swords of Dorn. Opposing them, in their moment of need the Swords of Dorn have called the many valiant allies with which they have shared mutual oaths over the decades to defend both honor and body to join them under the banner of the Sword Sworn alliance.

Icons for the Sword Sworn and Blood Fed alliances.

Map

Our campaign begins with the invaders amassed at the monastery walls. The campaign is played over seven major regions of the chapter monastery:

  • The Siege Front where the Blood Fed are encamped;
  • The Primaris Gate, Cawe Tower, and Saleron Tower keeping them at bay;
  • The Dormitorium where the monastery’s residents live;
  • The Munitorum where the Landspeeder Storms and other equipment are kept;
  • The Chapel of Mons where initiates pray and train in the combat arenas.

The Blood Fed start in control of the Siege Front and are working toward the chapel: Even if the Sword Sworn successfully rebuff them in the larger battle for the monastery, the Blood Fed’s leader and his personal army advances forward each turn.

There are three separate measures of success for the campaign—

  • Tactical: Taking/preserving the monastery (controlling a majority of the regions);
  • Strategic: Wrecking/preserving the Swords of Dorns’ recruit pipeline (higher total campaign points earned, a combination of victory points and campaign rewards);
  • Campaign: Looting/preserving the chapel relics (controlling the chapel).

Training monastery of the Swords of Dorn on Hedron IX.

Missions

A specific mission is associated with each map region, with the alliances alternating choosing regions to attack each round and thus the missions for each match to use—

  • Siege Front: A kill points style mission;
  • Towers and Gate: A breakthrough mission in which players place objectives whose worth is determined by how far they are from the player’s table edge;
  • Dormitorium: Both sides work to capture or rescue the many non-combatants enabling a Space Marine chapter’s operations, represented by Civilian NPCs.
  • Munitorium: Both sides work to destroy or extract equipment, represented by objectives that may be scored a finite number of times;
  • Chapel: An open battle with players vying for their choice of a combination of specific objective markers or kill points.

All of these are well tested and tournament-ready, based on our standard scheme of 20 victory points: 9 for primary objectives, 6 for secondaries, 5 for tertiaries. Each mission has a short list of secondary objectives from which players choose individually. This enables players to make strategic choices and play to their strengths, e.g., doubling down on killing versus objective grabbing or vice versa.

Mission writeup for the Munitorum.

Special Characters

There are multiple special characters at large in the campaign, including the aforementioned leader of the Blood Fed. In addition to their in-game presence, each special character awards 10 campaign points each round to the alliances for either their survival or death (interpreted as being forced to retreat) as appropriate.

The only characters known to both teams initially are the Scout Initiates Mynaugh and Te’Janus. Having been caught in the initial fighting, they are now swept away in the battle. Completely overwhelmed and seriously questioning signing up to be Space Marines, sheer luck just barely lets them survive, carried from one awful circumstance to another. This is represented by the Initiates being randomly assigned to a match each round, in which they are placed somewhat randomly between the two forces and huddle down until saved by the Sword Sworn or overrun by the terrifying invaders.

All of the special characters and tokens.

Tokens

In addition, there are three types of tokens given out at various points—

  • Blood Favor: The very first unit across the event to claim First Blood each round gets a Blood Favor which it may discard to ignore D3 wounds/damage.
  • Blessing: The lowest scoring players on each side each round get a Blessing from their gods or the Emperor, which they may discard to reroll any single die.
  • Relic: Each alliance choose one final round match in the chapel to be for the relic they consider most important, earning or losing an extra 10 campaign points by holding the central objective or not. The token may be revealed to make all runs, flat outs, and charges +D3 inches that player turn. Players may choose objectives in this mission, so the opponent may not necessarily care about the central objective unless this revelation is made.

All of the tokens may be used at any point, and carry into the next game if not used.

Campaign

Appropriately enough, the Blood Fed wound up comprised of primarily Chaos Marines, a few Space Marine contingents apparently having just thrown in their lot against the Emperor, and a band of Tyranids come for the feast. Facing off against them, the Swords of Dorn were backed by a full host of Space Marine loyalists, Tempestus Scions, and an Emperor’s Fist Armoured Company.

As kind of a going-away party we wanted everybody to get a chance to play with multiple people. So we played rotating doubles, with the alliances choosing which of their players to team up each round. After some quick strategy discussion about first round teams and missions, the campaign was on!

Traitor Governor Friedman launches the surprise night attack.

Round 1

Scout Initiates Mynaugh and Te’Janus find themselves amid the heaviest fighting, defending the Primaris Gate. Caught without any support, they’re exposed to a massive charge by a ravening horde of Tyranid monsters. Mynaugh lays into the horde with his minigun, but both barely escape the Red Terror.

The Blood Fed’s leader is revealed by his thrust against the Primaris Gate as the Planetary Governor Friedman, unsurprisingly turned traitor. More is at hand though then just a minor rebellion as Governor Friedman is clearly being rewarded for his actions, growing in power and size as the blood flows.

Outside the gates, the Sword Sworn gamble on a counter-offensive, attacking into the Siege Front. They are eventually rebuffed, but at the worst moment the Warp-fired visage of Brother Edelkraut, a storied hero of the Swords of Dorn presumed long dead, appears and empties his wrath into the invaders.

Outcome: No change in regions, but the Governor breaks through the Primaris Gate.

The map after Round 1.

Chaos Daemons overwhelm Swords of Dorn Scouts while Crimson Fists rush to their aid.

Presumed long dead Brother Edelkraut appears from the Warp to support a Lamenters Chaplain in his moment of need.

Scout Initiates Te’Janus and Mynaugh stare down the oncoming horde.

Round 2

Having barely escaped being eaten, the Initiates Mynaugh and Te’Janus immediately stumble into an even worse horror: The soul corrupting might of Chaos! Still trying to escape the carnage around the Primaris Gate, they’re harried by Raptors and driven toward the maw of Nurgle’s mightiest minions.

His rage growing ever more powerful, Governor Friedman sweeps through the Dormitorium feeding civilians to his dark gods. The Swords’ desperation growing as the heretic works ever closer to the chapel, Brother Edelkraut lives up to his legend, moving so fast from fight to fight that he often seems to be in two places at once.

At the previously quiet Munitorum, the defense forces are overtaken by terror as they suddenly realize there is a silent stalker among them: The governor’s secret henchman Assassin Timday appears at the airfield and begins hunting down Tempestus Scions.

Outcome: The Blood Fed cleave a clear path from the Siege Front through the Primaris Gate and the Dormitorium to the very edge of the Chapel.

The map after Round 2.

Tempestus Scions hold their ground at the Munitorum airfield.

Chaos overwhelms the Munitorum’s refinery.

Assassin Timday hunts among the airfield.

Round 3

Now a lumbering hulk, Governor Friedman smashes through the chapel walls and makes his way to stake a claim on a chalice said to have been drunk from by Rogal Dorn himself. Despite dispatching ever more frenetic vengeance, Brother Edelkraut’s furious hauntings are not enough to stop this sacrilege. Meanwhile the twisted Assassin Timday lurks the outer edges of the chapel battle, continuing his persecution of the Tempestus Scions.

Blown by the winds of war from fight to fight, the Initiates Mynaugh and Te’Janus find themselves having gone full cycle, from the very first contact at the Primaris Gate, to the very last fighting at the Chapel of Mons. There they find themselves almost snared in the clutches of the Alpha Legion when an angry company of Lamenters Space Marines comes to their aid just in time. Rallying to their brave example, they join a squad of their brethren Scouts in a suicidal fight to hold the left flank and protect the Lamenters’ main position. At long last the Initiates Mynaugh and Te’Janus have truly learned what it means to be one of the Emperor’s finest.

Outcome: The Sword Sworn make a successful raid into the invader’s encampment as well as retaking the Primaris Gate, but do not stop the Blood Fed’s push to the Chapel of Mons and the precious relics inside.

The map after Round 3.

Snipers pick off targets from the rooftops of the refinery buildings.

Packs of Warp Talons and Nurgle bikers roam through the Dormitorium.

Ill-fated Brother Maximus, cursed with Black Rage in his Dreadnought armor tomb, surges forward to assault a Chaos Havoc squad.

Outcomes

The Sword Sworn maintain marginal control of their monastery on Hedron IX (Sword Sworn tactical victory). Their recruiting pipeline however is wrecked by the Blood Fed, who have indeed feasted on many of their trainees and destroyed much equipment and supporting personnel (Blood Fed strategic victory). Worst of all, the cursed Governor Friedman manages to loot the Chapel of Mons and makes off with the relics he came to steal for his masters (Blood Fed campaign victory)!

Like so many chapters before them, the Swords of Dorn will have to rebuild from this loss, no doubt to become even mightier warriors for the Emperor…

Newly trained Swords of Dorn stand their ground to the last in the chapel.

Awards

Full campaign and individual results are posted here (XLSX). As this was purely a casual narrative event, we awarded the following as small store credit prizes:

  • Best Generals: Top overall points in each alliance, encompassing victory points + sportsmanship + army appearance (a 5 point rubric for minimum standards);
  • Craftsperson: First and second place in player votes for best army appearance;
  • Lucky Warriors: Our two primary prizes were drawn from a raffle, each player having earned 2 tickets for a loss and 1 ticket for a win.

Jake C with his Tyranid and Brian M with his Ravenguard won the raffle prizes. Steel Thunder Mike and Sam L from the Berks PA Gaming Club took home Best General titles for the Sword Sworn and Blood Fed respectively. A relative newcomer to our Redcap’s community, Fernando V took second in the painting votes with his Crimson Fists while man of the hour Sascha and his Swords of Dorn once more won that ballot, donating his prize to our ongoing Shadow War campaign. Congratulations everybody!

A Crimson Fists Fire Raptor makes a last ditch strafing run in a futile attempt to hold the airfield.

Next Up!

I have a bunch of thoughts on different aspects of this campaign to tweak. But it seemed very successful at creating the feel of a larger story and throwing in lots of fun little bits without being overly complex or unbalancing. A PDF with all the missions, tokens, map, etc., is mostly prepared and will be posted once 8th edition is released and the necessary changes made.

As a bonus, I was blown away by all the amazing armies and models that came out to play. Many under-utilized models made an appearance, particularly among the Chaos Marines. Many more photos are available via Flickr or Facebook.

All in all, I had a great time, everybody else seemed to have a great time, and I hope it was a fitting community tribute to Sascha, who has been the heart of our 40k group the past few years. We’ll miss you, and we’re sorry we burned down your monastery!

For everybody else, if this is the kind of Warhammer 40,000 gaming you crave and you can get to Philadelphia or Washington DC, you should join us for our upcoming LibertyHammer weekend in June and the NOVA 40k Narrative over Labor Day!


Scout Initiates Mynaugh and Te’Janus fight on, having become true warriors of the Swords of Dorn.

Spice Pirates Patrol: X-Wing Repaint Tutorial

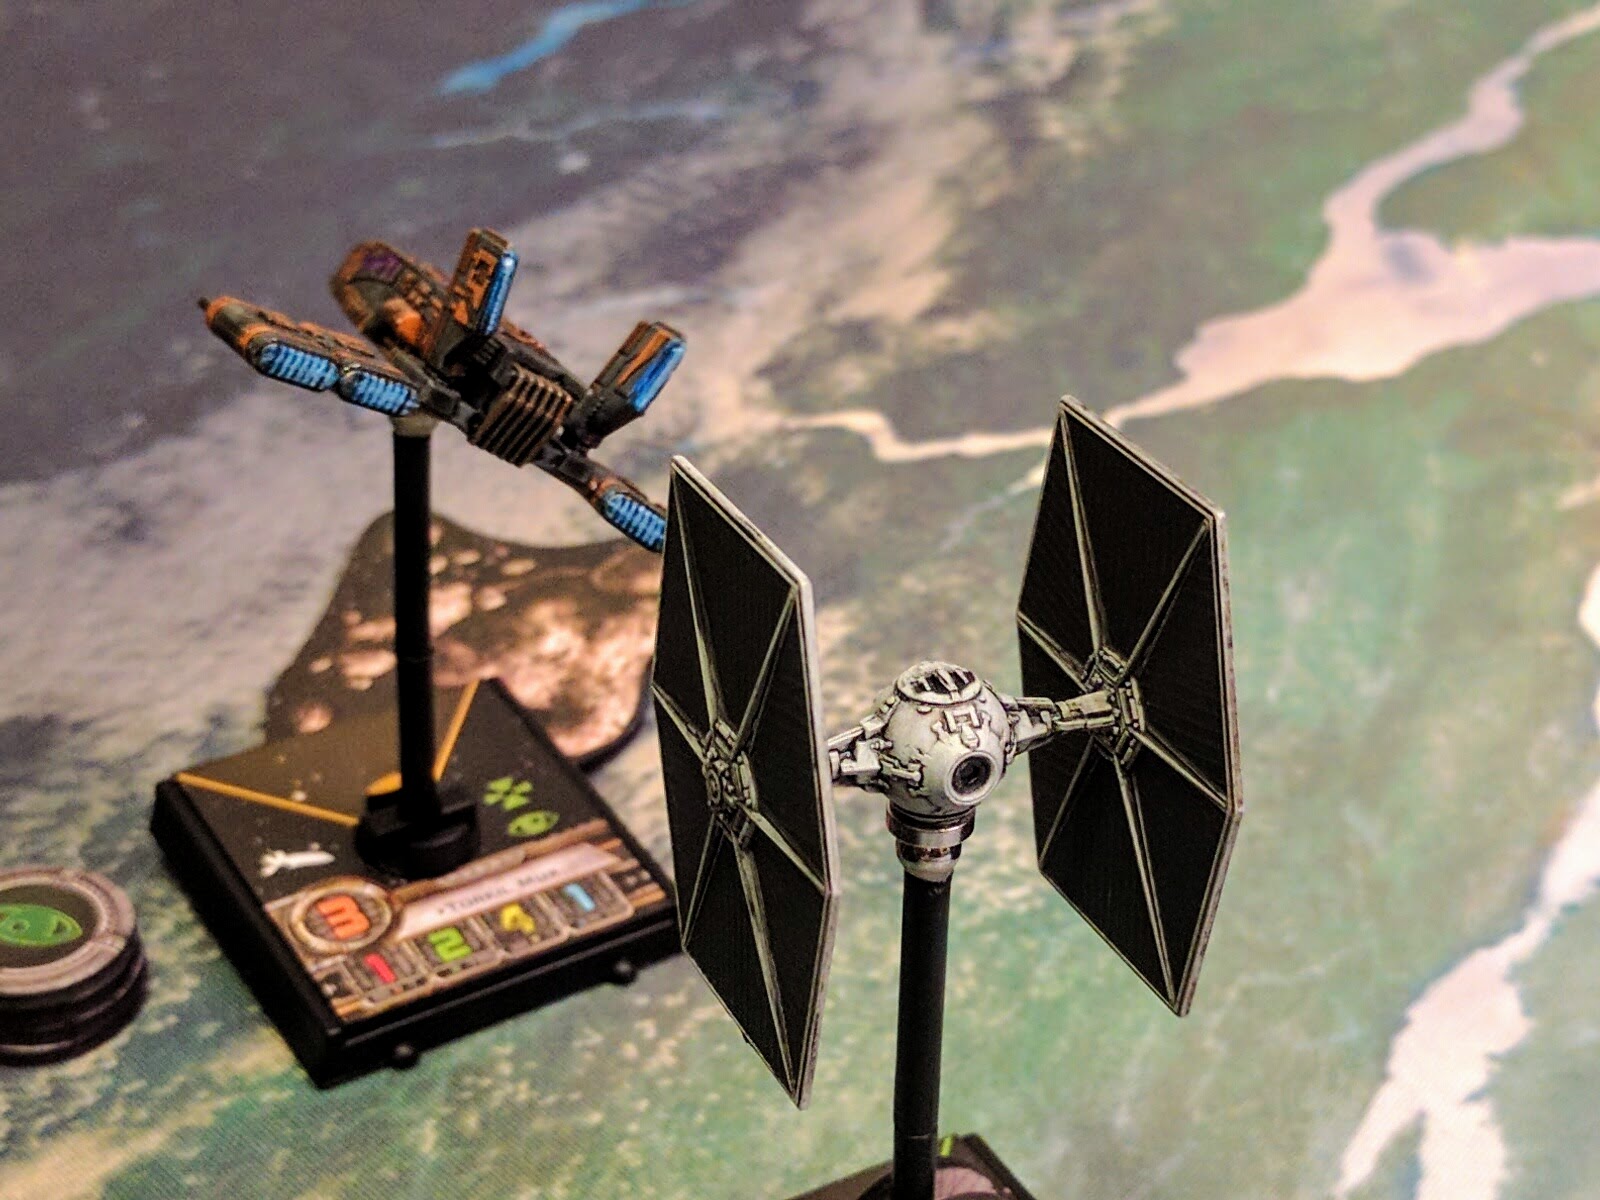
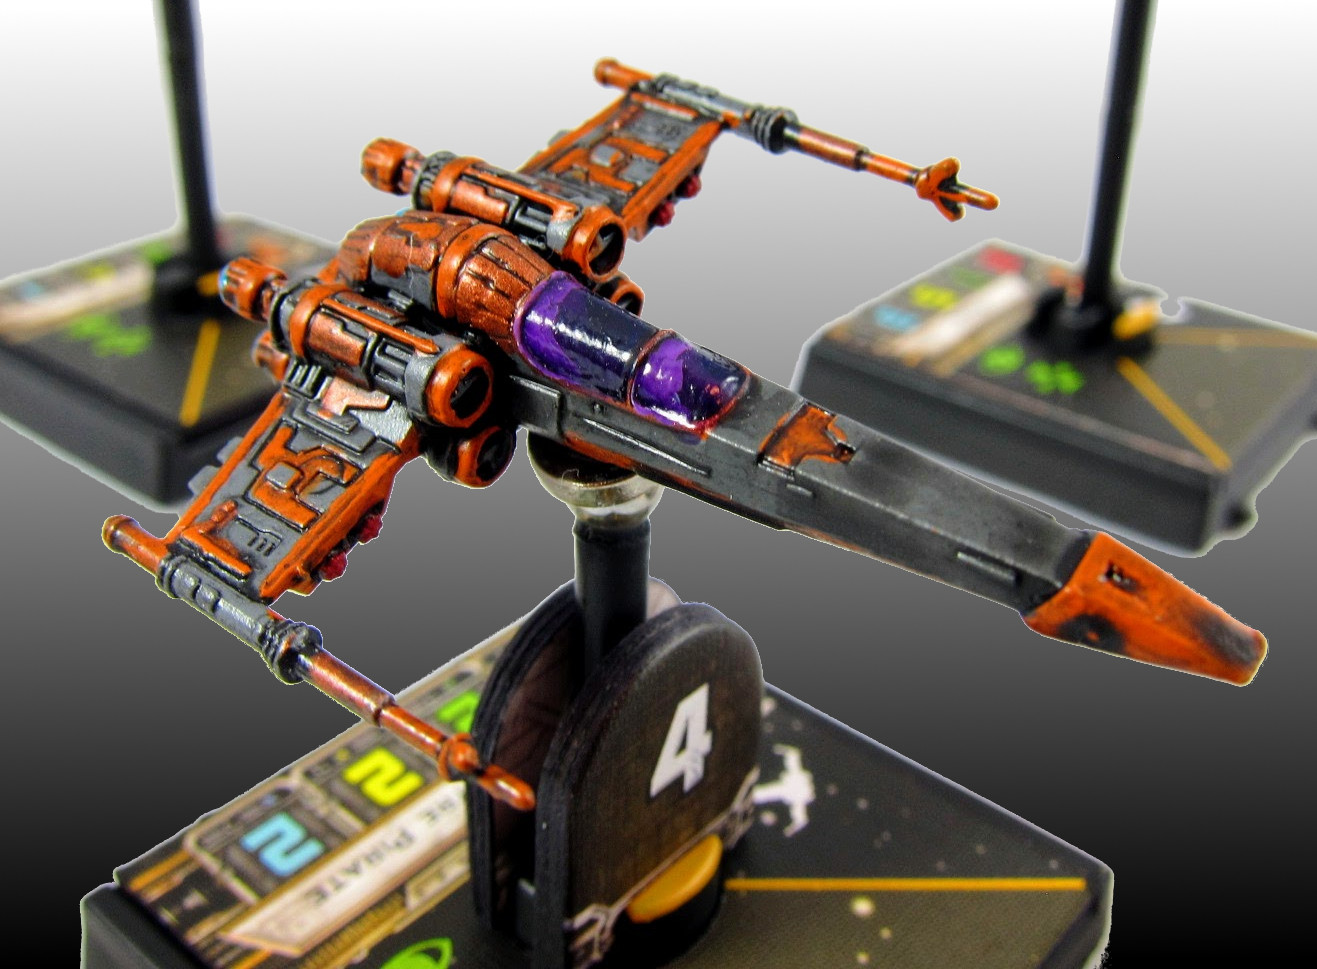
I’ve been playing X-Wing miniatures for all but literally a year now, starting just before last year’s X-Mas Wing Tournament @ Redcap’s. That whole time I’ve largely been employing a particular style of build and practicing literally just a couple different squadrons that have turned out to work pretty well. To mix things up, have a slightly less hard-hitting squad for more casual play, and to fly some more off the wall stuff, I put together a new list and then painted up a whole squadron to match. Here I present some glamour photos, but more importantly a tutorial walkthrough of the process in hopes it helps newcomers interested in giving repaints a try.

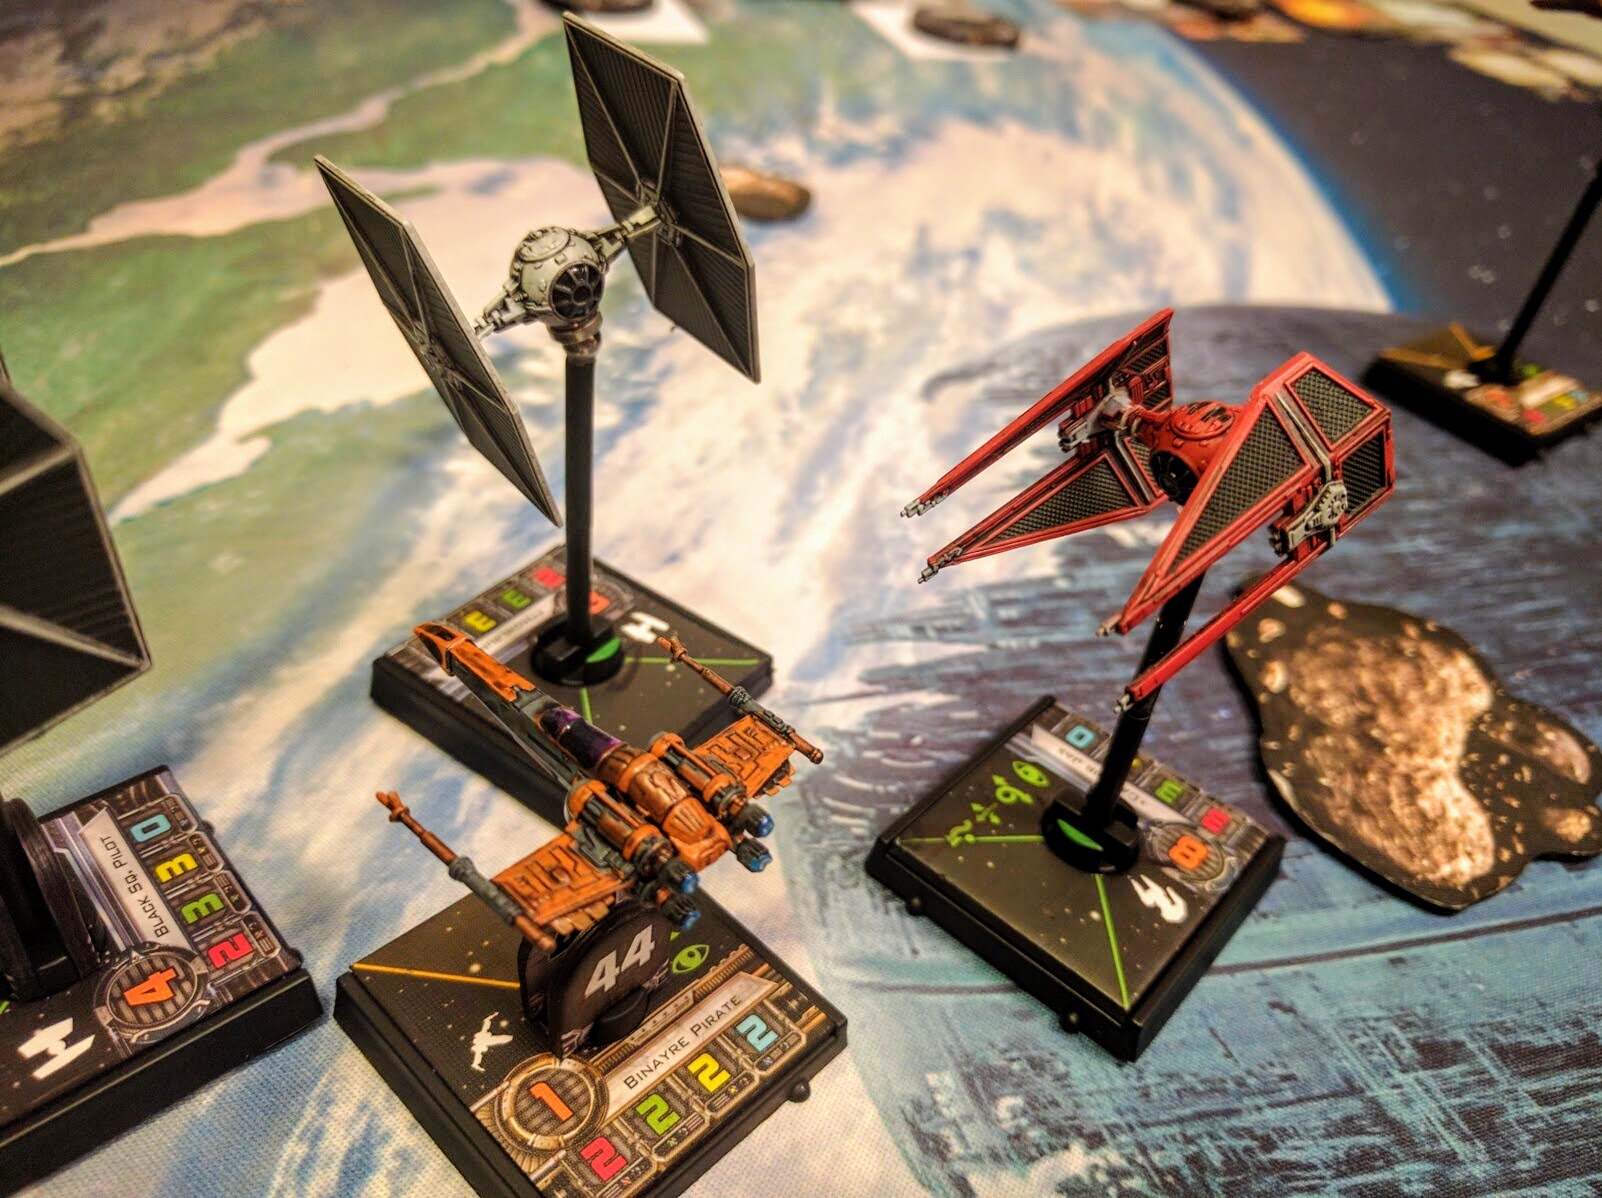
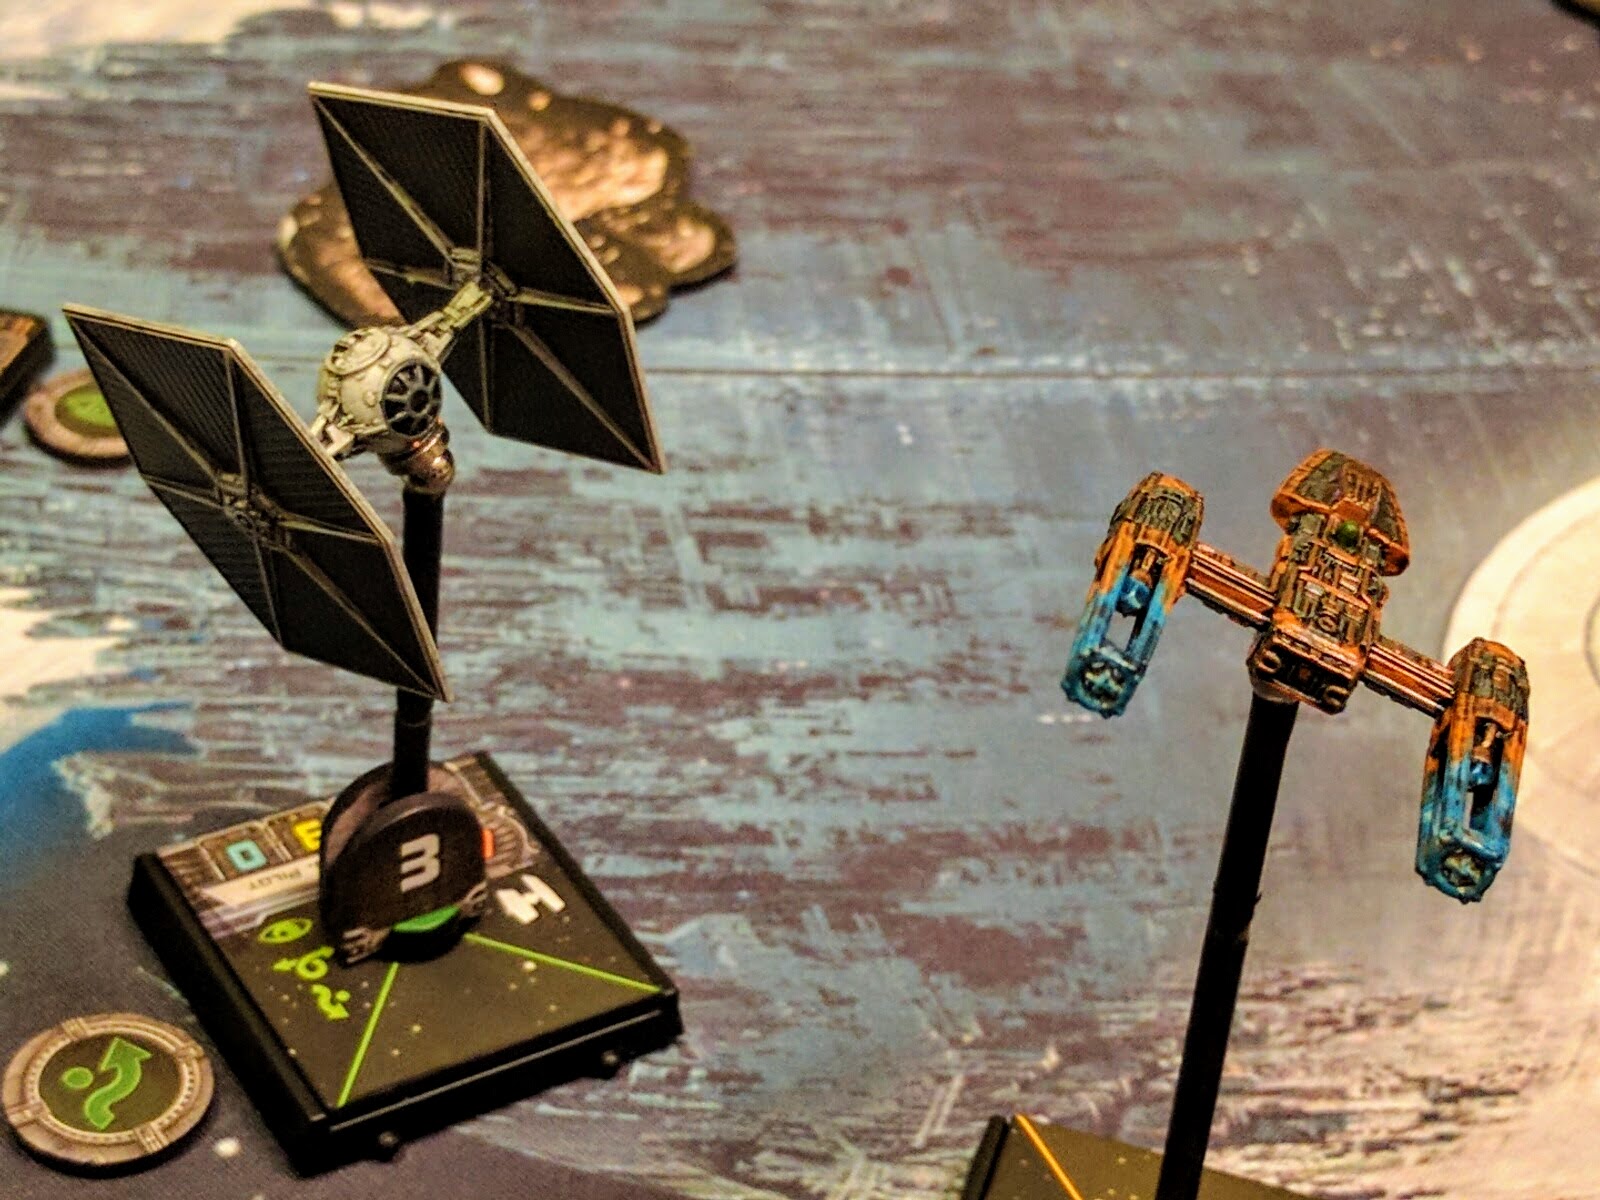
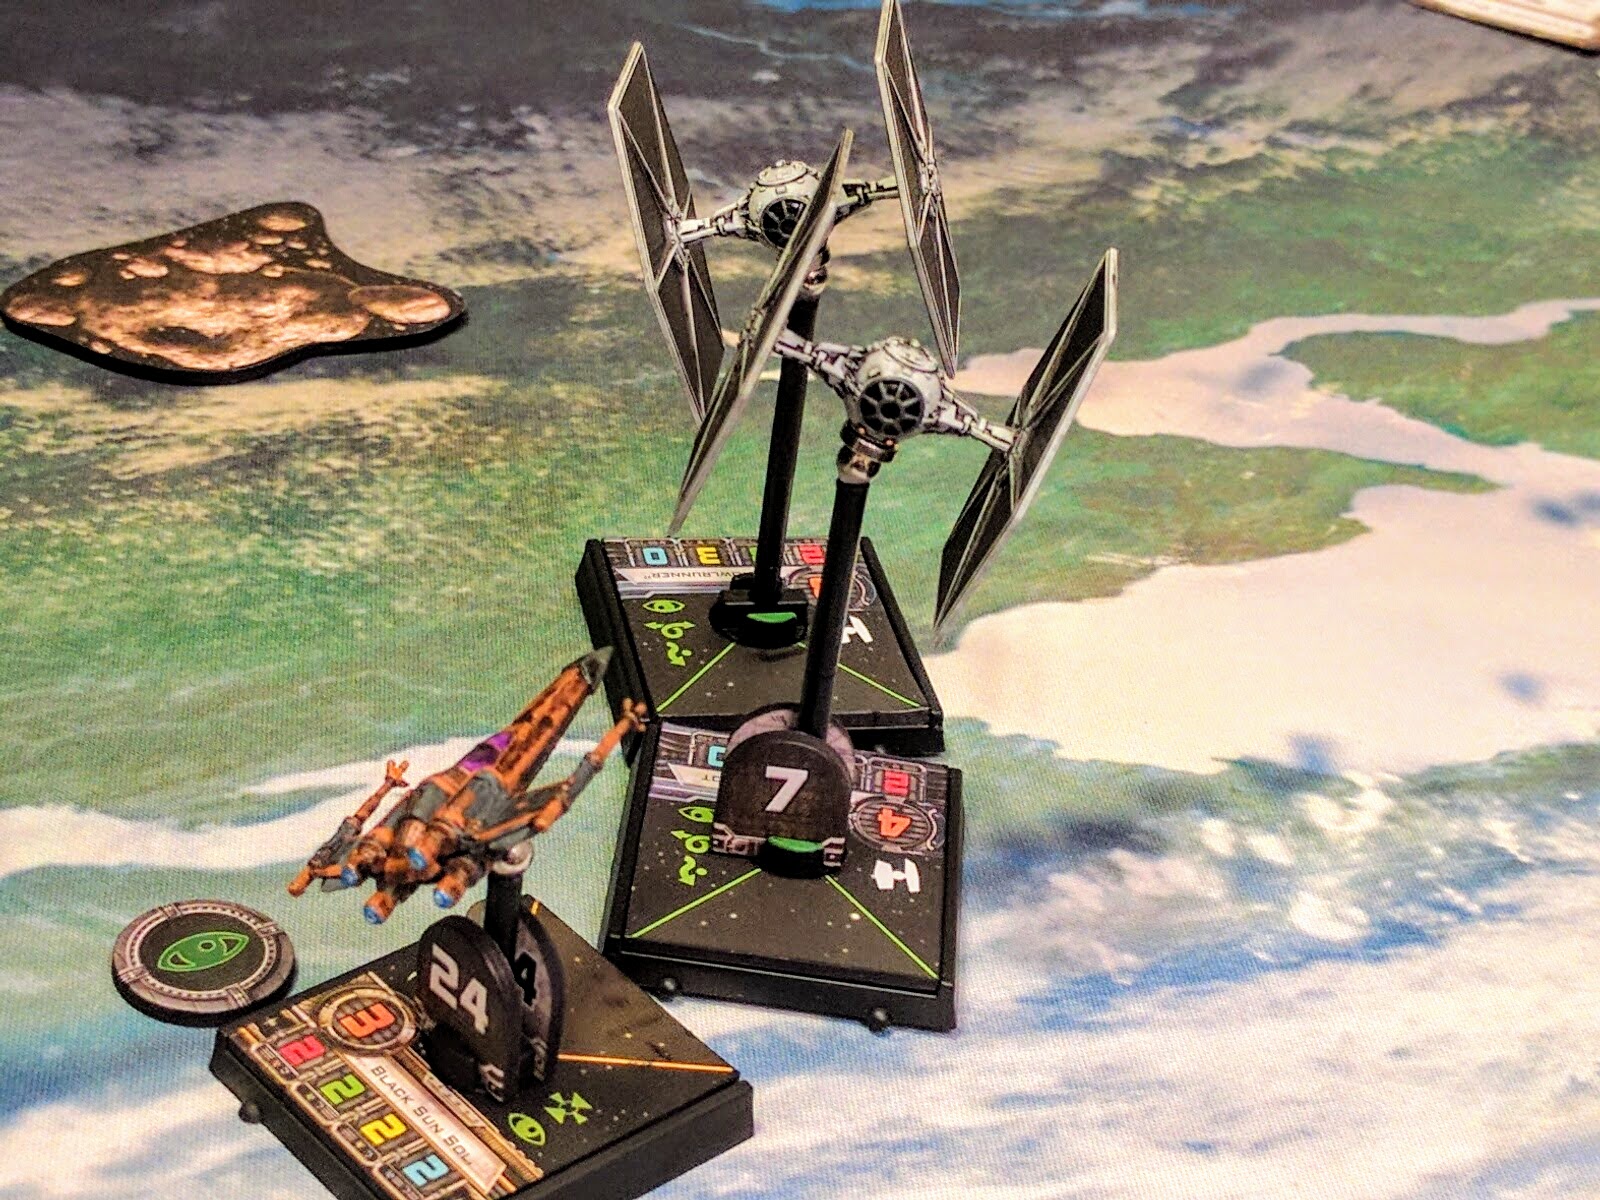
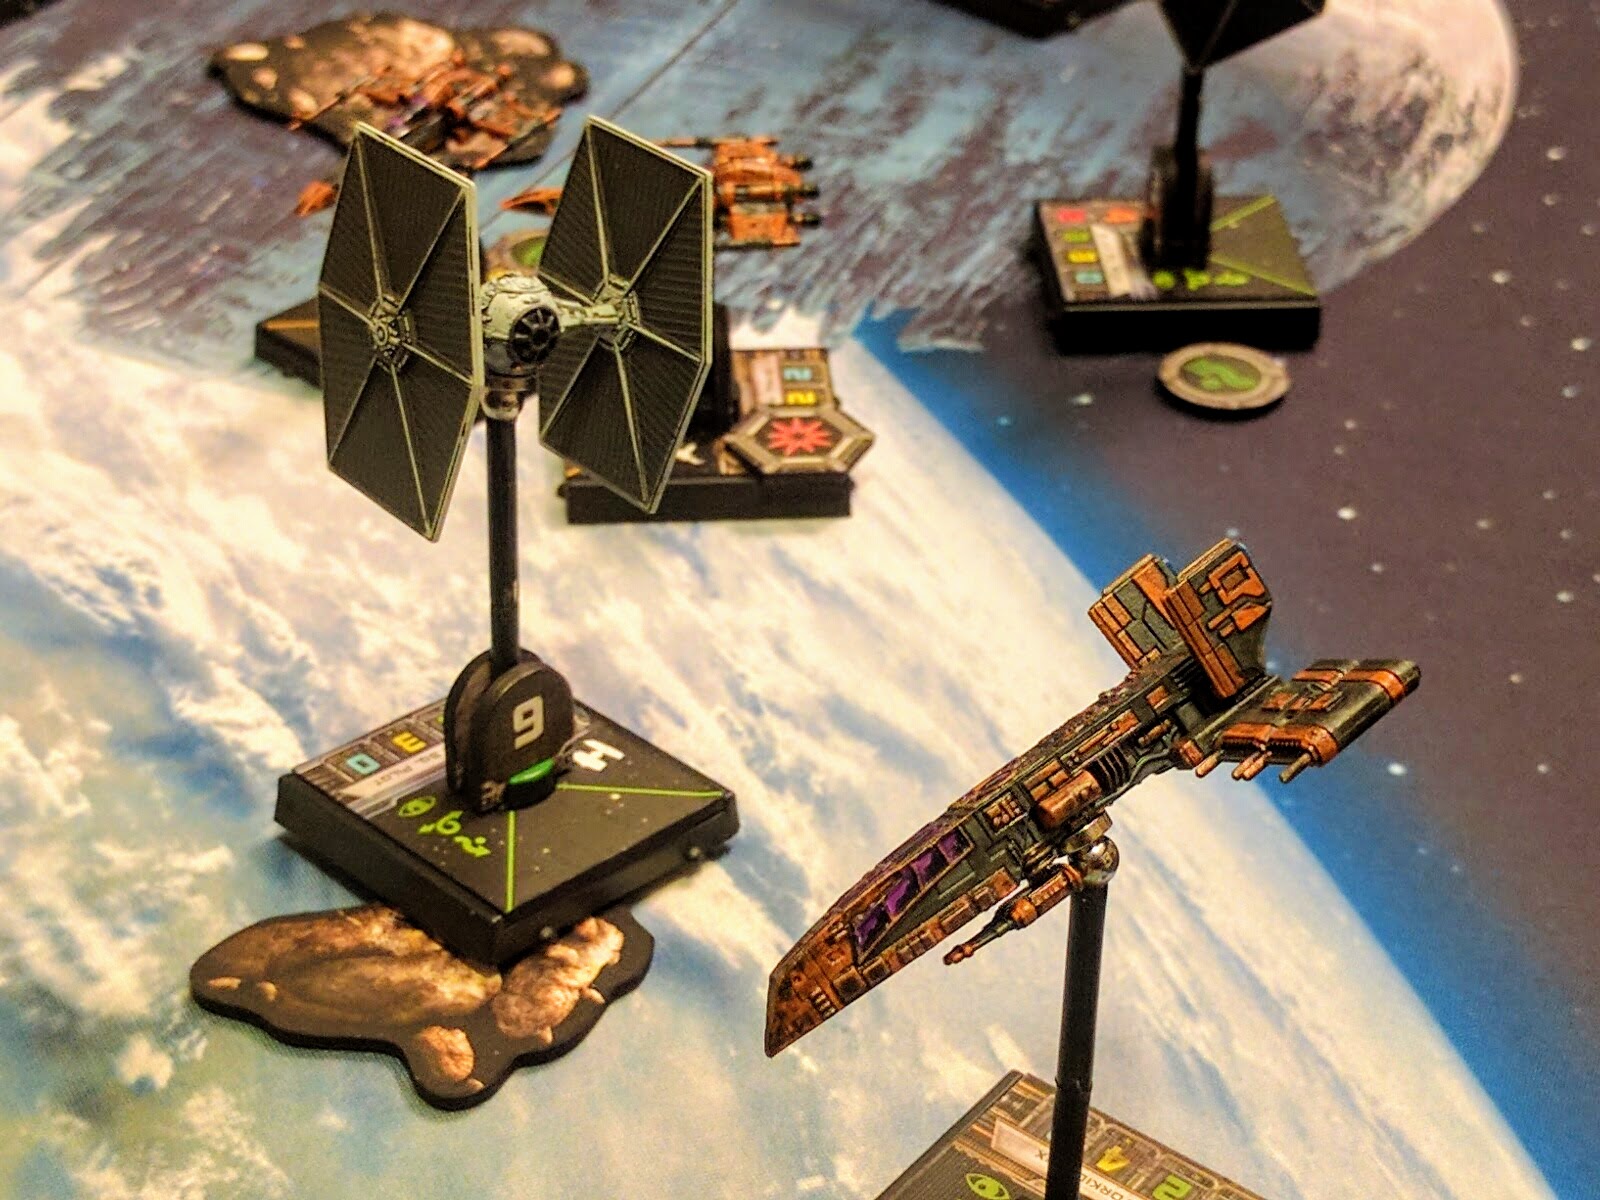
The Spice Pirates Patrol squadron.
Spice Pirates Patrol

I present the Spice Pirates Patrol:

Is this a great list? It’s ok, but not great or super competitive. I’m sure I’ll be tweaking it. Comparing to my standard rubric: Hull+shields is a bit low, average agility is a bit inferior, and damage output once you factor in the turrets is above average but not amazing. The real weaknesses I’ve found so far though are that the squadron isn’t very maneuverable, the Z-95s die easily, and they have to prioritize blocking over jousting, which is a harder skill. So I’m not planning to take it to any tournaments, but after just a couple games it seems to be competent for casual play, fun to fly, and probably not a setup you’re likely to see another of on the local tables.
All of that’s not really the point though. The design rationale for this squadron was:

  • I’m hosting a beginners’ night next week, what can I fly that’s fun and credible but not overly strong?
  • In a year of playing I’ve never ever used this Z-95 I bought, can I flip it to Scum and use it there?
  • The shop is way overstocked on HWKs, they’re on sale, and I love them, how can I justify another one?
  • Most Wanted is also on sale, what’s a neat list that will use all of that plus another HWK and my Z-95?

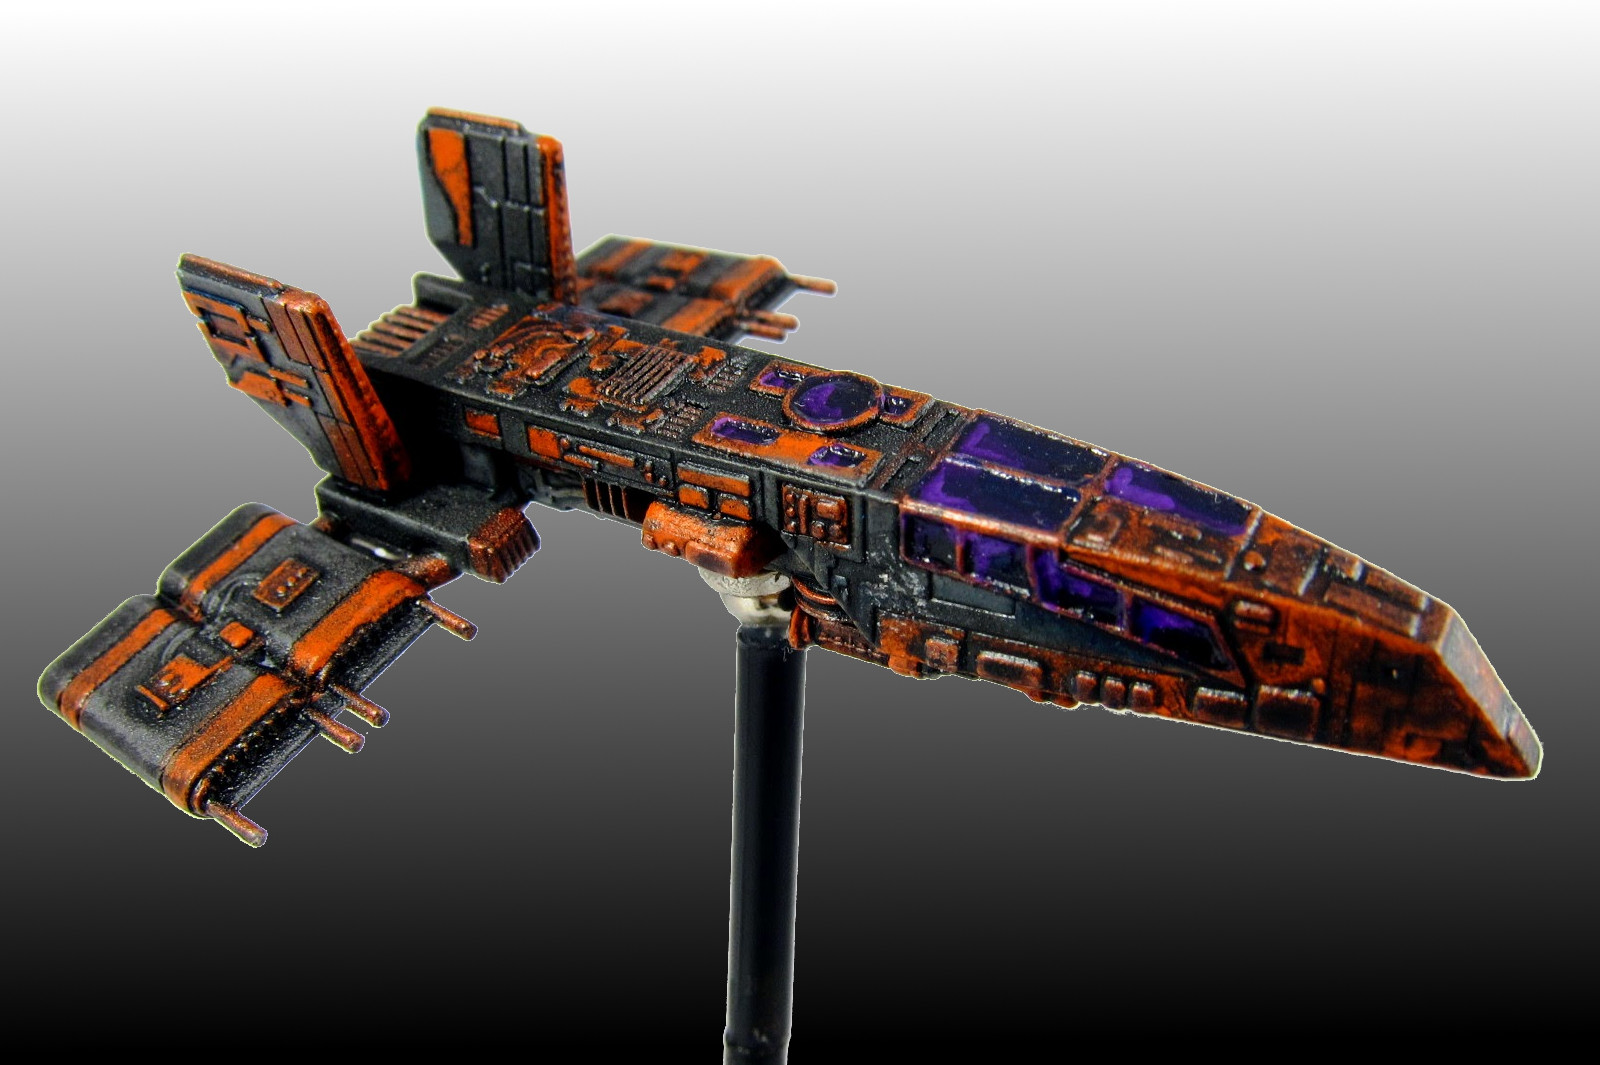
And here we are. Obviously I couldn’t have a Rebel Z-95 mixing with some Scum, or two Moldy Crows in my fleet, so in a fit of late night and early morning inspiration I repainted them all to match. Later they got magnetized as well. So far I’ve had a couple fun, close games with the squad, and am happy with the whole project.

Z-95 #4.

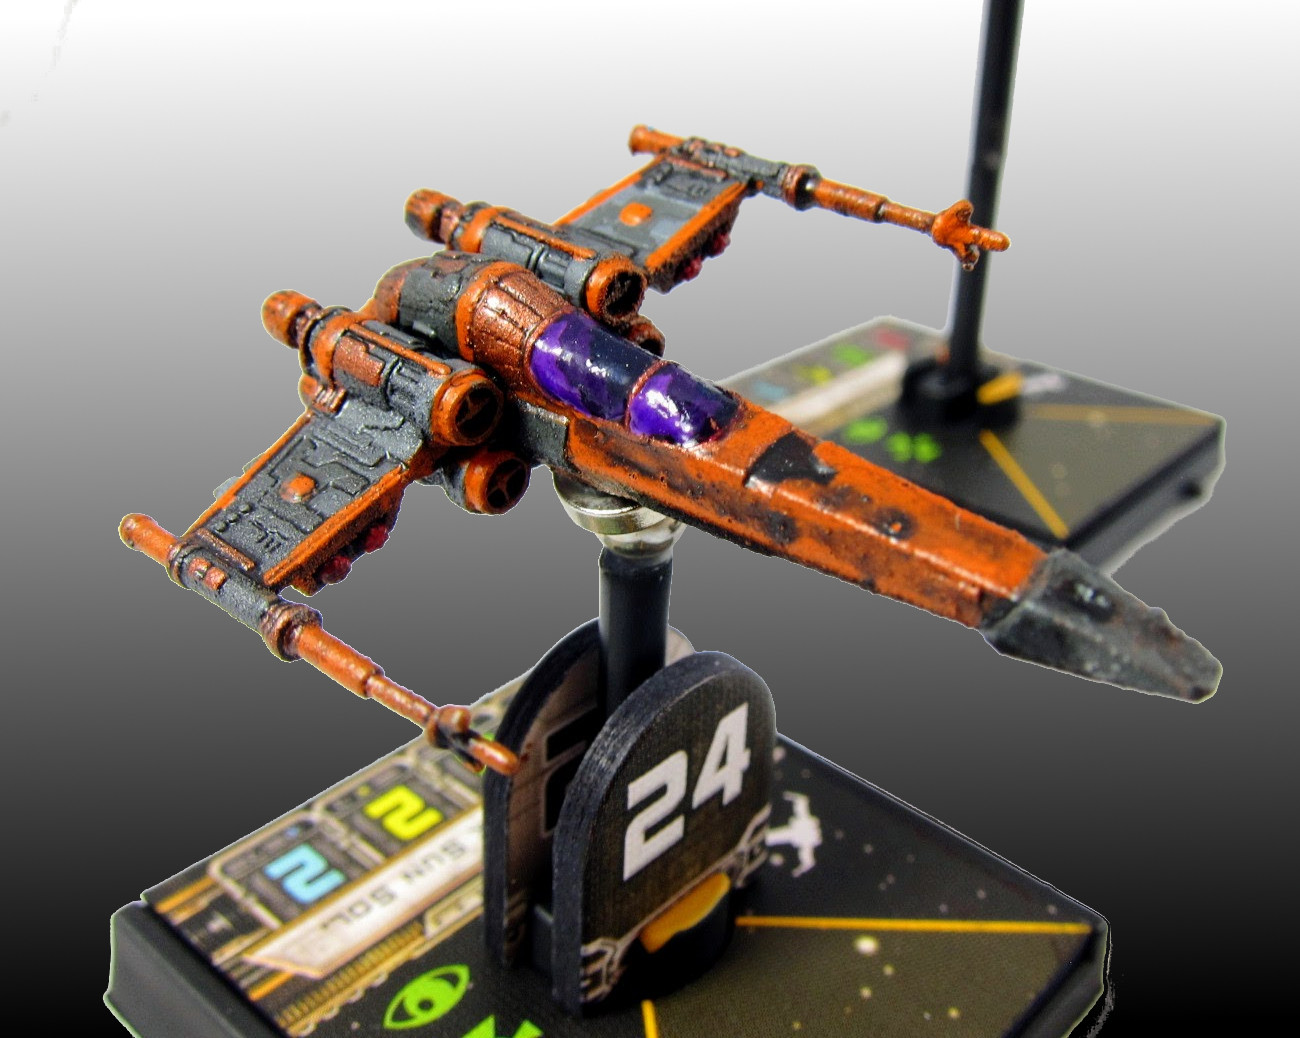
Z-95 #24.

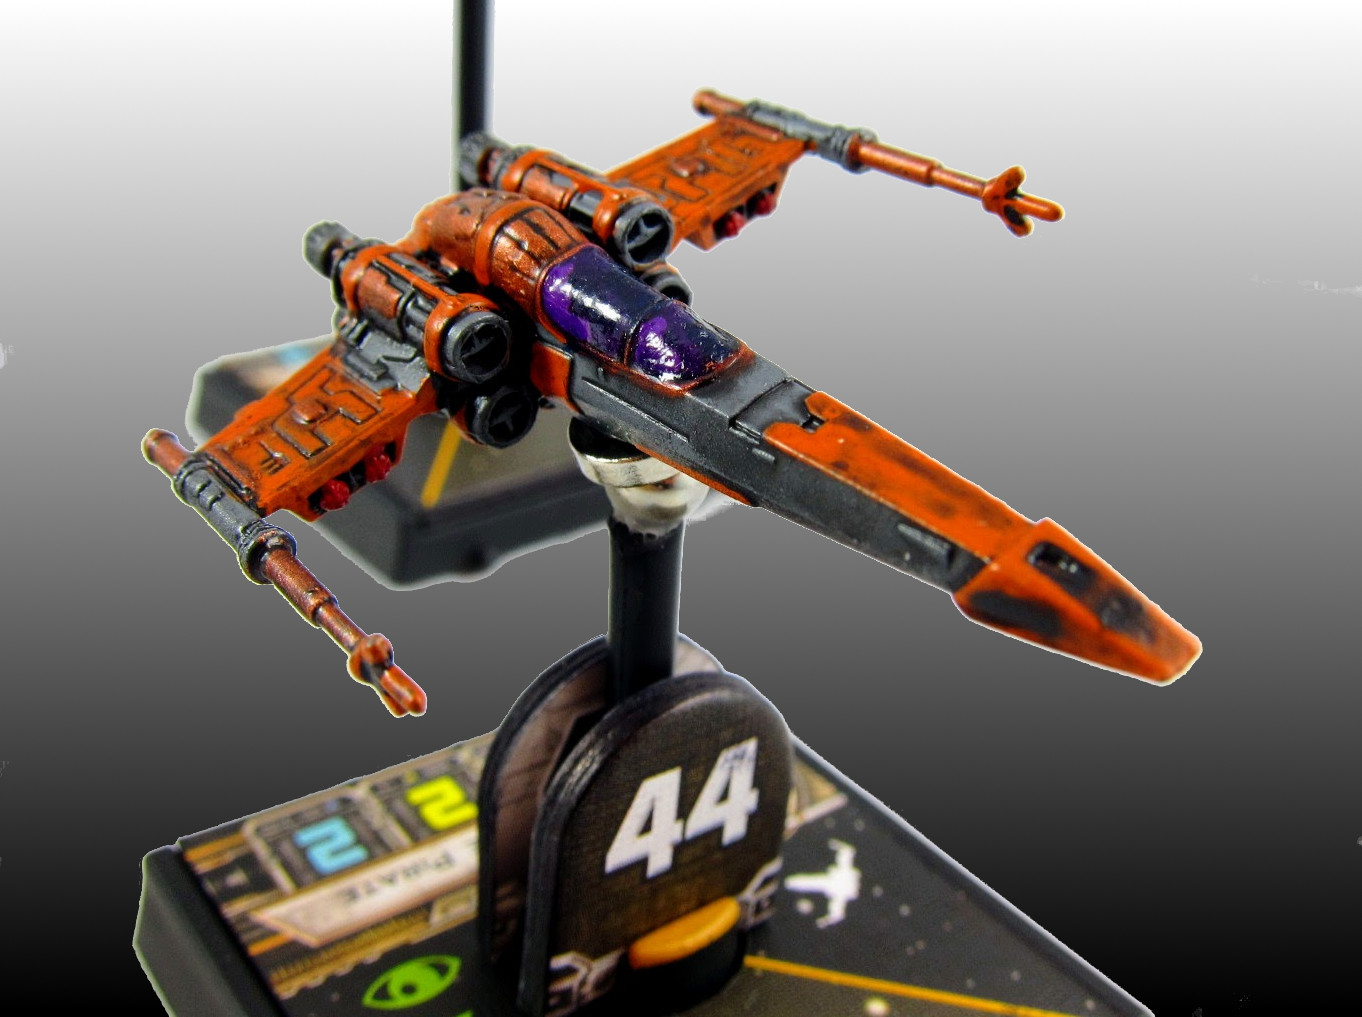
Z-95 #44.

Kavil’s Y-Wing, engines spewing ions.

Torkhil Mux’s HWK-290.

Repaint

I’m writing up this repaint because I think it came out well and the local reception has been very positive, but it was really fast and easy. I’m an average miniatures painter in raw skills, but I get what I think are hopefully just-above-average results by being smart about the process and using some basic “tricks.” Anybody can get at least the same quality outcomes, and you should give it a try if you’re interested!

Bases

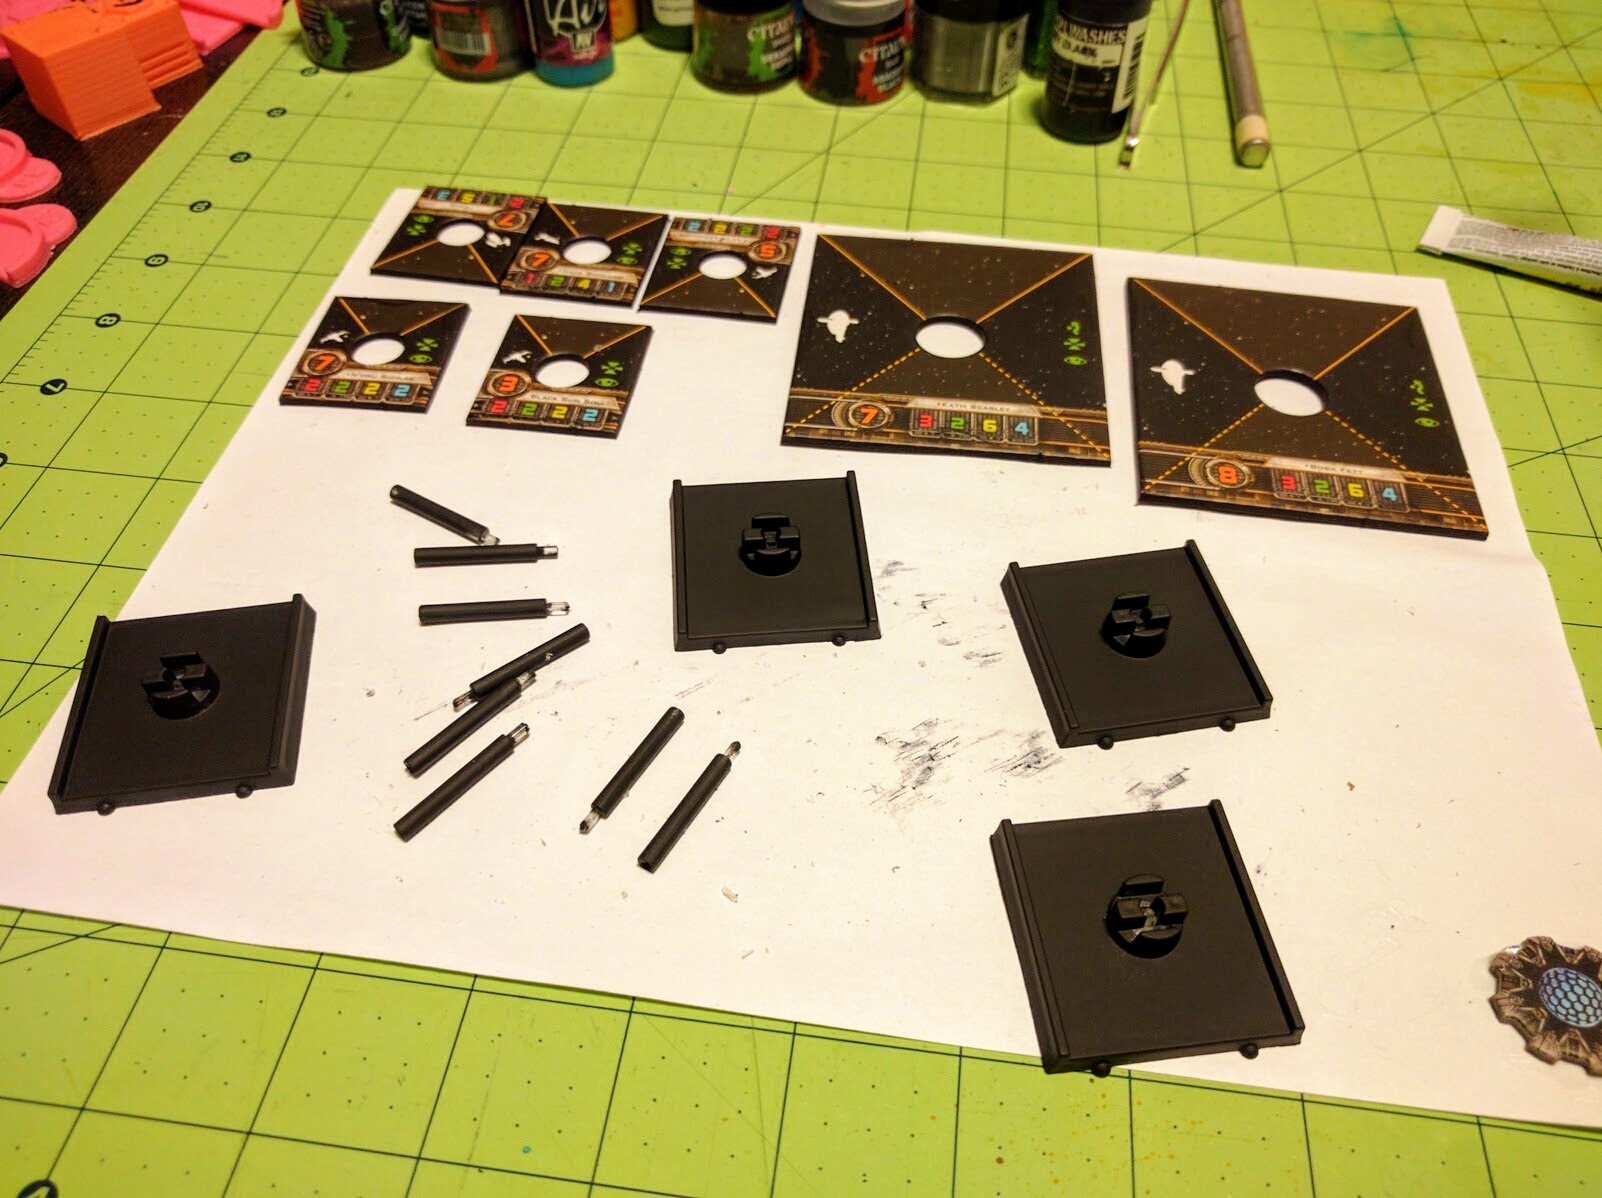
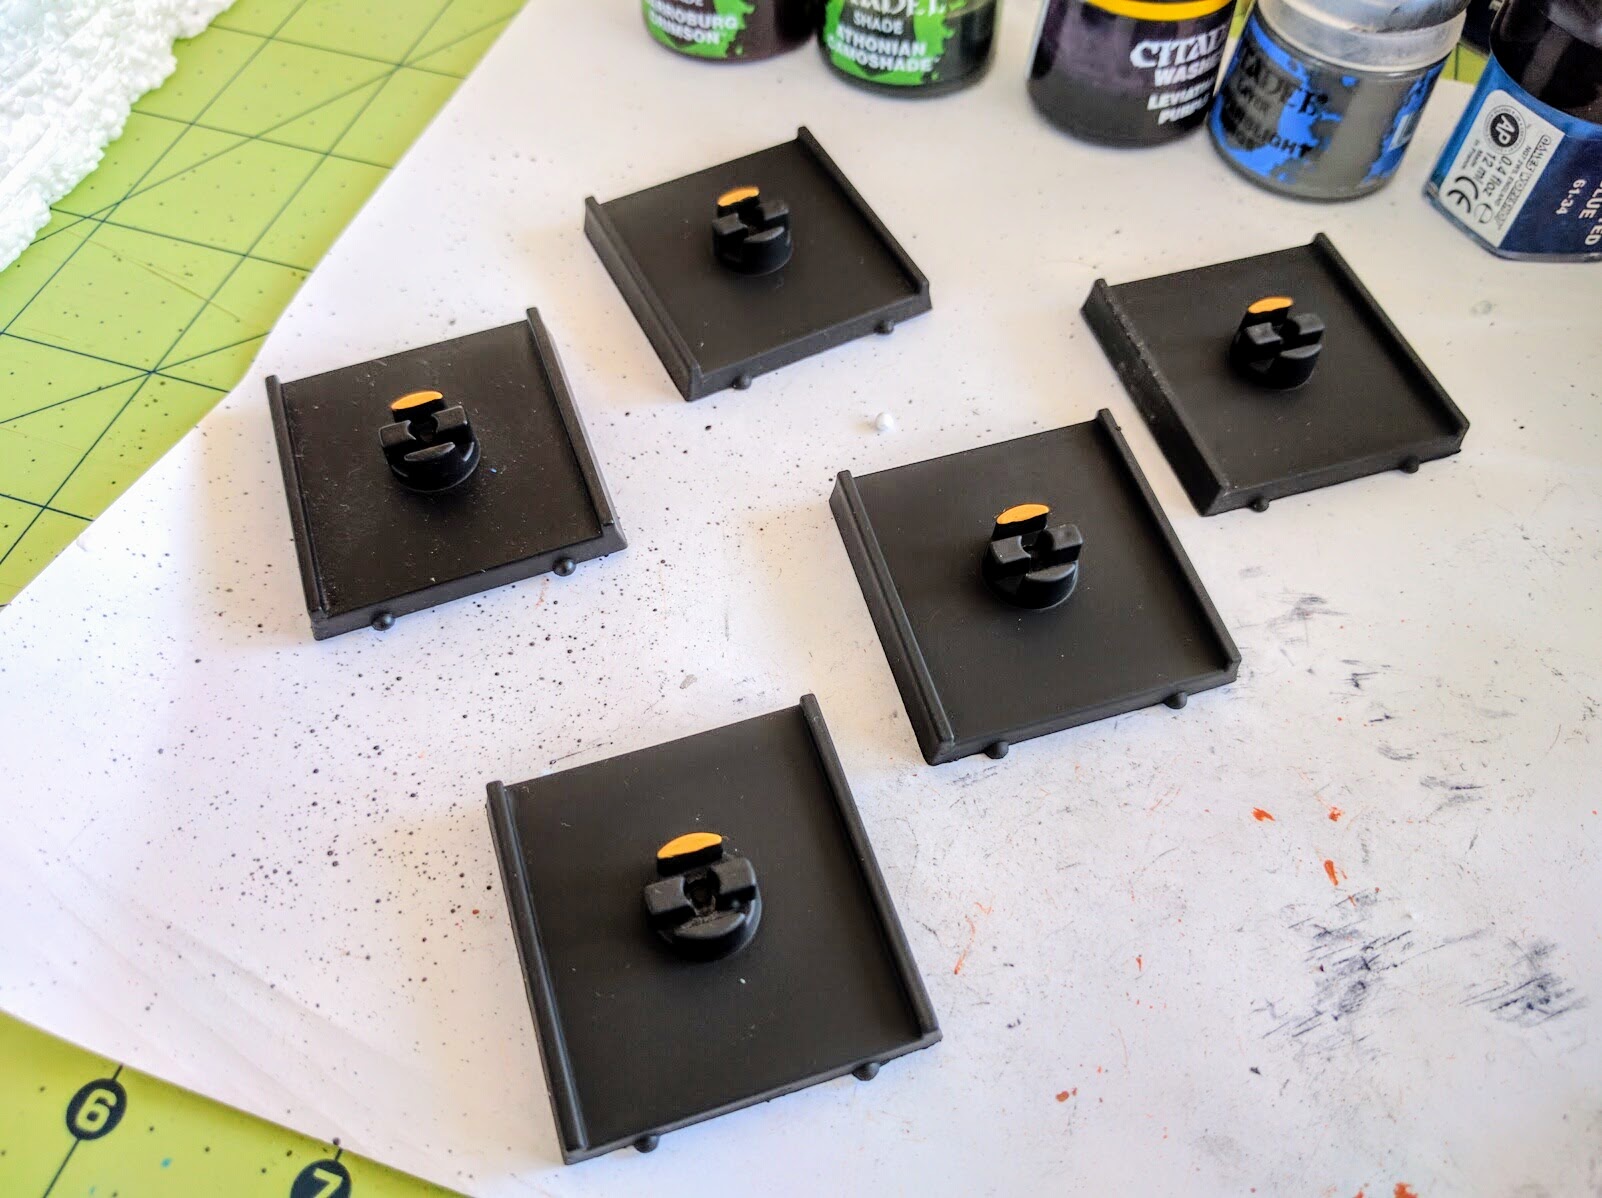
First up, black out your ship inserts, bases, and pegs. I’ve done this for all my ships, all my tokens and templates, even my damage deck, and it really boosts the visual appeal of any squadron. All the cardboard bits you can do with just a standard Sharpie or similar small-point permanent marker. The bases and pegs I spray paint black. Hit the bases diagonally from one direction, let them dry, rotate them 180 degrees, hit them again, and you’re done. I use alligator clip sticks to hold the pegs for spraying and drying so that the fine paint doesn’t get marred by handling them. I use these similarly for the ships as well, which you’ll see below.

The real trick on the bases though is to spend a minute and paint the front of the peg holder in a color to match the arc on the ship insert (red for Rebel, green for Imperial, yellow for Scum). This makes the base really pop visually, and as a bonus eliminates the hassle of trying to figure out which way is forward (you of course won’t be able to see from above the arrow included on the underside once you paint the base).

Sides of the cardboard pieces have all been blacked out with a Sharpie, while the bases & pegs have been spray painted.

Great small touch: Paint the peg holders to match the arcs on the ship cards.

Primer

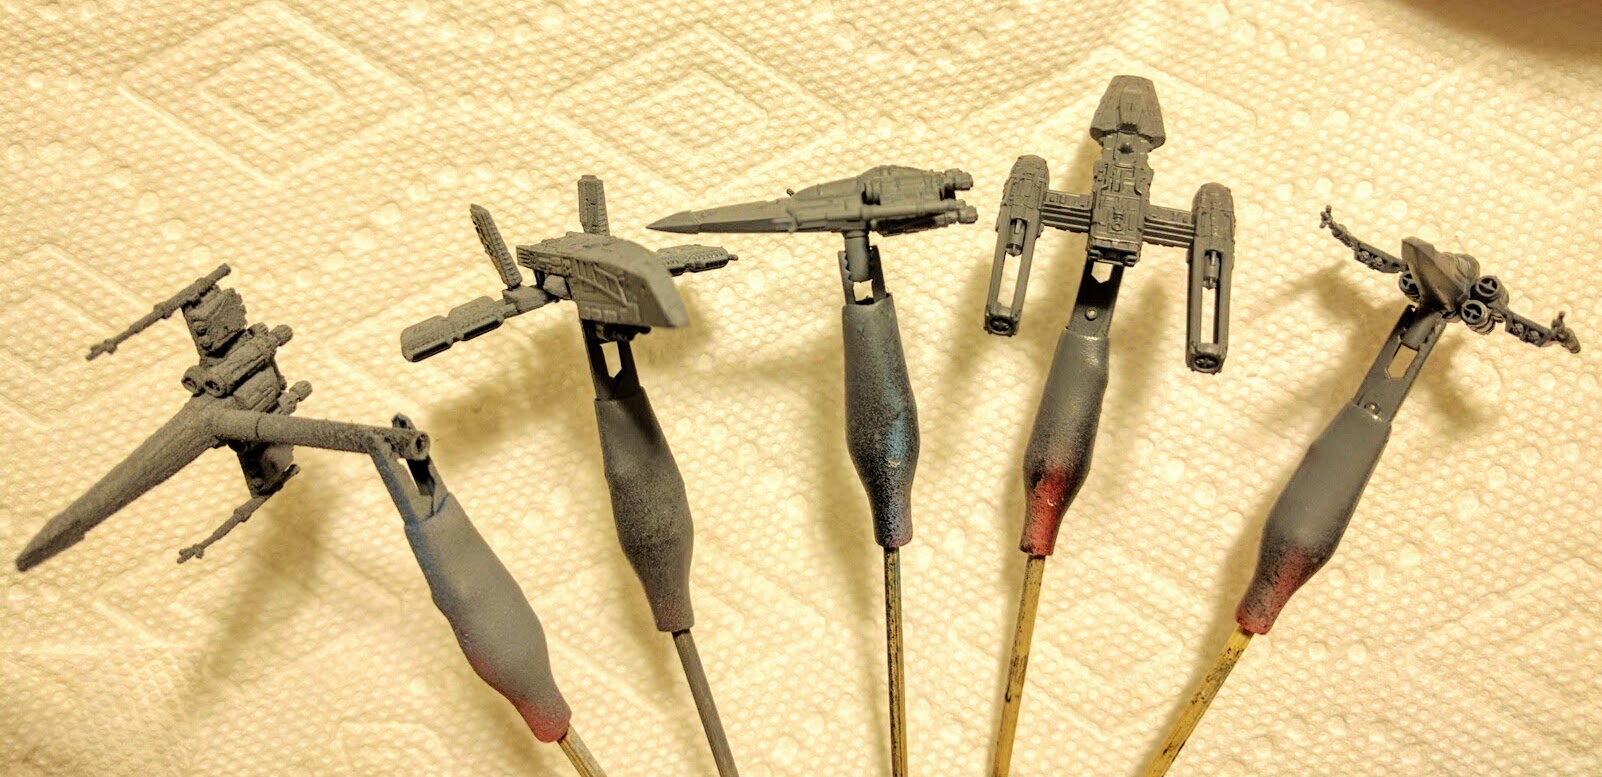
Next up is priming the ships. It’s not worth trying to strip off the existing paint jobs. The paint and plastic used makes it very hard to remove, the pieces are delicate and not prone to scrubbing, and it’s all a very thin coat anyway. It’s just not worth it. In many cases you may not even want to prime the ship if you’re just reworking some areas.

However, these ships all had a variety of stock paint jobs. I wanted to be sure the repaint started from a consistent base so they all wound up matching, so they had to get primed. For models with such fine details you want to be very wary of putting on too many coats of paint, so rather than the black or white I use for most miniatures and then painting on colors, I spray primed these directly in the grey base I wanted.

A wide variety of fancy primers are available specifically for miniatures. The big appeal of these is that they adhere well to models, but are very thin, preserving the detail. The big downside is they’re expensive, and the cans don’t last very long. I just use cheap, everyday matte spray paints found in the hardware store around the corner. I don’t always use paints specifically marked as primers, though in this case I did.

In using standard spray paints, the big thing to keep in mind is the necessity of keeping the paint thin. Spray at a good distance from the model (maybe 12–16″ or so), and in quick but steady passes and just one or two at a time. If you need to hit another angle or need another layer, wait until everything dries and then rotate the model and do another quick, thin pass. I used the alligator clip sticks mentioned above to hold the models for this so I could rotate them while spraying and prime all angles in one go.

If you’re new to all this, or using a new paint, start with the model you care about least. In this case I started with a Z-95 to make sure the paint wouldn’t be too thick, because in event of catastrophe that would be less of a loss than if the Y-Wing or HWK got messed up. In actuality here the first couple shots out of the can did fuzz up a bit on the underside of the model, but not enough to be visible in play even if it were on top.

Spray primed models.

Base Colors

An important “trick” in getting nice, classy miniatures without a ton of work is just to keep it simple and obvious. Use just two high contrast colors as the base, pick out some other details, and call it a day. It’ll look great. Multicolor schemes, complex patterns, etc., should all be saved until you’re sure you know how to make it work.

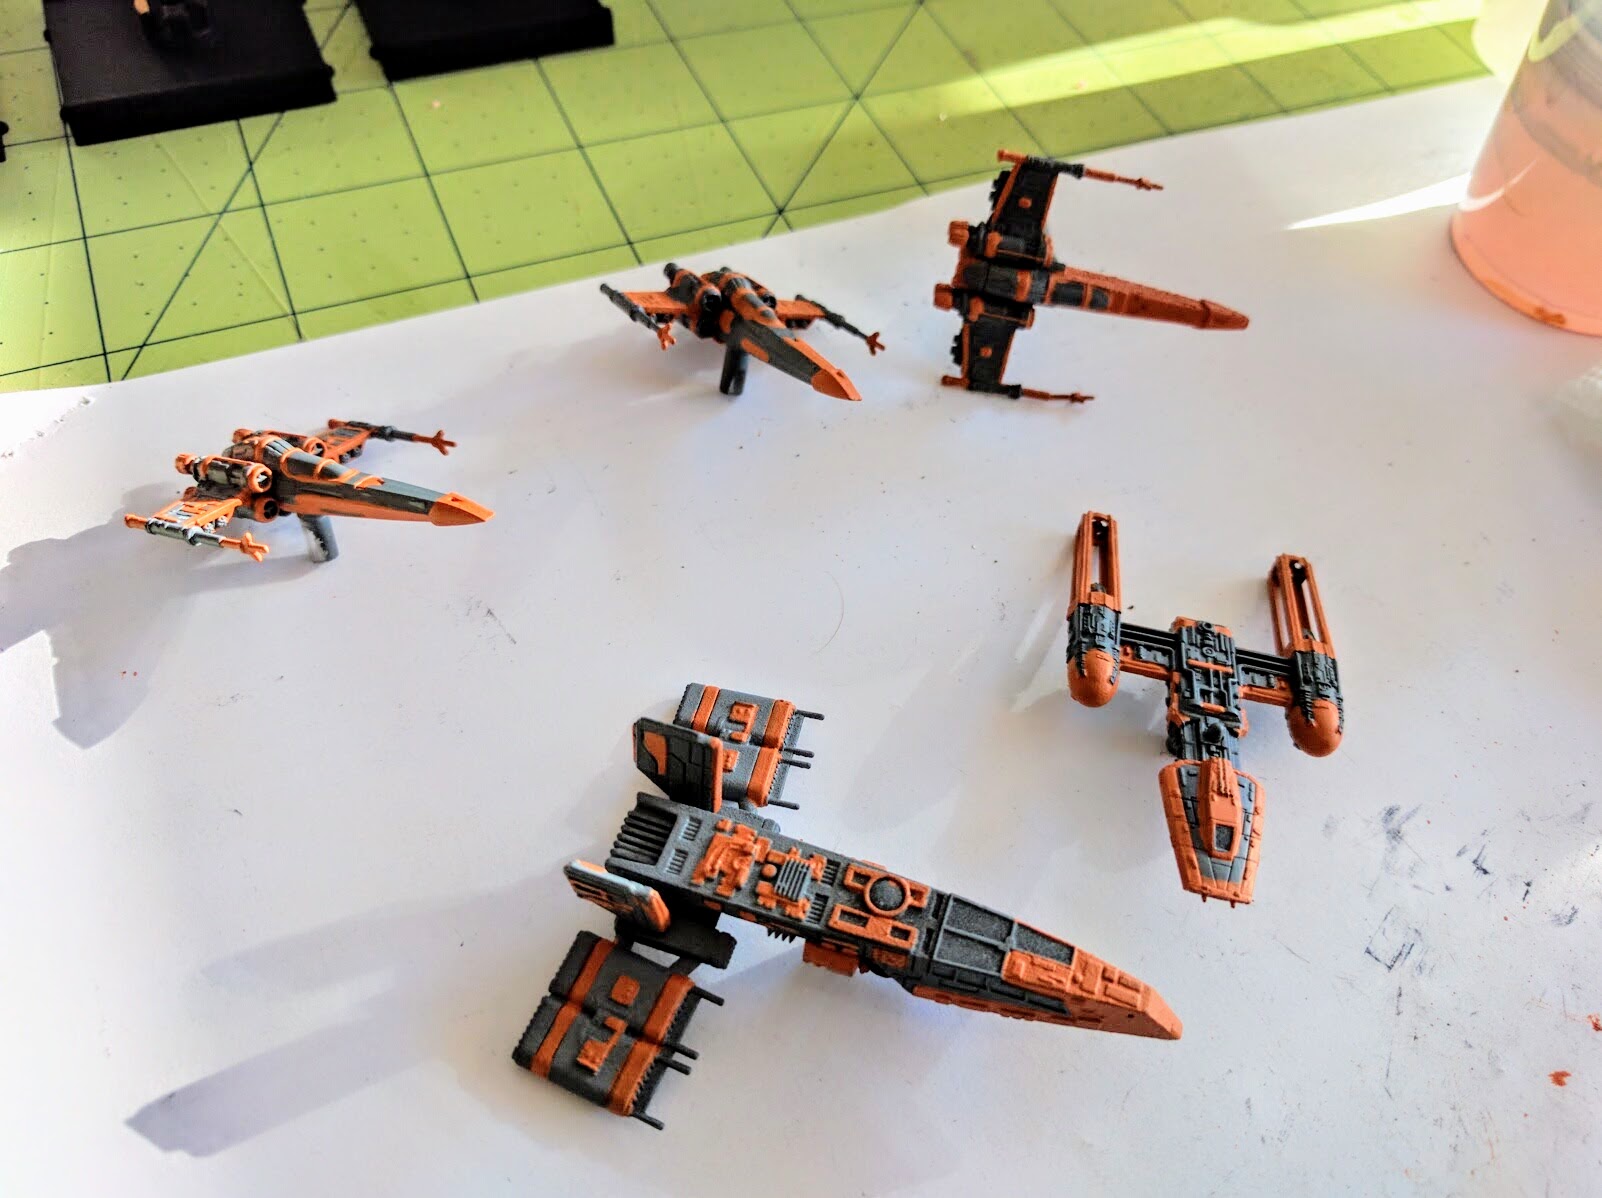
Here I went with orange as a second color to contrast well with the grey base. Orange is also my favorite color, seems reasonably associated with “spice,” and isn’t strongly associated with either Rebels or Imperials. I basically just went around each ship more or less arbitrarily picking out section of hull, panels, and some details in orange. On the Zees I made a conscious decision to have them be consistent and similar to each other but not precisely matching.

Just like with the spray primer, it’s important with such fine details to keep the paint thin. You generally really need to start with miniatures-specific paint, and even then often need to additionally thin it a little bit with water. I use an eyedropper and an old brush to carefully put in and mix just a few drops of water into the pot. Try your paints on a piece of paper or other scrap material first. If you feel like the paint might be thick and globbing on, then it is and needs to be thinned. Depending on the color it’ll take multiple coats to get it solid but not overwhelm the details. Here the orange bits were generally two coats and three on the larger sections.

Sections of hull, plating, and some details painted orange.

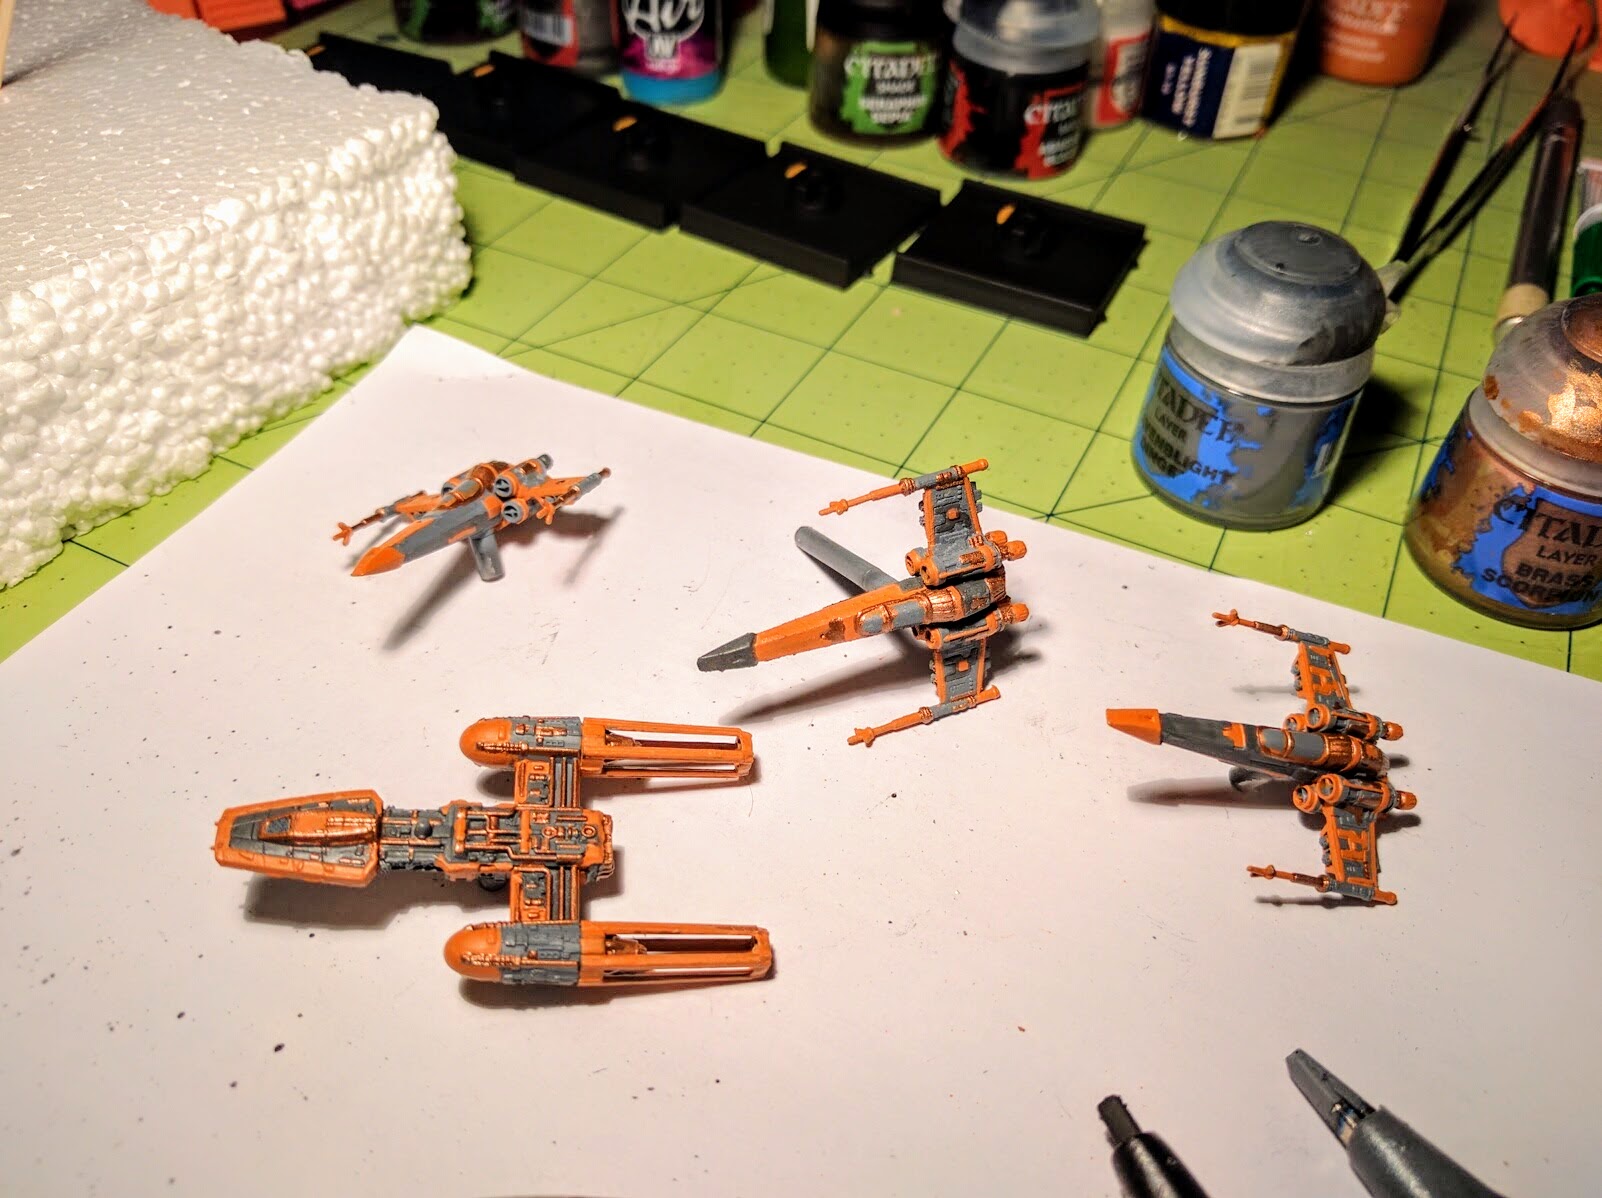
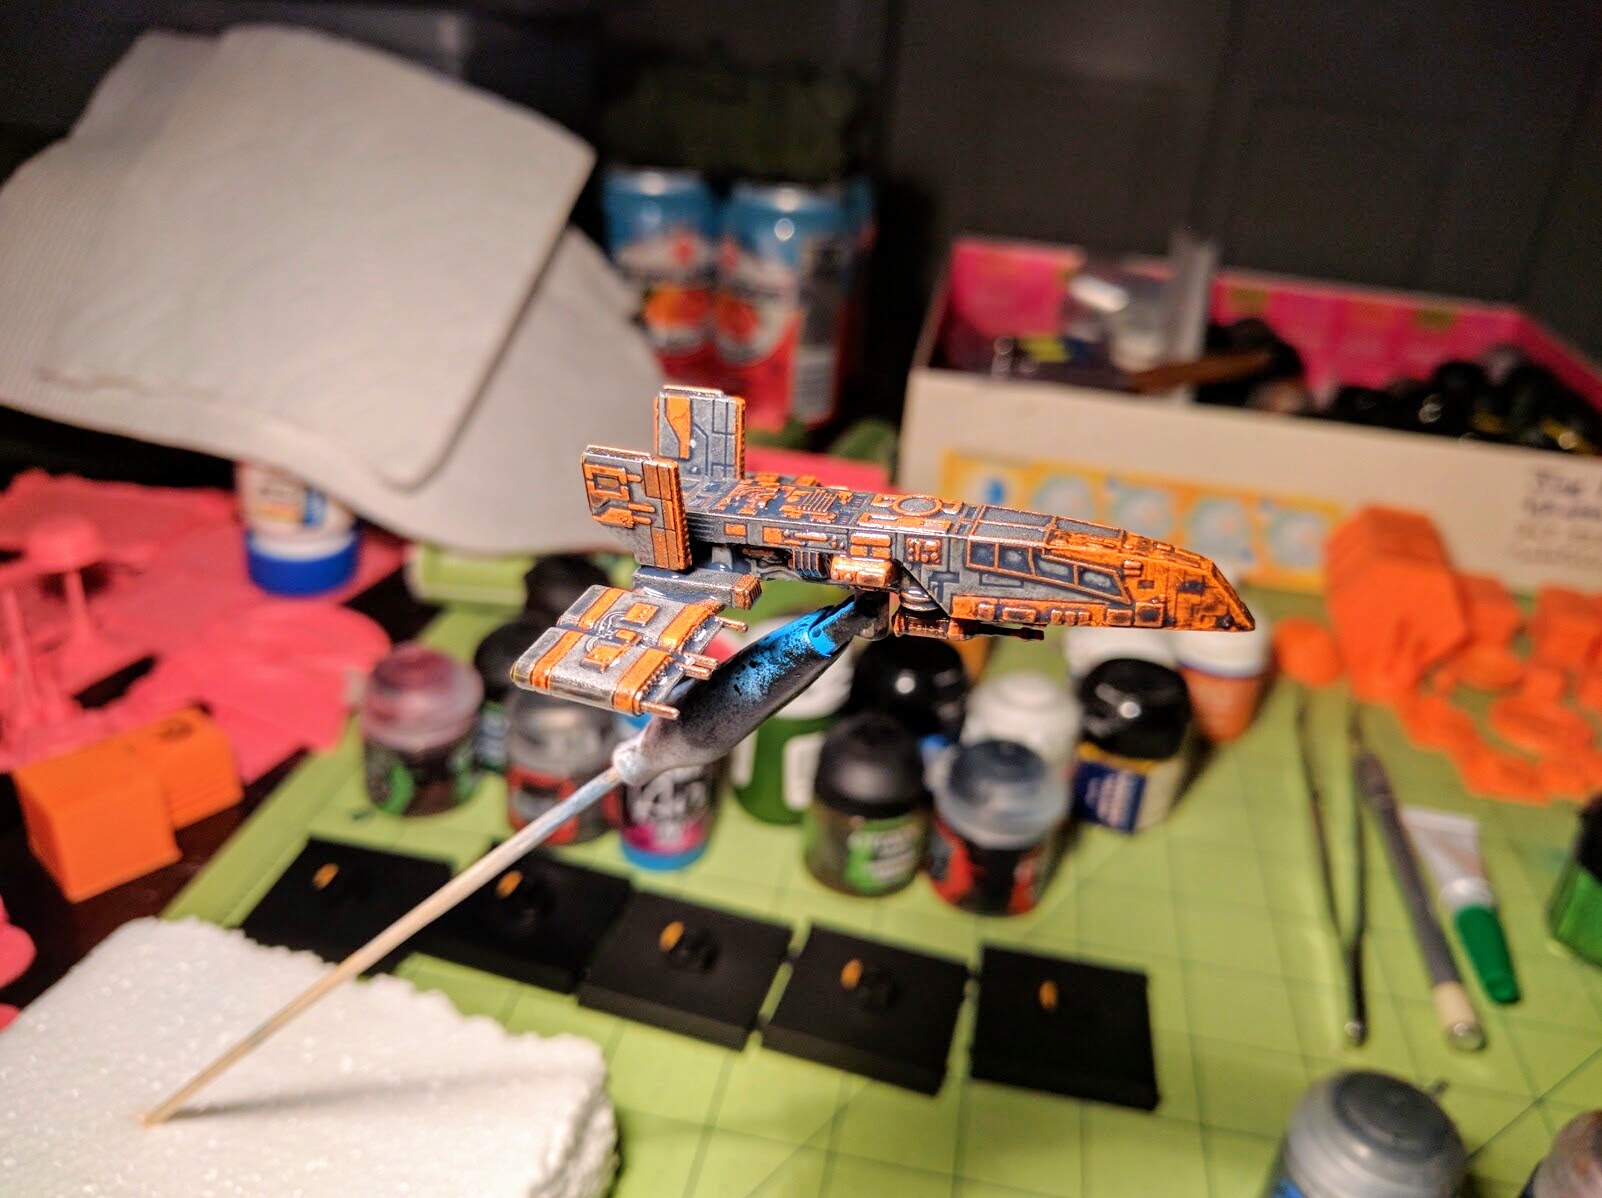
Next I painted some of the other plating, window frames, piping, and other details in brass. The rationale for this choice was that brass would contrast well with the grey base, but complement the orange sections. From a distance the orange and brass blend together, so the ship just looks grey and orange with some subtle texture to the latter. On closer inspection though, the mechanical details pop out in brass.

Details picked out in brass.

Wash

The next big step is just to wash everything. A lot of people default to almost always using a black wash. I encourage you to step back and think about that for a moment though before plunging in. Often a brown or a green will work better. For example, some DX-9 Stormtrooper Transports I also painted up recently for an narrative event came out fantastic after picking out some panels and details and then just doing a heavy brown wash. It gave exactly the worn, battle weary look I wanted, whereas the couple I did in a black wash for variety’s sake are also well shaded but don’t have the same kind of immediate natural, intuitive interpretation.

Note the brown wash on this DX-9 Stormtrooper Transport.

For the Spice Pirates though I went with a black wash. The ships and consequently their surfaces and panels are small so I was mostly going for simple shading rather than wear, corrosion, or some other natural interpretation. I knew the black would look good on the orange and brass but I wasn’t sure a brown would. I also wanted to bring the overall tone down and really darken the grey, which a brown wash wouldn’t do as much. The HWK in particular I wanted to be darker, with a feeling of being a black shadow supporting the squadron. After this photo it got several additional washes to visibly darken it more than the others but not lose the grey/orange scheme.

First black wash on the HWK.

Windows

At this point the ships already look good and are very flyable. But I did just a couple more details, starting with the windows. Here I added just a hint of another color by choosing purple. I thought that would work well because it contrasts with the orange and brass, and is dark enough to fit in with the grey and not create  a jumble of colors.

These I did quickly in three steps. First is a dark purple base. Then I lightened just a couple brushfuls of that by mixing in a white, and painted half the windows. You’re trying to create some vague notion of light on the surface, so apply this lighter color all in a consistent pattern on the different panels as though it were from light hitting from a particular angle. Then I lightened up that paint again with some more white and applied some purple-pinkish highlights in the corners. All of the window panels were then carefully covered with a dark purple wash to bring the colors back down and blend the three layers just a bit (not pictured).

Dark purple window base.

Lighter shade of purple.

Brighter purple window highlights.

Engine Glow

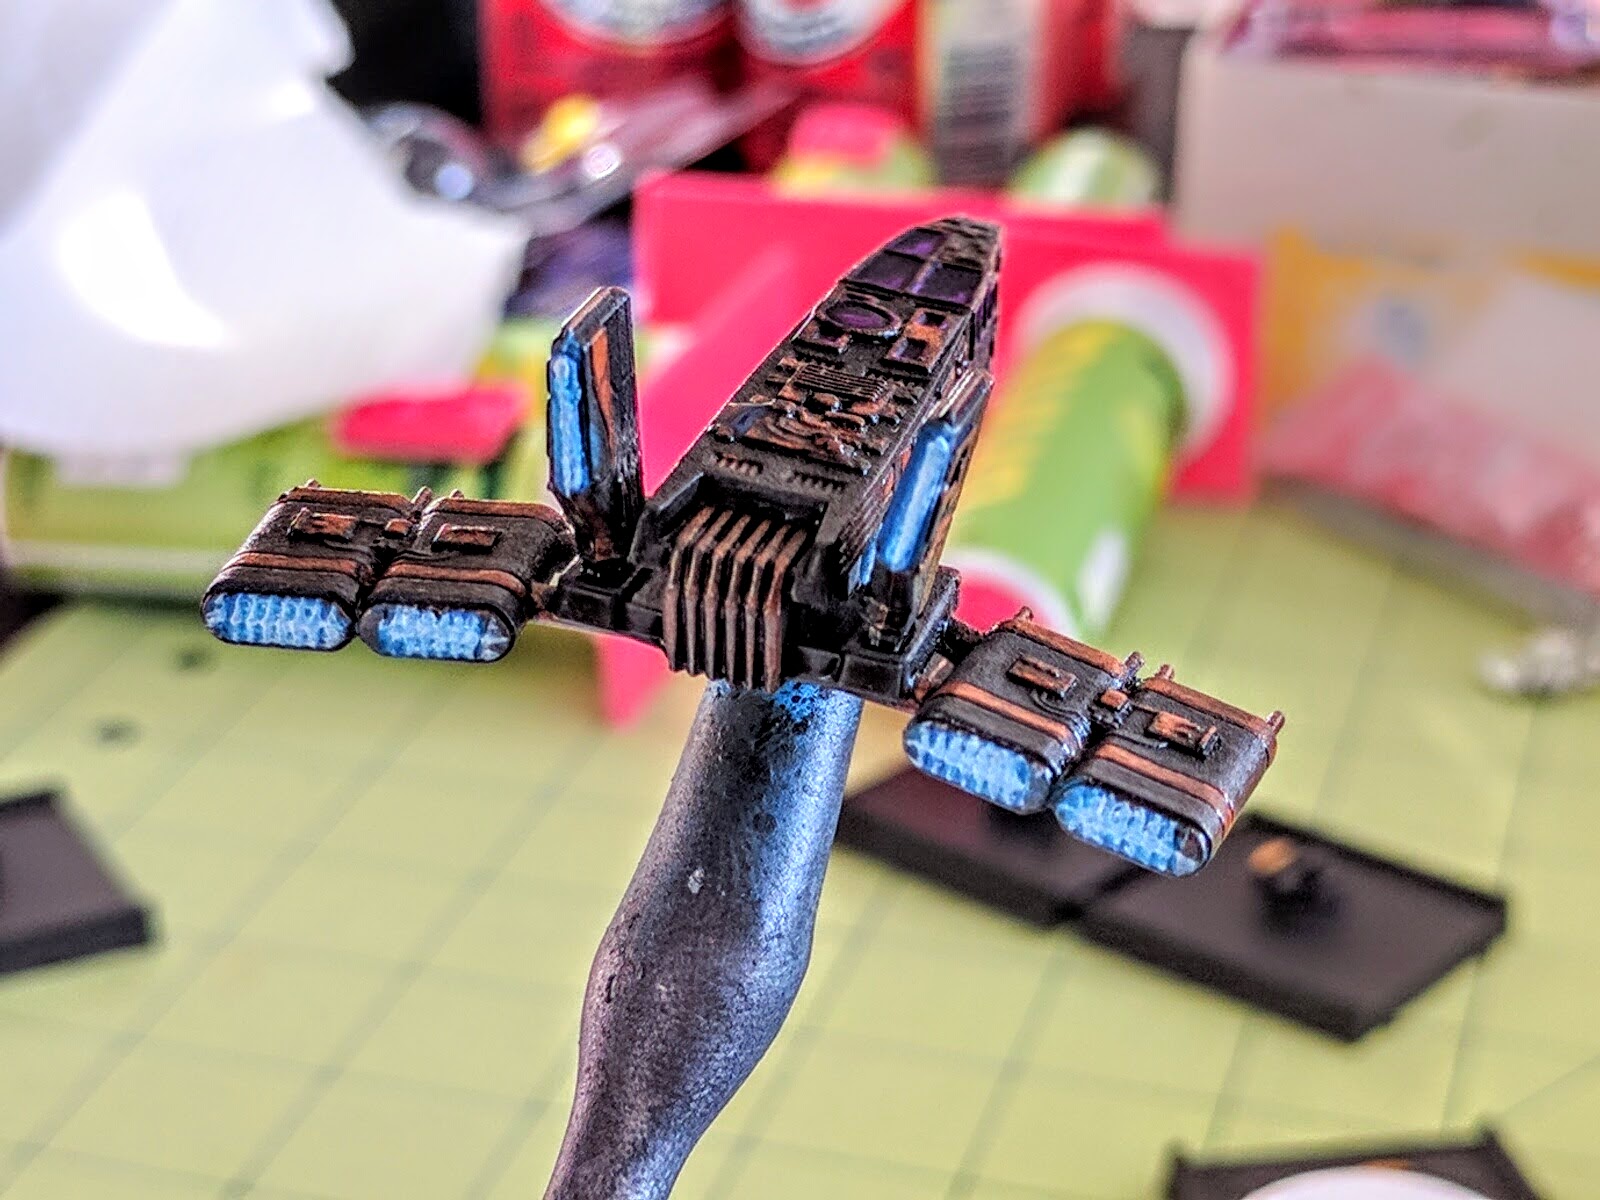
The next big detail is engine glow. Even a half competent job at this can bring a lot to the look of a ship, particularly in photographs. I start with a solid deep blue base over which I sloppily drybrush a brighter blue. I then brighten up a couple drops of that blue with some white and drybrush that in the centers. Finally the engines get washed in a blue to bring the colors back down a bit and re-emphasize any texture depth. You may not want to do that step if you want your engines to burn very brightly.

Starting the engines with a solid blue.

Drybrushing a bright blue.

Adding white-blue highlights.

Washing the engines with a dark blue.

It’s worth noting that I went way overboard, perhaps nonsensically so, with the engine glow on the Y-Wing. My conception, going along with not just Scum in general but the Unhinged Astromech in particular, is that this is a beat up old ship that’s been hot rodded. I assume they’ve got the engines chopped and tuned to get those green 3 maneuvers, prioritizing raw max power over efficiency and safety. So its engines are just spewing ions and magical Star Wars go-juice in a cloud behind the outlets.

Final Details

Wrapping up the painting are just a couple details. As I go through the steps of painting base colors, washing, etc., I make a line of paints on my work area as a to-do list of the different bits to be done and colors to use. For this project I started that while doing the black washes, as I was looking at the whole of each ship, so I wound up with a line of purple for the windows, blues for the engines, and then a few odds and ends. Some of those here are red for the missile heads on the Z-95 wings (I assume that’s what they are), green for the Y-Wing’s astromech, and black for the peg holders.

So far I have not blacked out the magnets. Mostly I just haven’t gotten to it yet, but I also think the paint will grind off very quickly. For the heavier or larger ships—the HWK in this squadron—a layer of paint might also be just enough to impair the attraction sufficiently to make them fall off the stand a bit more easily.

Paint line to-do list.

Everything drying after some additional washes and final touches.

Sealing

Last but not least, I seal everything with a matte spray dull coat. On a plastic miniature there’s not normally a great danger of paint being rubbed off, but in X-Wing the miniatures arguably get more handling than normal so it’s maybe more of a risk. Either way, the dull coat reduces the shinyness that washes in particular tend to create.

However, I also wanted the windows and engine glow to keep more of a sheen. So after the dull coat I used a brush-on gloss coat to make the windows shimmer just a little bit as the light plays across them, and the engines to pop a bit in photographs.

Color List

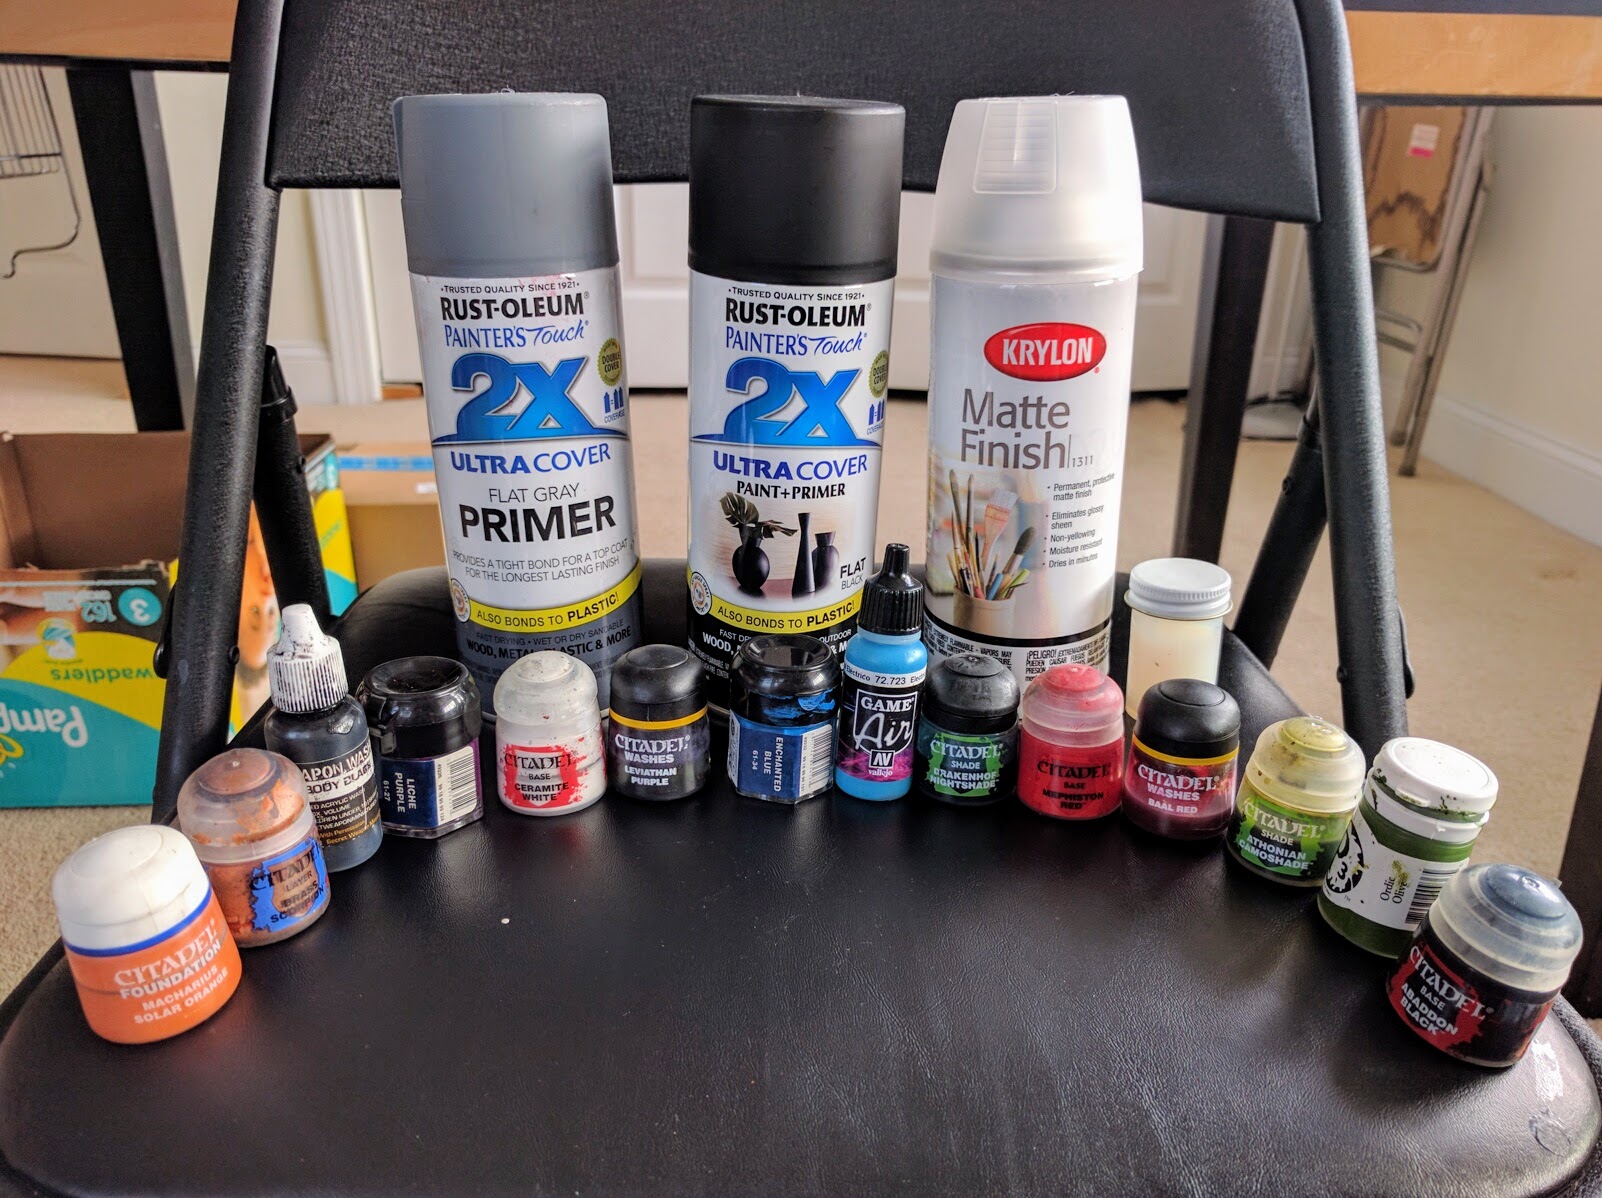
UPDATE: There was a request for the color list for this repaint, so here goes:

  • Bases & Pegs: Rust-Oleum 2x UltraCover Flat Black Primer (spray)
  • Ship Primer/Base: Rust-Oleum 2x UltraCover Flat Gray Primer (spray)
  • Hulls—
    • Panels: GW/Citadel Macharius Solar Orange
    • Mechanical Details: GW/Citadel Brass Scorpion
    • Wash: Secret Weapon Soft Body Black Wash
  • Windows—
    • Base: GW/Citadel Liche Purple
    • Mid-Layer: Base mixed with GW/Citadel Ceramite White
    • Highlight: Mid-Layer mixed with GW/Citadel Ceramite White
    • Wash: GW/Citadel Leviathan Purple
  • Engines—
    • Base: GW/Citadel Enchanted Blue
    • Mid-Layer: Vallejo Game Air Electric Blue (drybrushed on, despite being airbrush paint)
    • Highlight: Mid-Layer mixed with GW/Citadel Ceramite White
    • Wash: GW/Citadel Drakenhoff Nightshade
  • Details—
    • Missile Seekers: GW/Citadel Mephiston Red washed with GW/Citadel Baal Red
    • Astromech: P3 Ordic Olive washed with GW/Citadel Athonian Camoshade
    • Peg Inserts: GW/Citadel Abaddon Black
  • Sealant—
    • Dull Coat: Krylon Matte Finish
    • Gloss Coat (windows+engines): Some unbranded brush-on stuff from a model kit that’s been kicking around in my paints box for over a decade now—hallelujah it didn’t ruin the models!

A lot of those are older paints; my Liche Purple and Enchanted Blue pots are over 10 years old. So some of the specific names may not be available anymore. But these are all basic colors, easily found. I also stress that you could easily get by with many many fewer colors. Do the mechanical details in orange instead of brass, do both windows and engines in blue or purple and just mix the engine colors with more white, etc.. You could get great looking ships with just primer, base color, engines, wash.

All of the paint & sealants used in this repaint, many more than are really necessary!

Action

That’s it! It might seem like a bunch of steps, but they’re all small and quick. I did the blacking and priming late one night and then did everything else in the morning before anybody else got up, so it’s not a very time consuming process. Wrapping up, these are a few action shots from a game with my buddy Matt to show how they look on the tabletop. I hope you enjoy the look, and got something out of this tutorial!

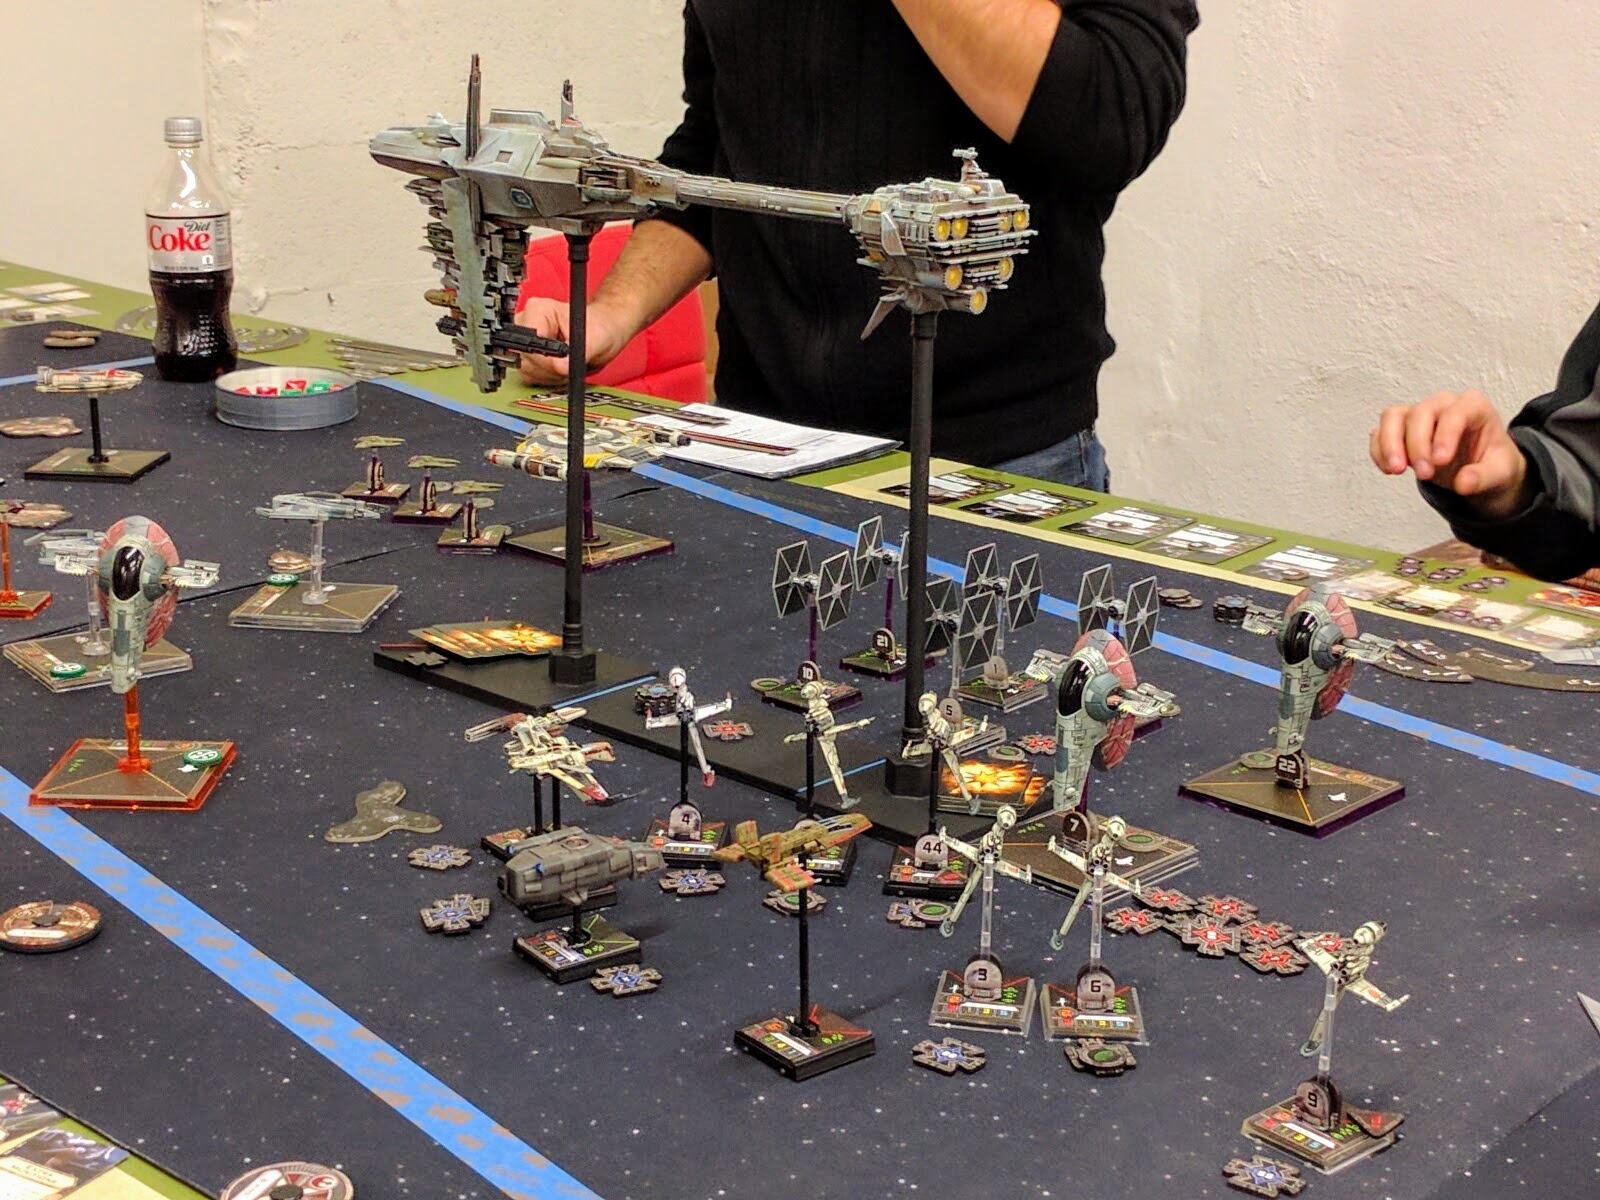
First Playthrough: The Molokh Gambit X-Wing Narrative

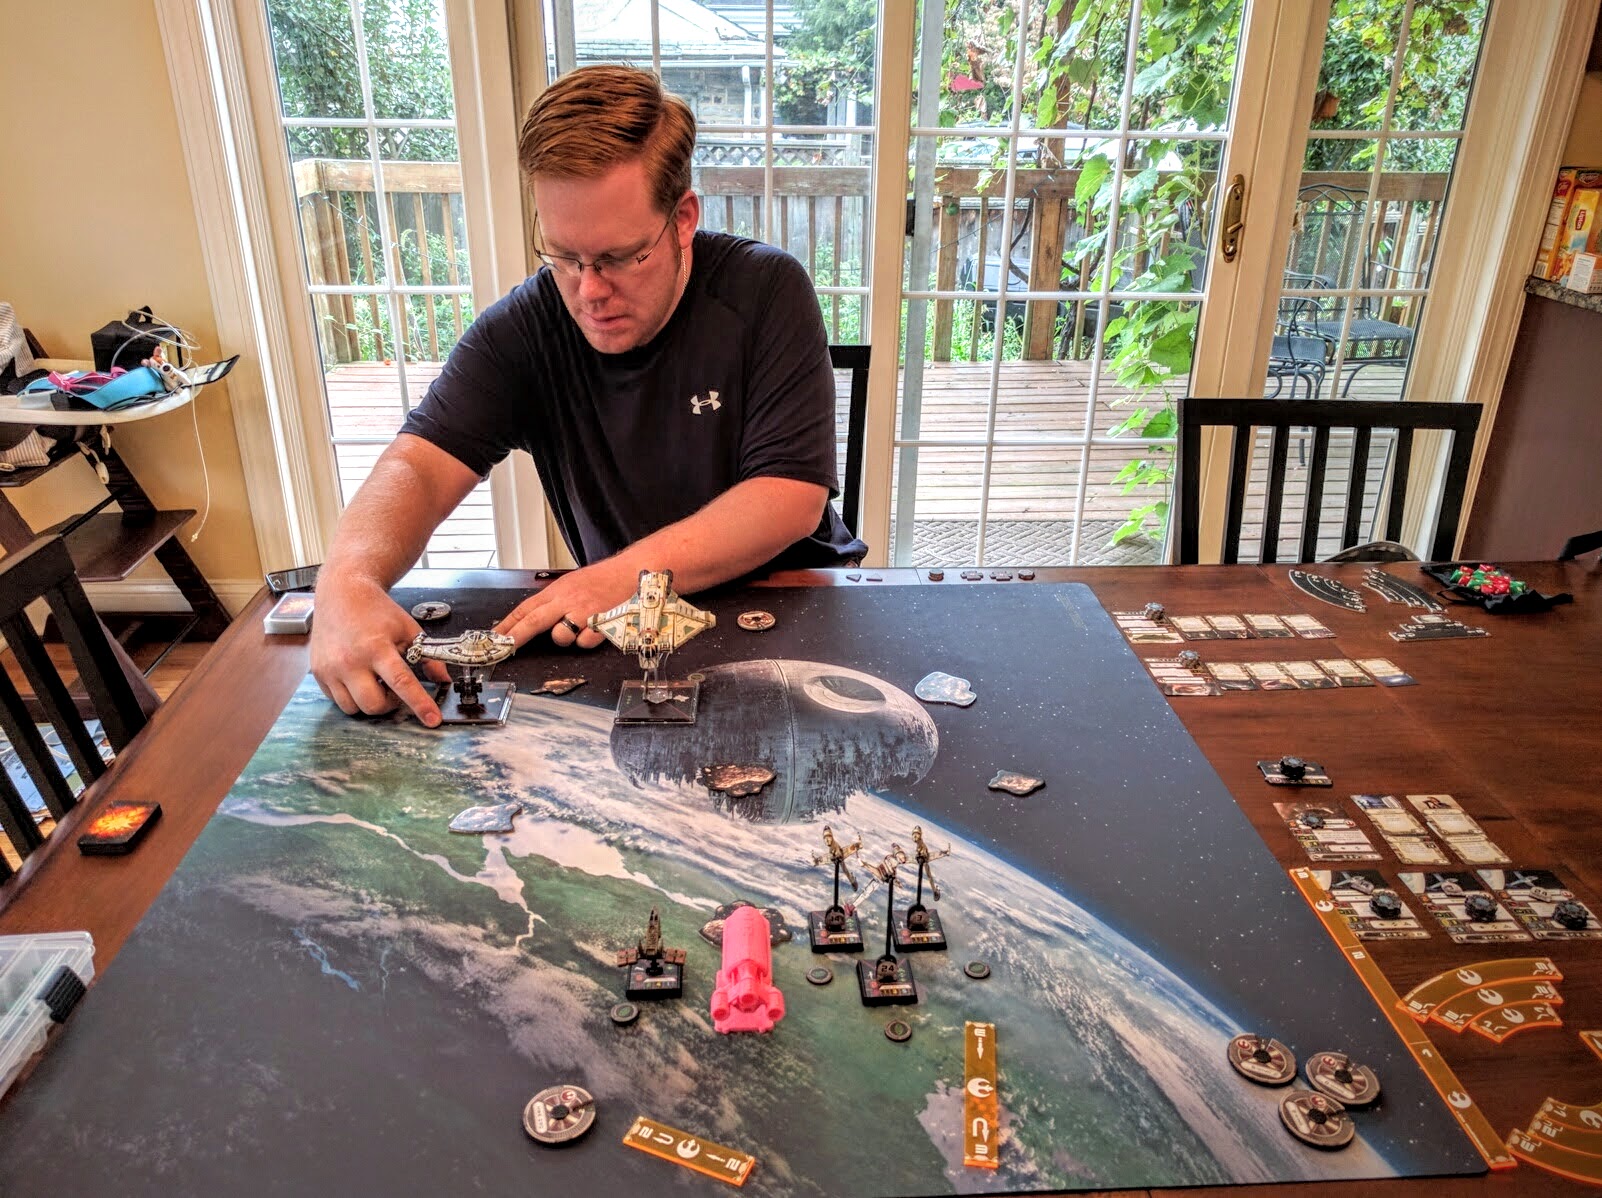
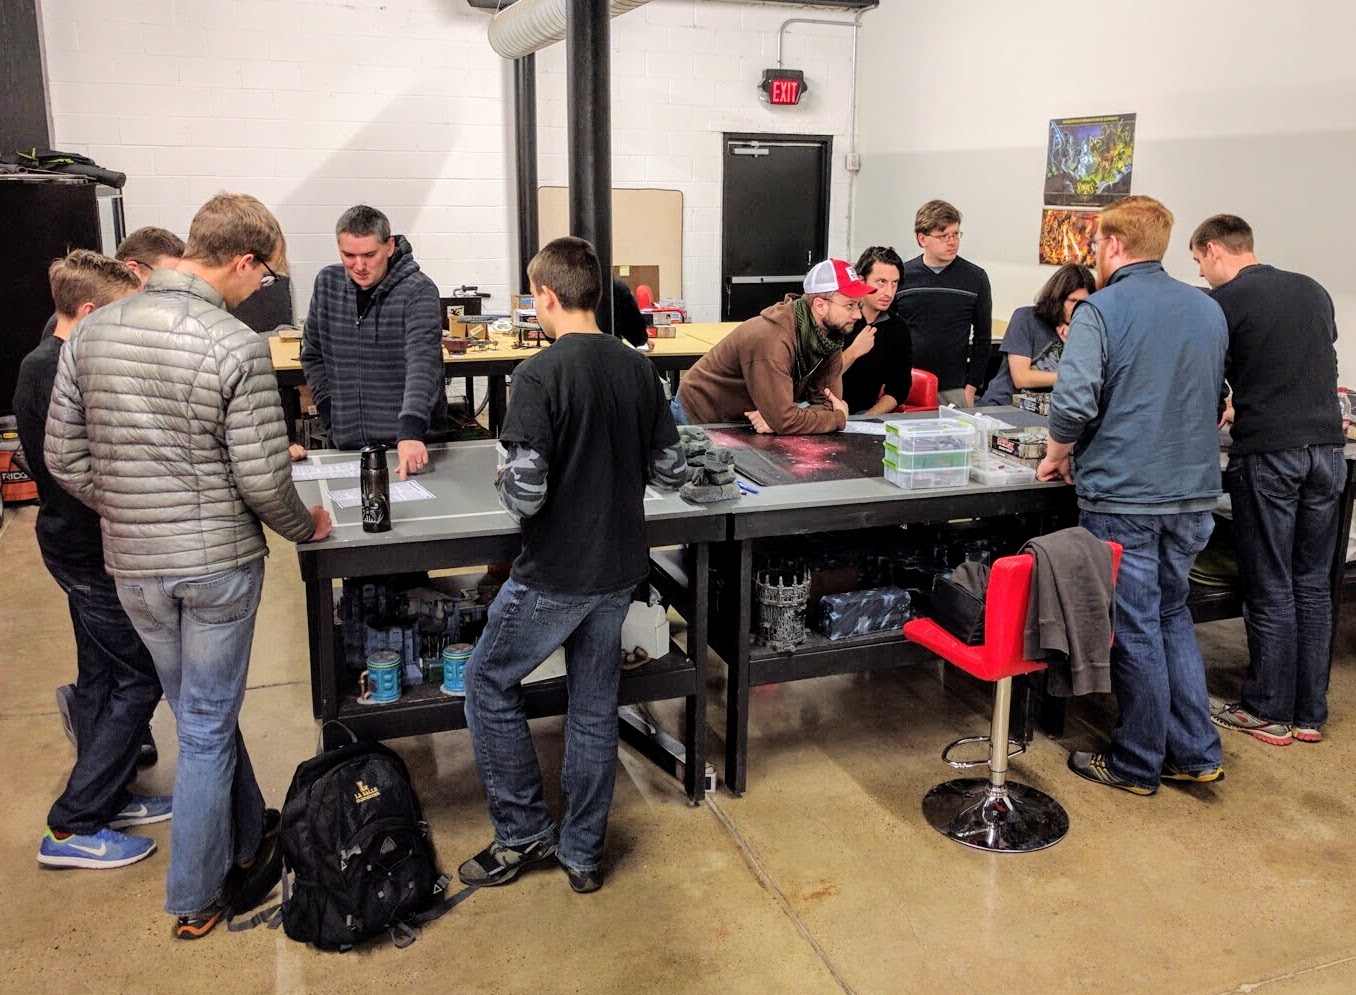
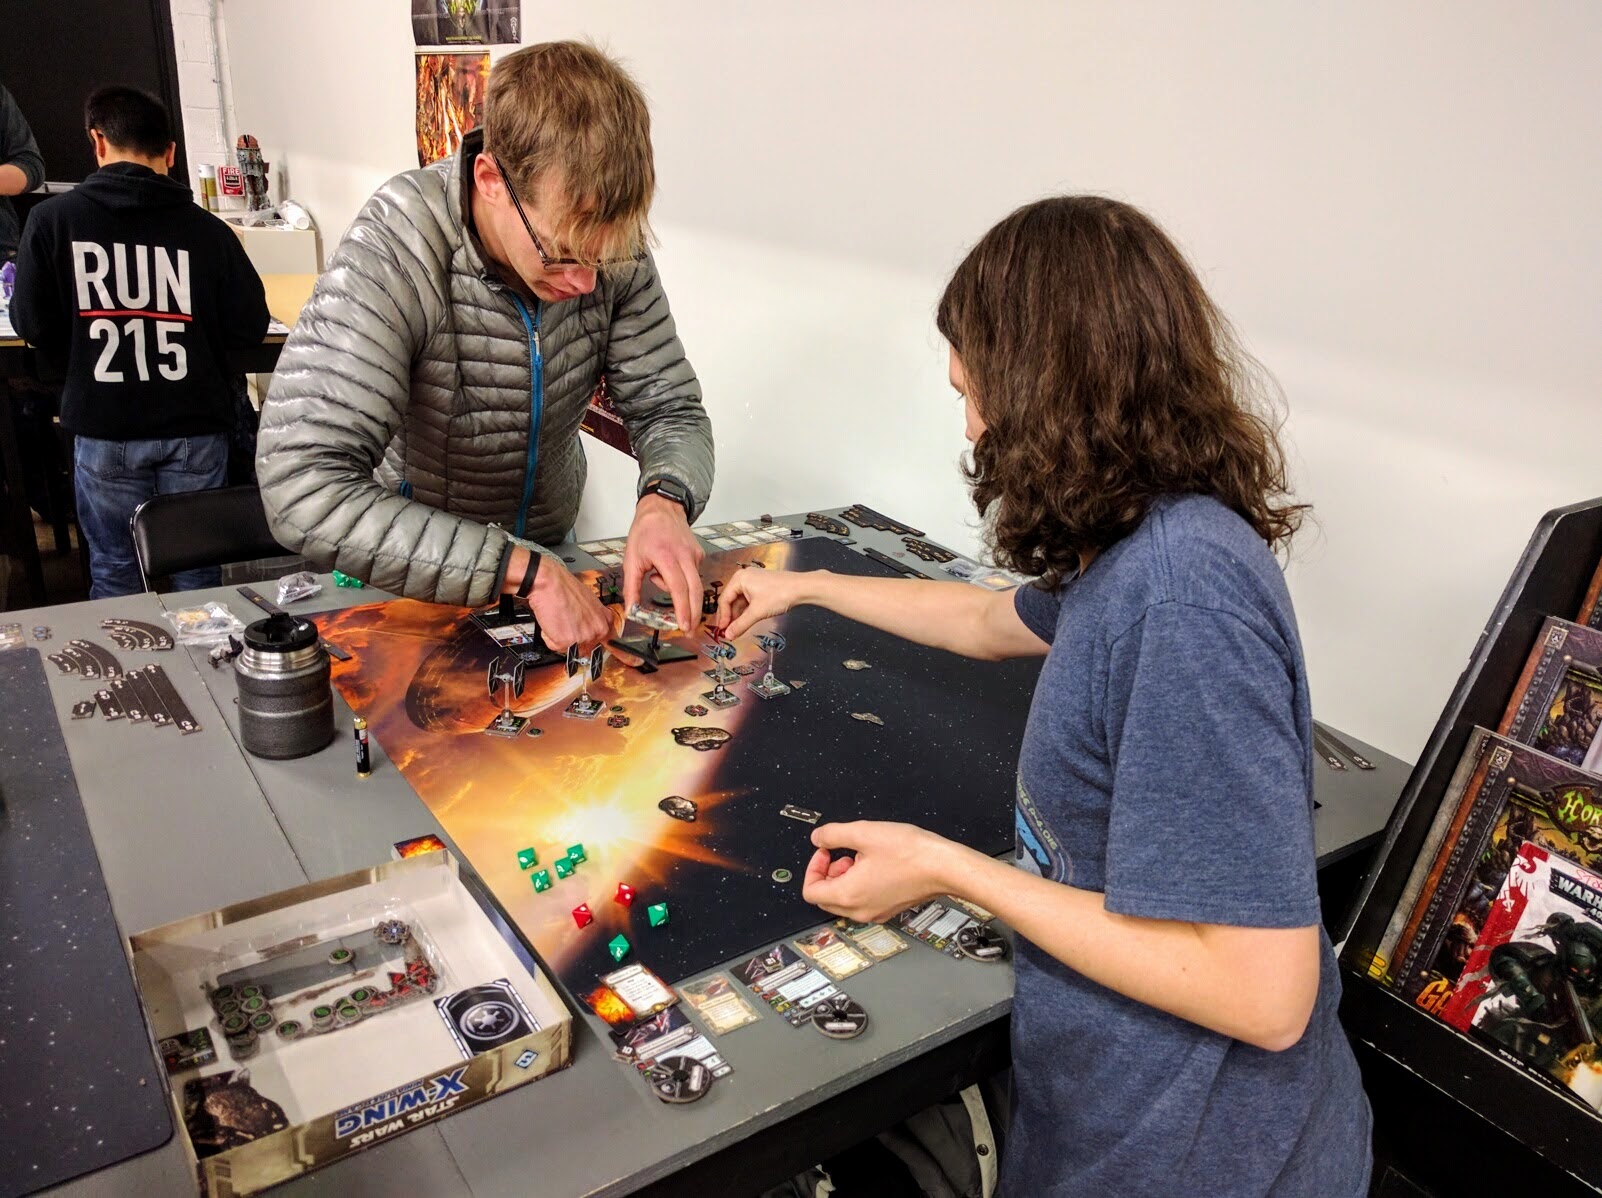
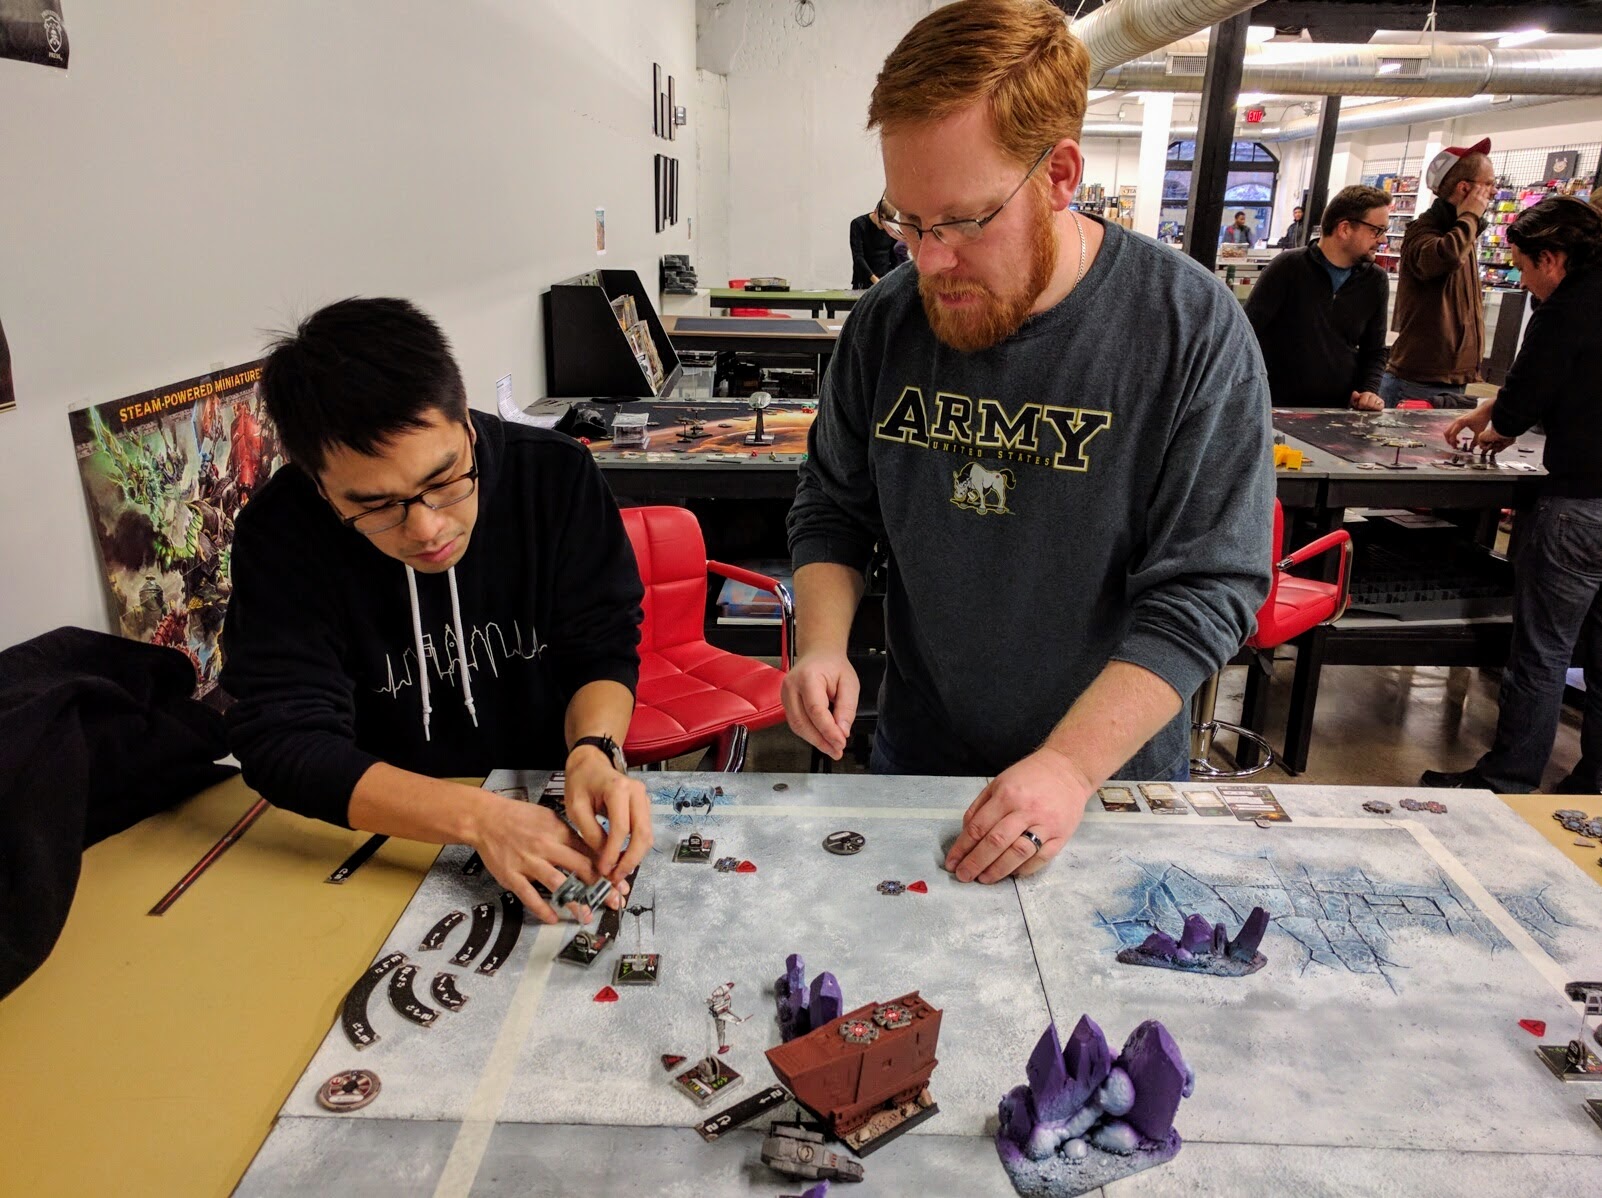
Saturday PAGE hosted its first X-Wing event: We did our first full playthrough of The Molokh Gambit, a new lightweight narrative campaign for X-Wing. Fourteen people played, twelve in the missions and six in the concluding epic battle, graciously hosted as usual by Redcap’s Corner in West Philly. This is a quick recap to post some photos and introduce the campaign. In the next couple weeks we’ll be cleaning up the packet, collating links to all the necessary supporting materials (ships, cards, dials, etc), and posting it for the public much like my other unofficial game supplements for 40k.

Many more photos than those here are in the Flickr gallery.

Prep

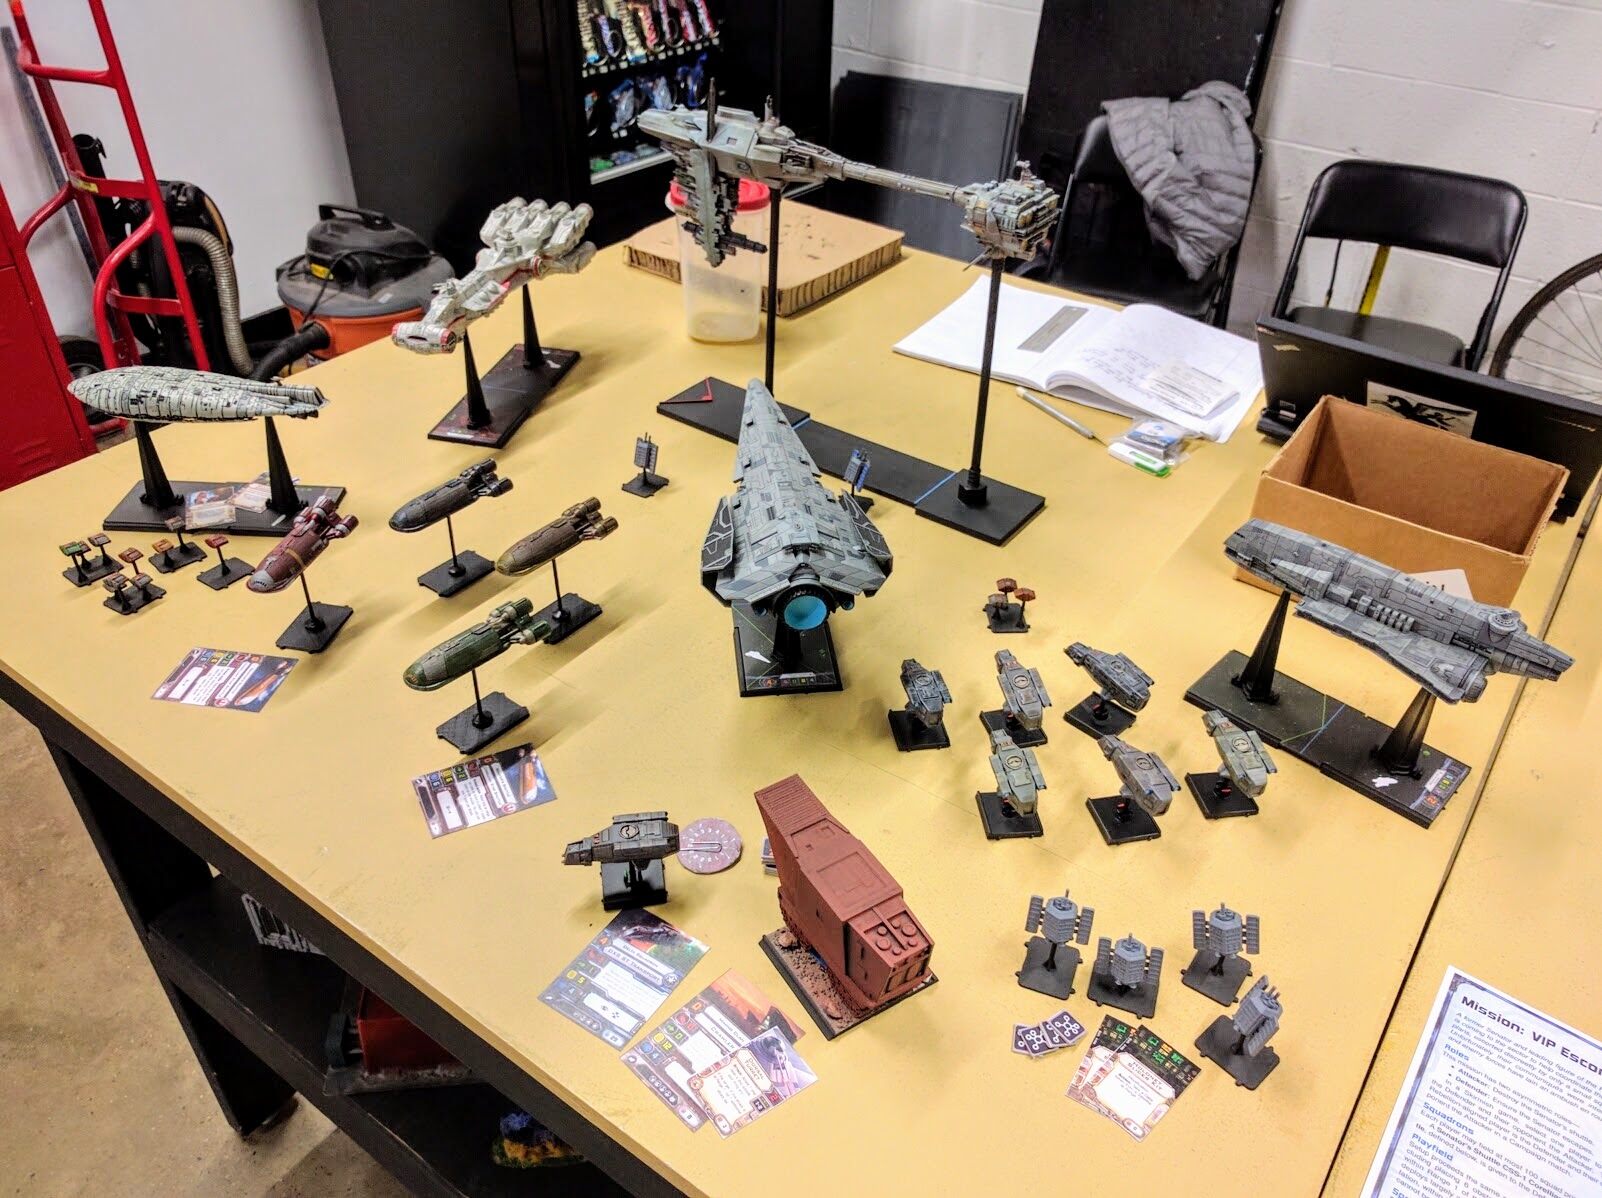
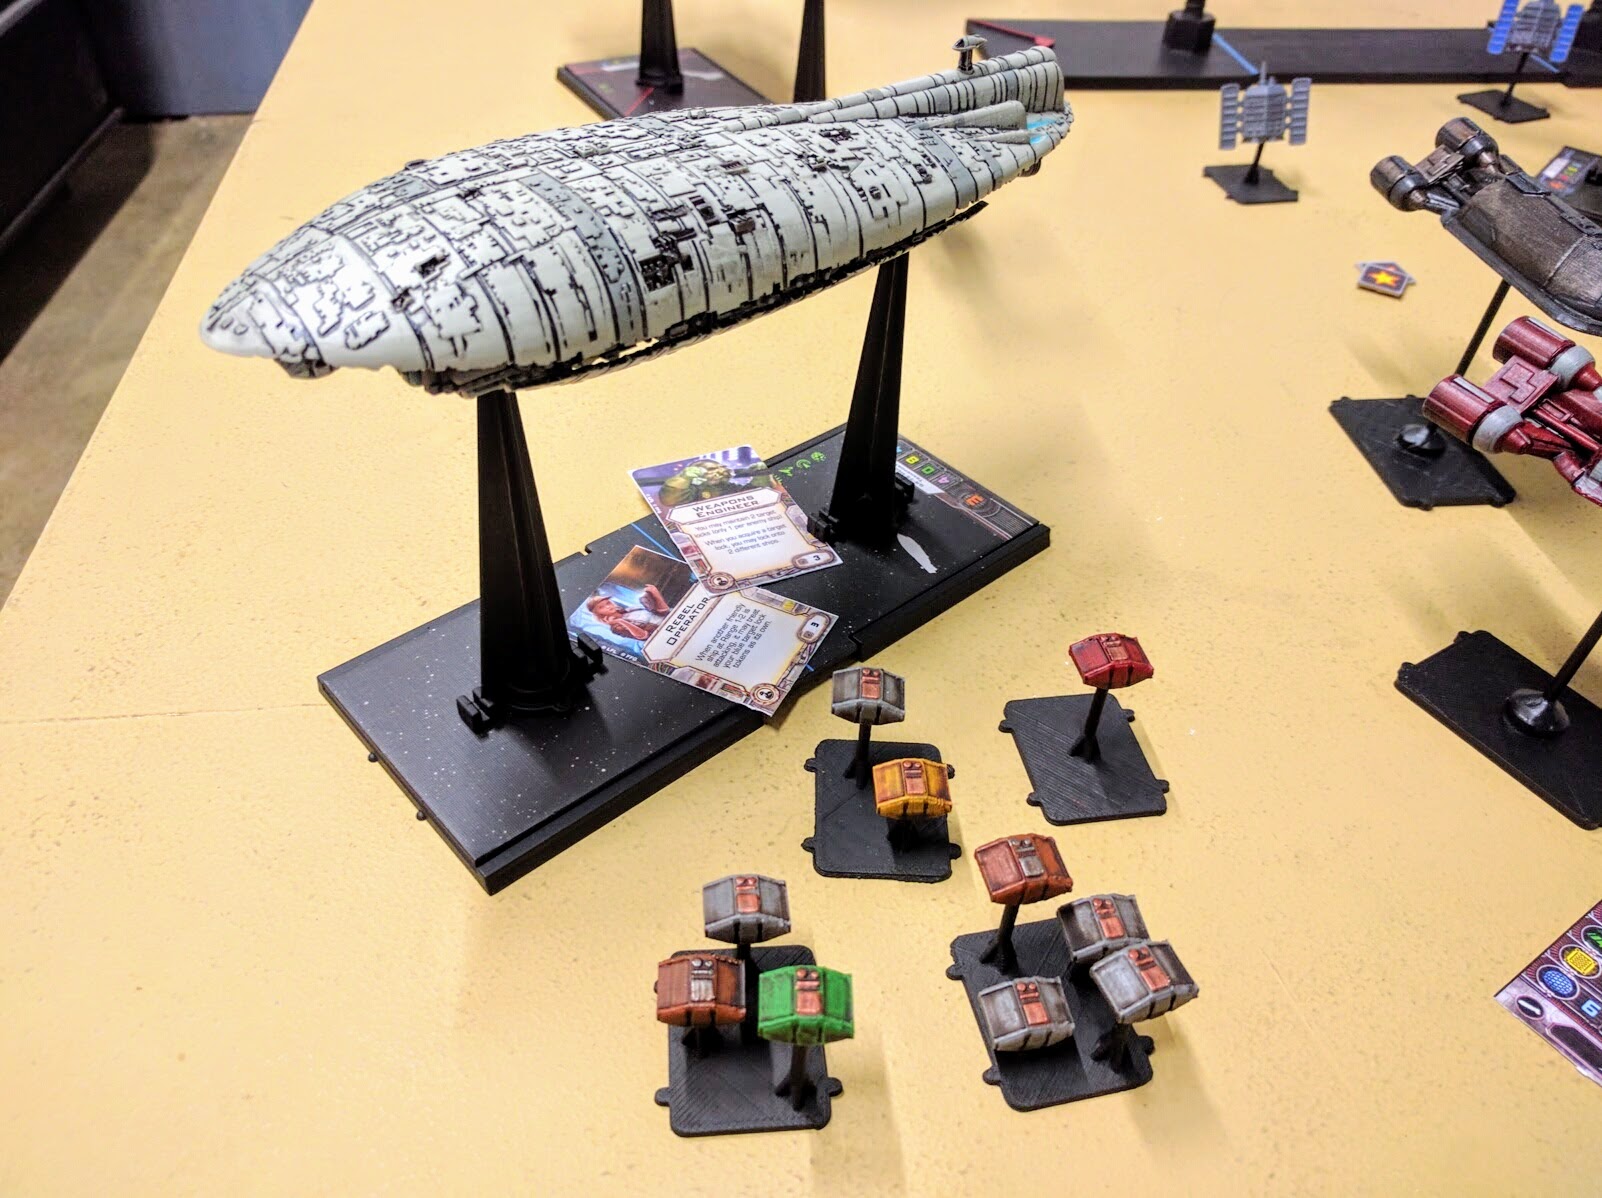
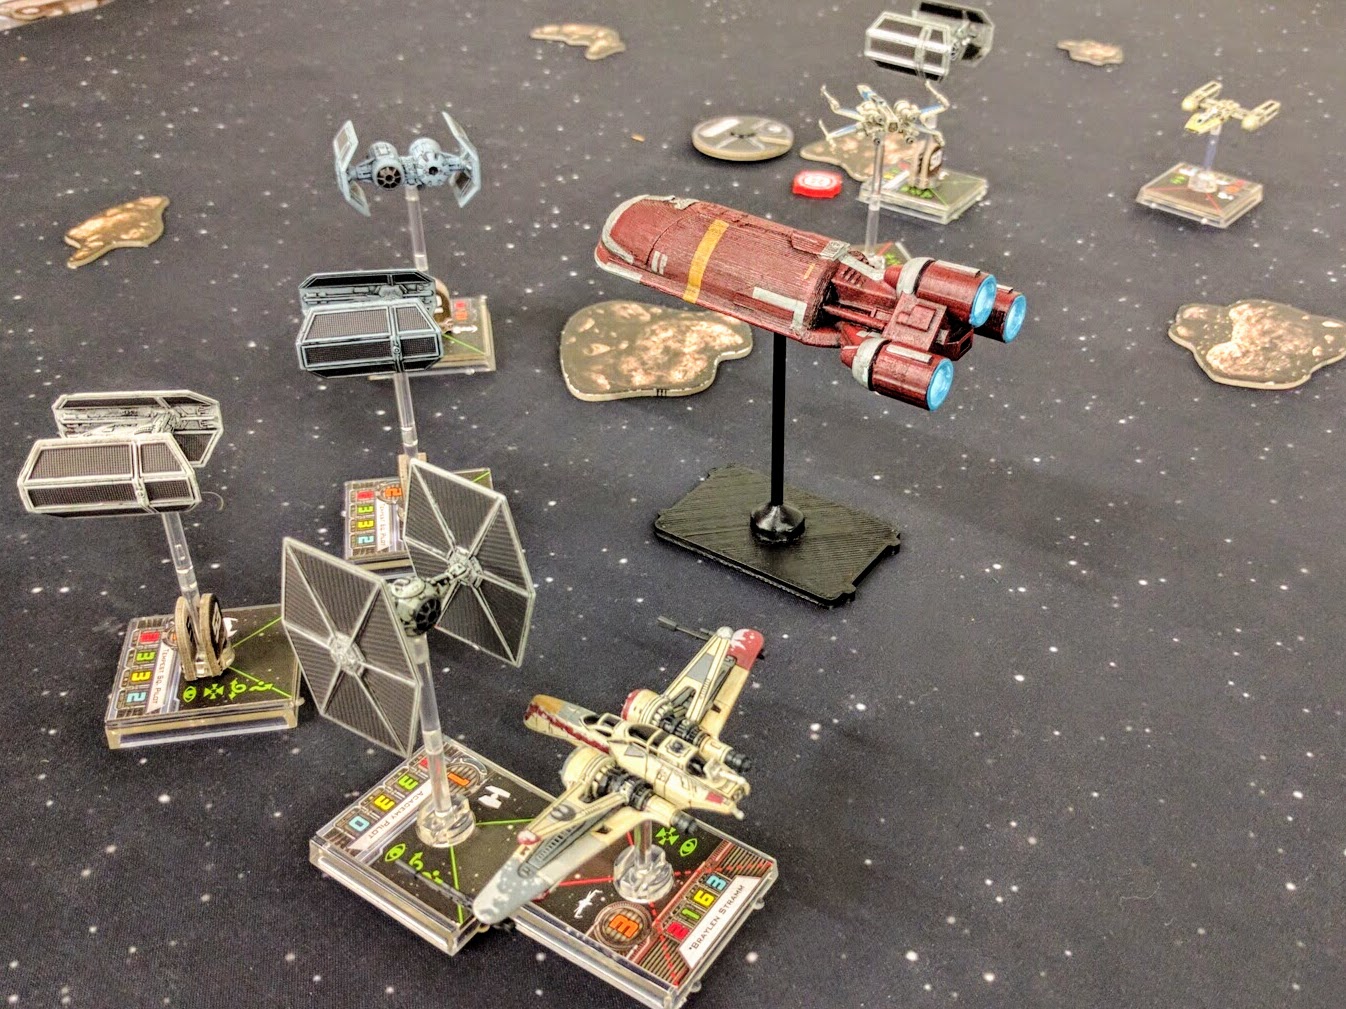
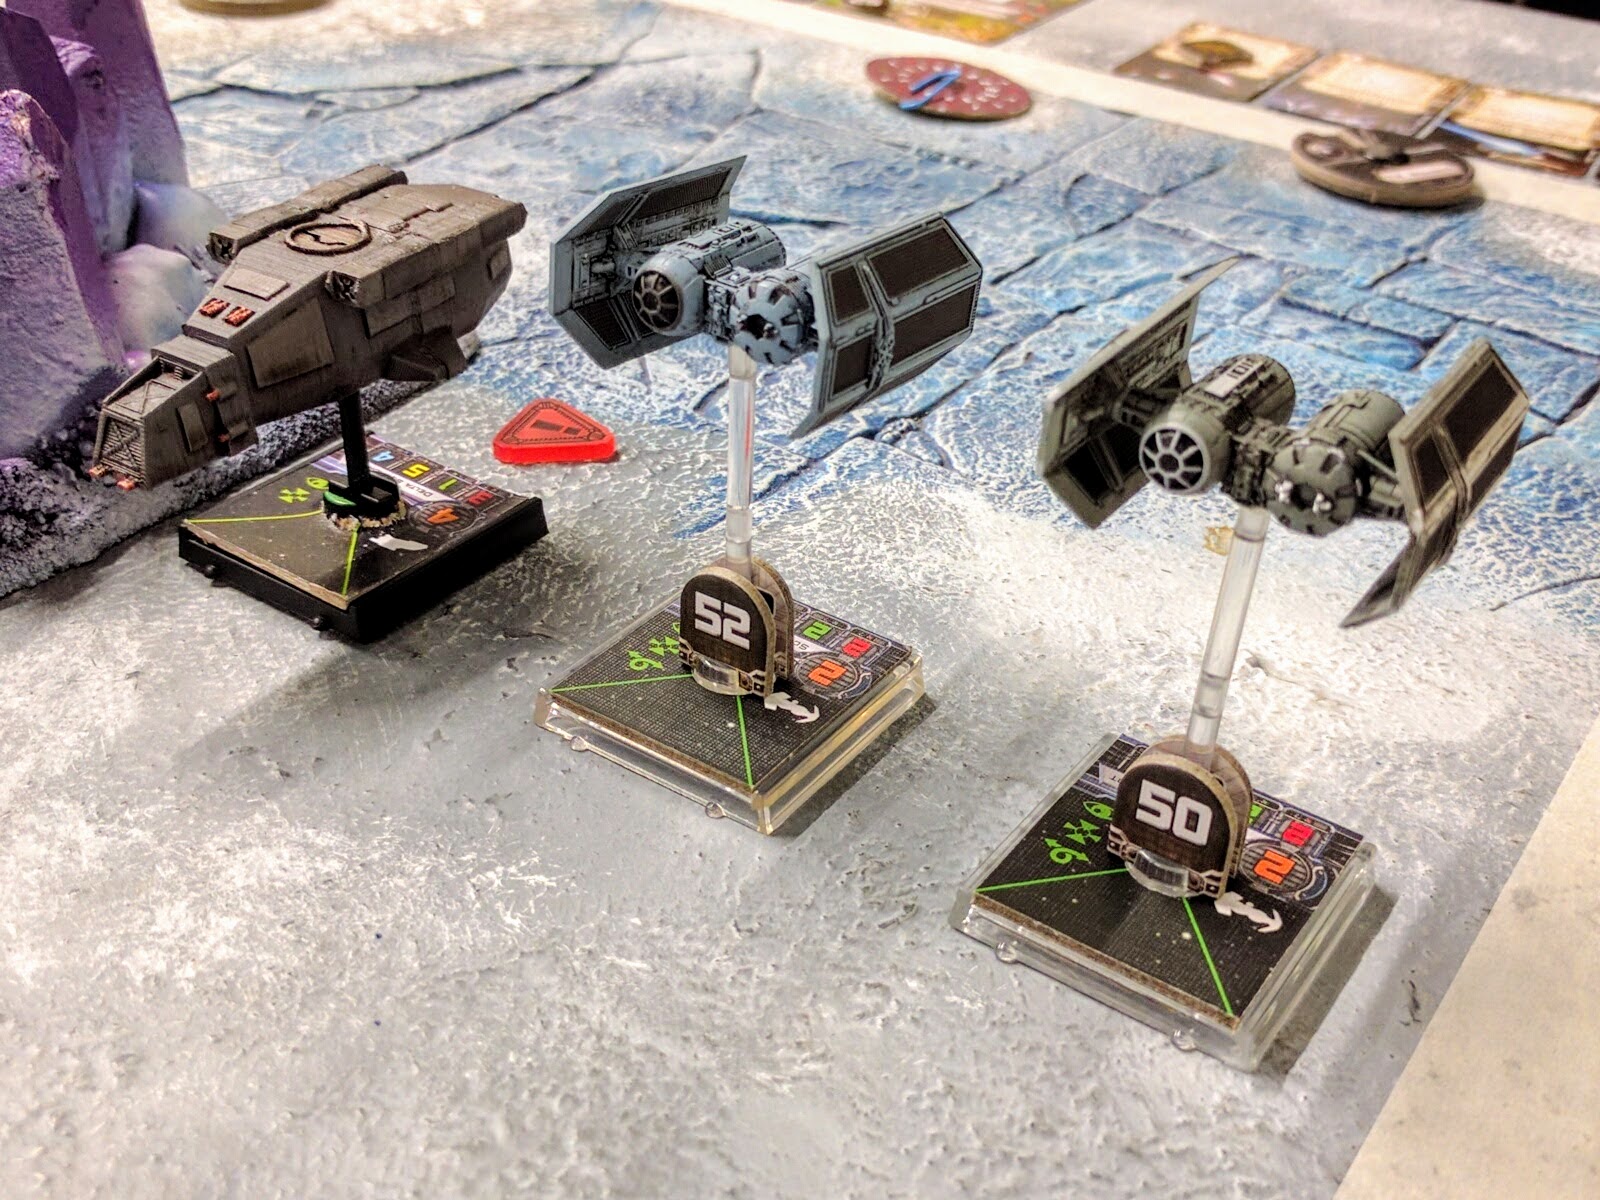
The campaign is built around a mess of toys, including Senator’s Shuttles, Cargo Pods, Crawlers, Stormtrooper Transports, Satellites, a whole bunch of custom tokens and cards to go with them, a collection of official huge ships, and a giant Nebulon B frigate.

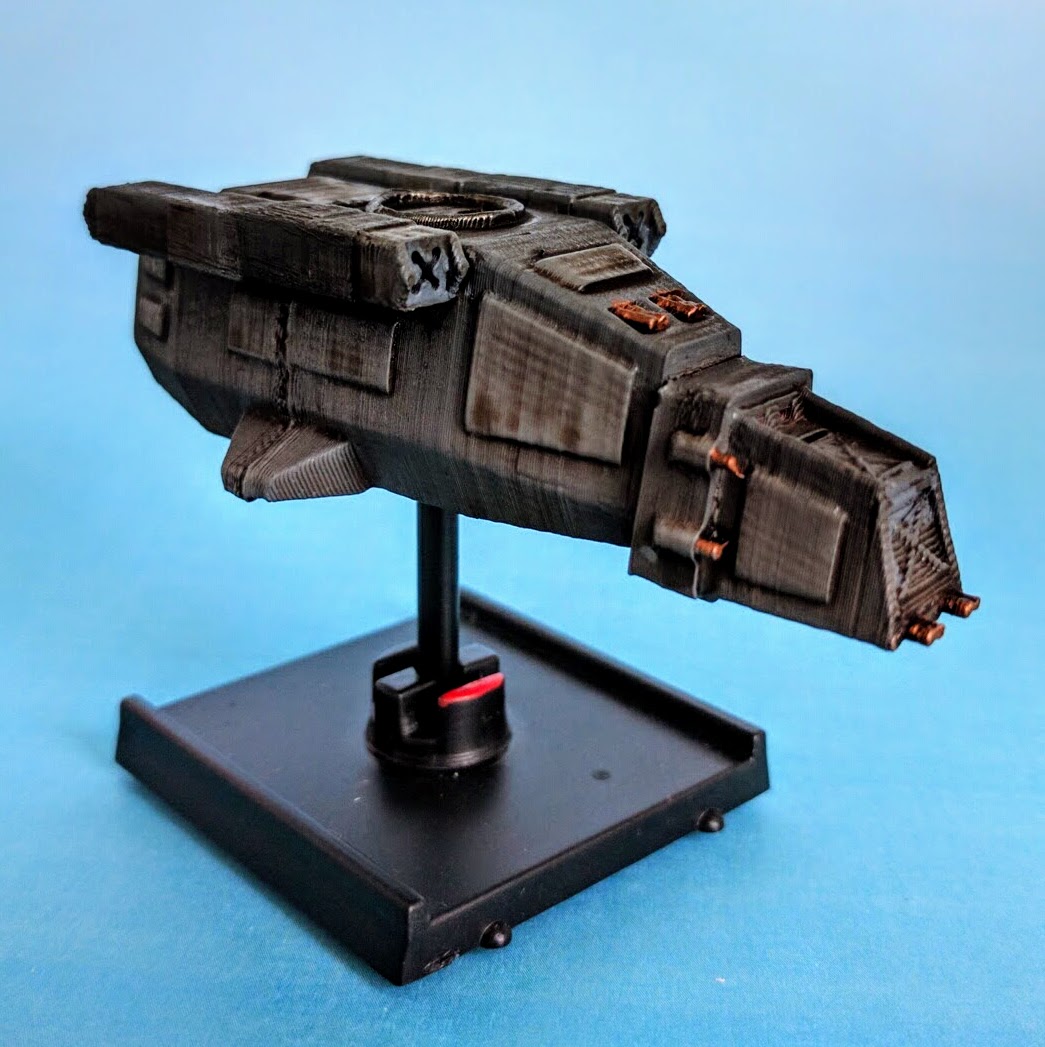
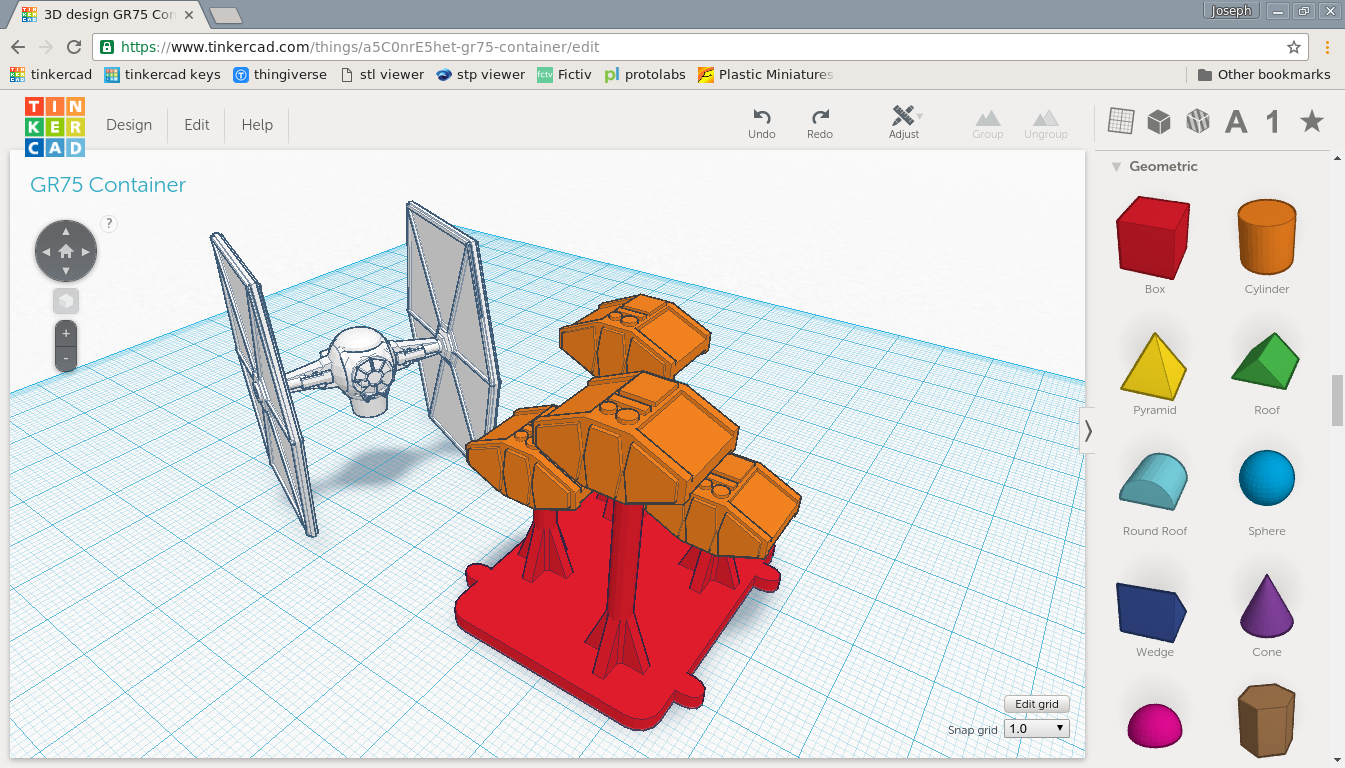
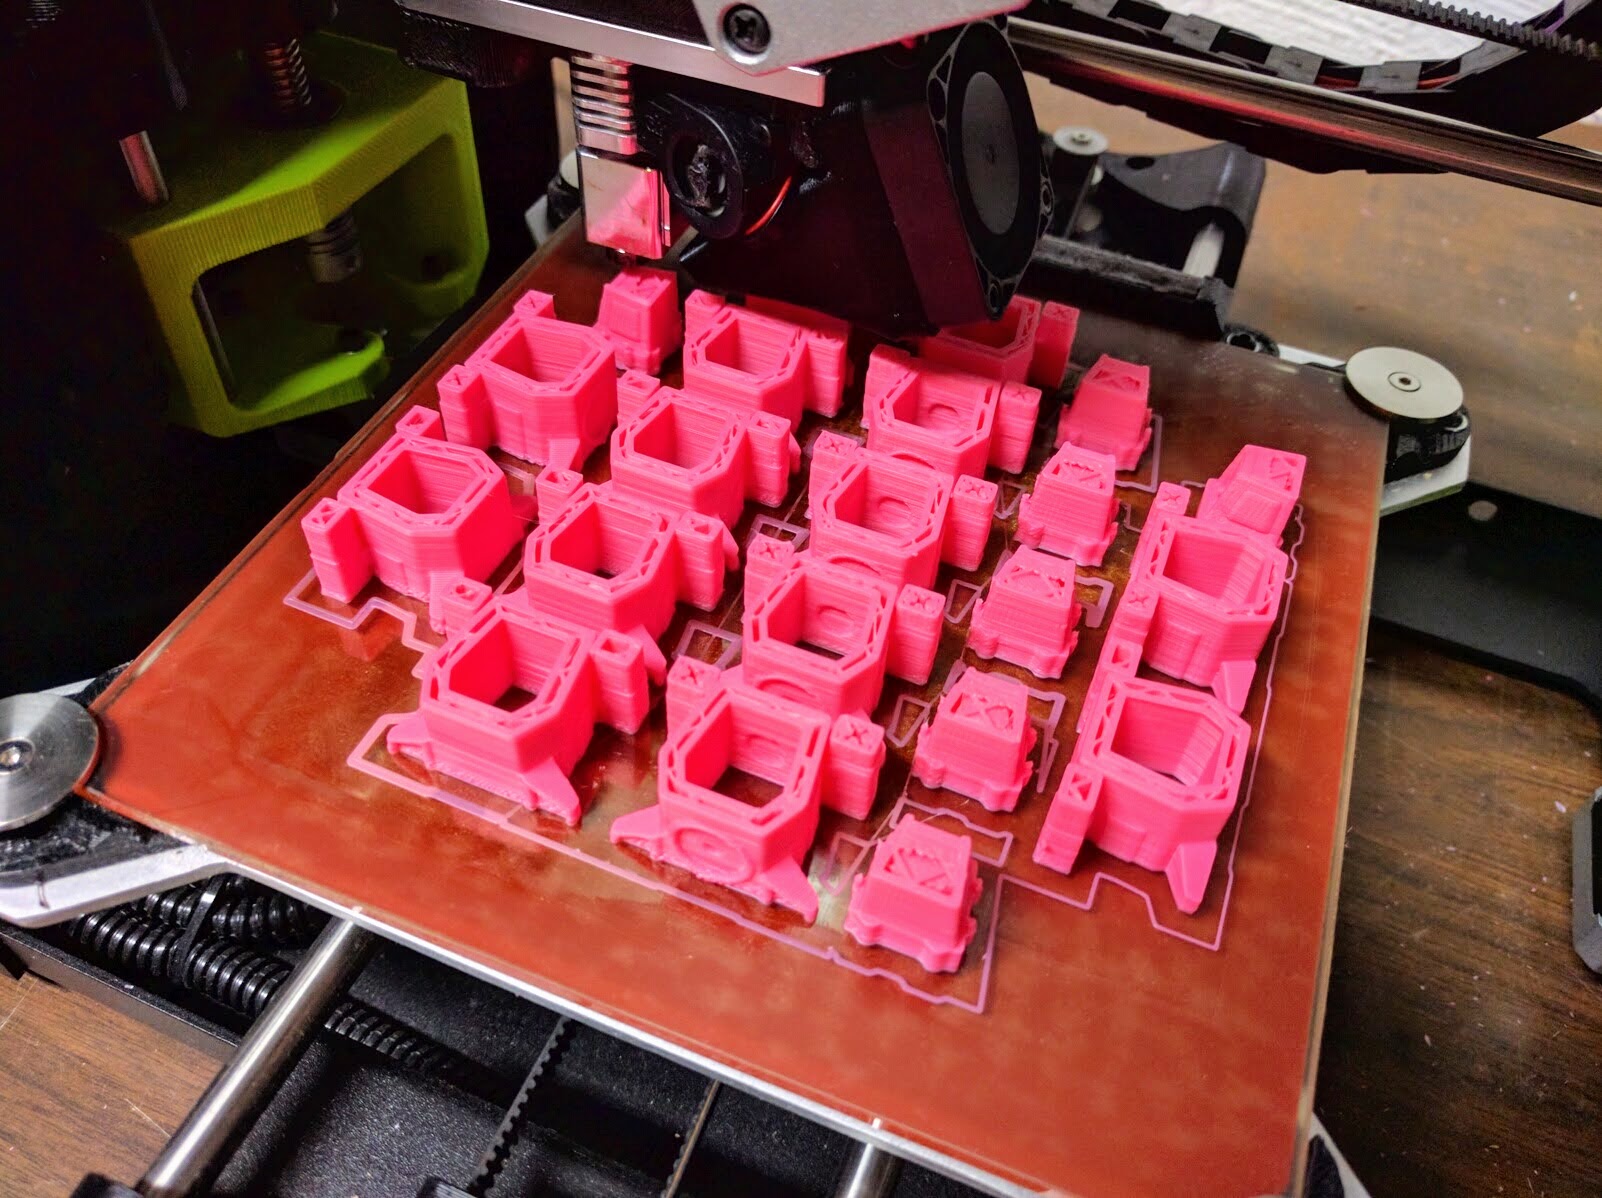
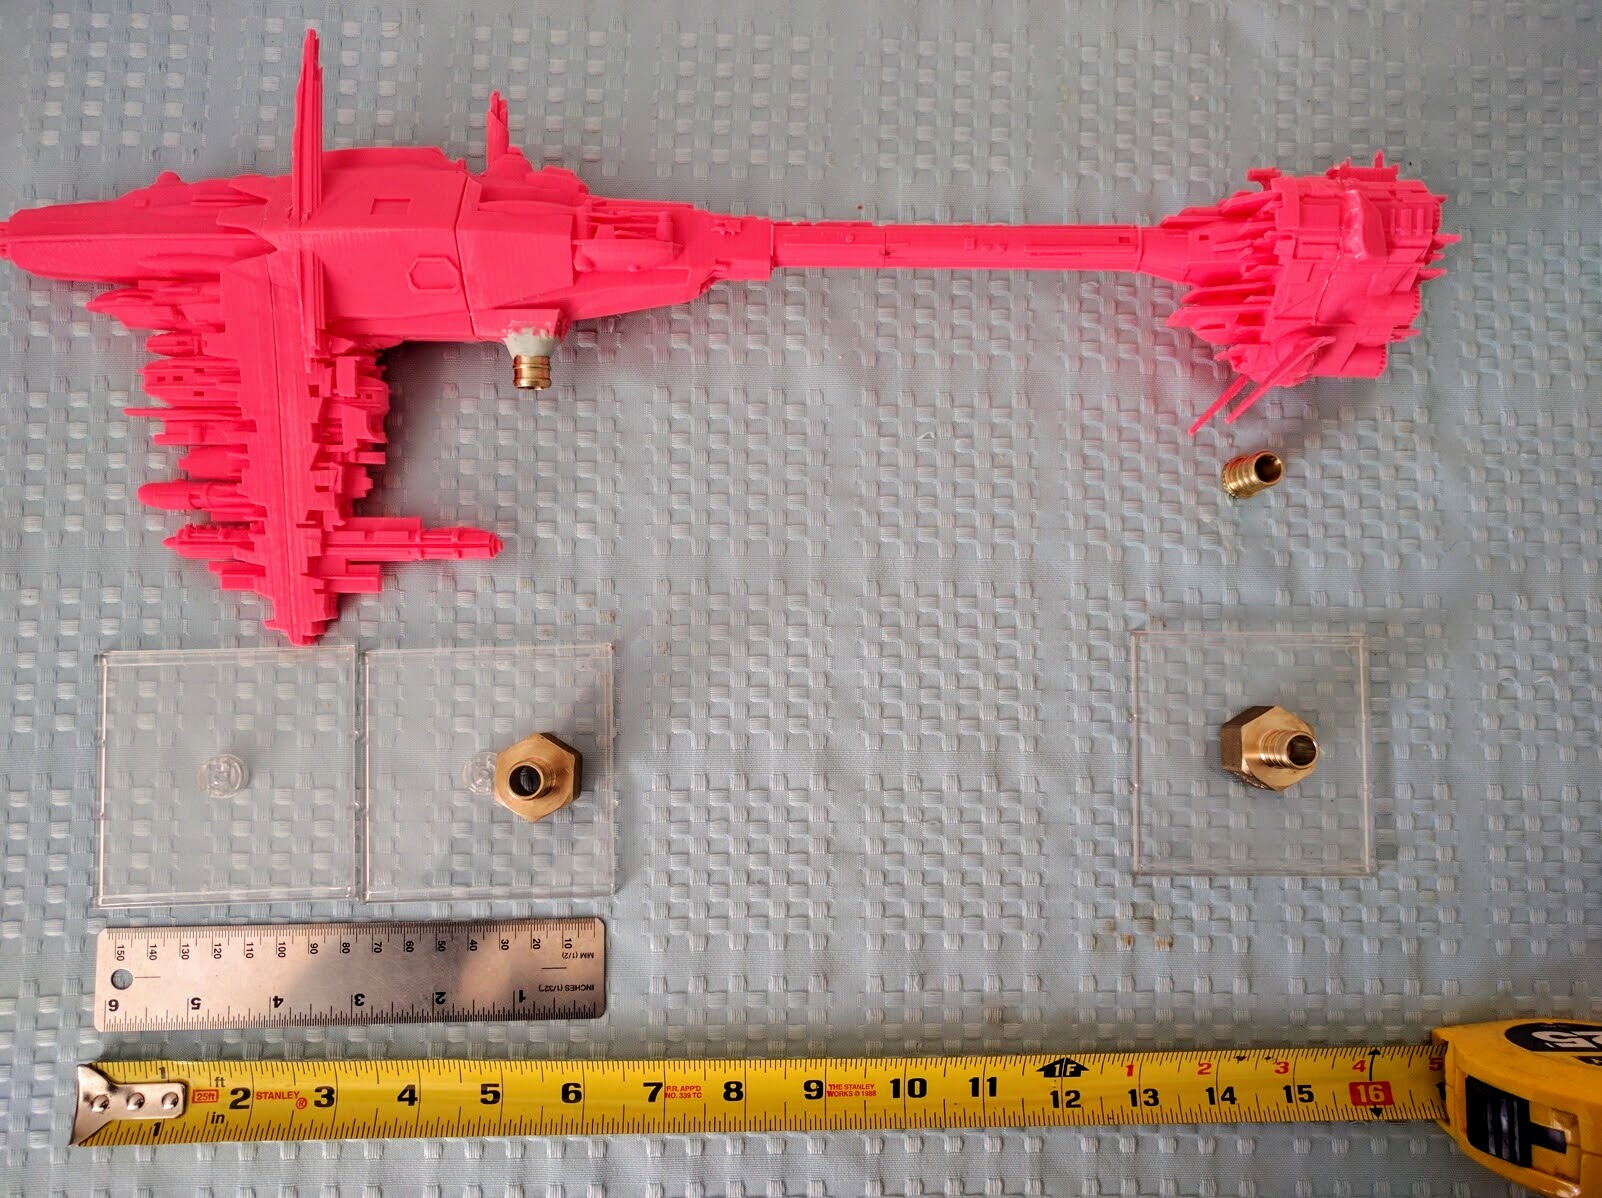
My buddy Matt and I 3D printed and painted boxes and boxes of the unofficial models, some of which I designed and some I downloaded and edited to print better, assemble easier, or be in a more useful scale. For those interested but completely unfamiliar, I have previously written a general introduction to 3d printing in the context of wargaming. A step beyond that, recently I posted a detailed tutorial on modeling & printing, using GR-75 Cargo Pods I created for this campaign as the exemplar. Again, when we finalize the packet shortly we’ll post a full manifest of resources for those with and without access to a 3D printer to produce the models or counters for them, all the tokens and cards, etc..

UPDATE: There is a growing collection of links here to resources for getting or making the various components needed.

Many more photos of various stages of printing and assembly are in the gallery.

Modeling the Cargo Pods.

Modeling the Cargo Pods.

Colin playtesting the VIP Escort mission.

Colin playtesting the VIP Escort mission.

Printing a fleet of DX-9 Stormtrooper Transports.

Printing a fleet of DX-9 Stormtrooper Transports.

Working out mounts and a base for the frigate.

Working out mounts and a base for the frigate.

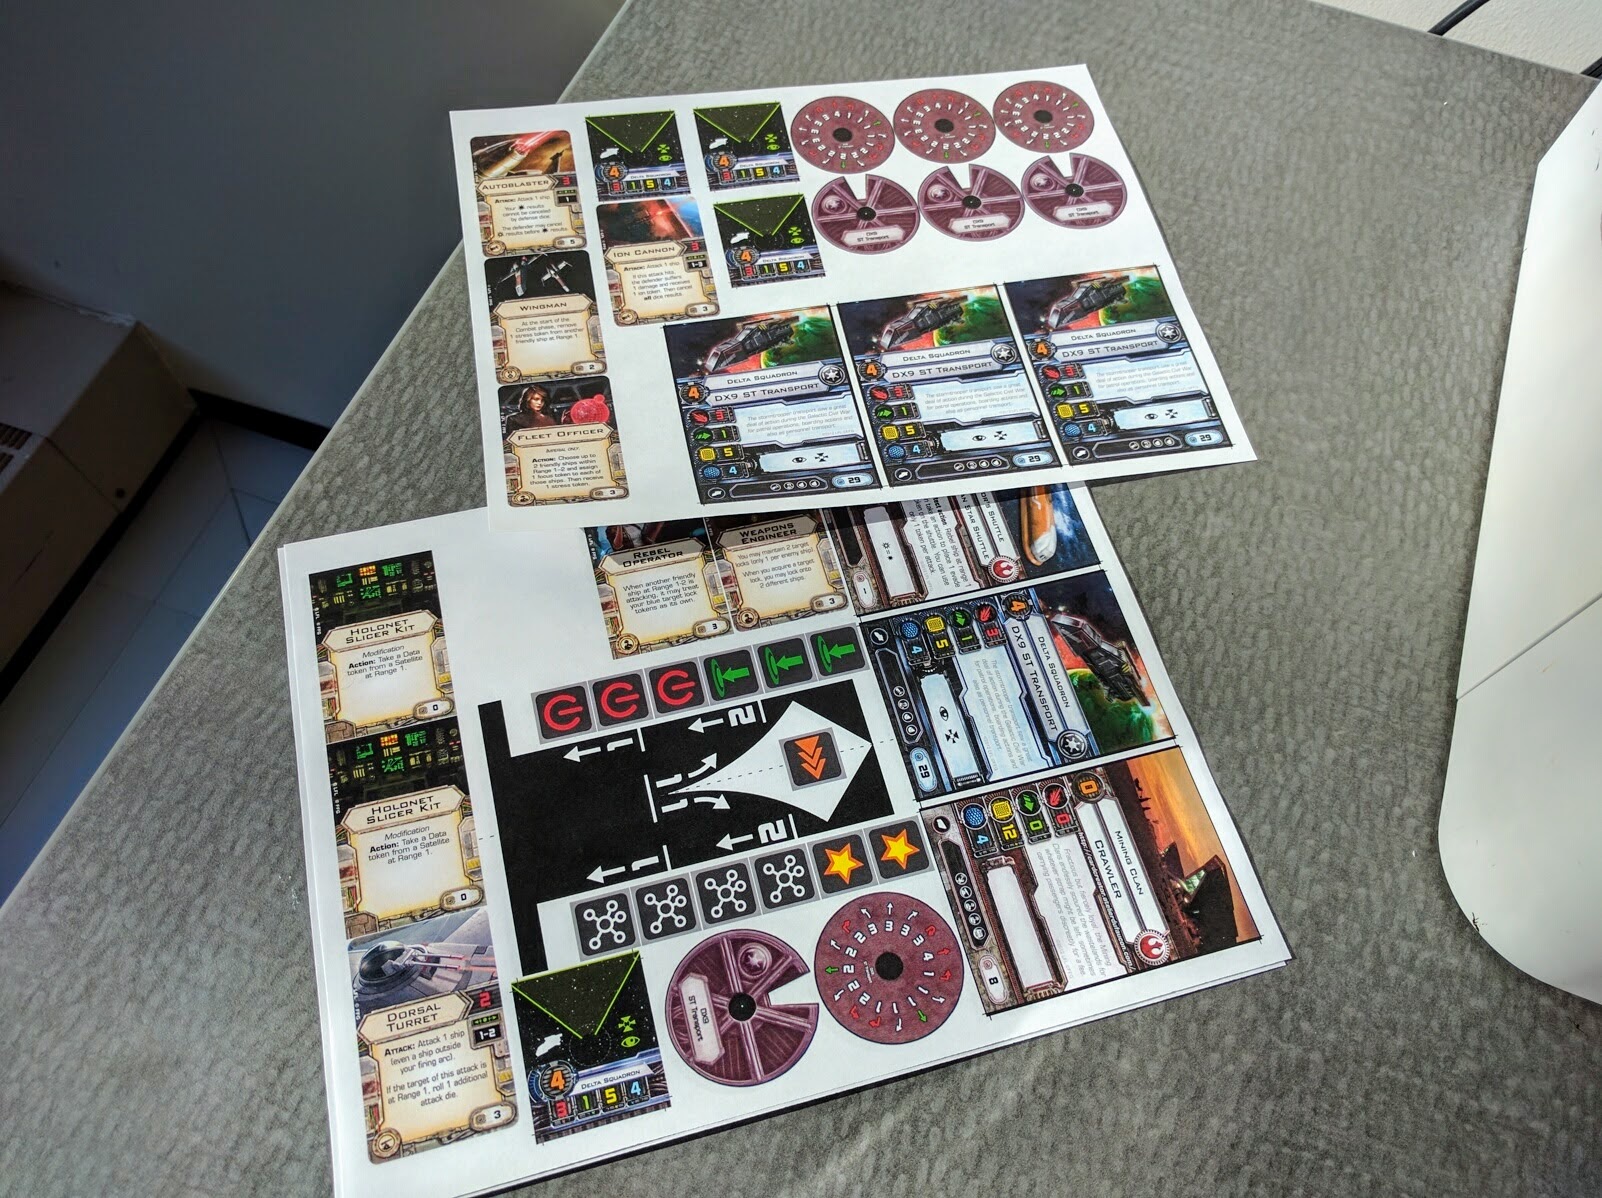
Cards, dials, tokens, and even a custom maneuver template to be mounted and cut.

Cards, dials, tokens, and even a custom maneuver template to be mounted and cut.

Campaign

Key design goals of the campaign, as with most of my narrative wargaming designs, are flexibility and a reasonable tradeoff between cool mechanics and simplicity. It’s intended for public events or casual home gaming as either a 1-shot over a long-ish day, or a small number of evenings or afternoons. There aren’t extensive mechanics or game modifications to learn, the number of players is variable, people can drop in and out between rounds, and it won’t run so long as to just peter out. For all the X-Wing players that really want to enjoy more storyful gaming but don’t have a fully committed play group or who just want to jump into going pew-pew-pew without everybody having to read lots of extra rules, this is going to be a campaign you should try.

The campaign is built around a two phase structure:

  • Missions: Themed, asymmetric missions toward strategic objectives.
  • Epic Battle: A concluding team-based mega space battle.

Players naturally divide up into Rebel and Imperial alliances, with Scum going to either side to balance as necessary. Short collaborative planning sessions are held by the alliances to divvy up unique pilots and upgrades among themselves, and to help each other tweak squad builds toward particular missions.

We ran this first event as a 1-shot narrative over a single day of gaming, so we did two rounds of missions and then the epic battle. There’s no reason though that there couldn’t be more or fewer mission rounds, the mechanics normalize for that. Each round the alliances alternate choosing missions and players to execute them.

The selection of five missions available is:

  • VIP Escort: A Senator coming to the sector to coordinate the Rebels’ plans is ambushed by an Imperial squadron.
  • Holonet Intercept: Rebels attempt to slice an Imperial holonet relay network to learn about the ultimate target of their campaign.
  • Depot Raid: Imperials attack the Rebels’ covert supply lines.
  • Clandestine Meeting: Imperials come to kill or capture a Rebel Agent meeting covertly on the ground with a Spy traveling undercover among a Mining Clan.
  • Dogfight: A standard X-Wing battle, but augmented by nominating Hero Aces that have a few buffs but yield extra campaign points.

The first four missions listed are grouped into two tracks, Information and Resources. The former yields information helpful in the final battle, while the latter yields raw troops and materials. Dogfights can be allocated toward either one. Each mission has a 5 point rubric for scoring based on campaign objectives like slicing Satellites. Players thus need to work to achieve those, not necessarily just to keep their ships alive and destroy the opponent’s. It’s a very different and fun way to play X-Wing.

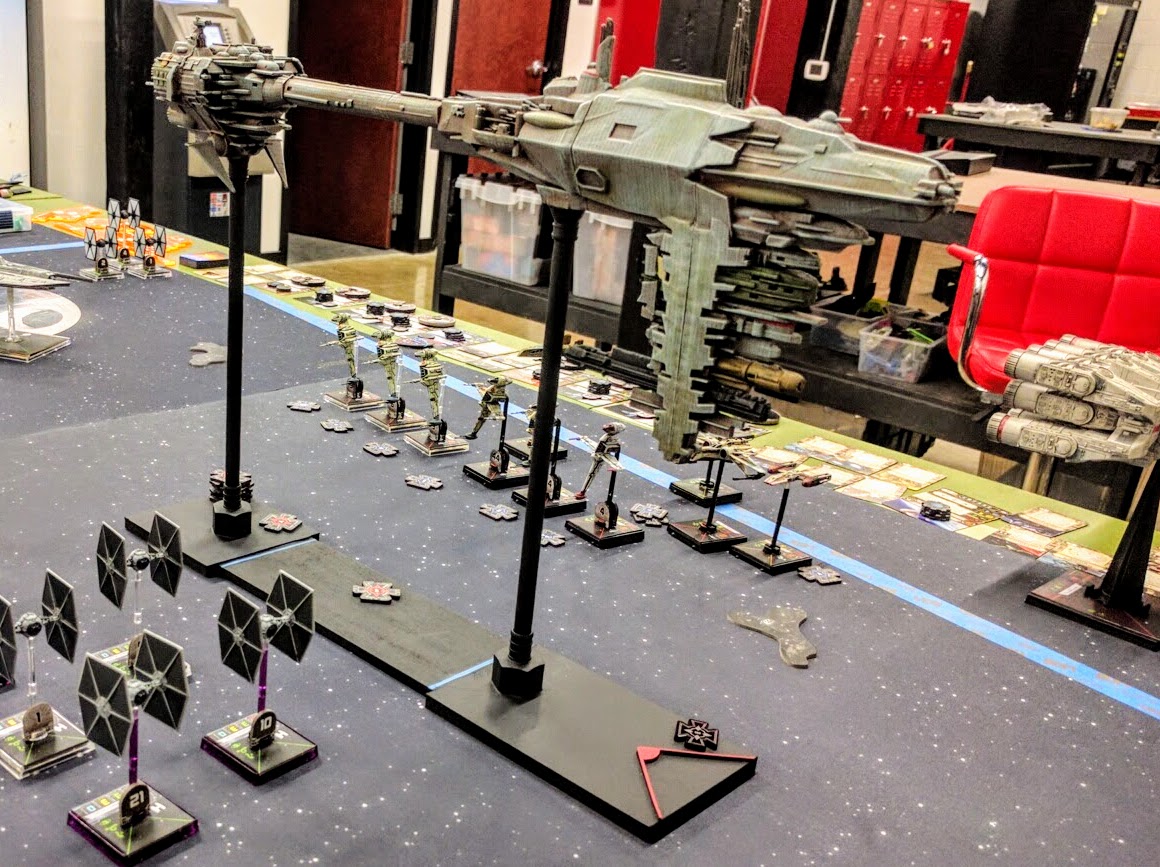
Concluding the campaign is a final battle themed around an attack on a critical Imperial Nebulon-B frigate, the Redemption. Storyline and details on that to come!

All the extra toys used for the day.

All the extra toys used for the day.

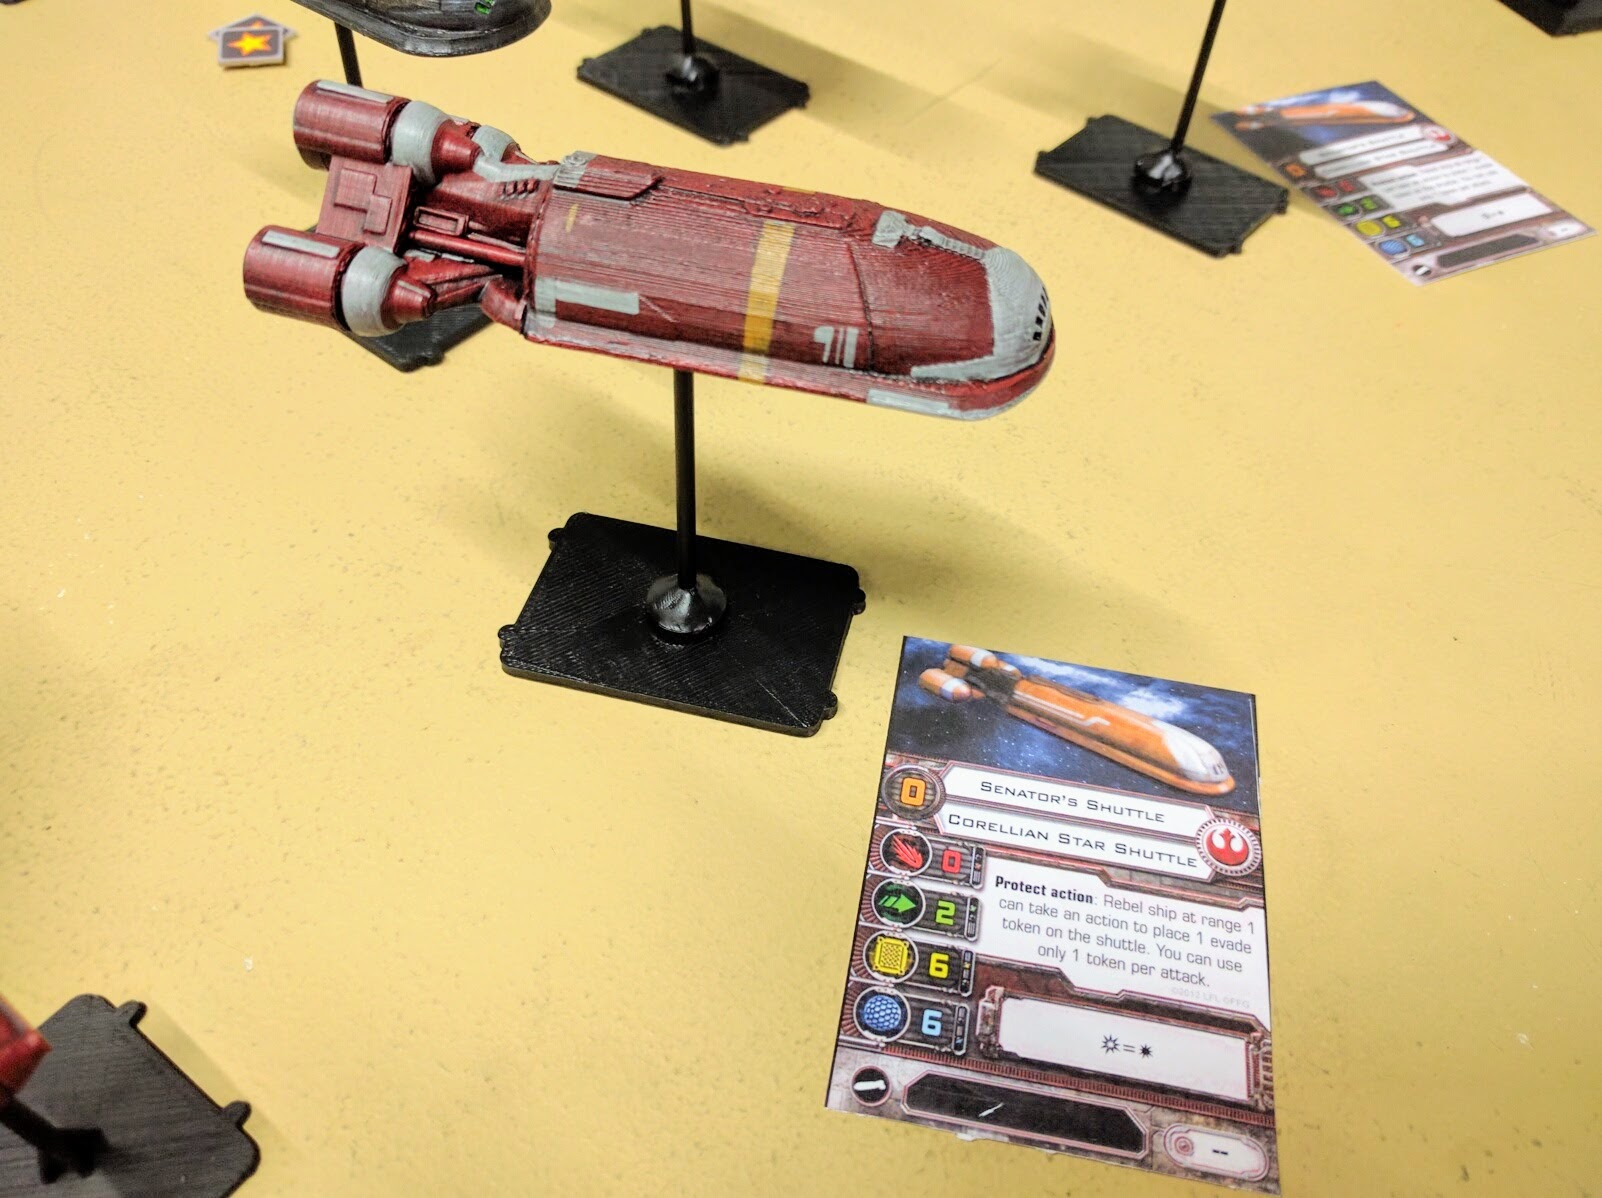
One of the Senator's Shuttles (3D printed)

One of the Senator’s Shuttles (3D printed).

Cargo Pods (3D printed) unloaded from a GR-75 Medium Transport.

Cargo Pods (3D printed) unloaded from a GR-75 Medium Transport.

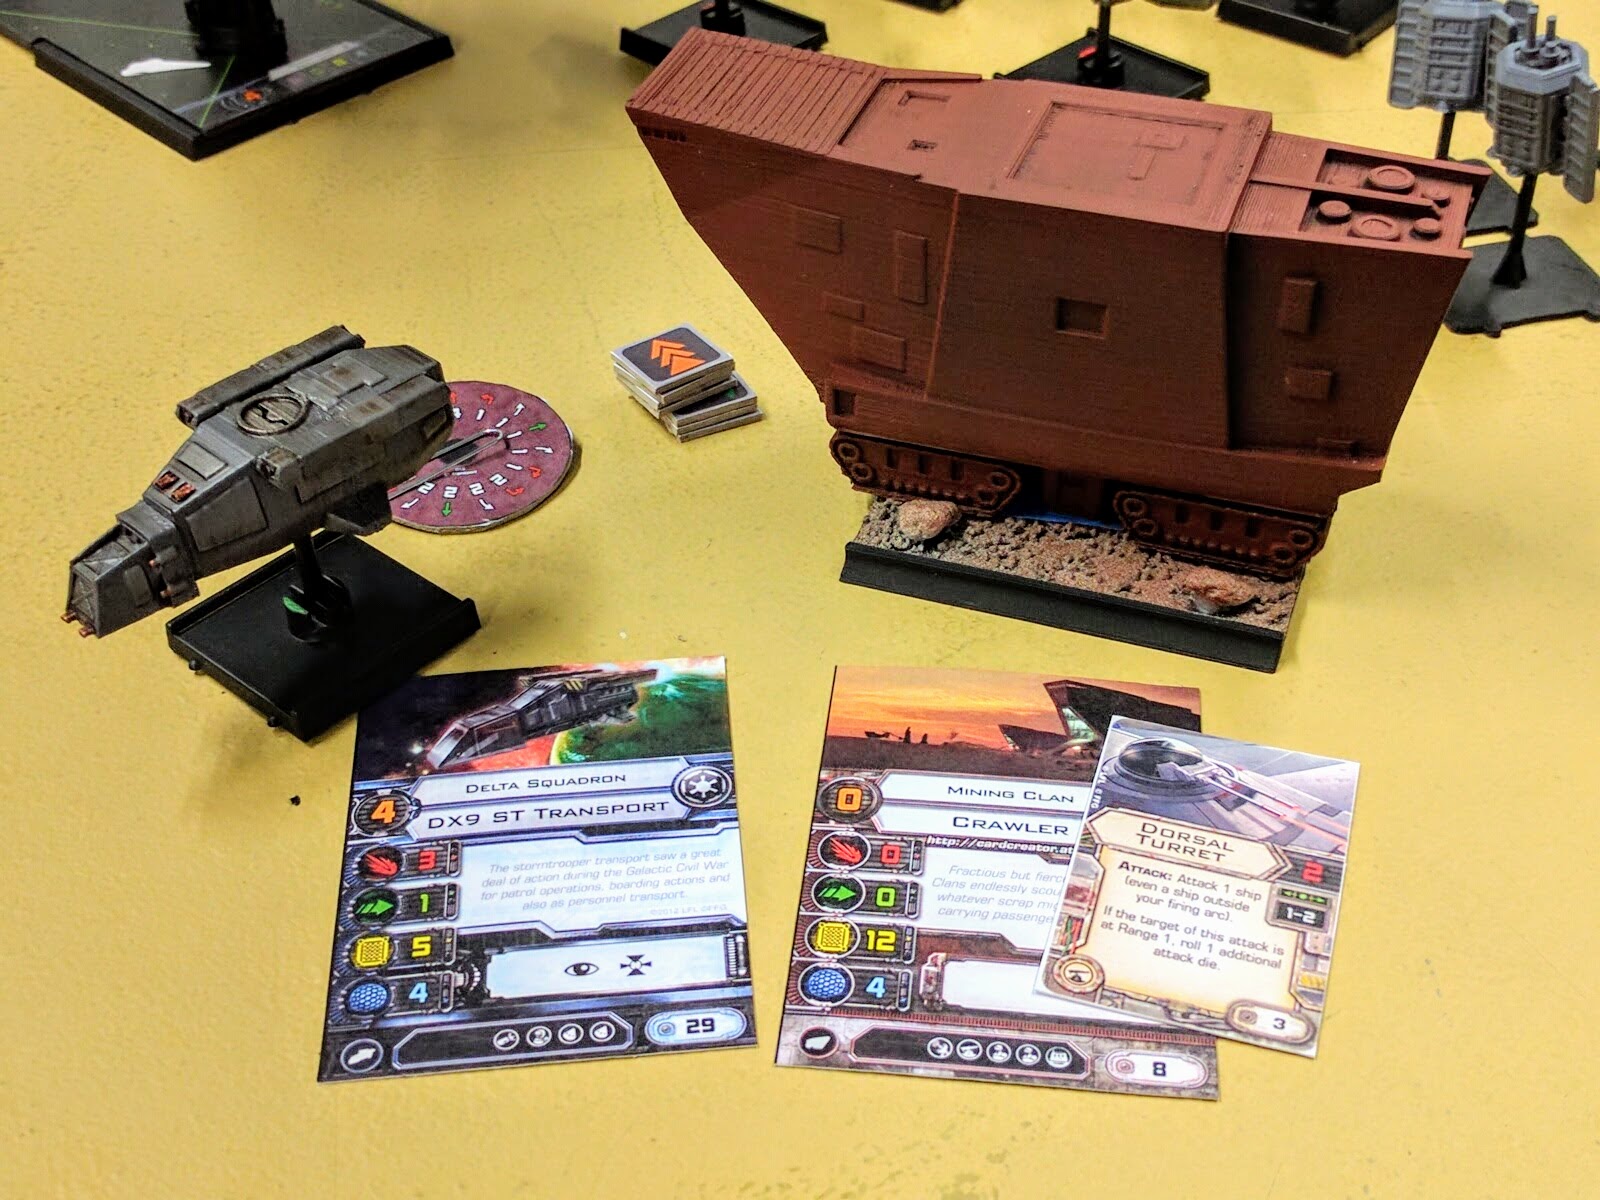
DX-9 assault craft and Mining Clan Crawler (both 3D printed).

DX-9 assault craft and Mining Clan Crawler (both 3D printed).

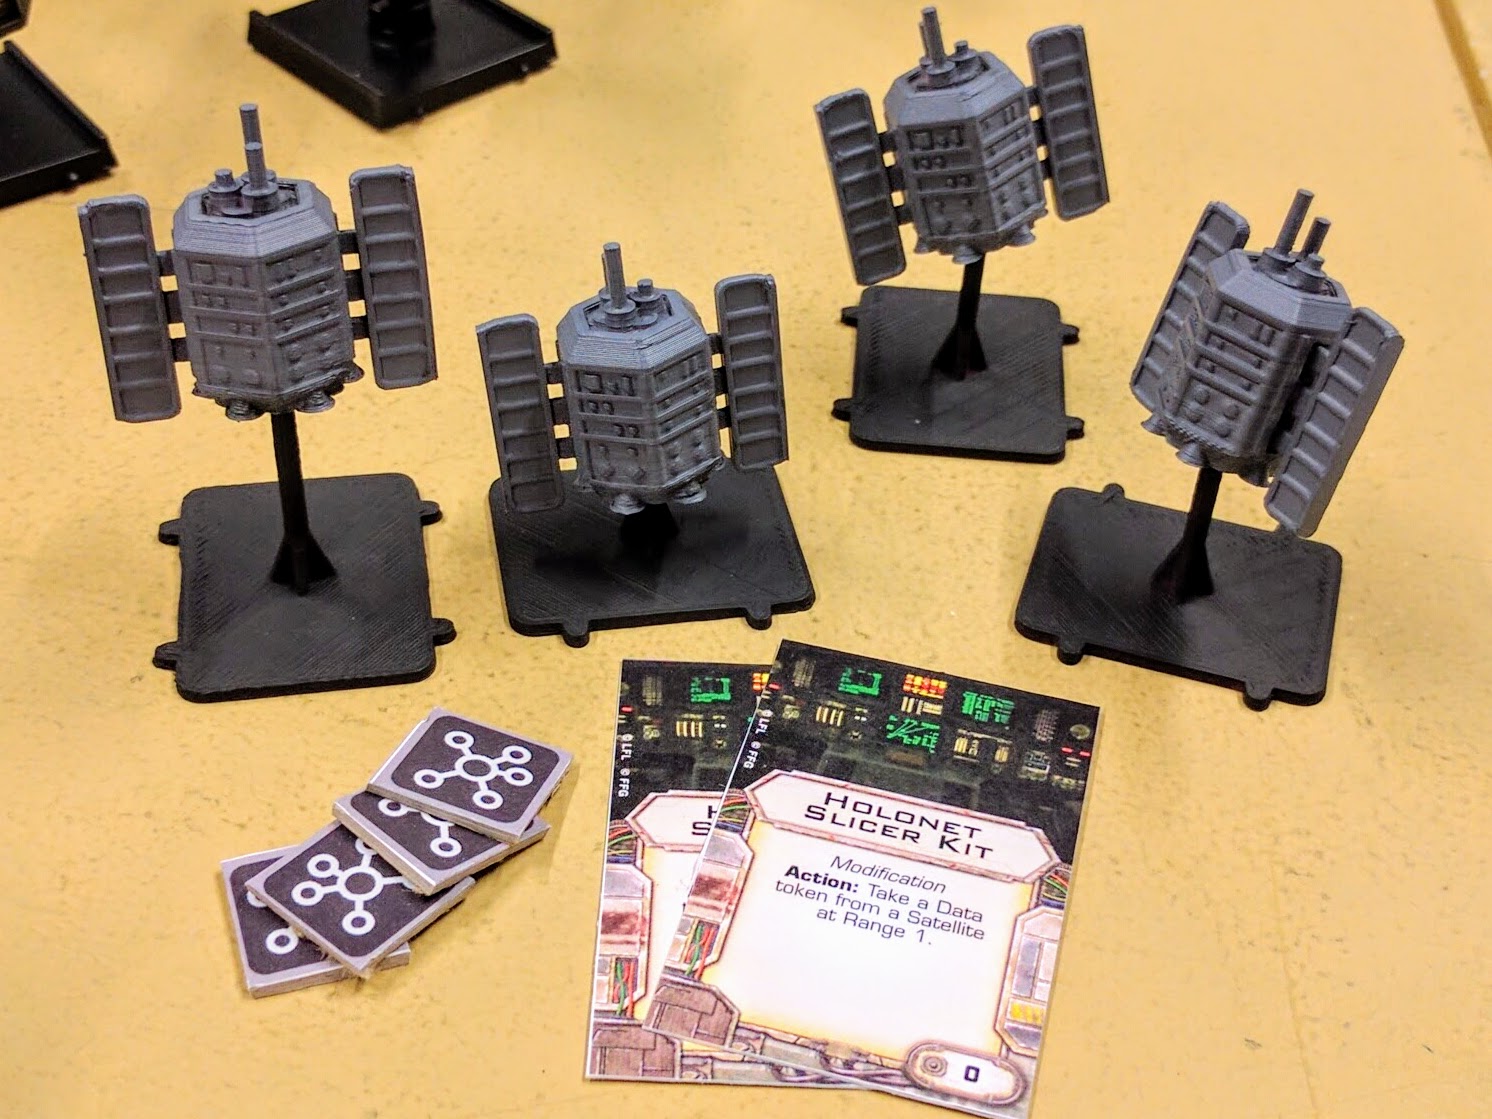
Holonet relay satellites (3D printed).

Holonet relay satellites (3D printed).

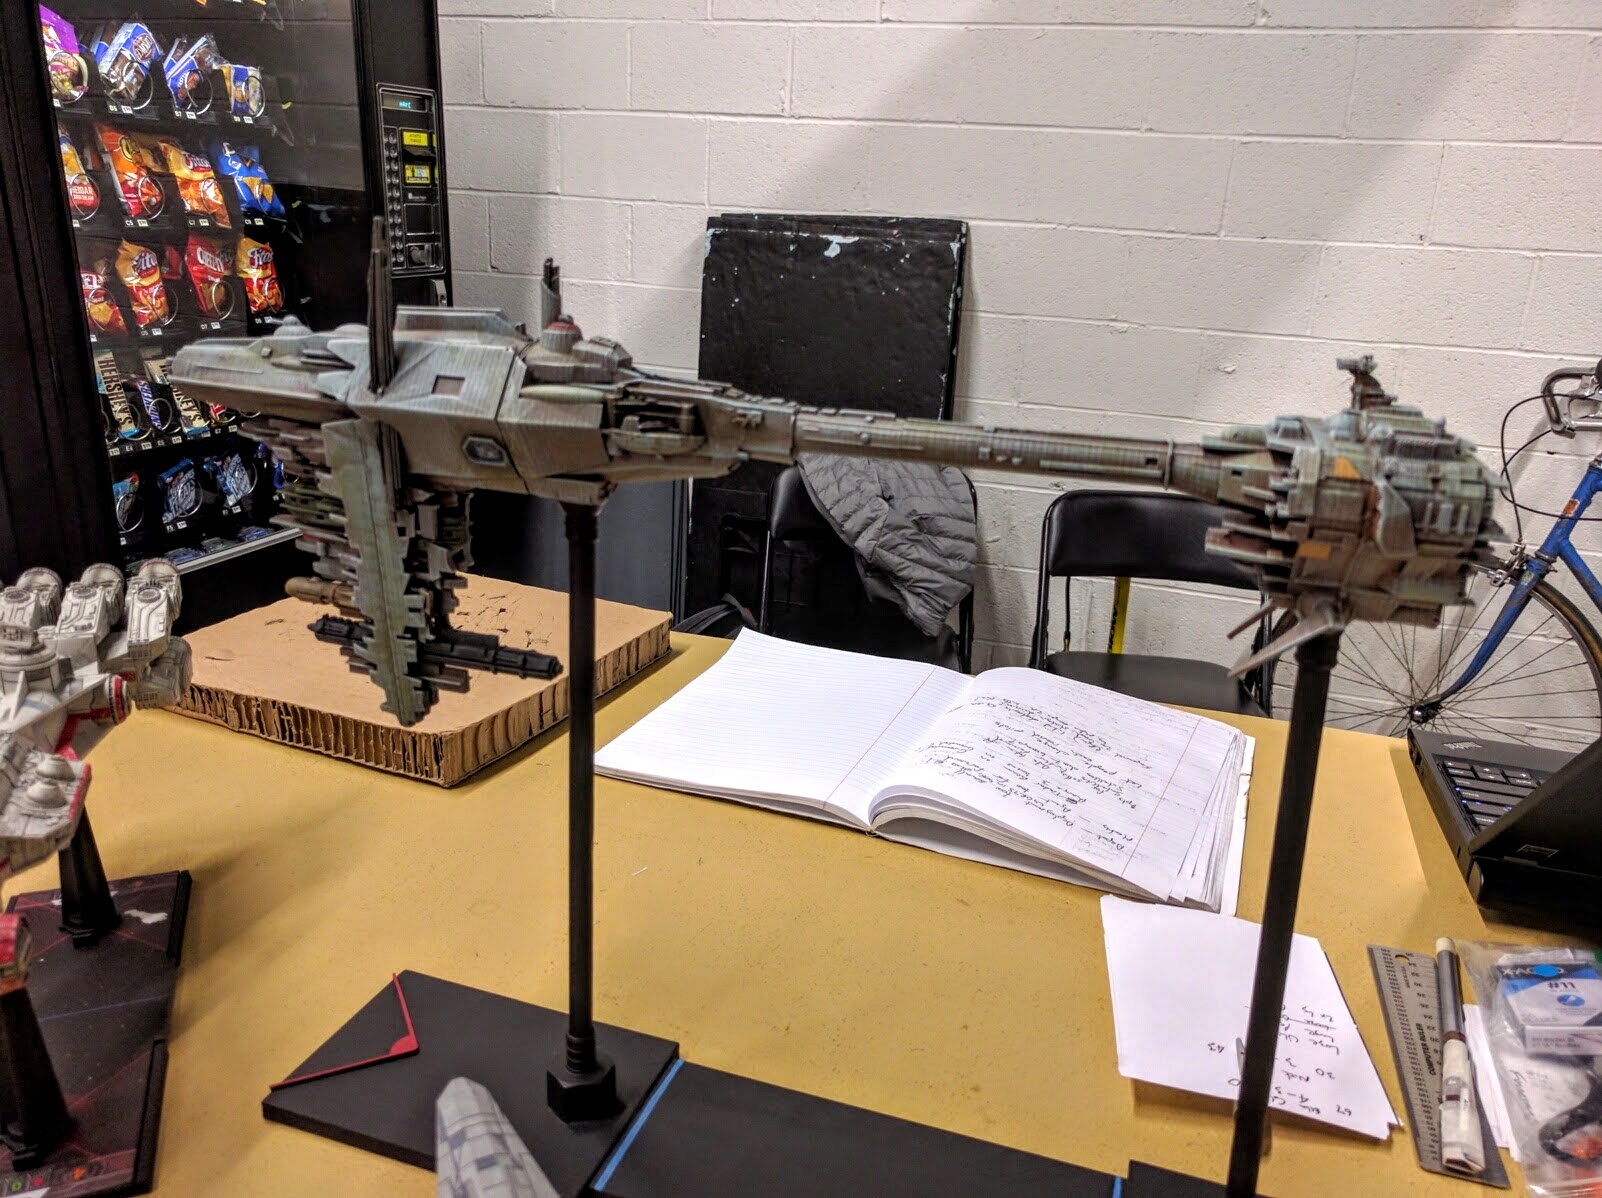
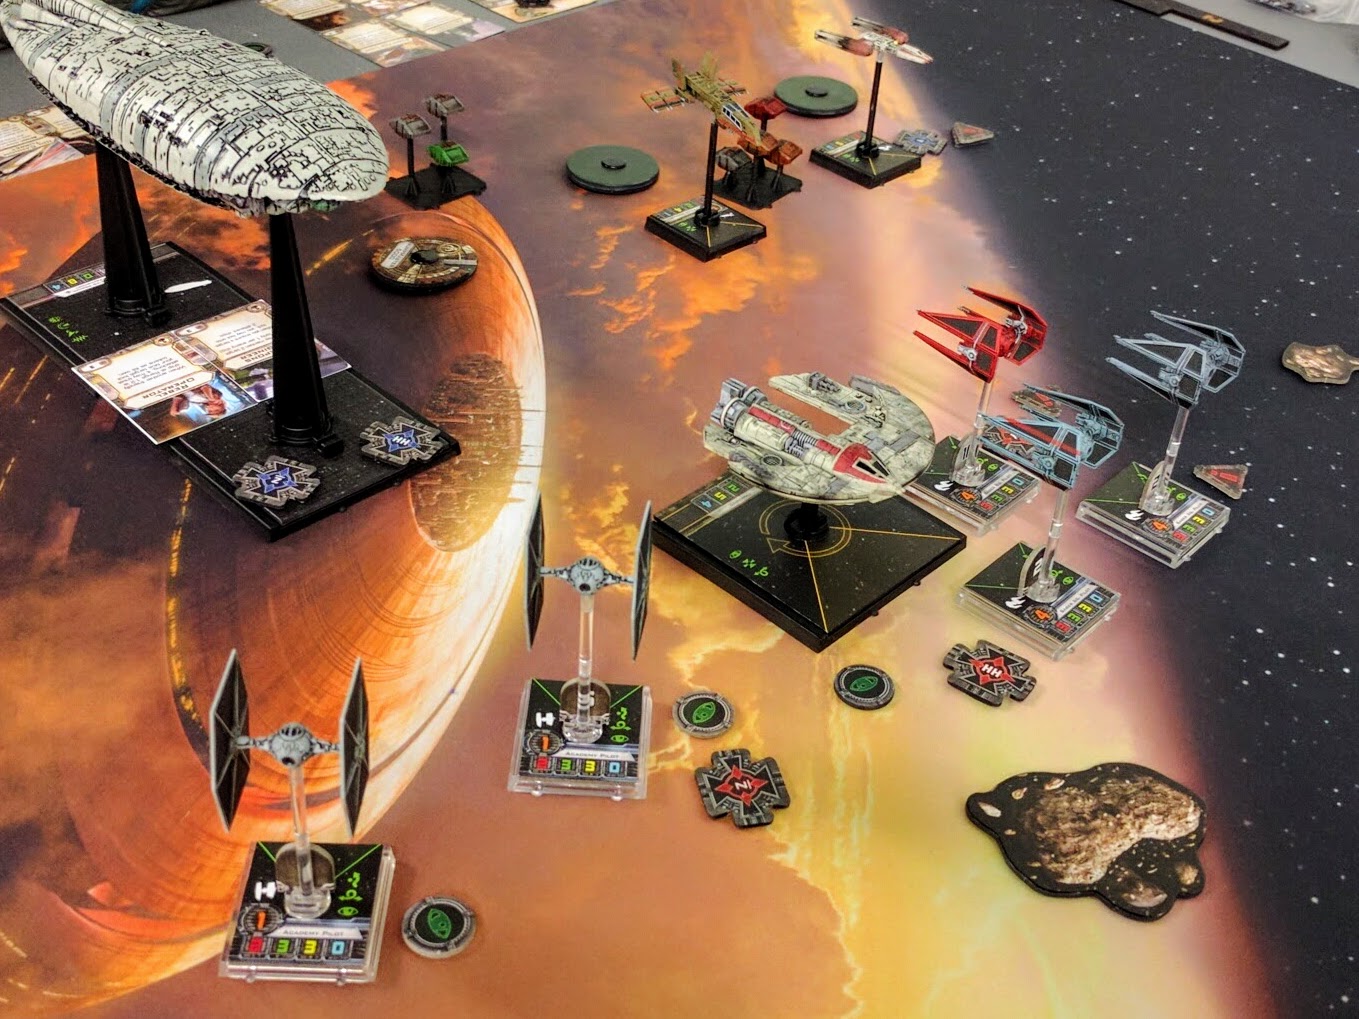
The Nebulon-B frigate Redemption (3D printed with the base a mix of printing and scratchbuilding).

The Nebulon-B frigate Redemption (3D printed with the base a mix of printing and scratchbuilding).

Story

Beginning their campaign, Rebels successfully escorted two Senators into the sector to lead their efforts. However, the Imperials were able to defend their holonet relay as well as destroy a Rebellion supply shipment. A clandestine information exchange was a strategic toss-up, with the spy escaping Imperial forces but the Rebellion’s agent unable to bring the data back. The general balance of operations remained neutral as both sides fought to a draw on dogfighting, but the Imperials took a slight lead on strategic factors through the strength of their victories.

Rebels attempt to escape a thwarted clandestine meeting.

Rebels attempt to escape a thwarted clandestine meeting.

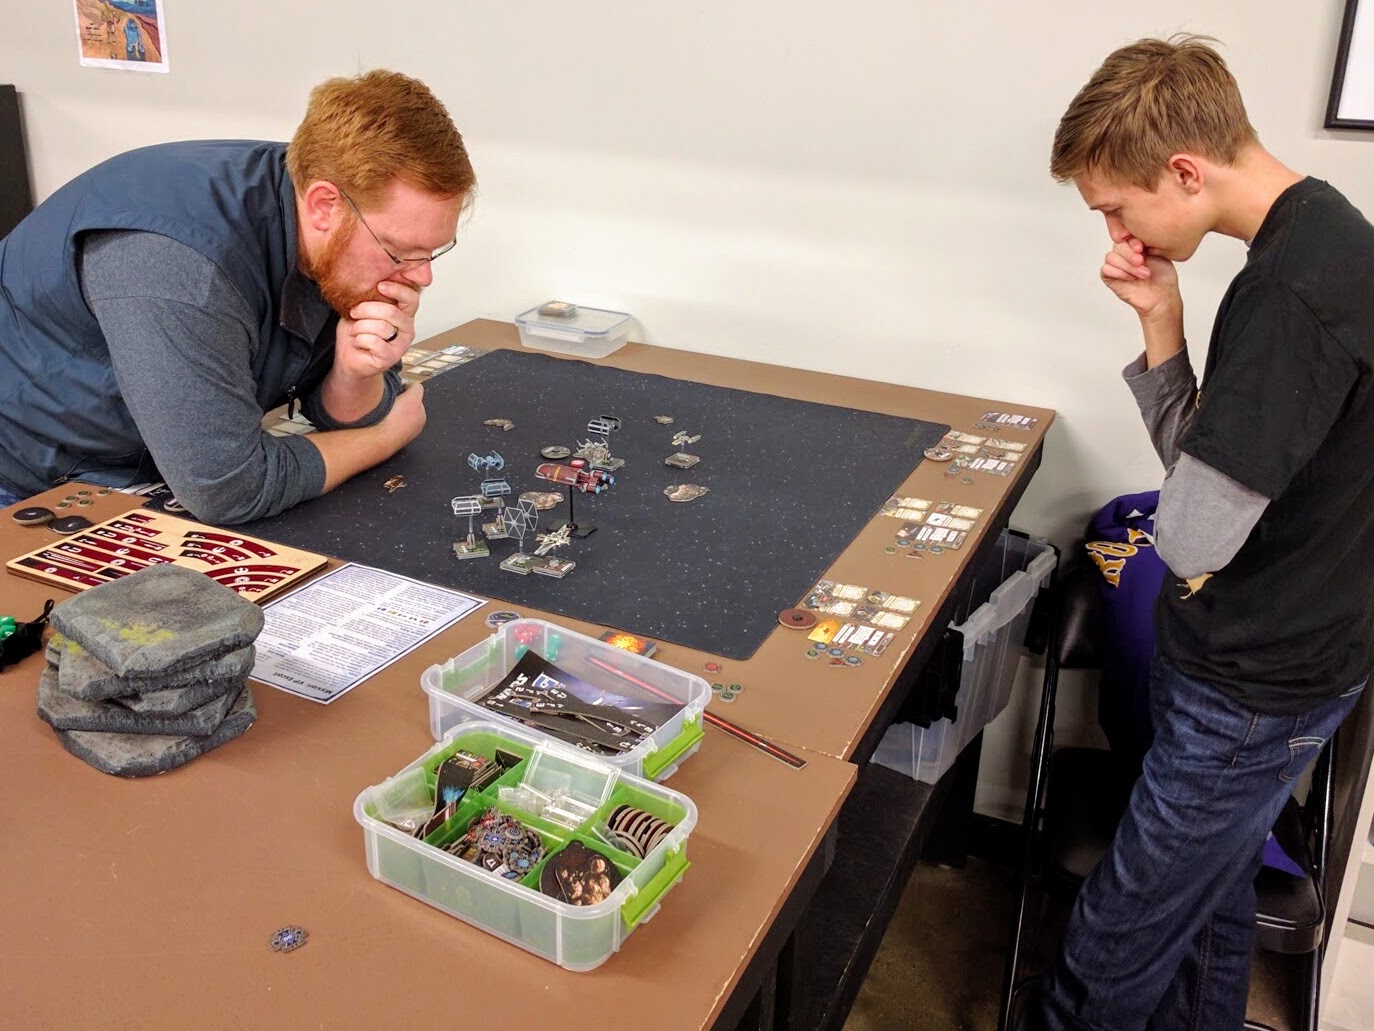
Imperials and Rebels think hard about how to stop or enable a Senator to enter the sector.

Imperials and Rebels think hard about how to stop or enable a Senator to enter the sector.

The Senator's Shuttle flies into the thick of a dogfight.

The Senator’s Shuttle flies into the thick of a dogfight.

Rebels and Imperials debrief and make new plans between rounds.

Rebels and Imperials debrief and make new plans between rounds.

Regrouping from the uptick in Rebellion activity throughout the sector, the Empire struck back. Rebels managed to slice the Empire’s holonet relay, but the Imperials destroyed one Senator, stalled another, and destroyed a Rebel supply drop. The Empire also caught a traitorous spy and destroyed their agent contact just in time before the latter could escape with stolen data. Rebels took a slight edge in the sector’s general combat operations through successful dogfighting, but lost ground strategically.

Mercenary Scum defend a Rebel supply drop.

Mercenary Scum defend a Rebel supply drop.

TIEs swoop in, destroying Rebel Cargo Pods unloaded from a GR-75.

TIEs swoop in, destroying Rebel Cargo Pods unloaded from a GR-75.

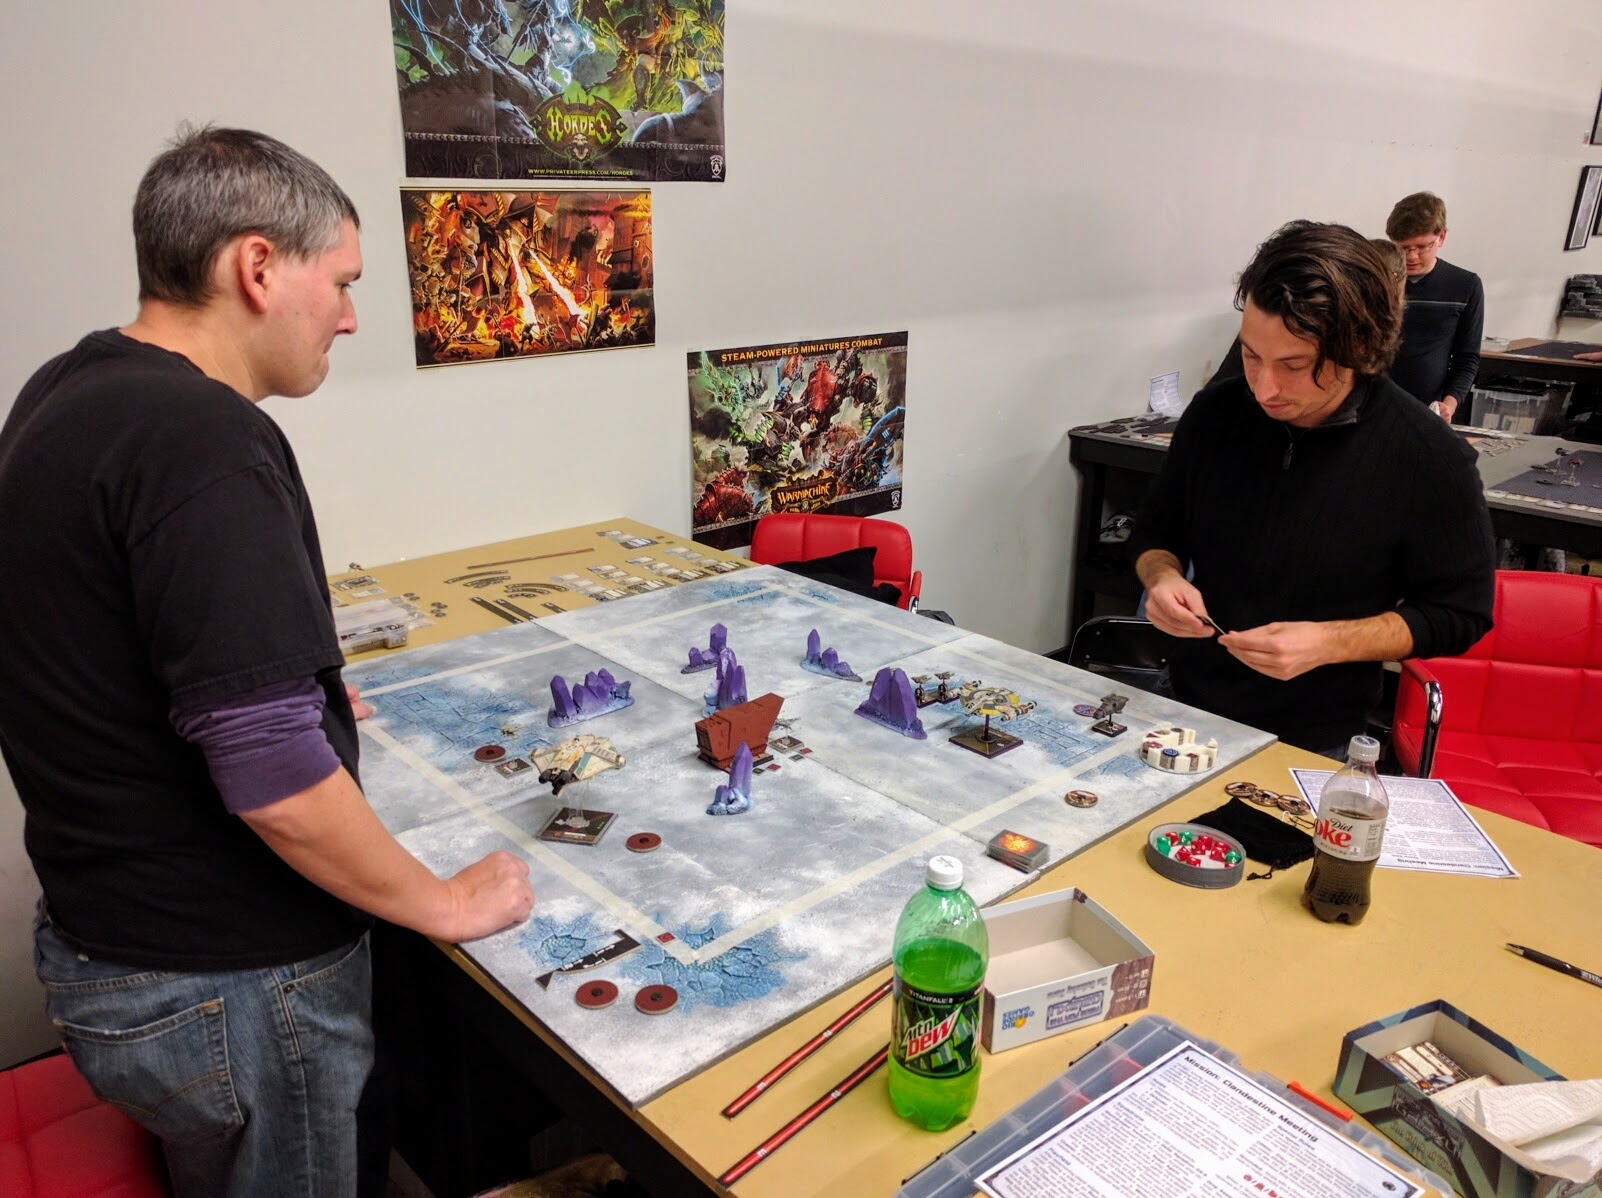
A clandestine meeting is disrupted by Imperial bombers and ground assault teams.

A clandestine meeting is disrupted by Imperial bombers and ground assault teams.

A formation of TIE Bombers fly to soften the ground for Stormtroopers preparing to assault from their transport.

A formation of TIE Bombers fly to soften the ground for Stormtroopers preparing to assault from their transport.

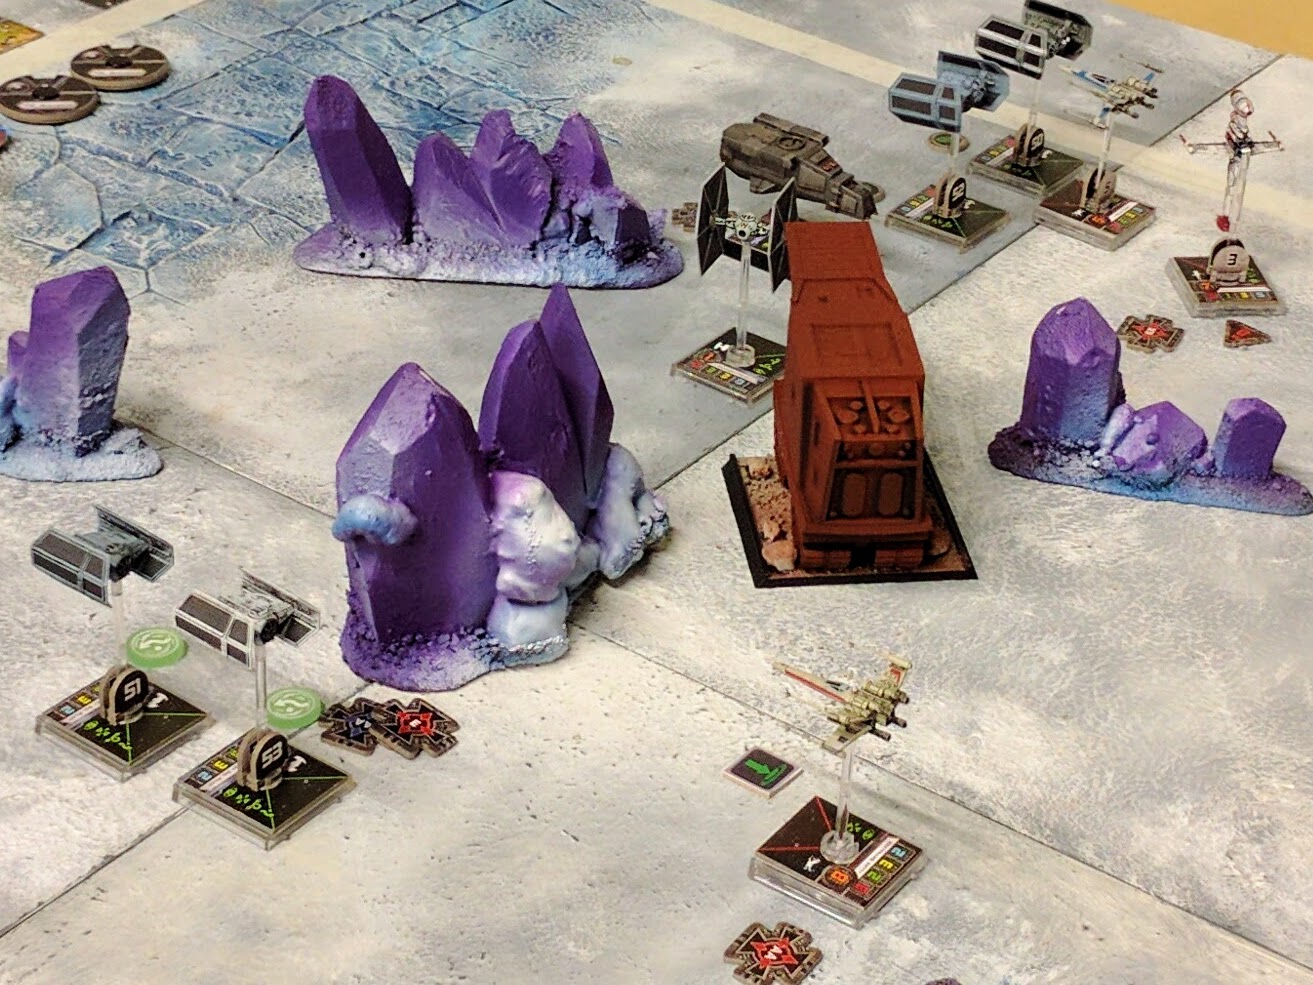
The battle develops among the ice world's crystal spires.

The battle develops among the ice world’s crystal spires.

After numerous close fought missions, the Imperials managed to maintain strategic initiative in the sector. Rebels thus had to fly blind into their final attack on the frigate Redemption, and had fewer resources with which to do so. However, they slowly gained the upper hand through their pilots’ maniacal focus on attacking the primary target at all cost. That cost was indeed great though as Imperials swept in from the flanks, crushing the Rebels against the dangerous might of the frigate itself. The battle became a question of time, with the frigate steadily losing shields and hull just as the Rebels lost ships. In the end though, with only a few Rebel pilots still extant, they managed to score a few final hits and cripple the frigate. An important victory for the Rebellion, but made at a tremendous sacrifice of irreplaceable personnel and material.

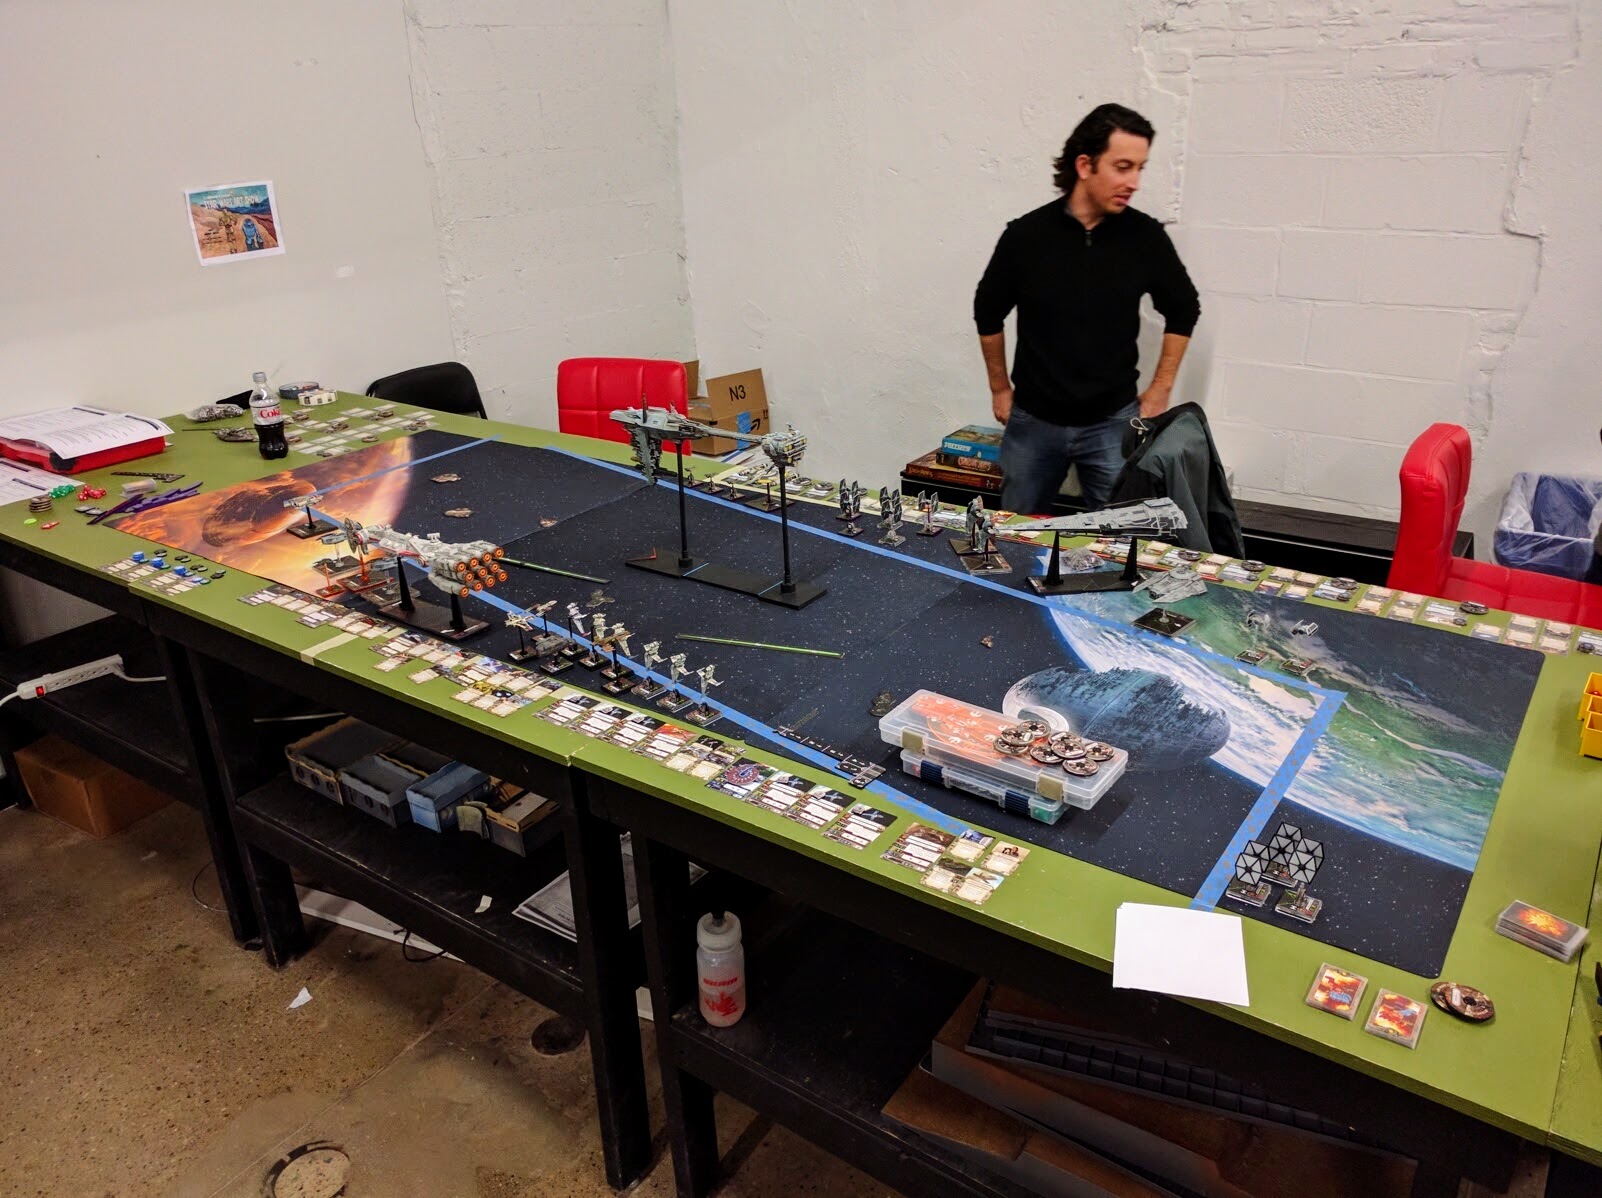
The final battle all staged.

The final battle all staged.

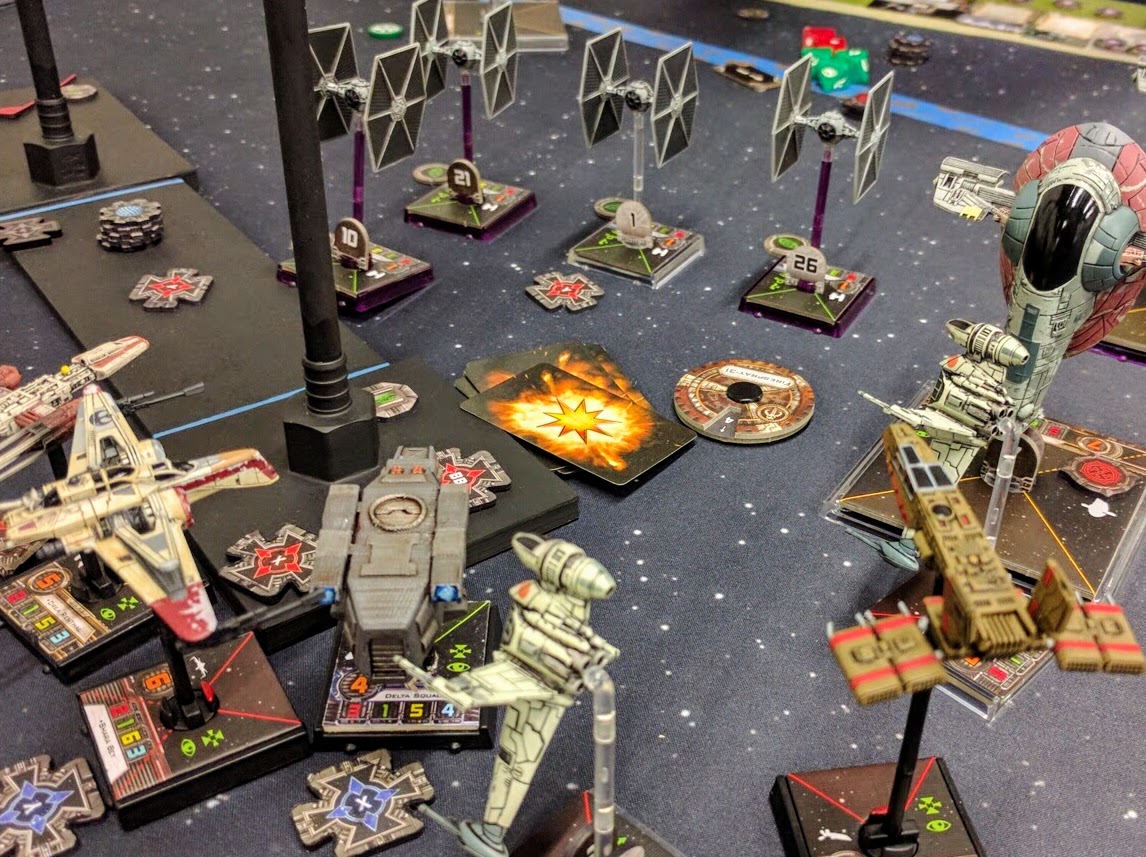
The Redemption's TIE escort prepares to turn toward the Rebel B-Wing bombers inbound.

The Redemption’s TIE escort prepares to turn toward the Rebel B-Wing bombers inbound.

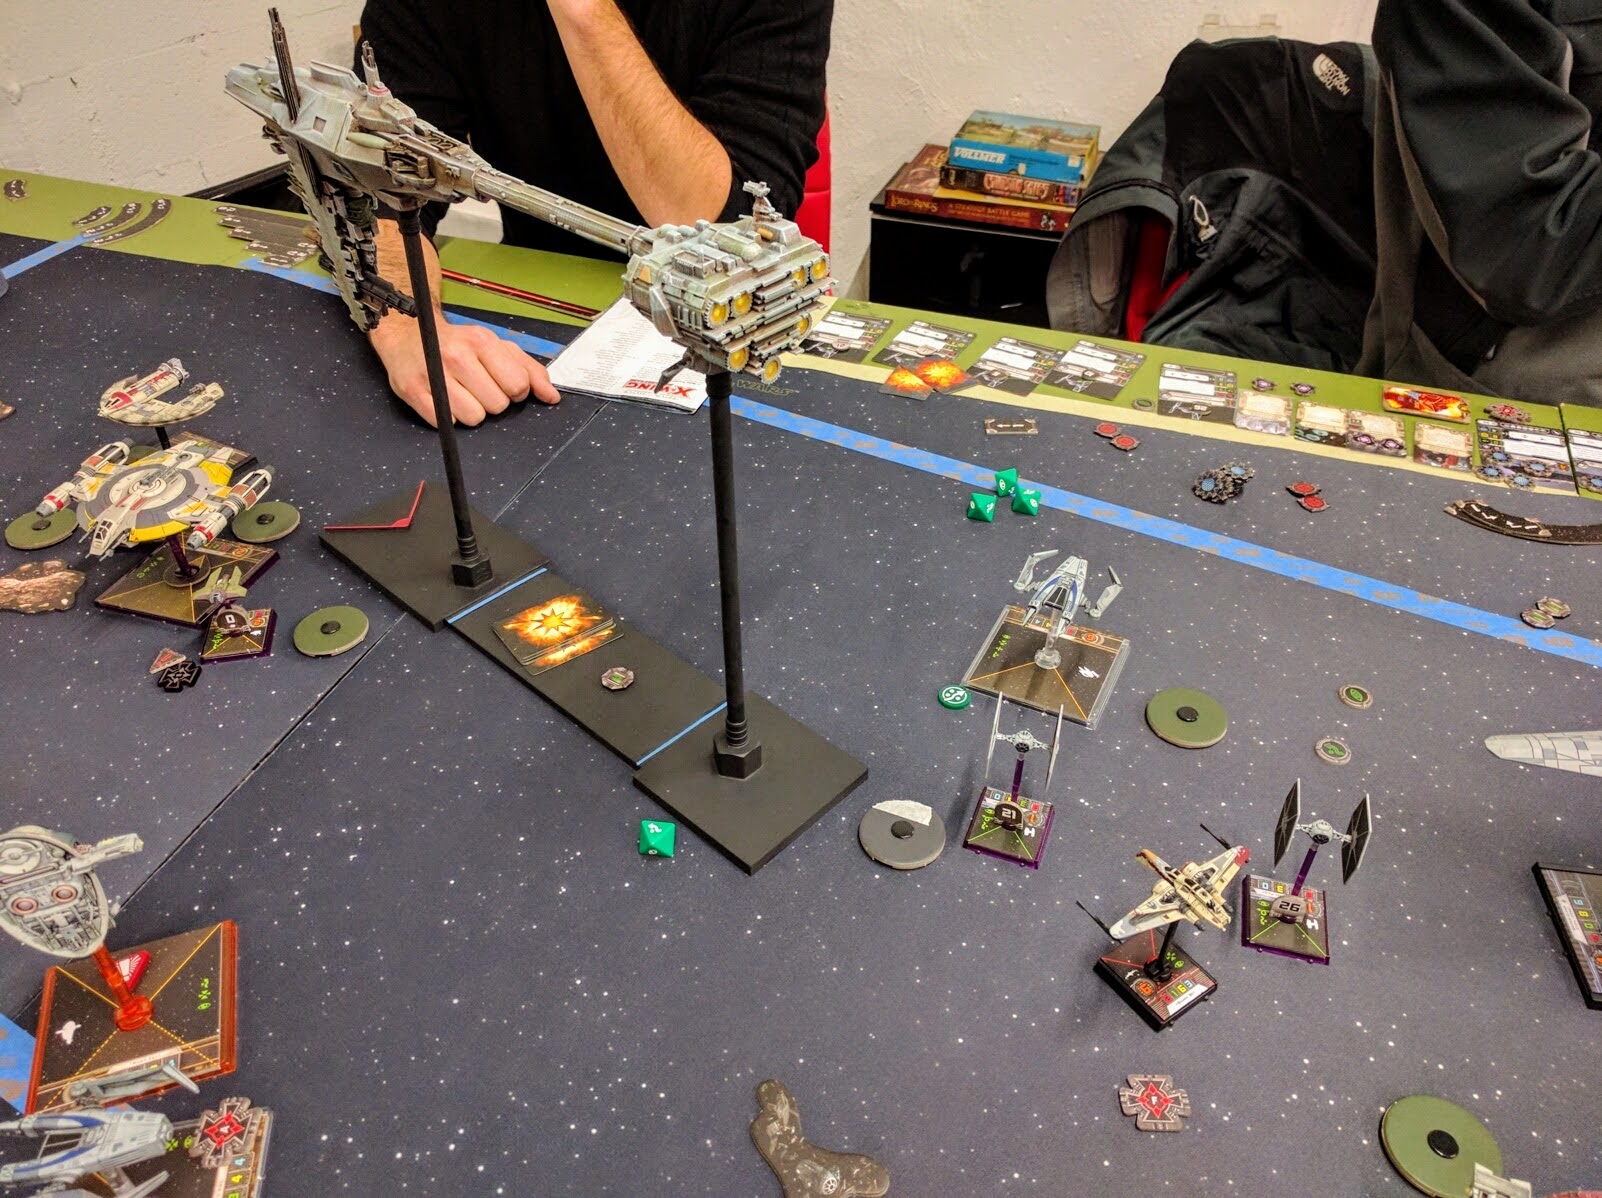
Mass exchanges of fire across and at the aft section of the frigate.

Mass exchanges of fire across and at the aft section of the frigate.

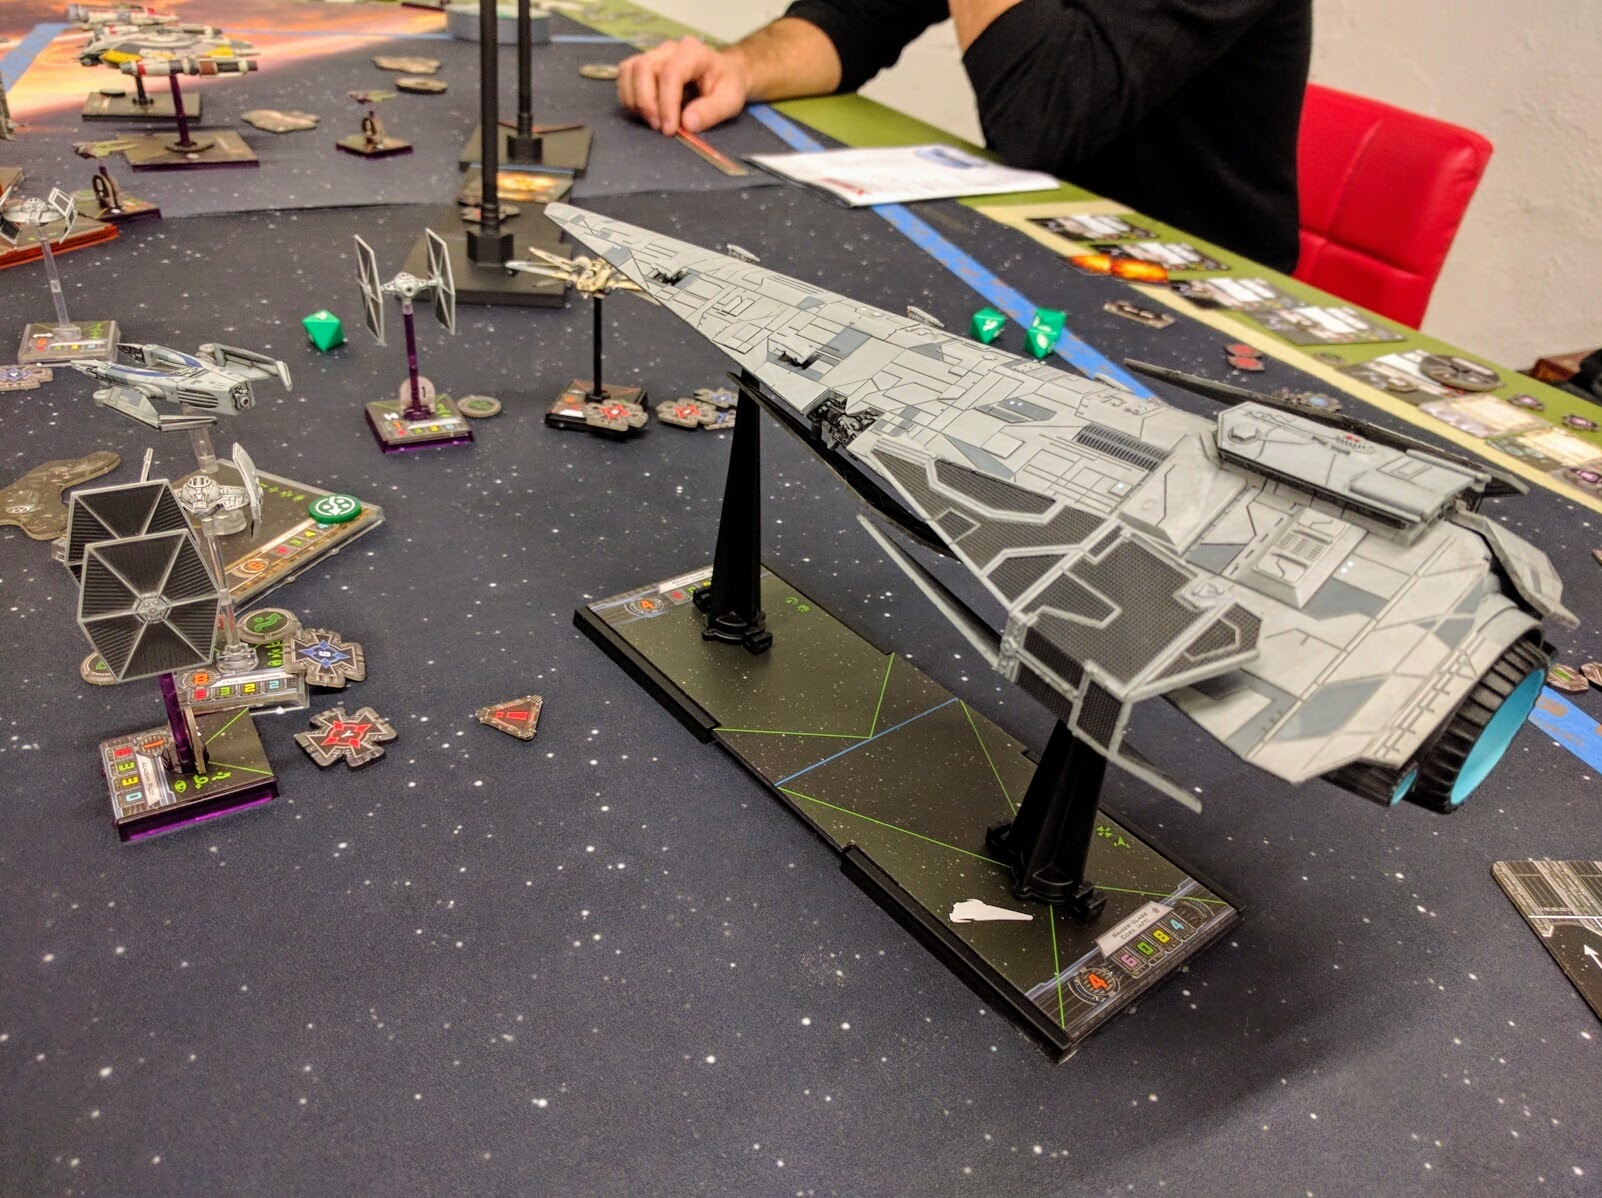
An Imperial Raider comes to bear on the Rebel fleet.

An Imperial Raider comes to bear on the Rebel fleet.

A lone ARC-170 and a pair of mercenaries finally finish running down the frigate.

A lone ARC-170 and a pair of mercenaries finally finish running down the frigate.

Outcome

Imperials won the campaign missions well but not astoundingly:

  • Campaign Points: 38 Imperial to 28 Rebel
    • Information: 14 Imperial to 6 Rebel
    • Resources: 24 Imperial to 22 Rebel
  • Squad Points: 627 Imperial to 607 Rebel

Rebels however managed to destroy the Imperial frigate as they hoped and was the final goal of their campaign, though it was a close matter in the end with most of the Imperial ships remaining and almost none of the Rebels’ left as the battle concluded.

Many more photos from the day’s action are in the Flickr gallery.

Design

Overall it seemed like the event went smoothly. The relative closeness of the mission results and the individual games was good to see. With a majority of close games and last-minute swings, they need only very slight tweaking to deployment rules and a couple stats to be very balanced and yet capture the intended air of the Rebellion being on its backfoot and making a desperate gamble.

The concluding epic battle was also very close, but it had a bit too much of an air of inevitability about it as the frigate continually, regularly lost shields and hull. Once squads were selected and deployed, the Rebels also had too little strategic decision making to perform because it was so clear that they just needed to keep attacking the frigate and hope they survived longer than it did. At the last minute going into the event we simplified the final battle quite a bit because there seemed to be already so much going on. However, in hindsight everybody could have handled the additional mechanics and they would have brought a lot more story and balance to the battle.

Matt ponders game balance as he watches a VIP Escort playtest, while Jason stays firmly focused on the grimdark.

Matt ponders game balance as he watches a VIP Escort playtest, while Jason stays firmly focused on the grimdark.

Next Steps

For those in the greater Philadelphia area, we will definitely run this event again sometime in early 2017. Stay tuned on the Philadelphia Area Gaming Enthusiasts’ Facebook page to be notified when that pops up. There is also a more discussion-oriented, very active South Jersey X-Wing/Armada/Imperial Assault group that coordinates a number of events and ongoing gaming throughout the region. Our hosts & friends at Redcap’s Corner have weekly X-Wing every Tuesday and Friday night.

Beyond that, the missions already have a very solid packet that can stand just a couple minor tweaks coming out of this first play-through. More importantly, we want to get in some playtesting with the full ruleset for the concluding epic battle before we put out the campaign packet. Look for that to be out though right before or after the new year. There’ll be announcements on the X-Wing Reddit subforum and the official FFG forums. I also have an extremely low activity mailing list to which you can subscribe (form on the left sidebar) for very infrequent announcements about this and other projects.

Thanks to everyone that came out & played, it was a great time. We’ll see everybody out there, and stay on target, pilots!

The battle is joined.

The battle is joined.