Stretch Stubby

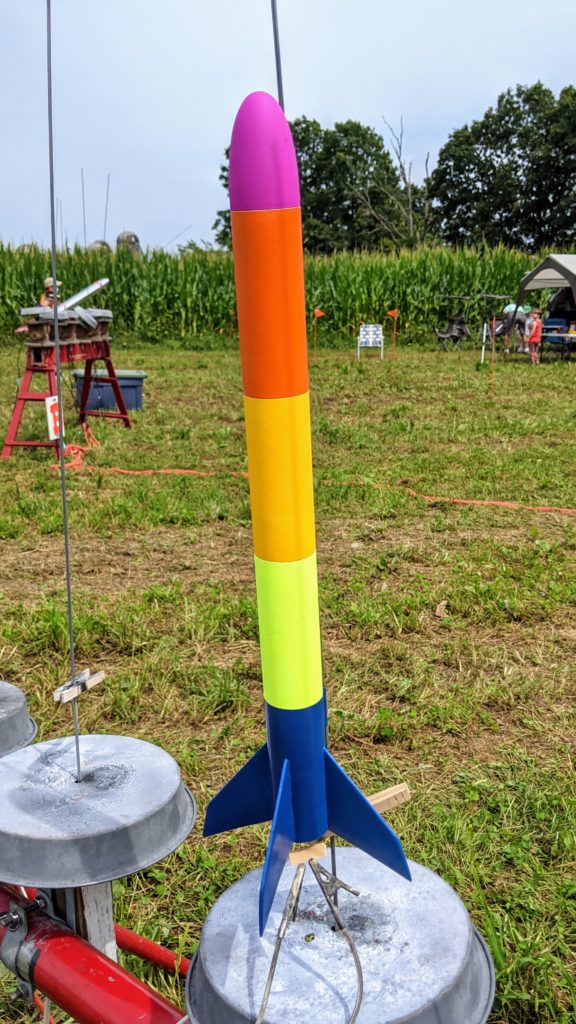
Upon returning from being on the West Coast for July, Alice & I hustled a bit to get a new rocket of hers ready for the August PARA launch just a few days later:

Alice’s ASP Stretch Stubby.

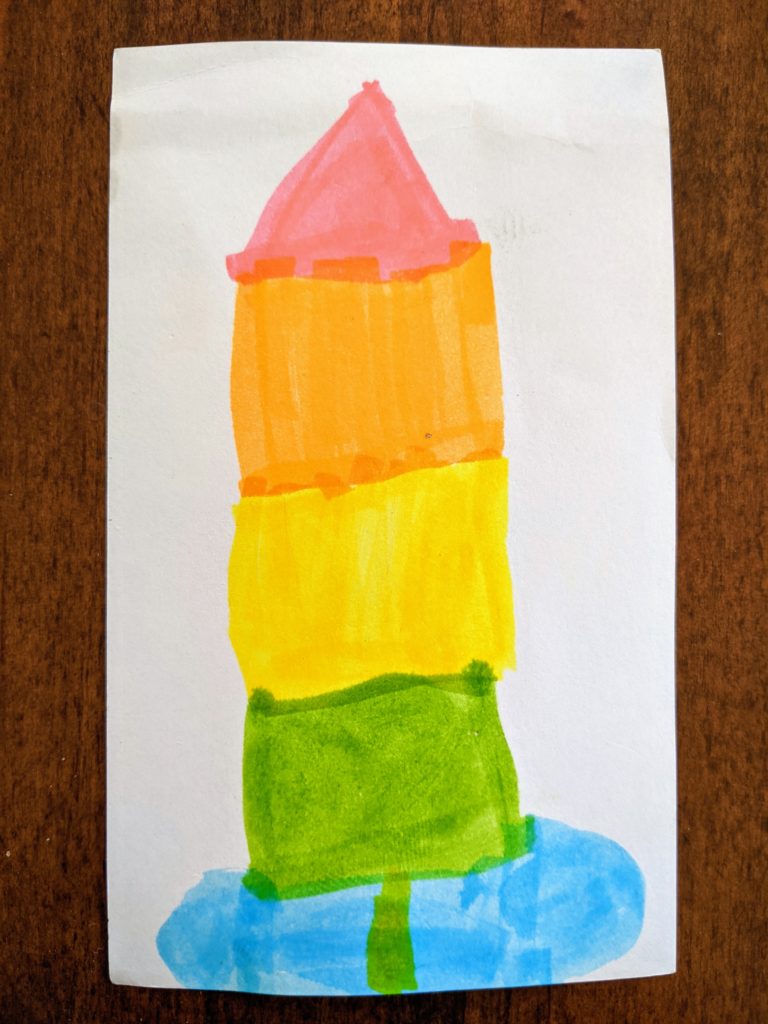
It’s a Stretch Stubby kit from ASP that we received as a surprise gift in an order from a Fourth-of-July sale. It’s one member of a family of “Stubby” rockets from ASP, the other, shorter, ones being actually stubby. We were immediately intrigued to see that the rocket’s made up of several sections of tube, not one. That meant we could convert the kit just a bit so that it can be prepped and launched with any combination and ordering of the sections. Seeing how easy it’d be, I was actually a bit surprised the kit wasn’t designed explicitly to do so. In any event, having distinct sections like that would make it really easy for Alice to paint them in different colors. She was also very interested in being able to change the configuration before each flight. So she got to work on a sketch of her desired paint scheme and I made up a simulation model to evaluate the stability of different length configurations.

Alice’s design sketch.

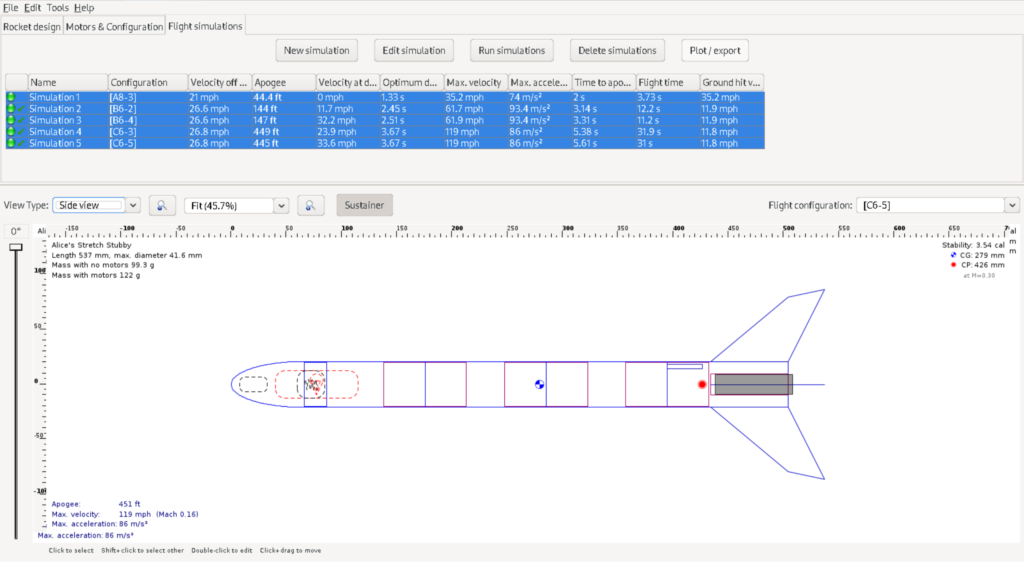
Simulation in OpenRocket of full 4-segment Stretch Stubby.

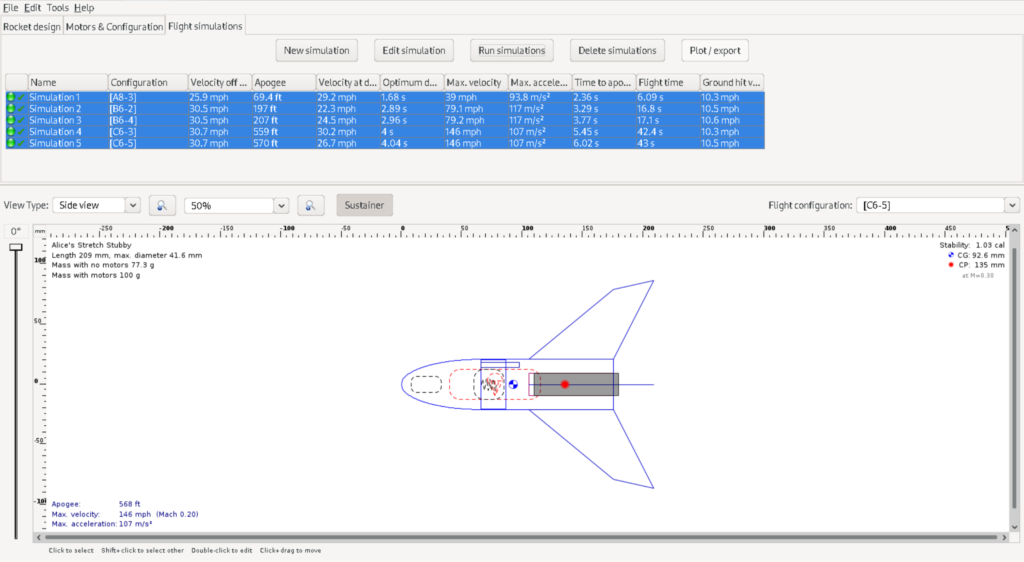
Simulation in OpenRocket of minimal 1-segment Stretch Stubby.

Design & Construction

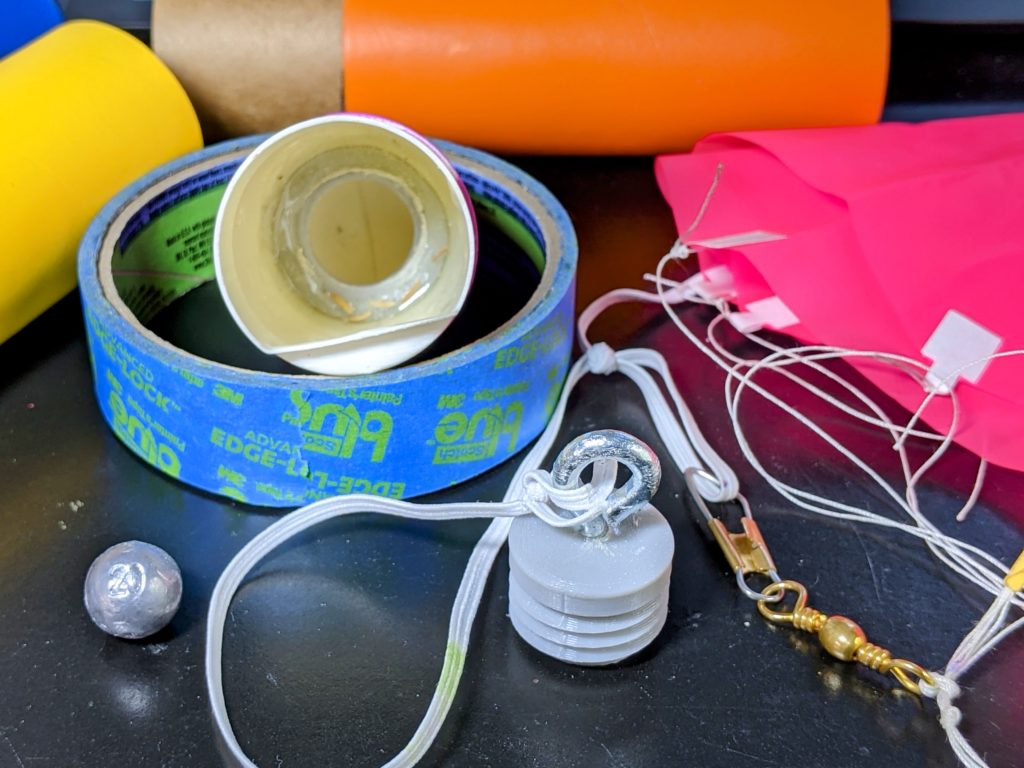
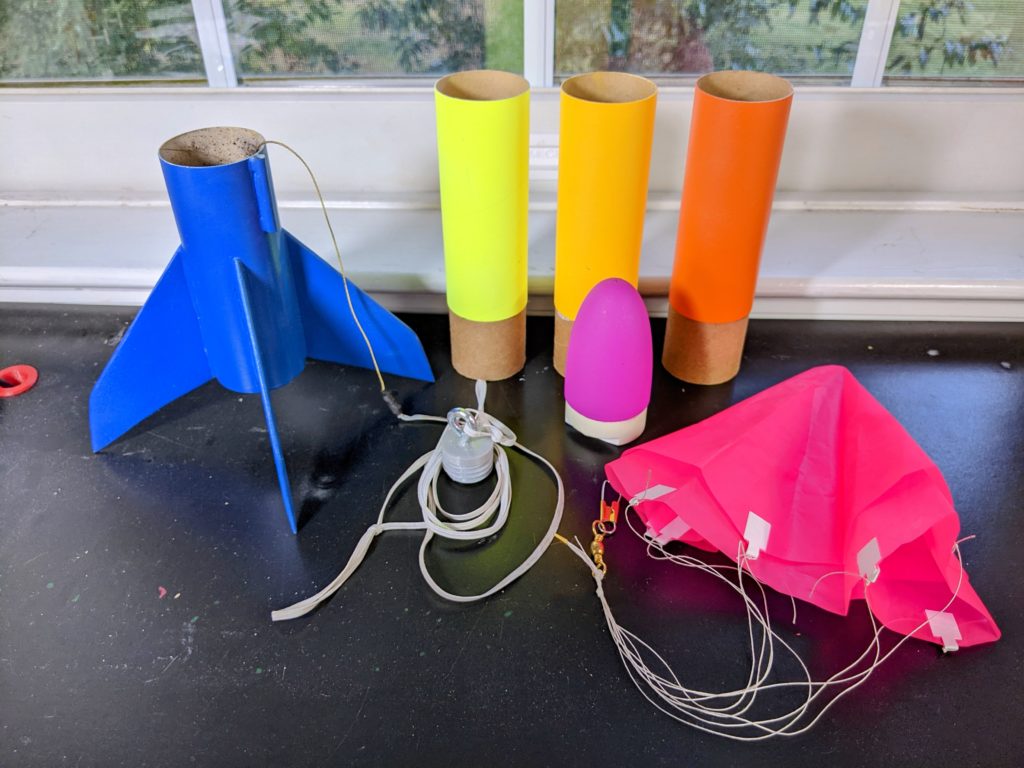
It turned out all of the configurations were projected to be stable without modification except for flying with solely the tail and nosecone. To add just a little challenge, shifting the center of gravity far enough ahead of the center of pressure in that minimal setup would require a lot of weight if added at the base of the nosecone—the weight would be practically right at the center of pressure given the minimal body length. The ballast had to go at the very tip of the nosecone, and ideally only in this configuration. So I swapped the gorgeous BT-60 MS balsa nosecone from the kit with a plastic one I had laying around. I cut the shoulder open and made a 3D printed screw-in compartment that could be epoxied into the tip. With more time I would have designed & printed a whole nosecone with an integral compartment, but we were on a tight schedule. That compartment provides a place to firmly secure varying weights right at the farthest forward point of the rocket. It also holds the weight in a fixed position rather than swinging about if it was just clipped to the line. The hollow nosecone also let the parachute be packed inside, shifting that weight forward as well. The compartment’s plug additionally serves as the tie down anchor for the shock cord. After unscrewing it and unhooking the parachute’s snap swivel attachment, the line passes easily through the tube sections for swapping them in and out.

After assembling the rocket together, Alice painted it precisely to her previously devised specifications. Her spray painting has improved quite visibly the past few months. Size and weight of the cans is still a challenge, even with a pistol grip attachment, but she’s gotten vastly better at not spraying the paint on too thickly in one go. This time she did though thoroughly entertain herself by “accidentally” heavily spray painting my hand purple while I was holding the nosecone for her. Periodically for days afterward she would randomly stop amid some other activity and ask “Daddy, why’s your hand purple??” and cackle wildly.

In the end, having constructed, finished, and weighed everything to update the simulation with real numbers, a 20g fishing weight tucked into the compartment was projected to make the minimal configuration satisfactorily stable.
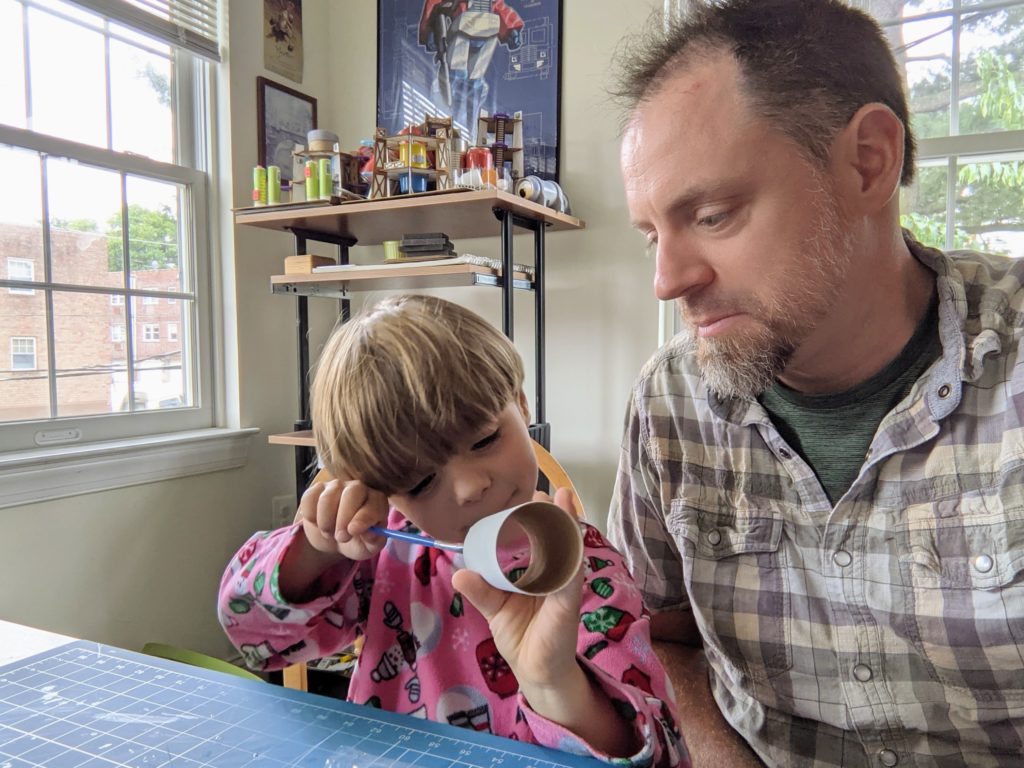
Gluing the tube couplers into the body sections.

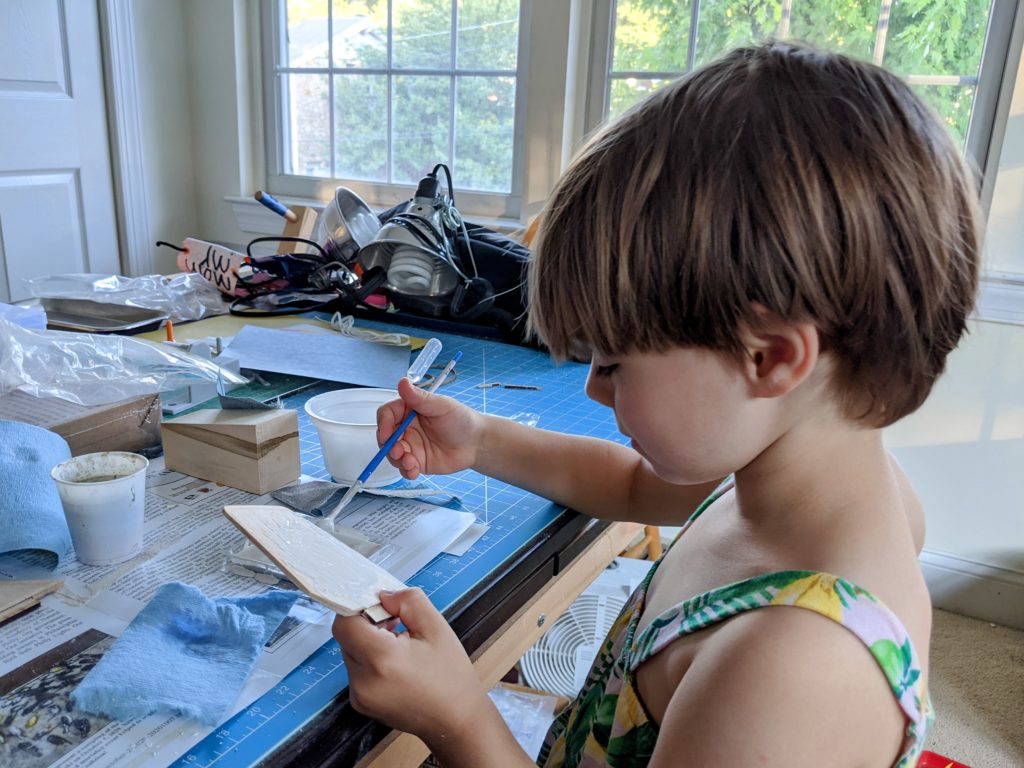
Covering a fin with sandable wood sealer so they can be smoothed out (full disclosure, this is a fin for another rocket we did a little work on at the same time but haven’t finished yet).

Nosecone ballast compartment, screw-in plug & shock cord mount, and parachute swivel snap.

The disassembled assembled rocket.

First Launch

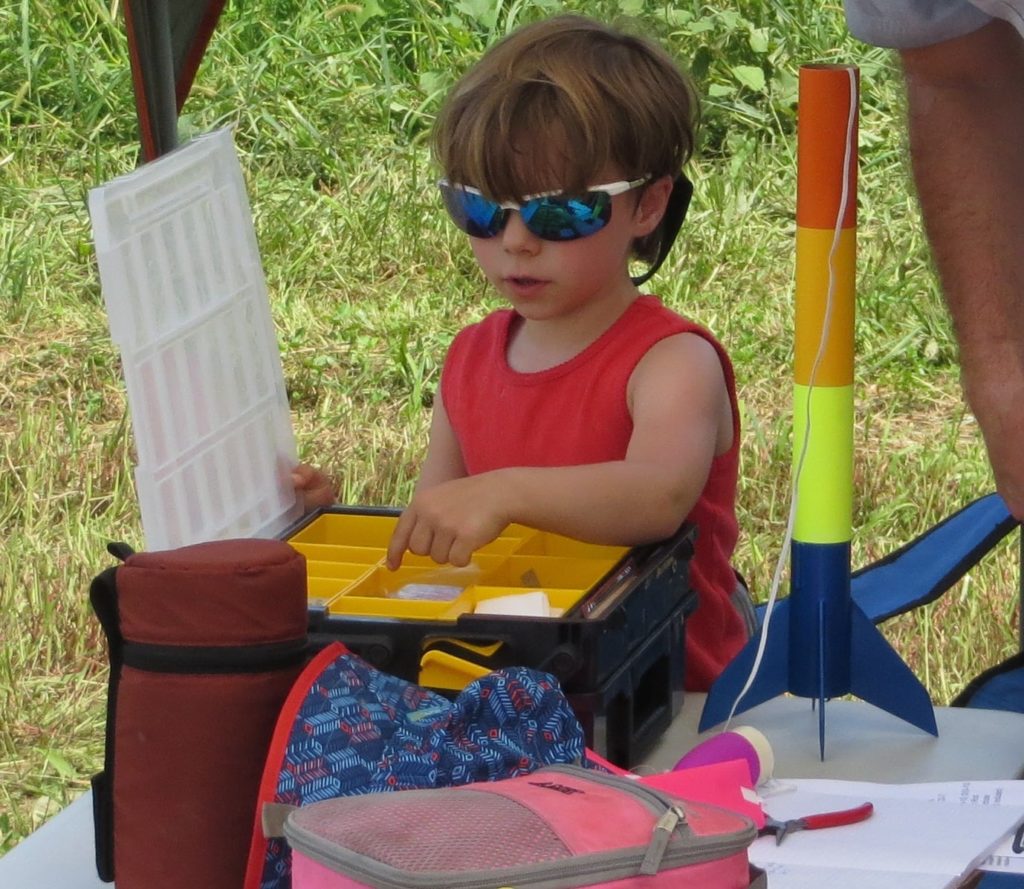
Alice prepping her rocket. (photo by Mike S)

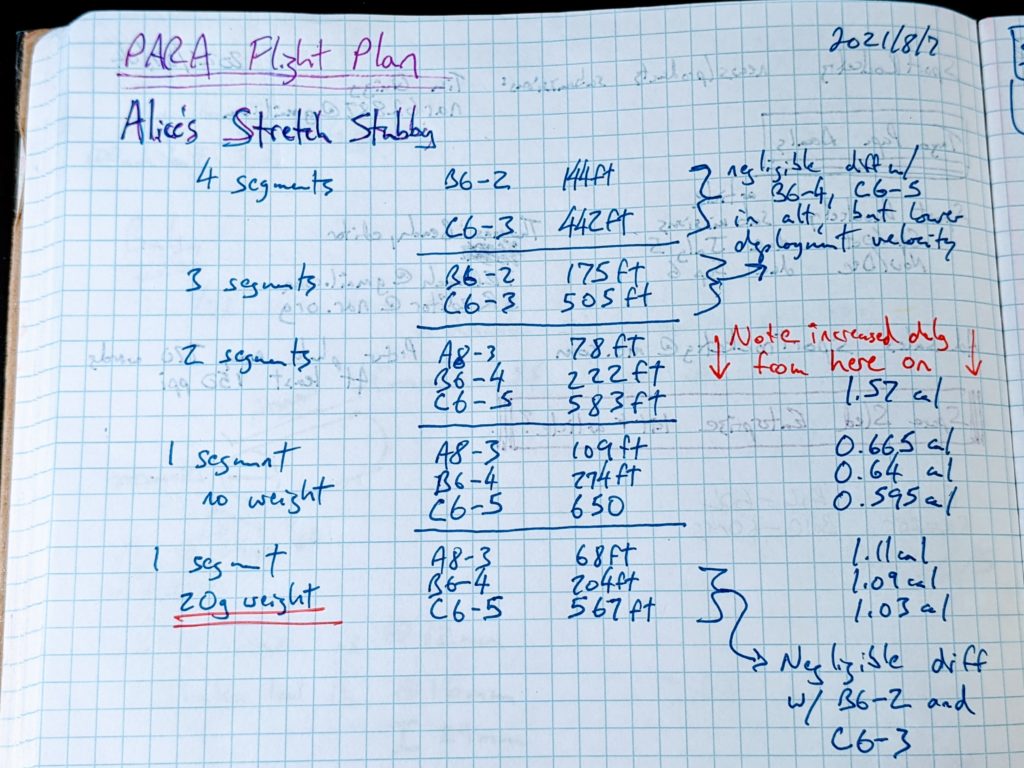
Notes on motors and configurations for prepping the rocket at the field.

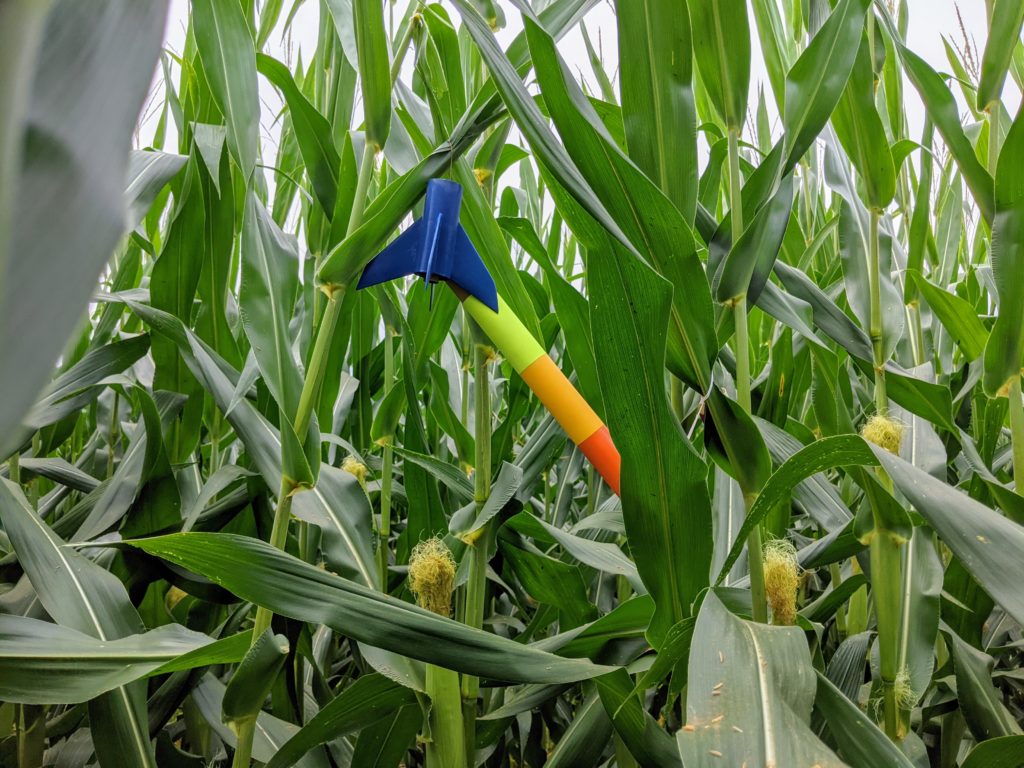
Our first launch of the completed-just-in-time rocket was pretty successful. However, after that one just-slightly-creepy retrieval from deep in the corn, and rightly afraid of losing the rocket forever amid the field of 7+ foot tall stalks, Alice decided to call the day a success without trying out all configurations of the rocket. She says we’ll do that once the harvest is done…
Alice wading into the corn on a retrieval mission.

Stretch Stubby, I presume?

R3

R3 in OpenRocket.

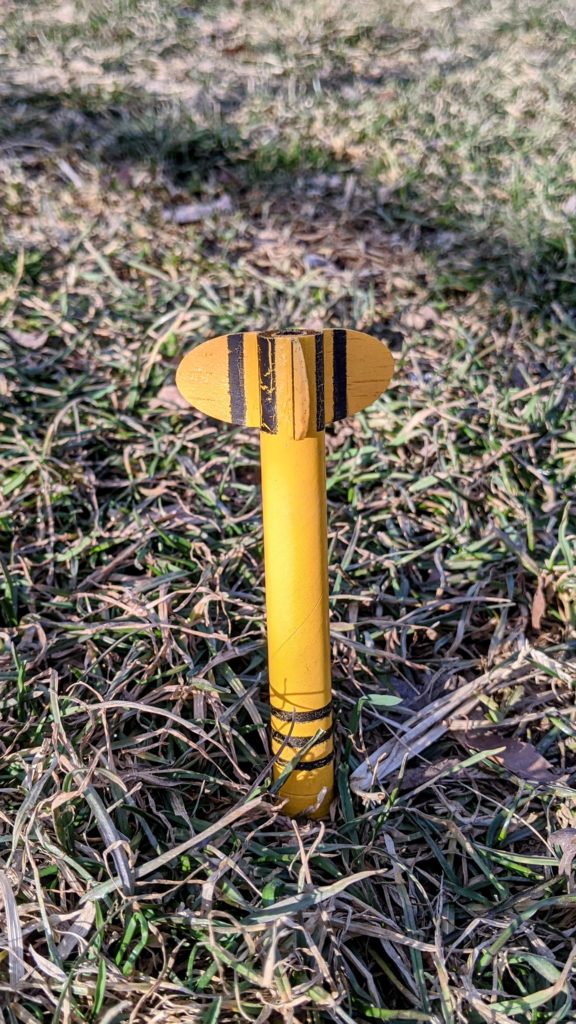
The past week has also seen half a dozen launches of R3, my first micro-rocket. It’s an initial experiment with very low power motors amenable to small neighborhood launch sites. Quest MicroMaxx 6mm motors are used, equivalent to 1/8A and with less than a second of burn and no delay before ejection.

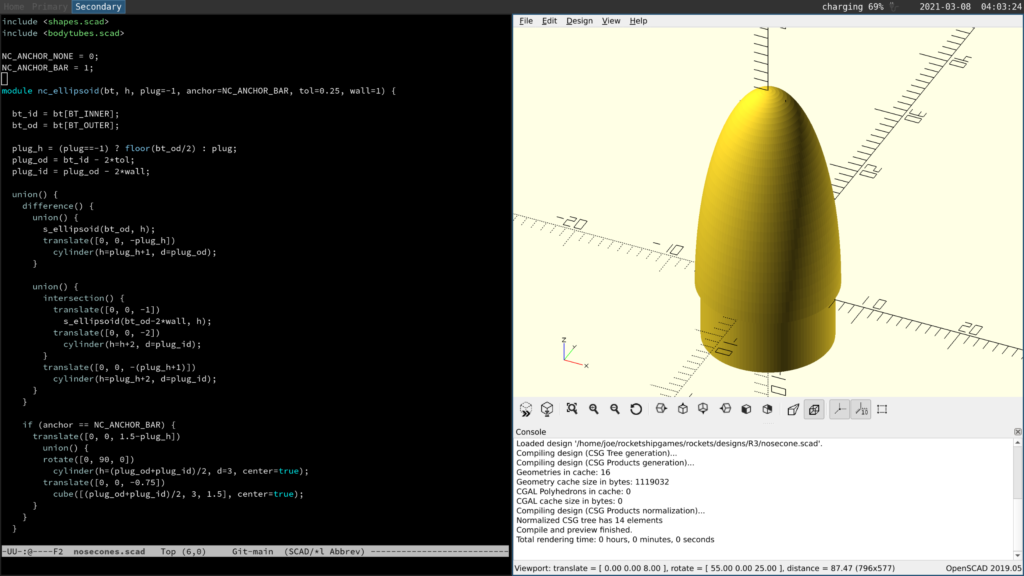
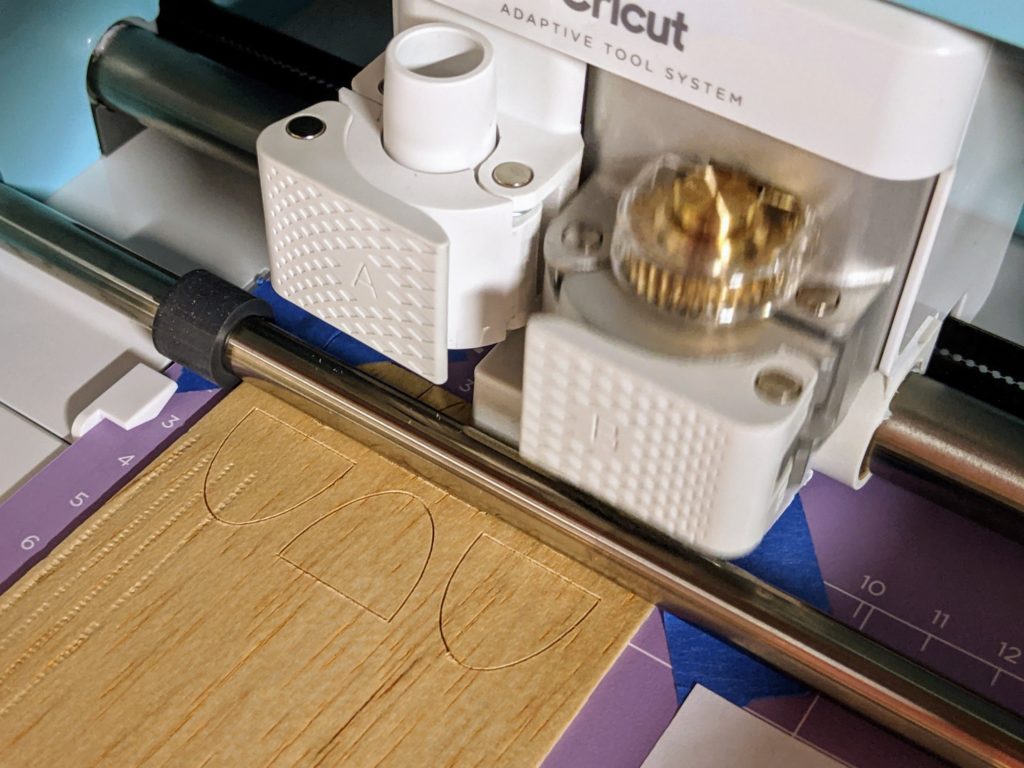
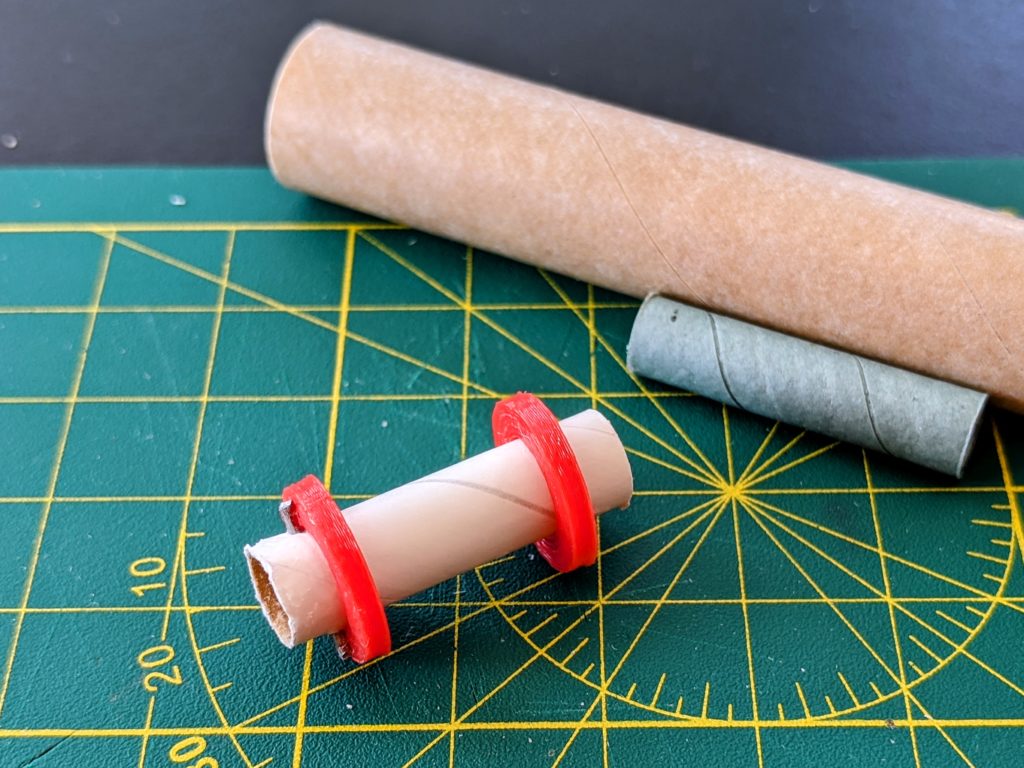
Unlike most micro designs I’ve seen so far, the body is a BT5 instead of a T-MM. This gives it a nice, solid look to my eyes more akin to a downscaled typical sport rocket than a straw with fins. R3 was designed in OpenRocket in order to hit a weight target of around 4g unloaded, which seems to be a common ballpark for micro-rockets, and assure stability. The elliptical fins are 1/16″ balsa drawn in Inkscape and cut with a Cricut Maker. An elliptical nosecone, conformal 1/16″ launch lug, and centering rings for the motor mount were modeled in OpenSCAD and 3D printed. The rings are ABS and the other parts PLA. A T-MM tube is used in the motor mount to insulate the rings from the motor, though this is almost certainly unnecessary. A small piece of music wire serves as the engine block. Recovery system is a streamer cut from a Mylar emergency blanket. This however has so far never deployed successfully and remains a work in progress. The finish is a quick spray painting; the masking came out less crisp than I’d prefer, but I like the styling overall.

Nosecone modeling in OpenSCAD.

Cutting the fins.

Assembled motor mount.

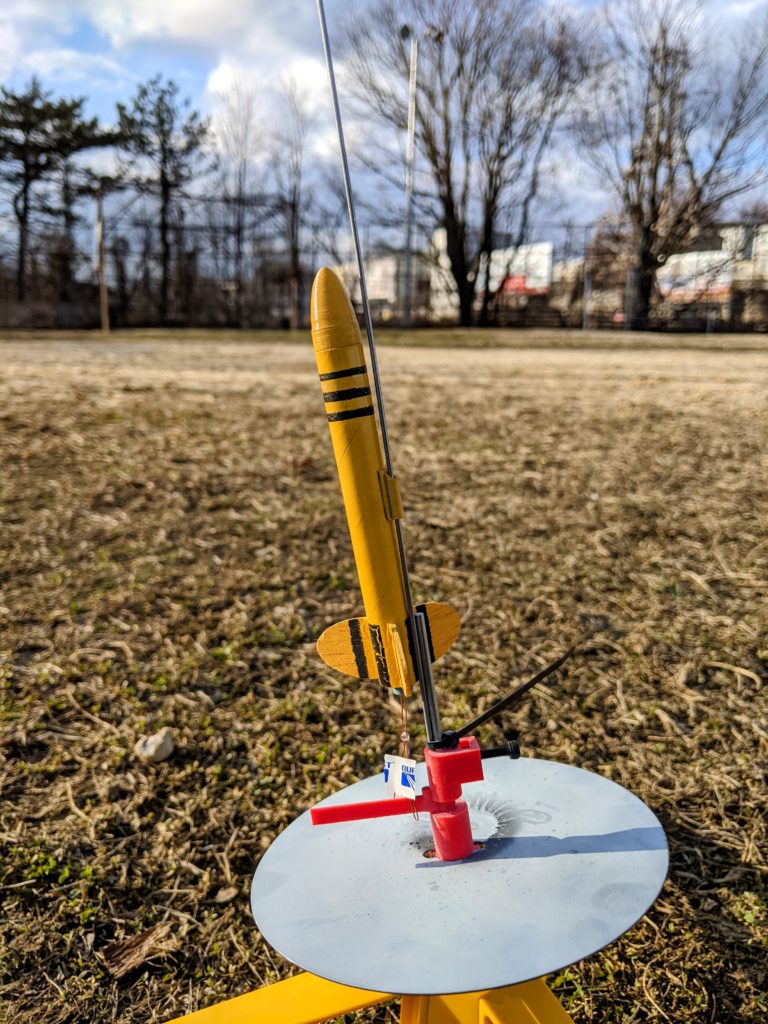
On the pad for the inaugural launch.

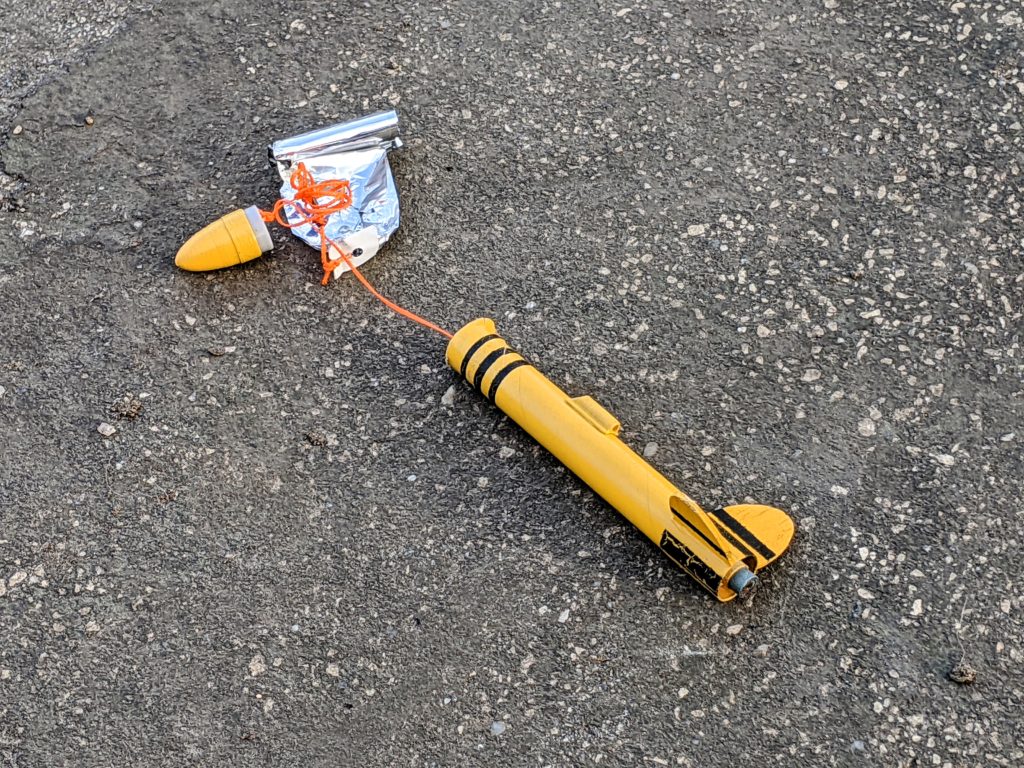
Having forgotten to taken a picture once built—not at all because we were rushing out the door late for the launch as the spray paint was still drying—I fortunately at the last moment thought to to take a launchpad photo before it started sustaining damage. Recovery system design & packing in such a small rocket will take some more thought. The rocket survived one flutter landing and one ballistic landing on grass, then took a big hit from an asphalt landing after the streamer repeatedly failed to deploy. It was easily repaired though and flew again several times at yesterday’s PARA520 launch. The new, revised streamer still only partially deployed but the rocket had a reasonably soft dirt landing each time. All of the flights have otherwise, even in modest wind, been very straight & true and enjoyable to watch.

Ballistic landing.

Disastrous asphalt landing.

While the streamer will take some more work, overall this is a very satisfying design. It has a nice classic look to it, in a tiny form that we can easily launch from local ballfields. I expect to design and build more micros based on a BT5 like this.

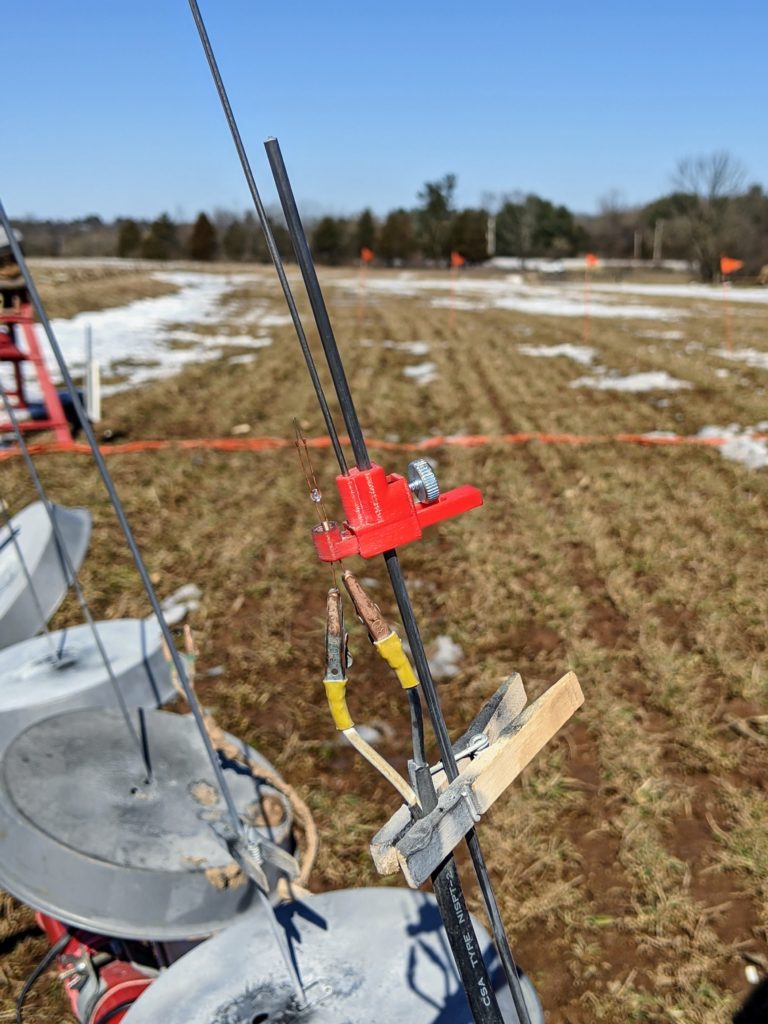
Also very satisfying is the 1/8″ to 1/16″ launch rod adapter I’ve been designing and 3D printing. This lets you fly micros from a standard launcher. Unlike more traditional model rockets wherein a plug keeps the igniter attached for launch, MicroMaxx rockets are typically supported on the rod by the igniter itself. The igniter is set in place and then the rocket slid down the rod on top of it rather than the other way around. To facilitate this for rockets of varying diameter, my adapter design has a little sliding tray with a cup for the igniter. After ~2 iterations it’s trivial to print, attaches and adjusts quickly & smoothly, and provides a stable platform. More on this to come.

Micro launch rod adapter.

R1

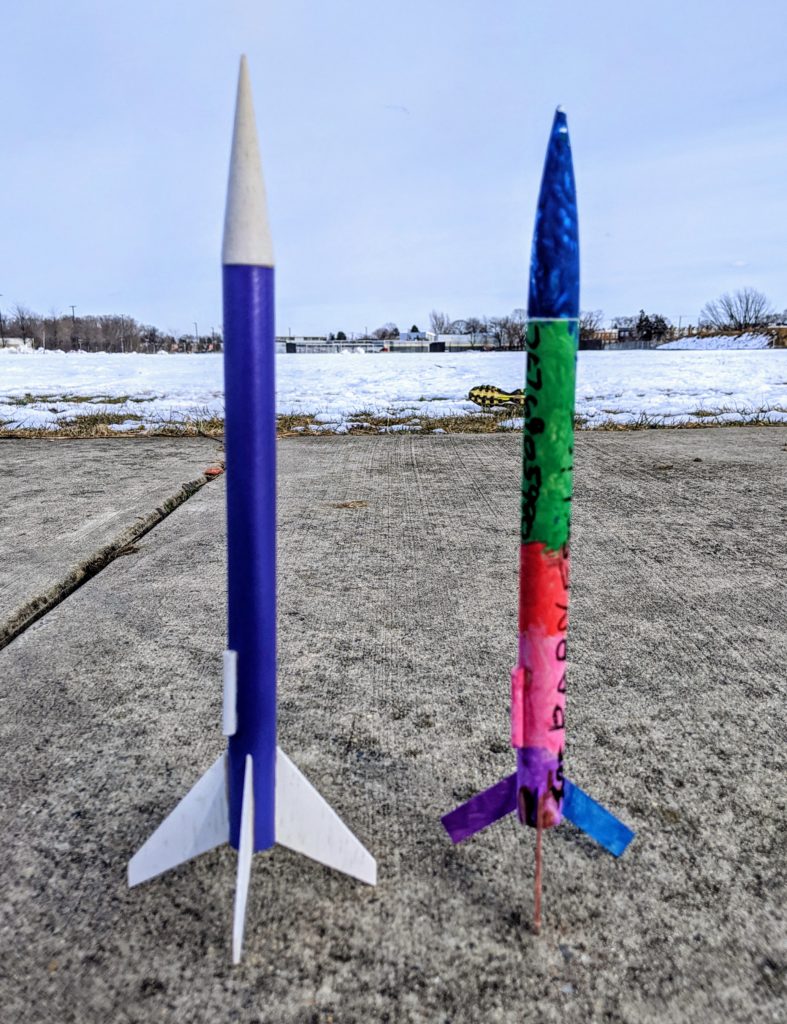
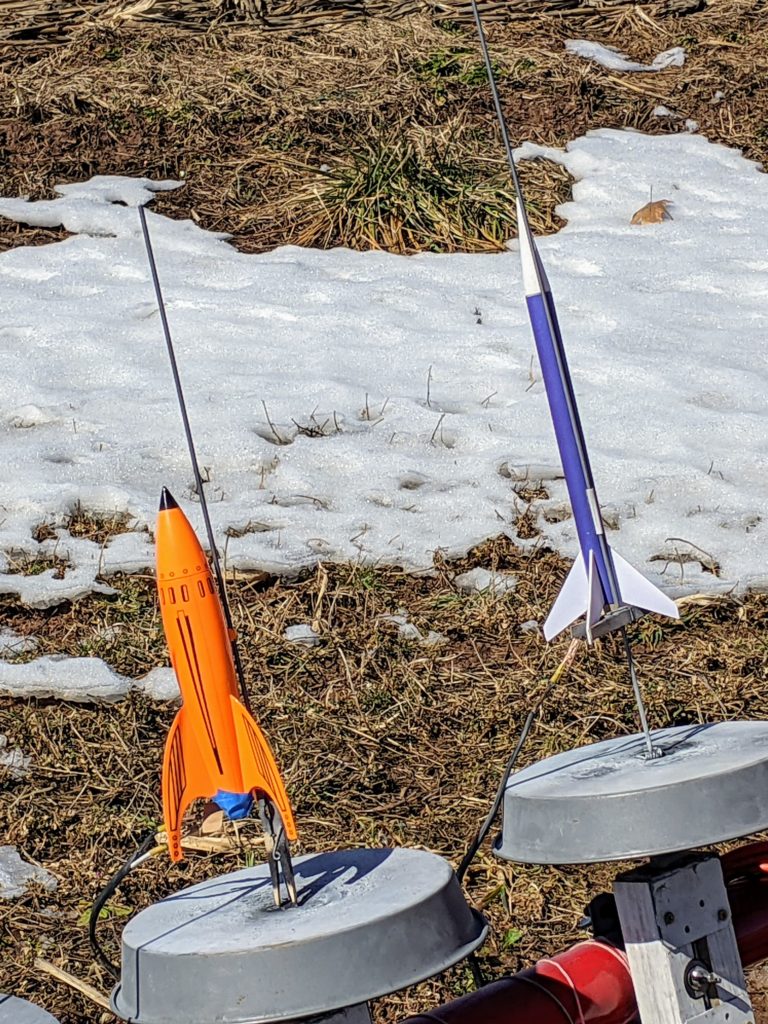
R1 and Alice’s Estes Zinger.

After having it built for a month, we finally flew R1, the first rocket I’ve designed in ~30 years. I had put this together overnight as a backup rocket in case something happened to Alice’s Estes Zinger at her first launch, but we did not wind up flying R1 then. Yesterday’s PARA520 launch presented an opportunity though and it had a great debut flight, sailing straight up and then… drifting into an intensely muddy but fortunately empty cow pen. Ok, that last part could have been better, but at least the clean paint job did not get particularly dirty.

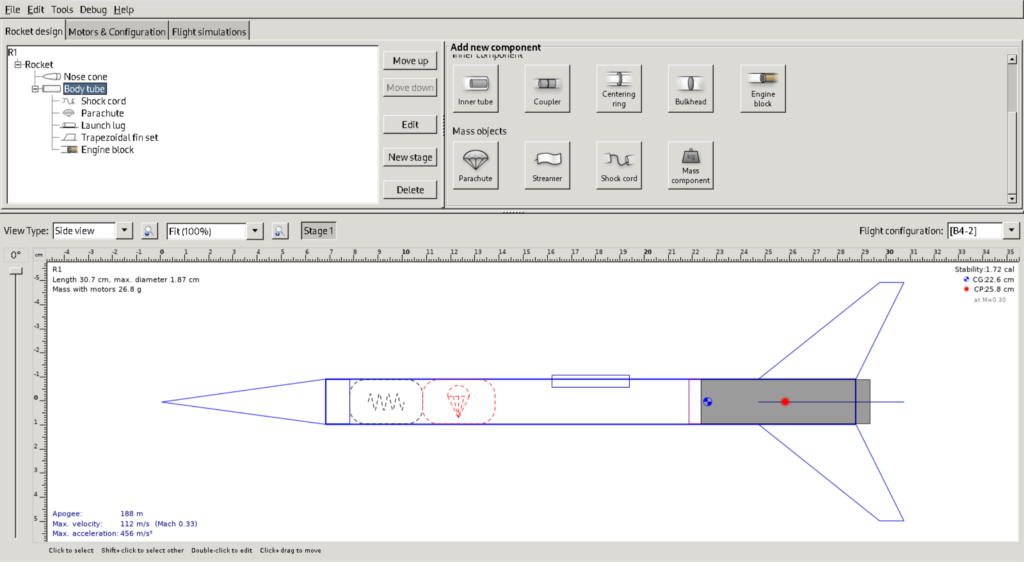
R1 modeling in OpenRocket.

R1 is a very basic rocket largely made out of parts from an old Estes Designer’s Special box. Although no doubt overkill for such a straightforward rocket, it was modeled in OpenRocket in order to adjust the sizing and hit a good stability caliber. It has a balsa nose cone, BT20 tube, and four trapezoidal fins. These were cut by hand from 1/6″ balsa but I made a mistake and oriented the grain weakly, which I only realized when they snapped in transport. So I cut sticker paper for both sides of each fin and glued the leading edges, so now they look sharp and are very strong. Recovery system is a small parachute and it launches on 1/8″ rod. The finish is simple spray painting that was literally still drying in the car on the way to our January launch… The purple body came out particularly rich and smooth though despite the hasty work.

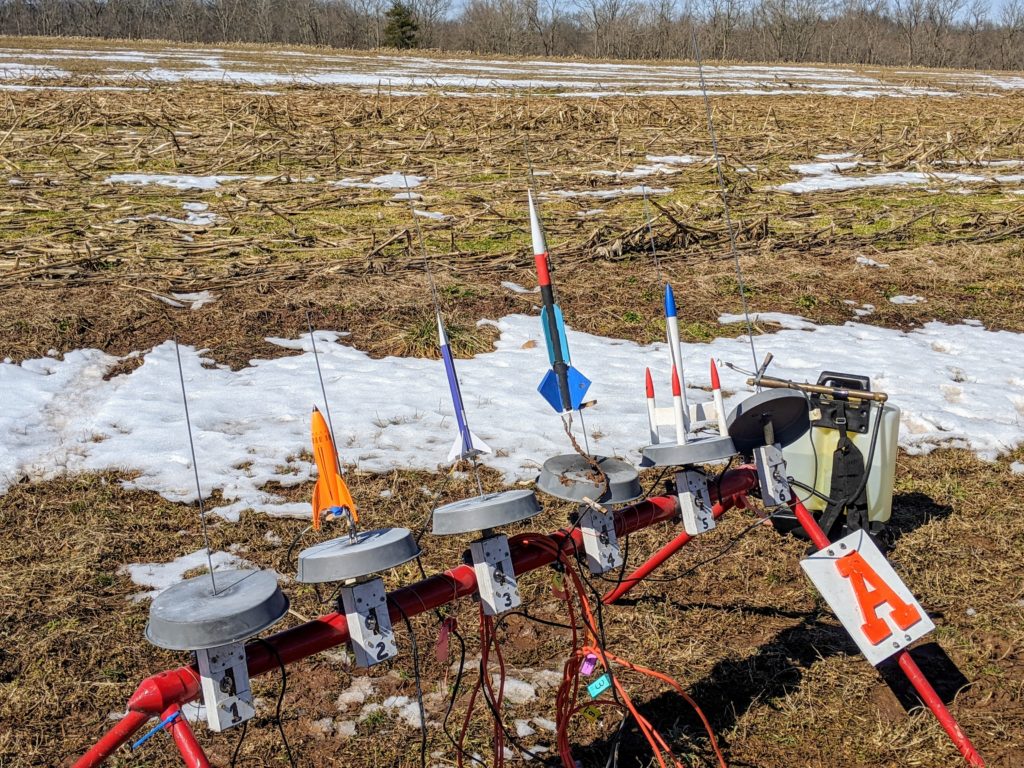
On the launchpad at PARA, March 7.

On the launchpad w/ Alice’s orange starter rocket.

In the end I’m very pleased with this simple rocket. Clean looks, strong, flew well. Can’t ask for much more for a last minute, late night scratchbuild.