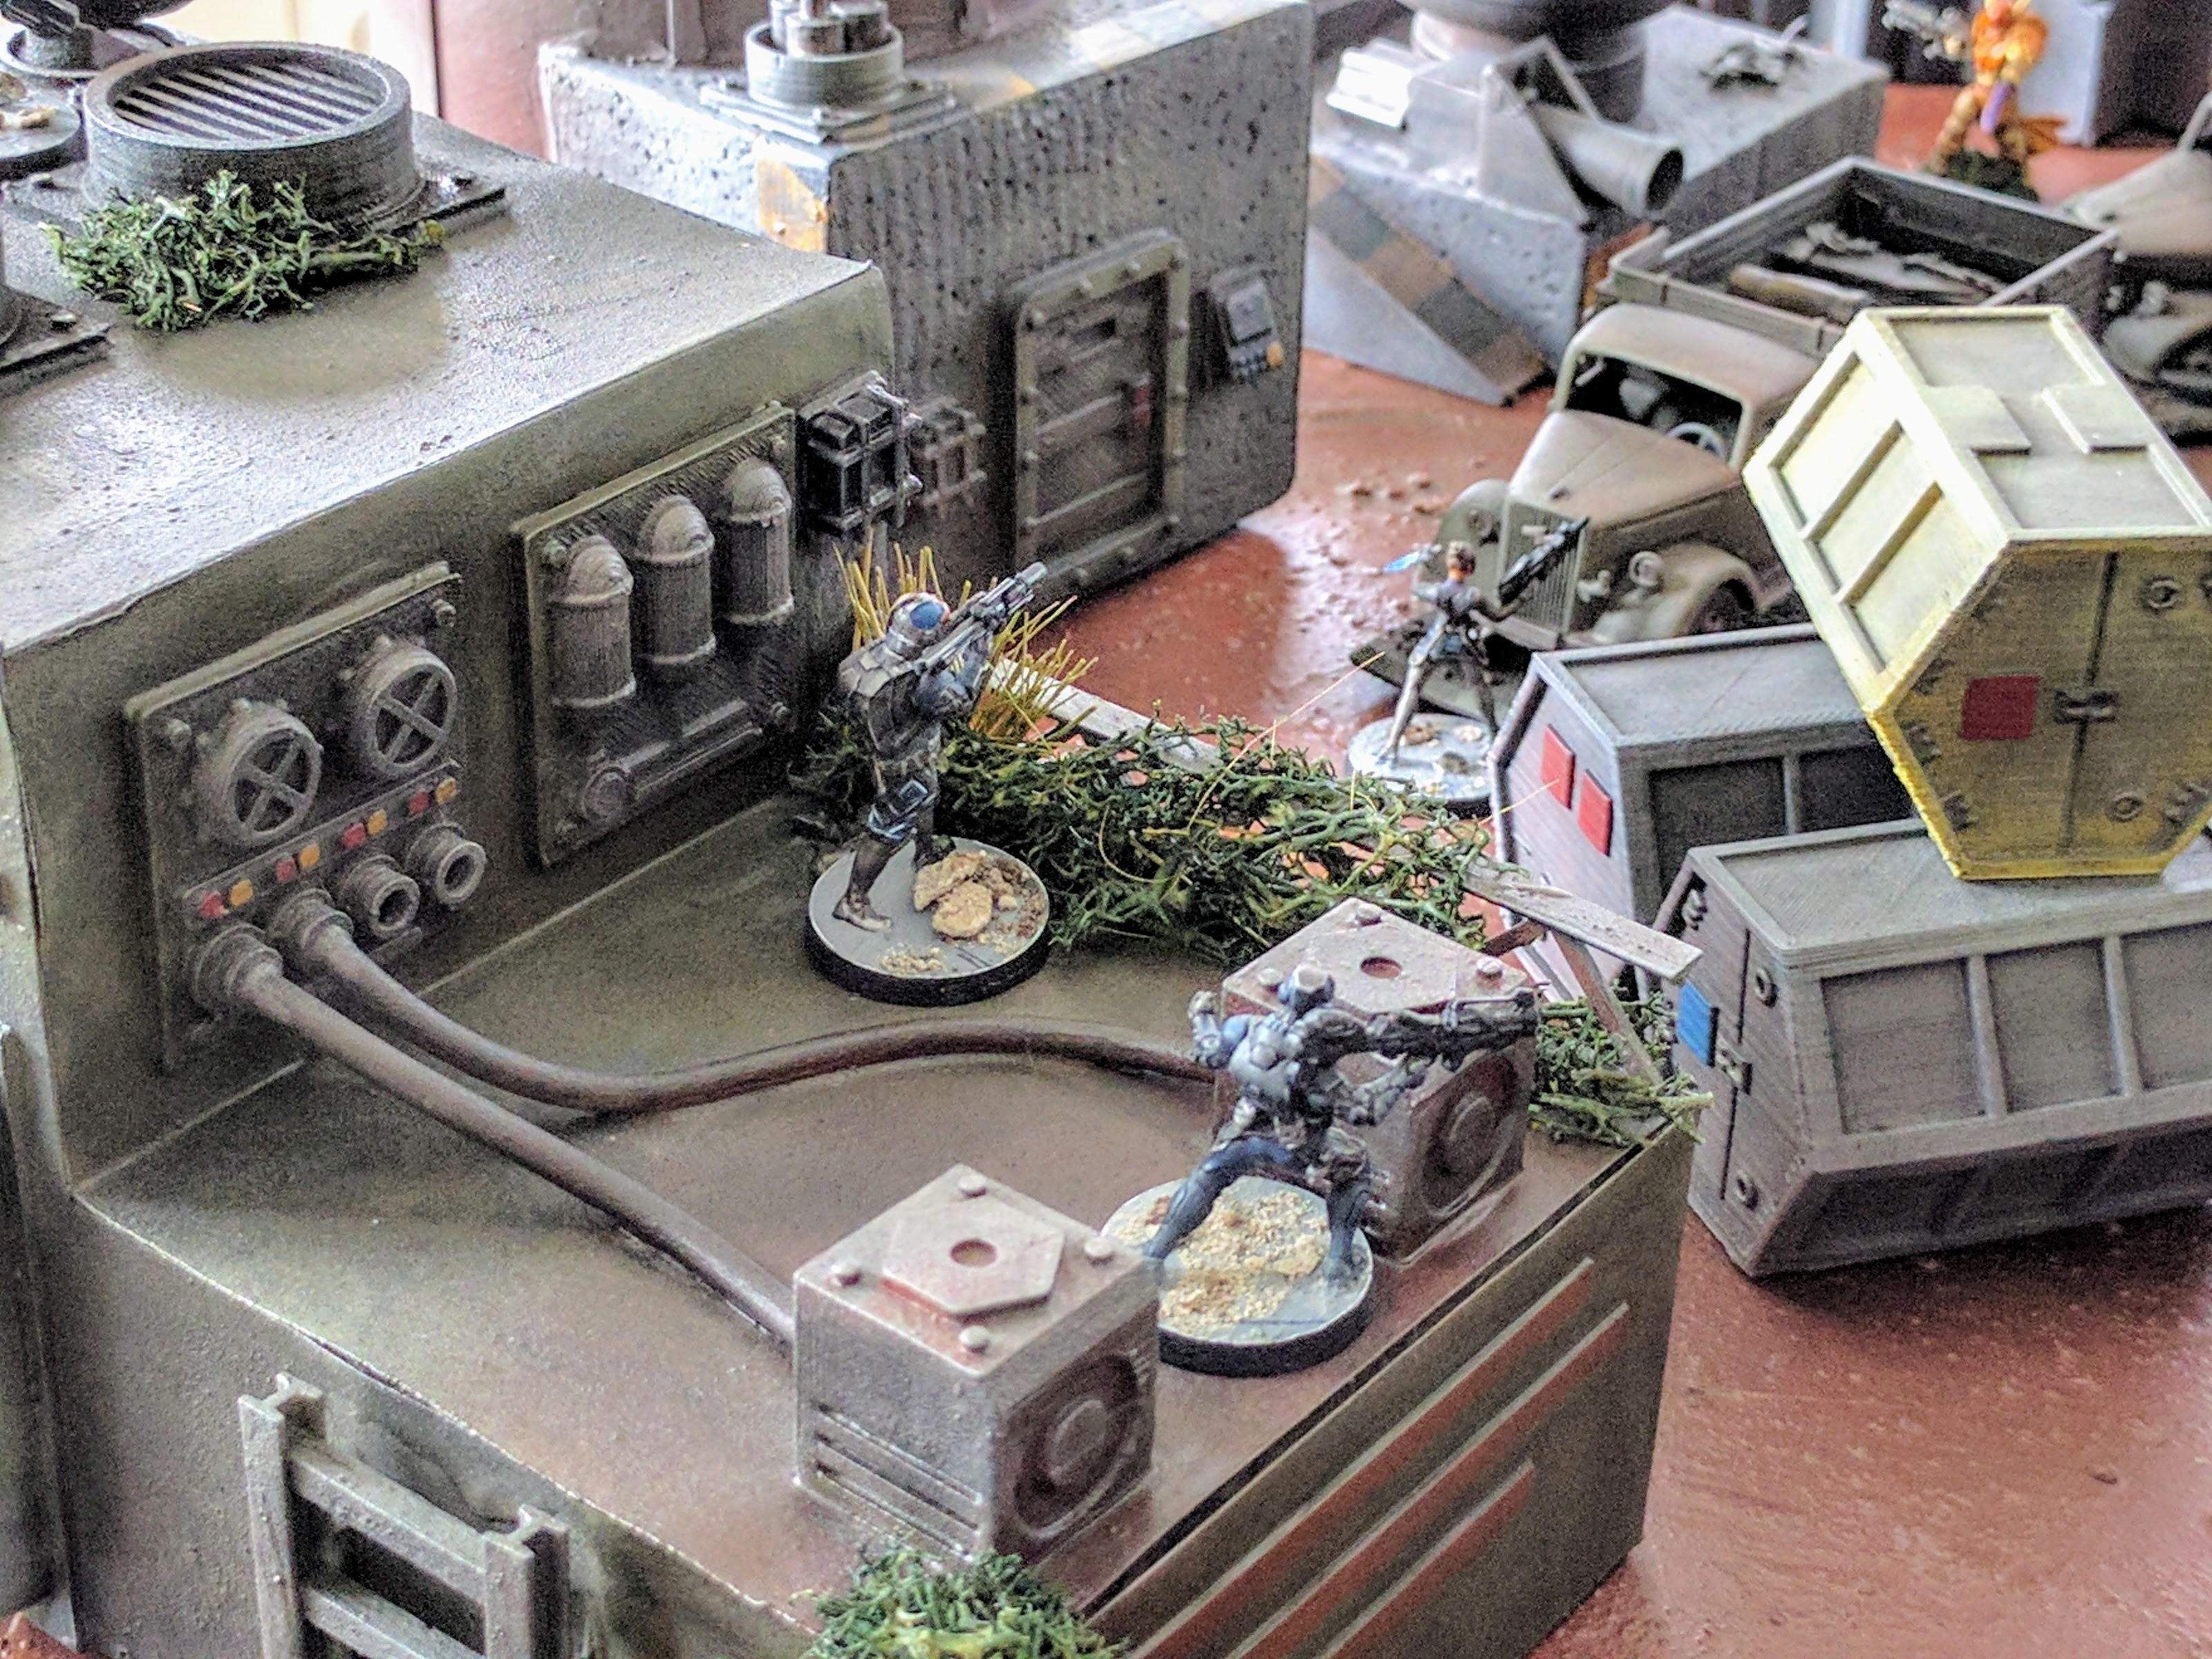
Battle breaks out amid the newly completed Derelict Depot!
Advancing through the wreckage.
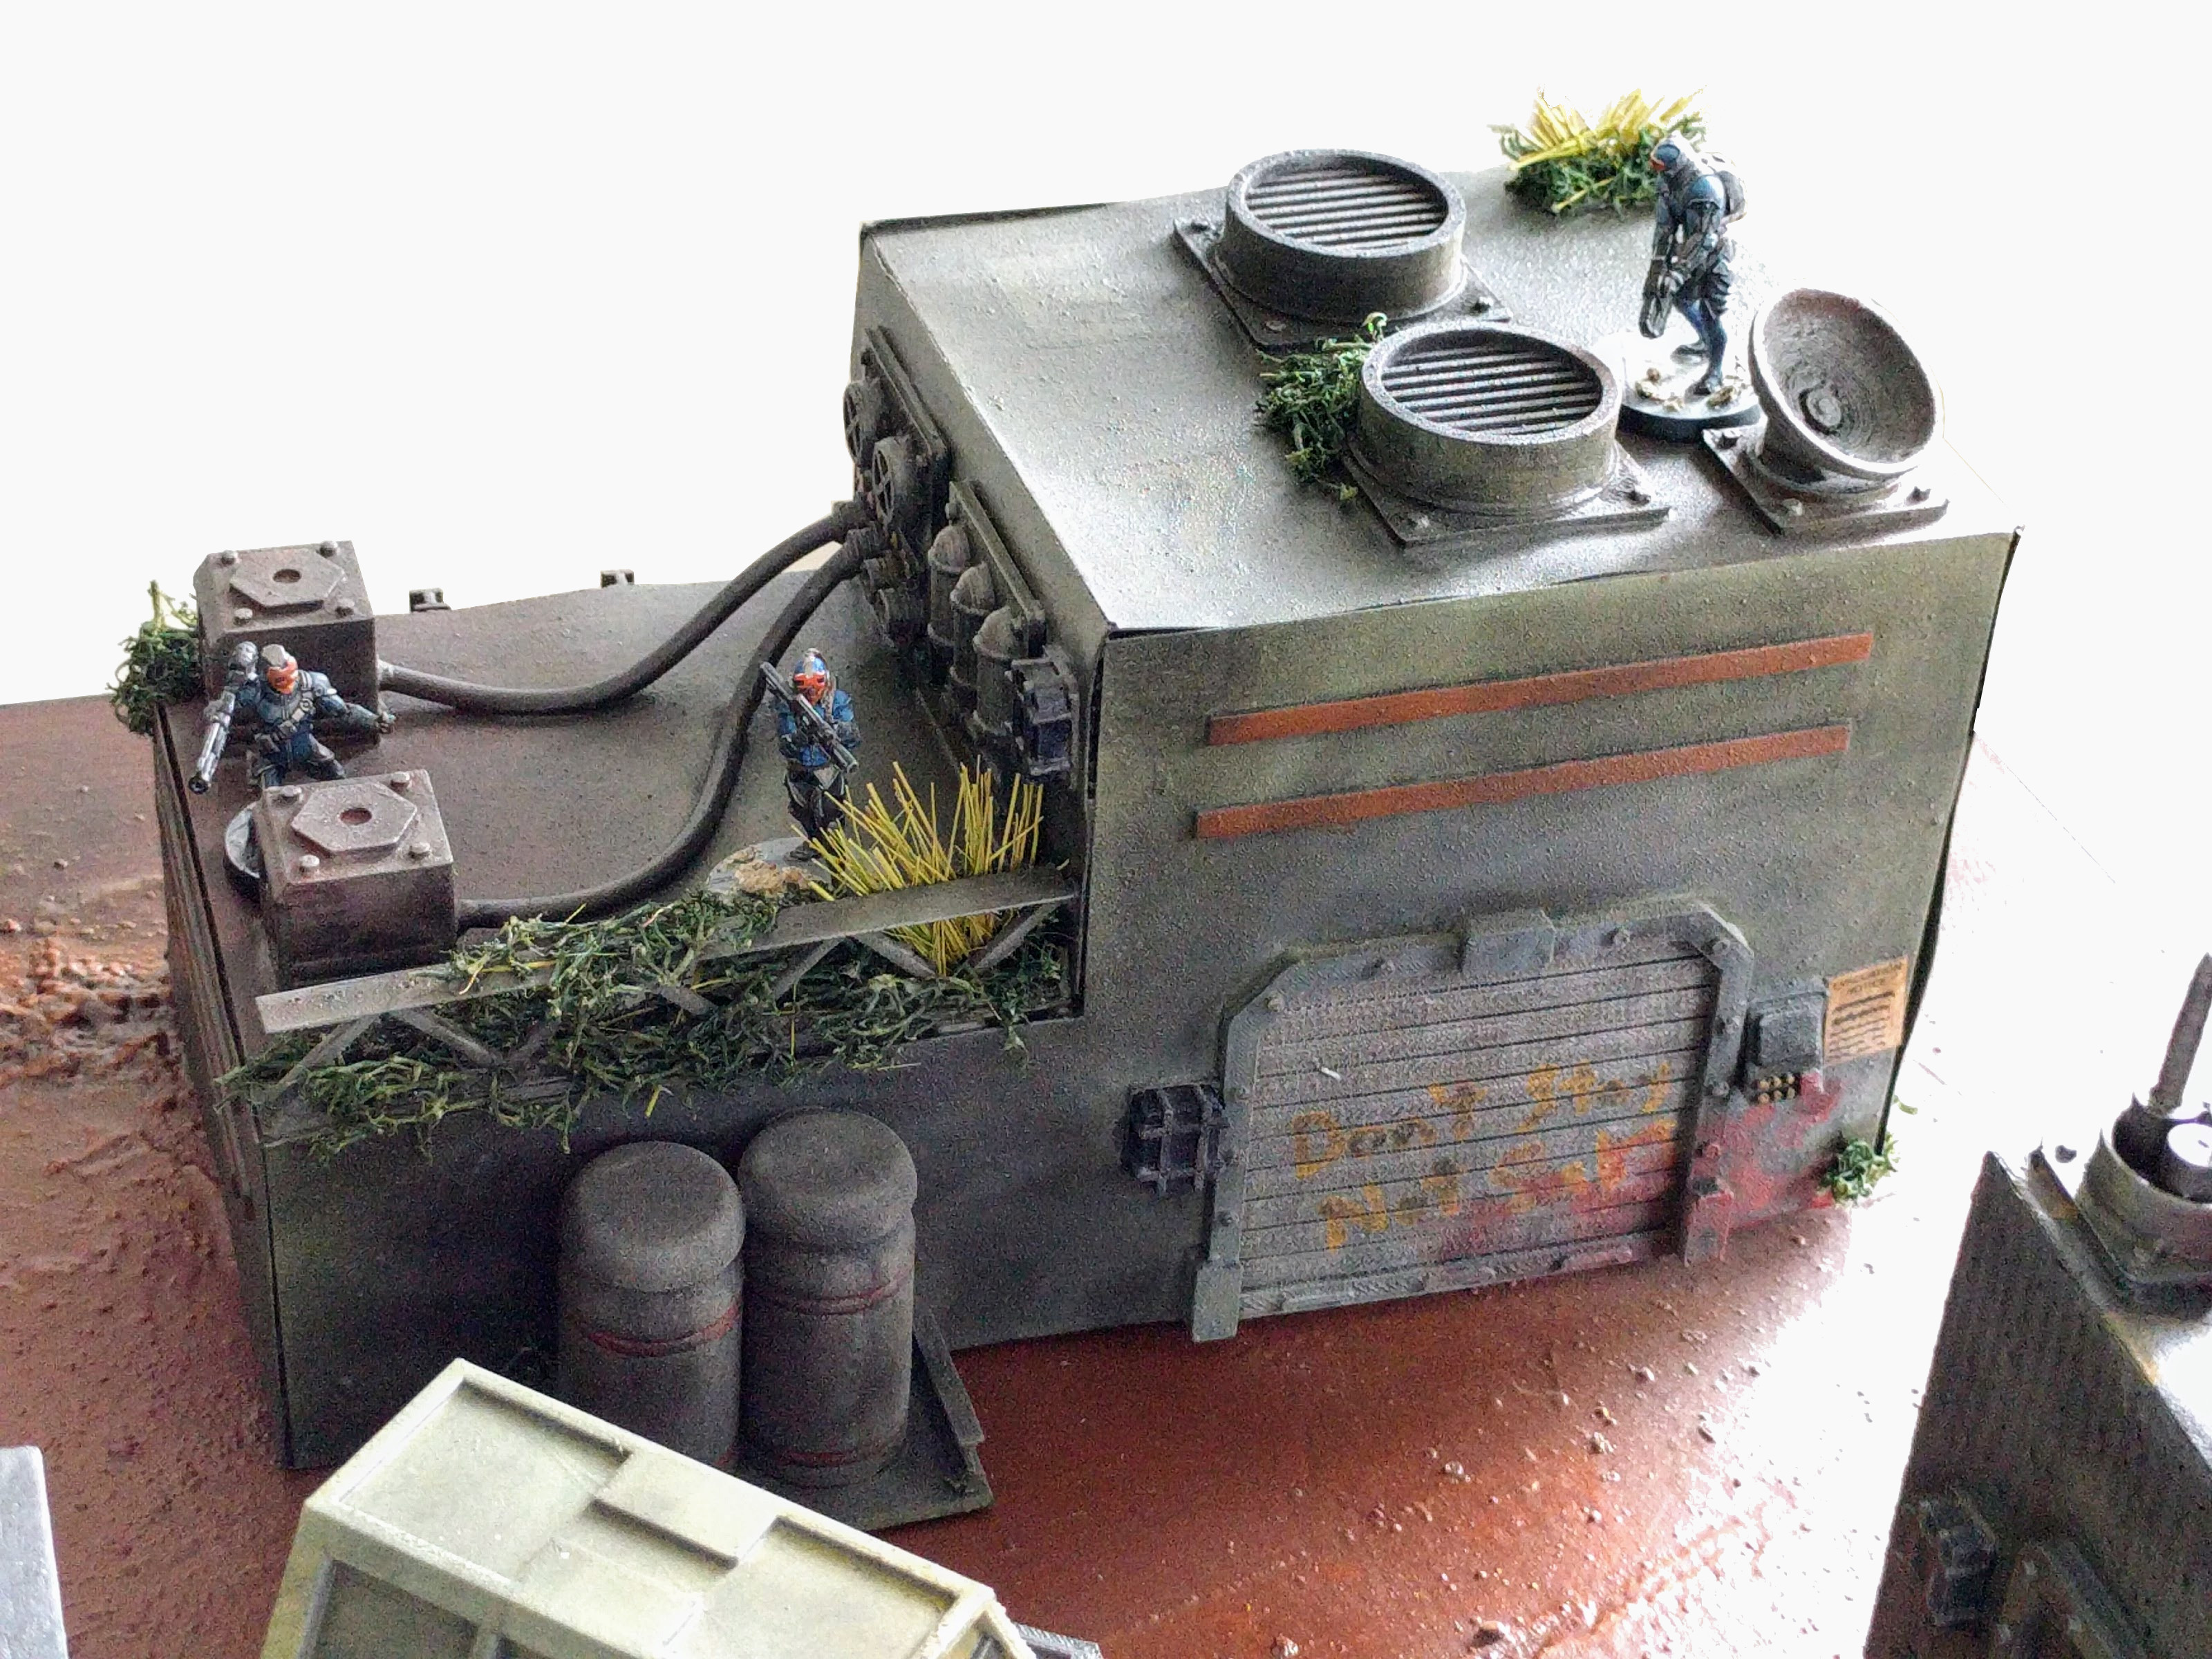
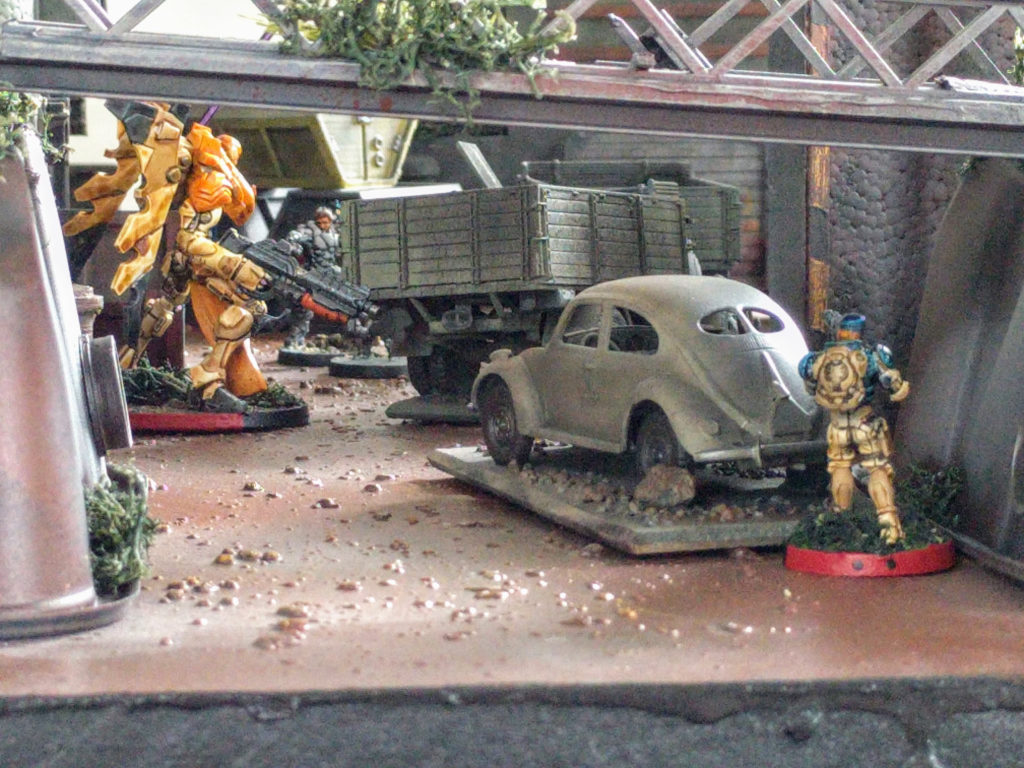
Looking out from the abandoned garage.
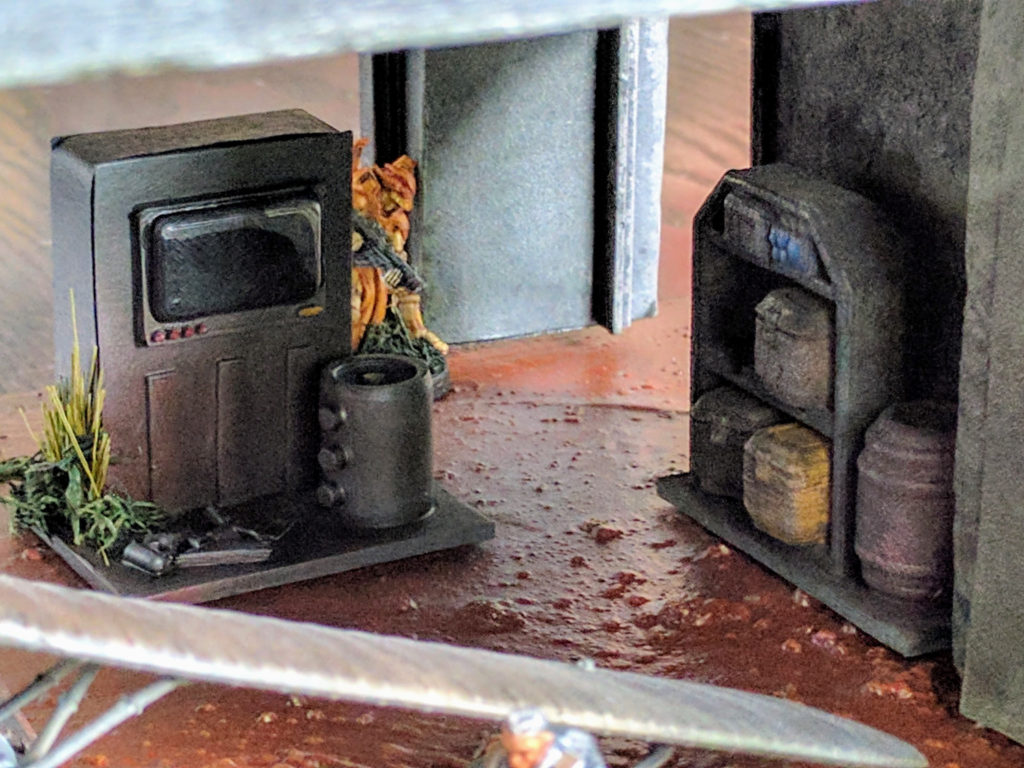
Lurking in the shadows.

Moving through the scrapyard.

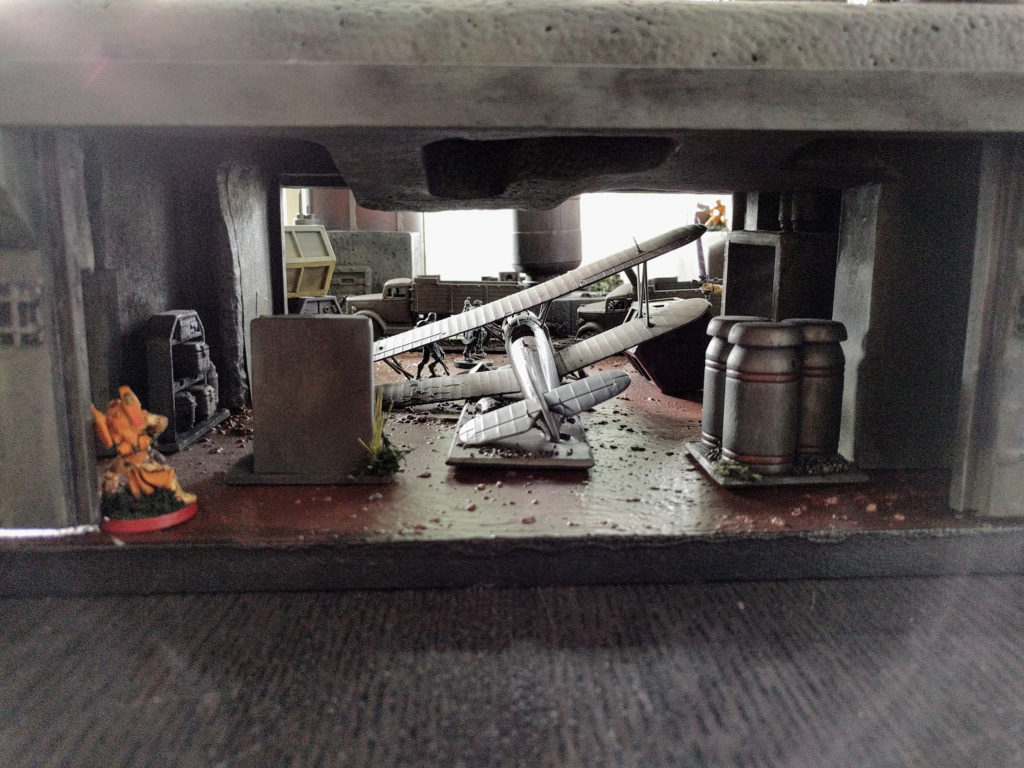
Garrisoning the mechanical building.
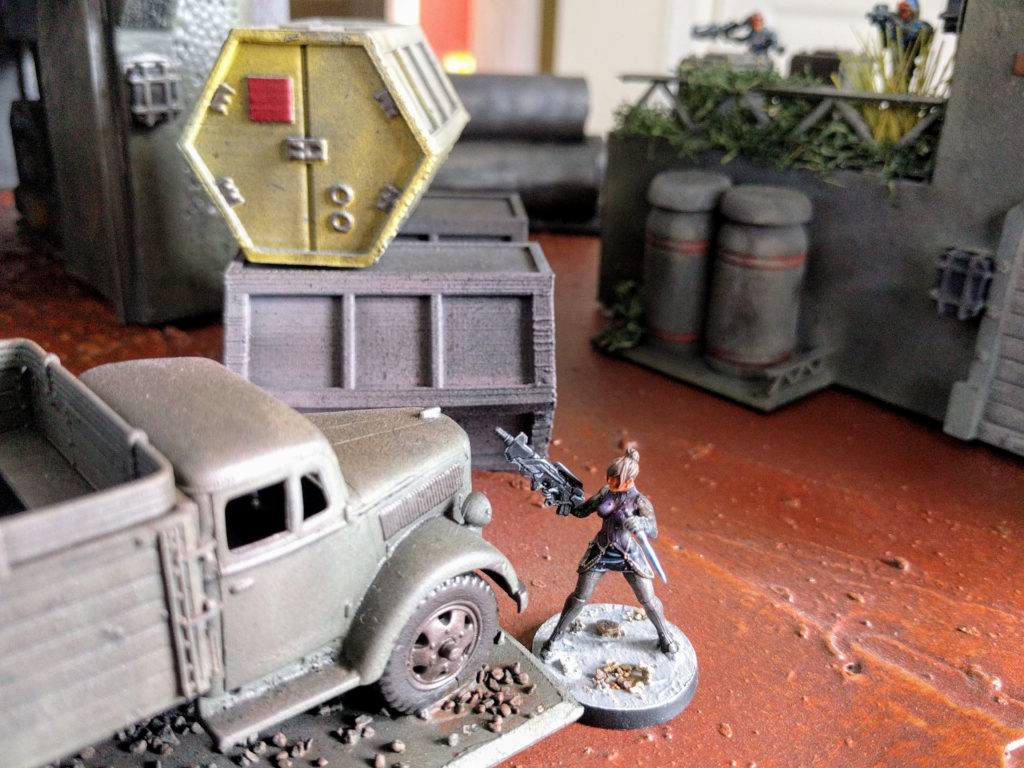
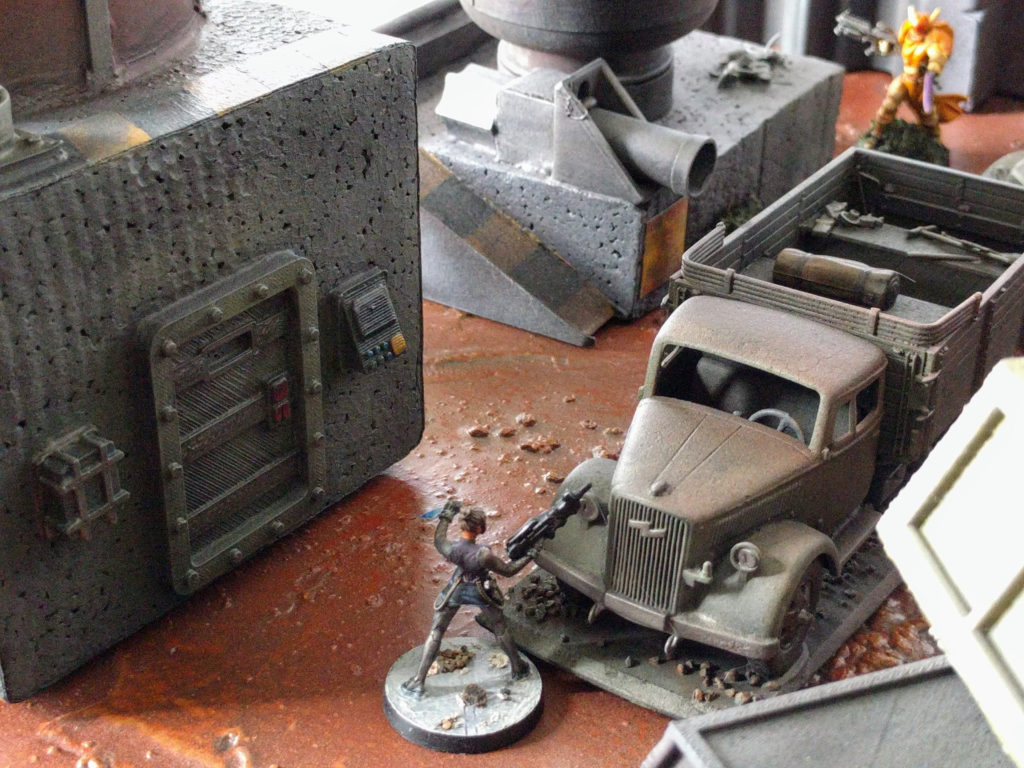
Scouting for trouble.
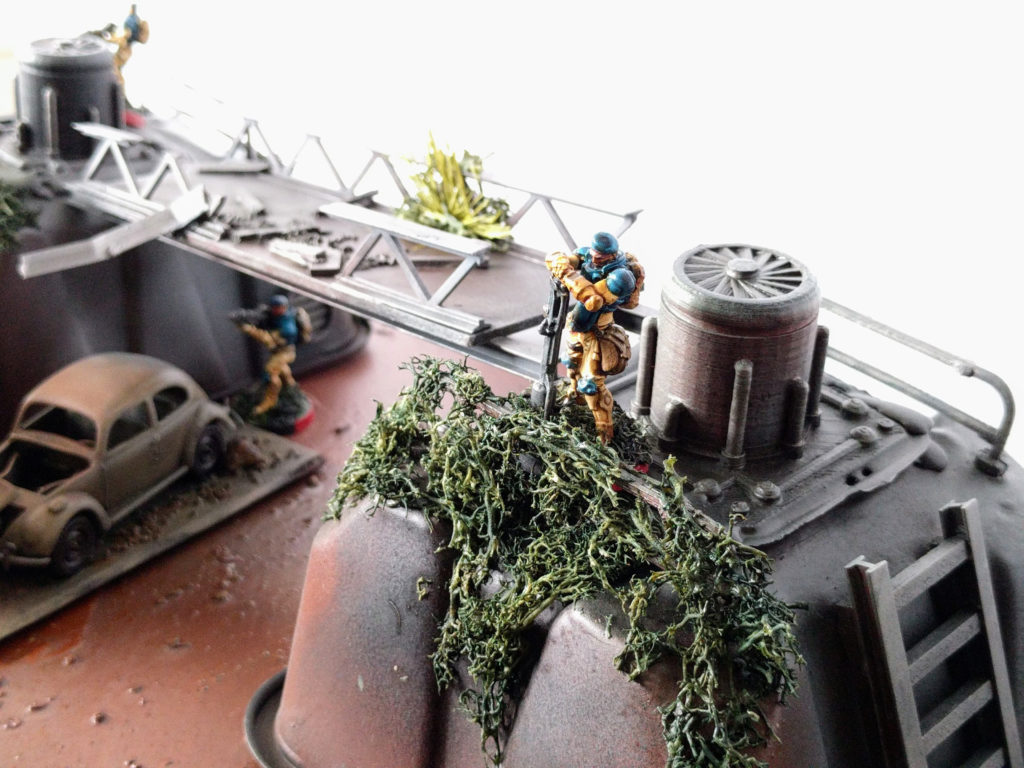
Overlooking the battle.

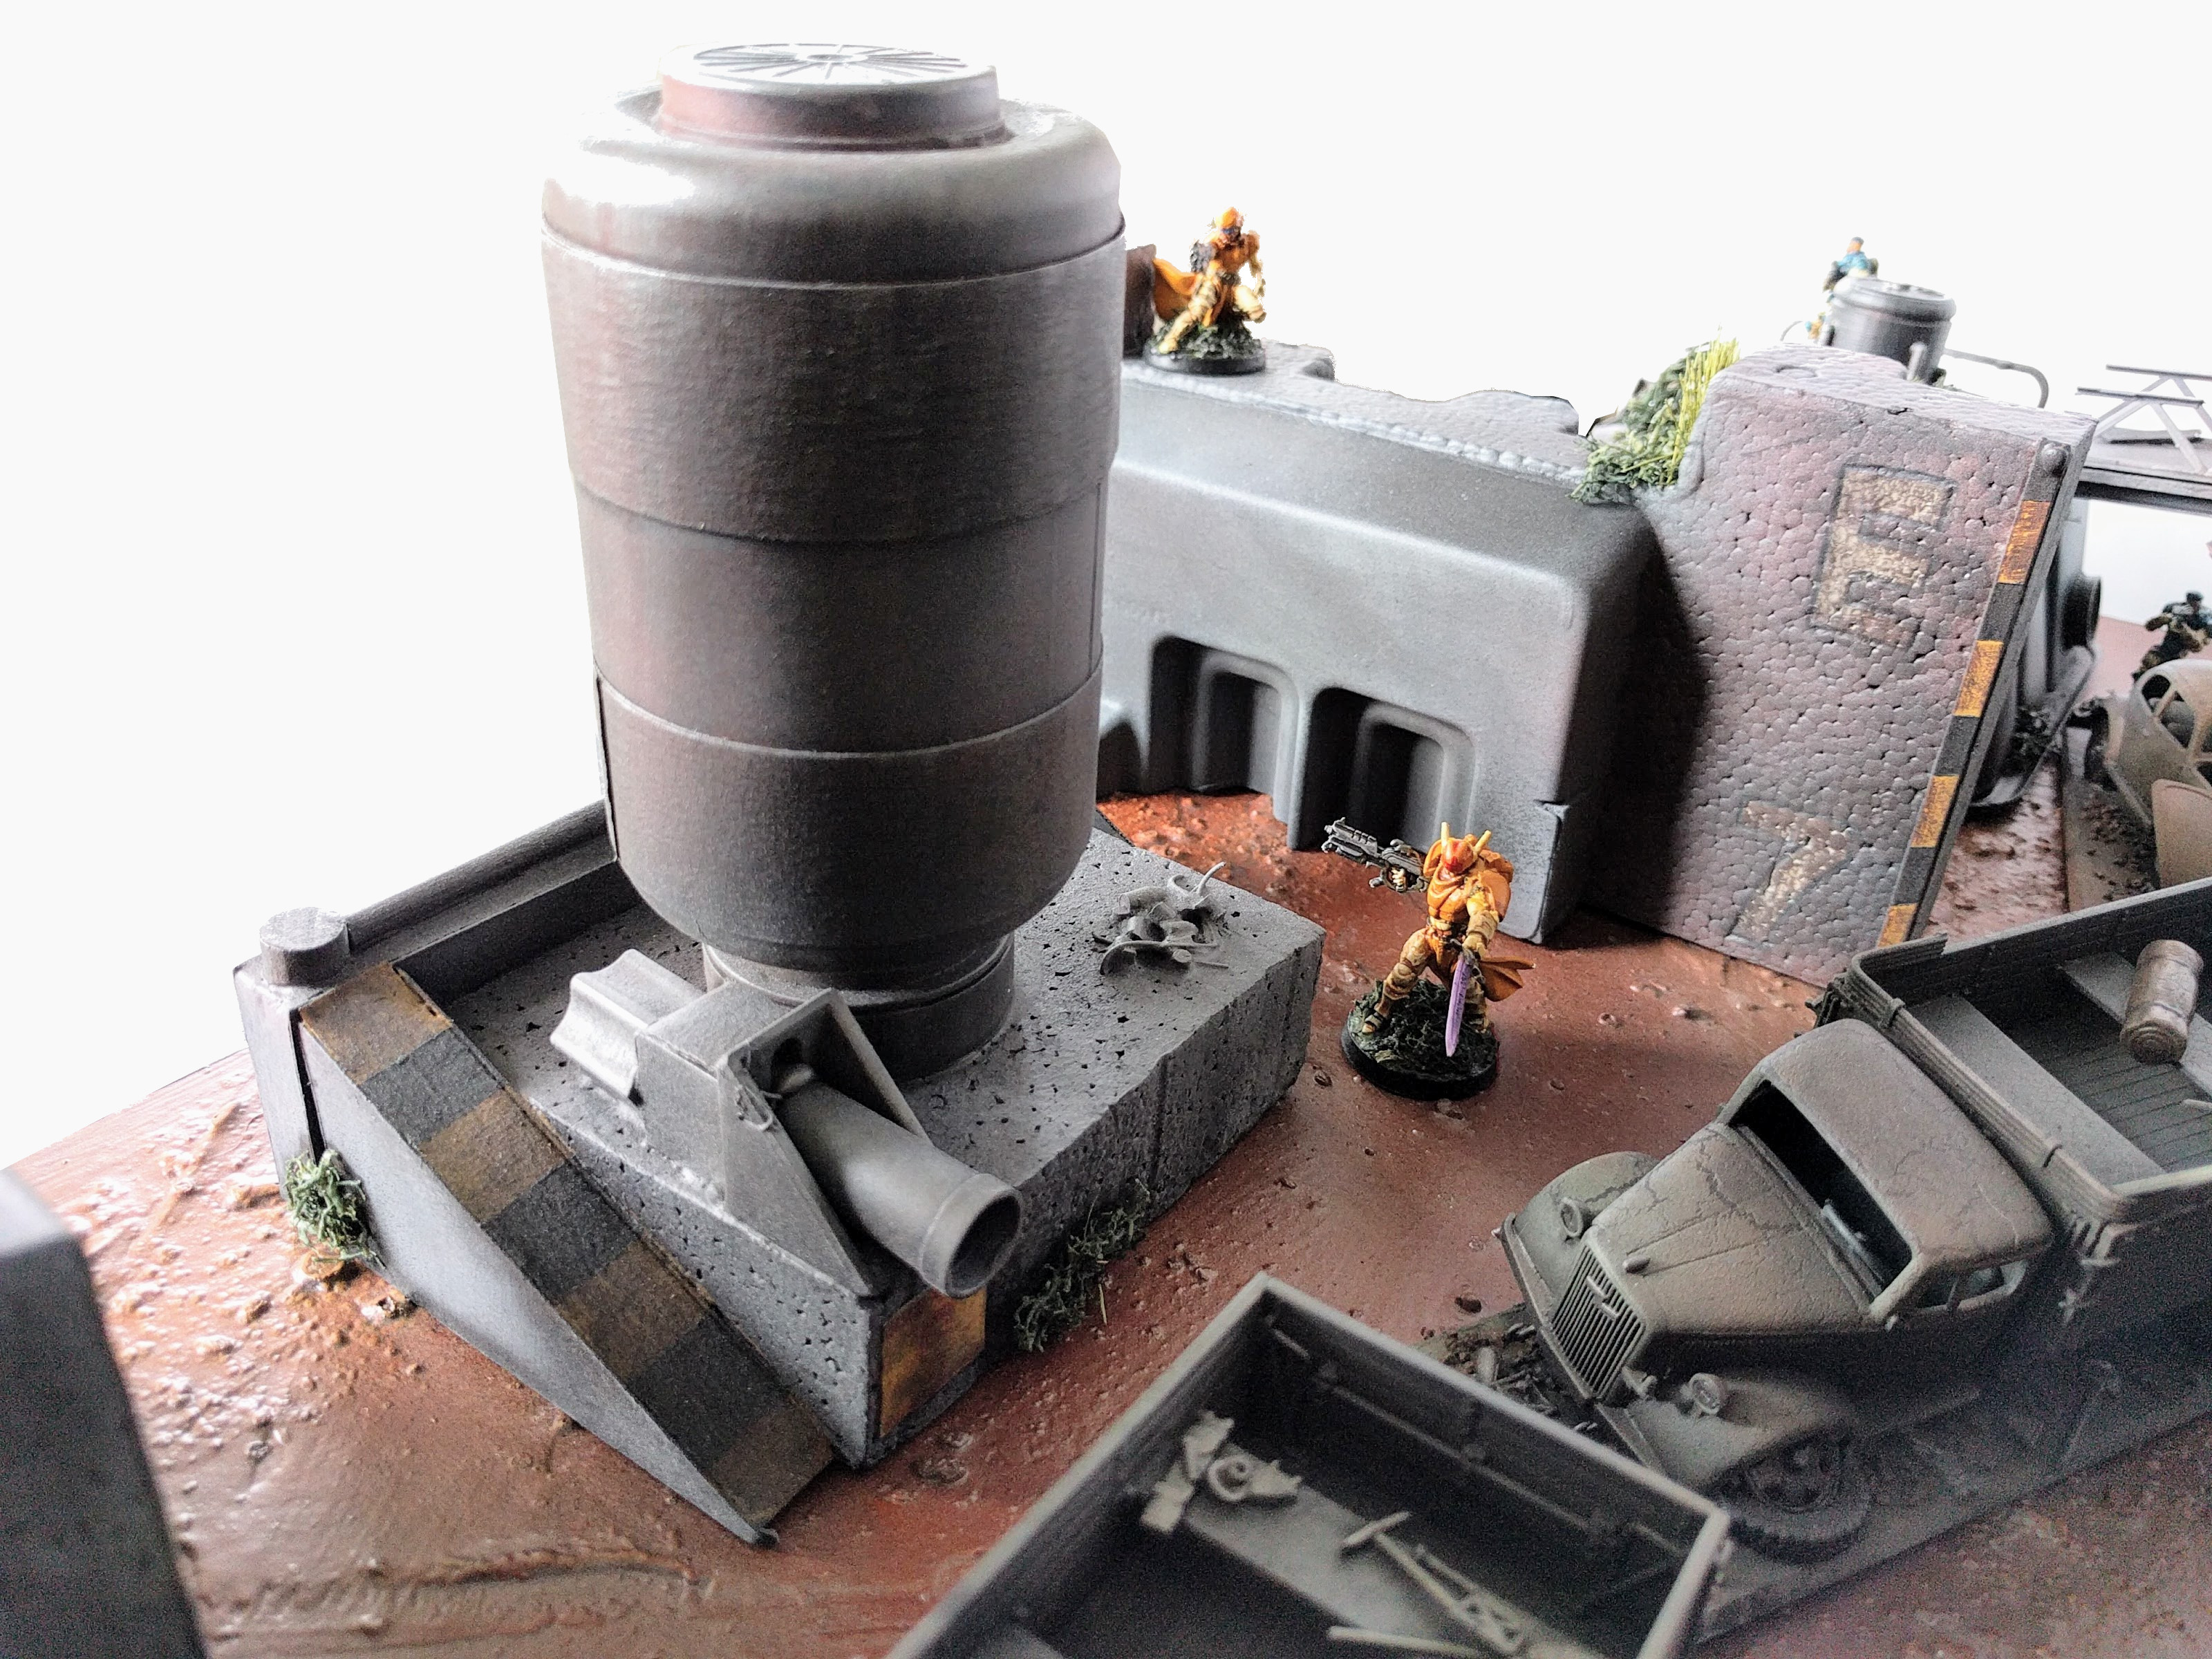
Showdown at the depot nexus!
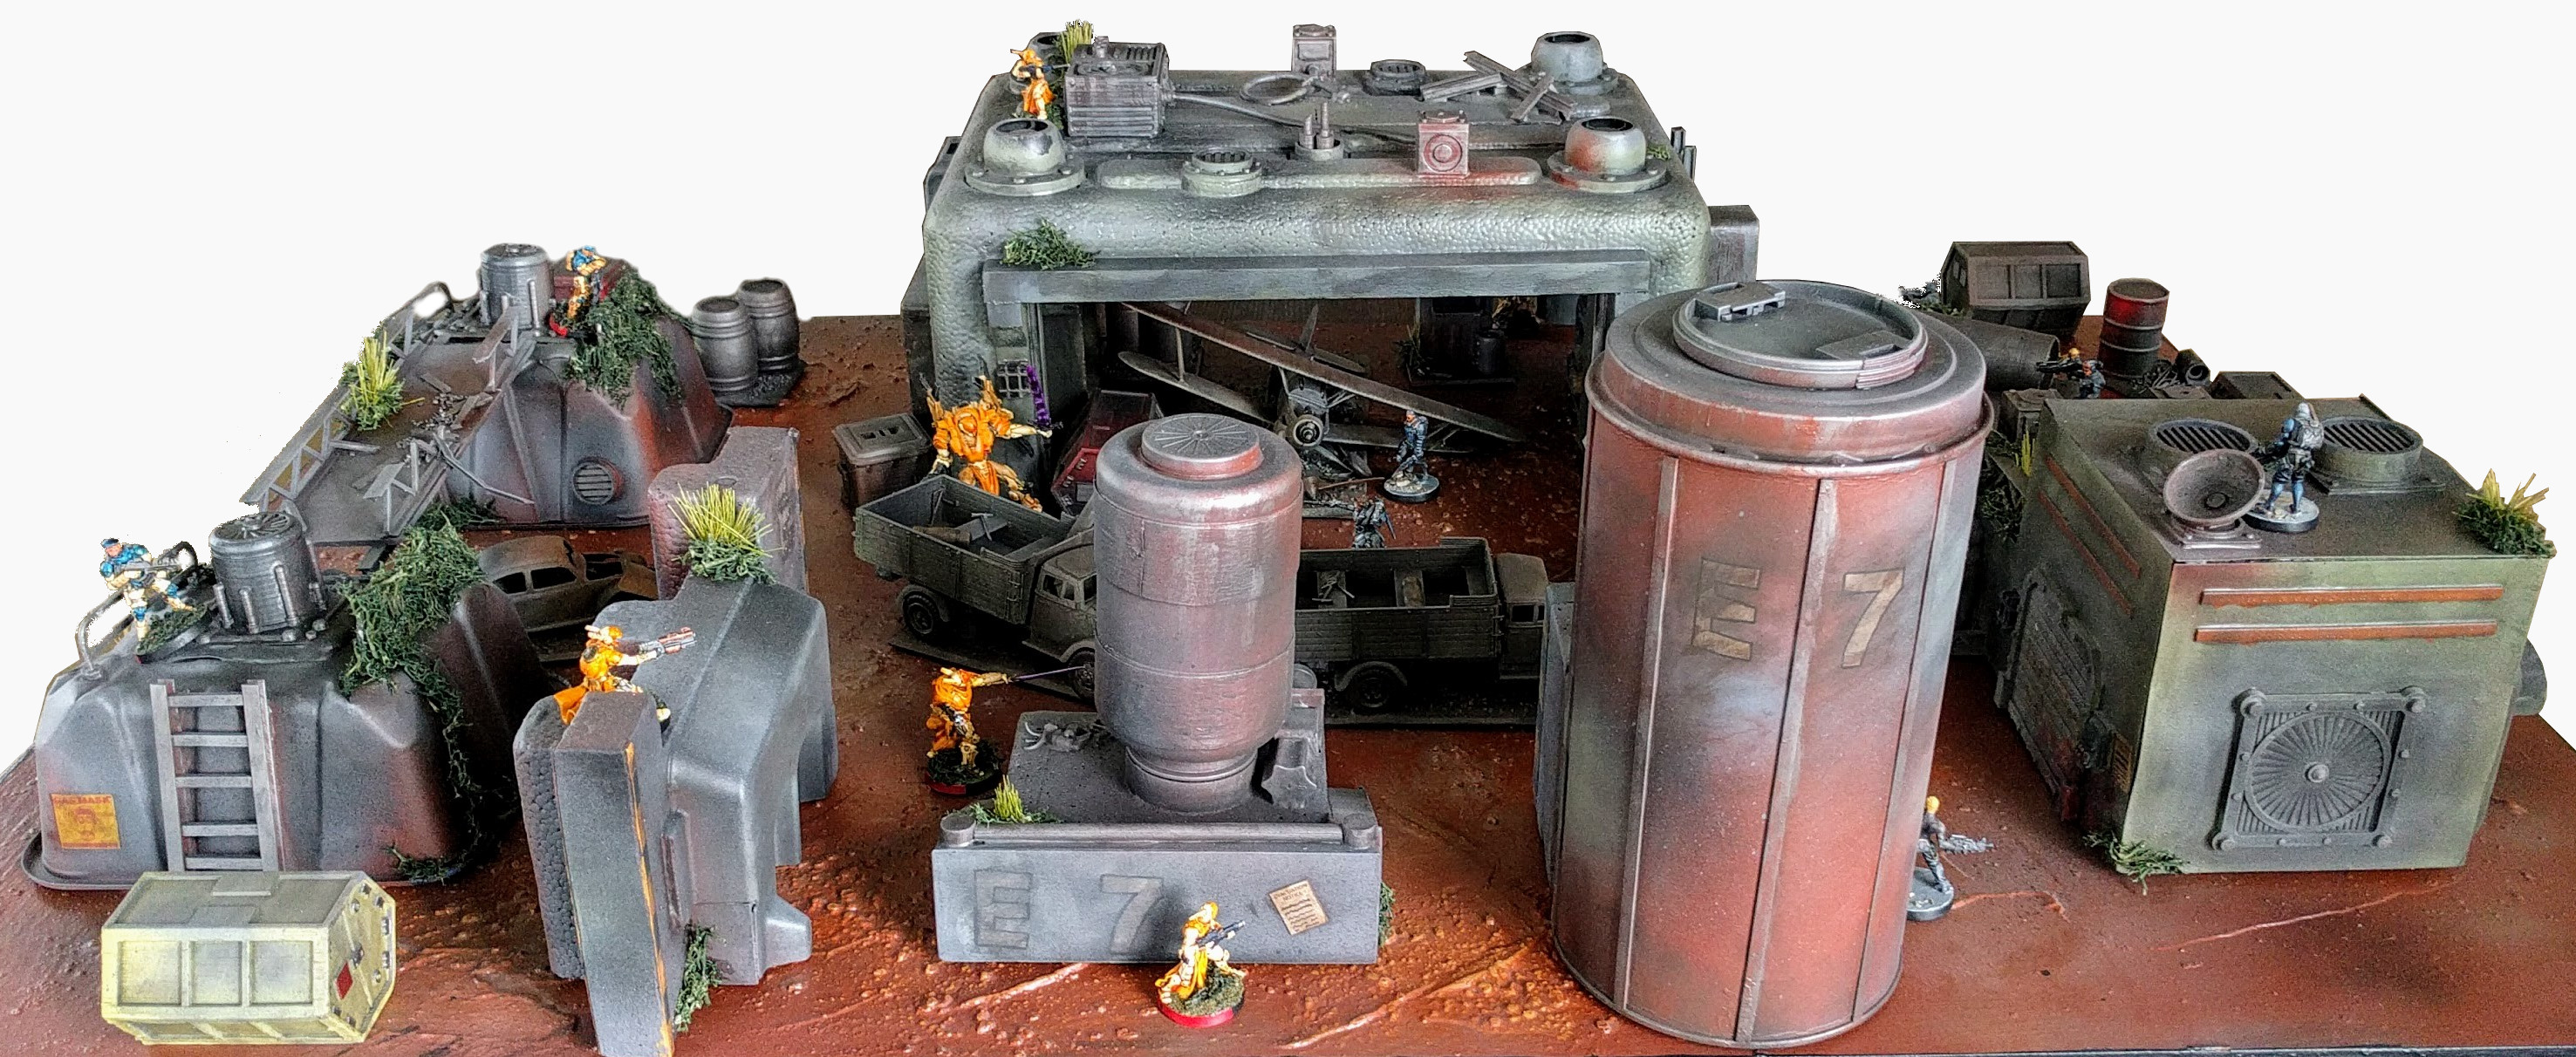
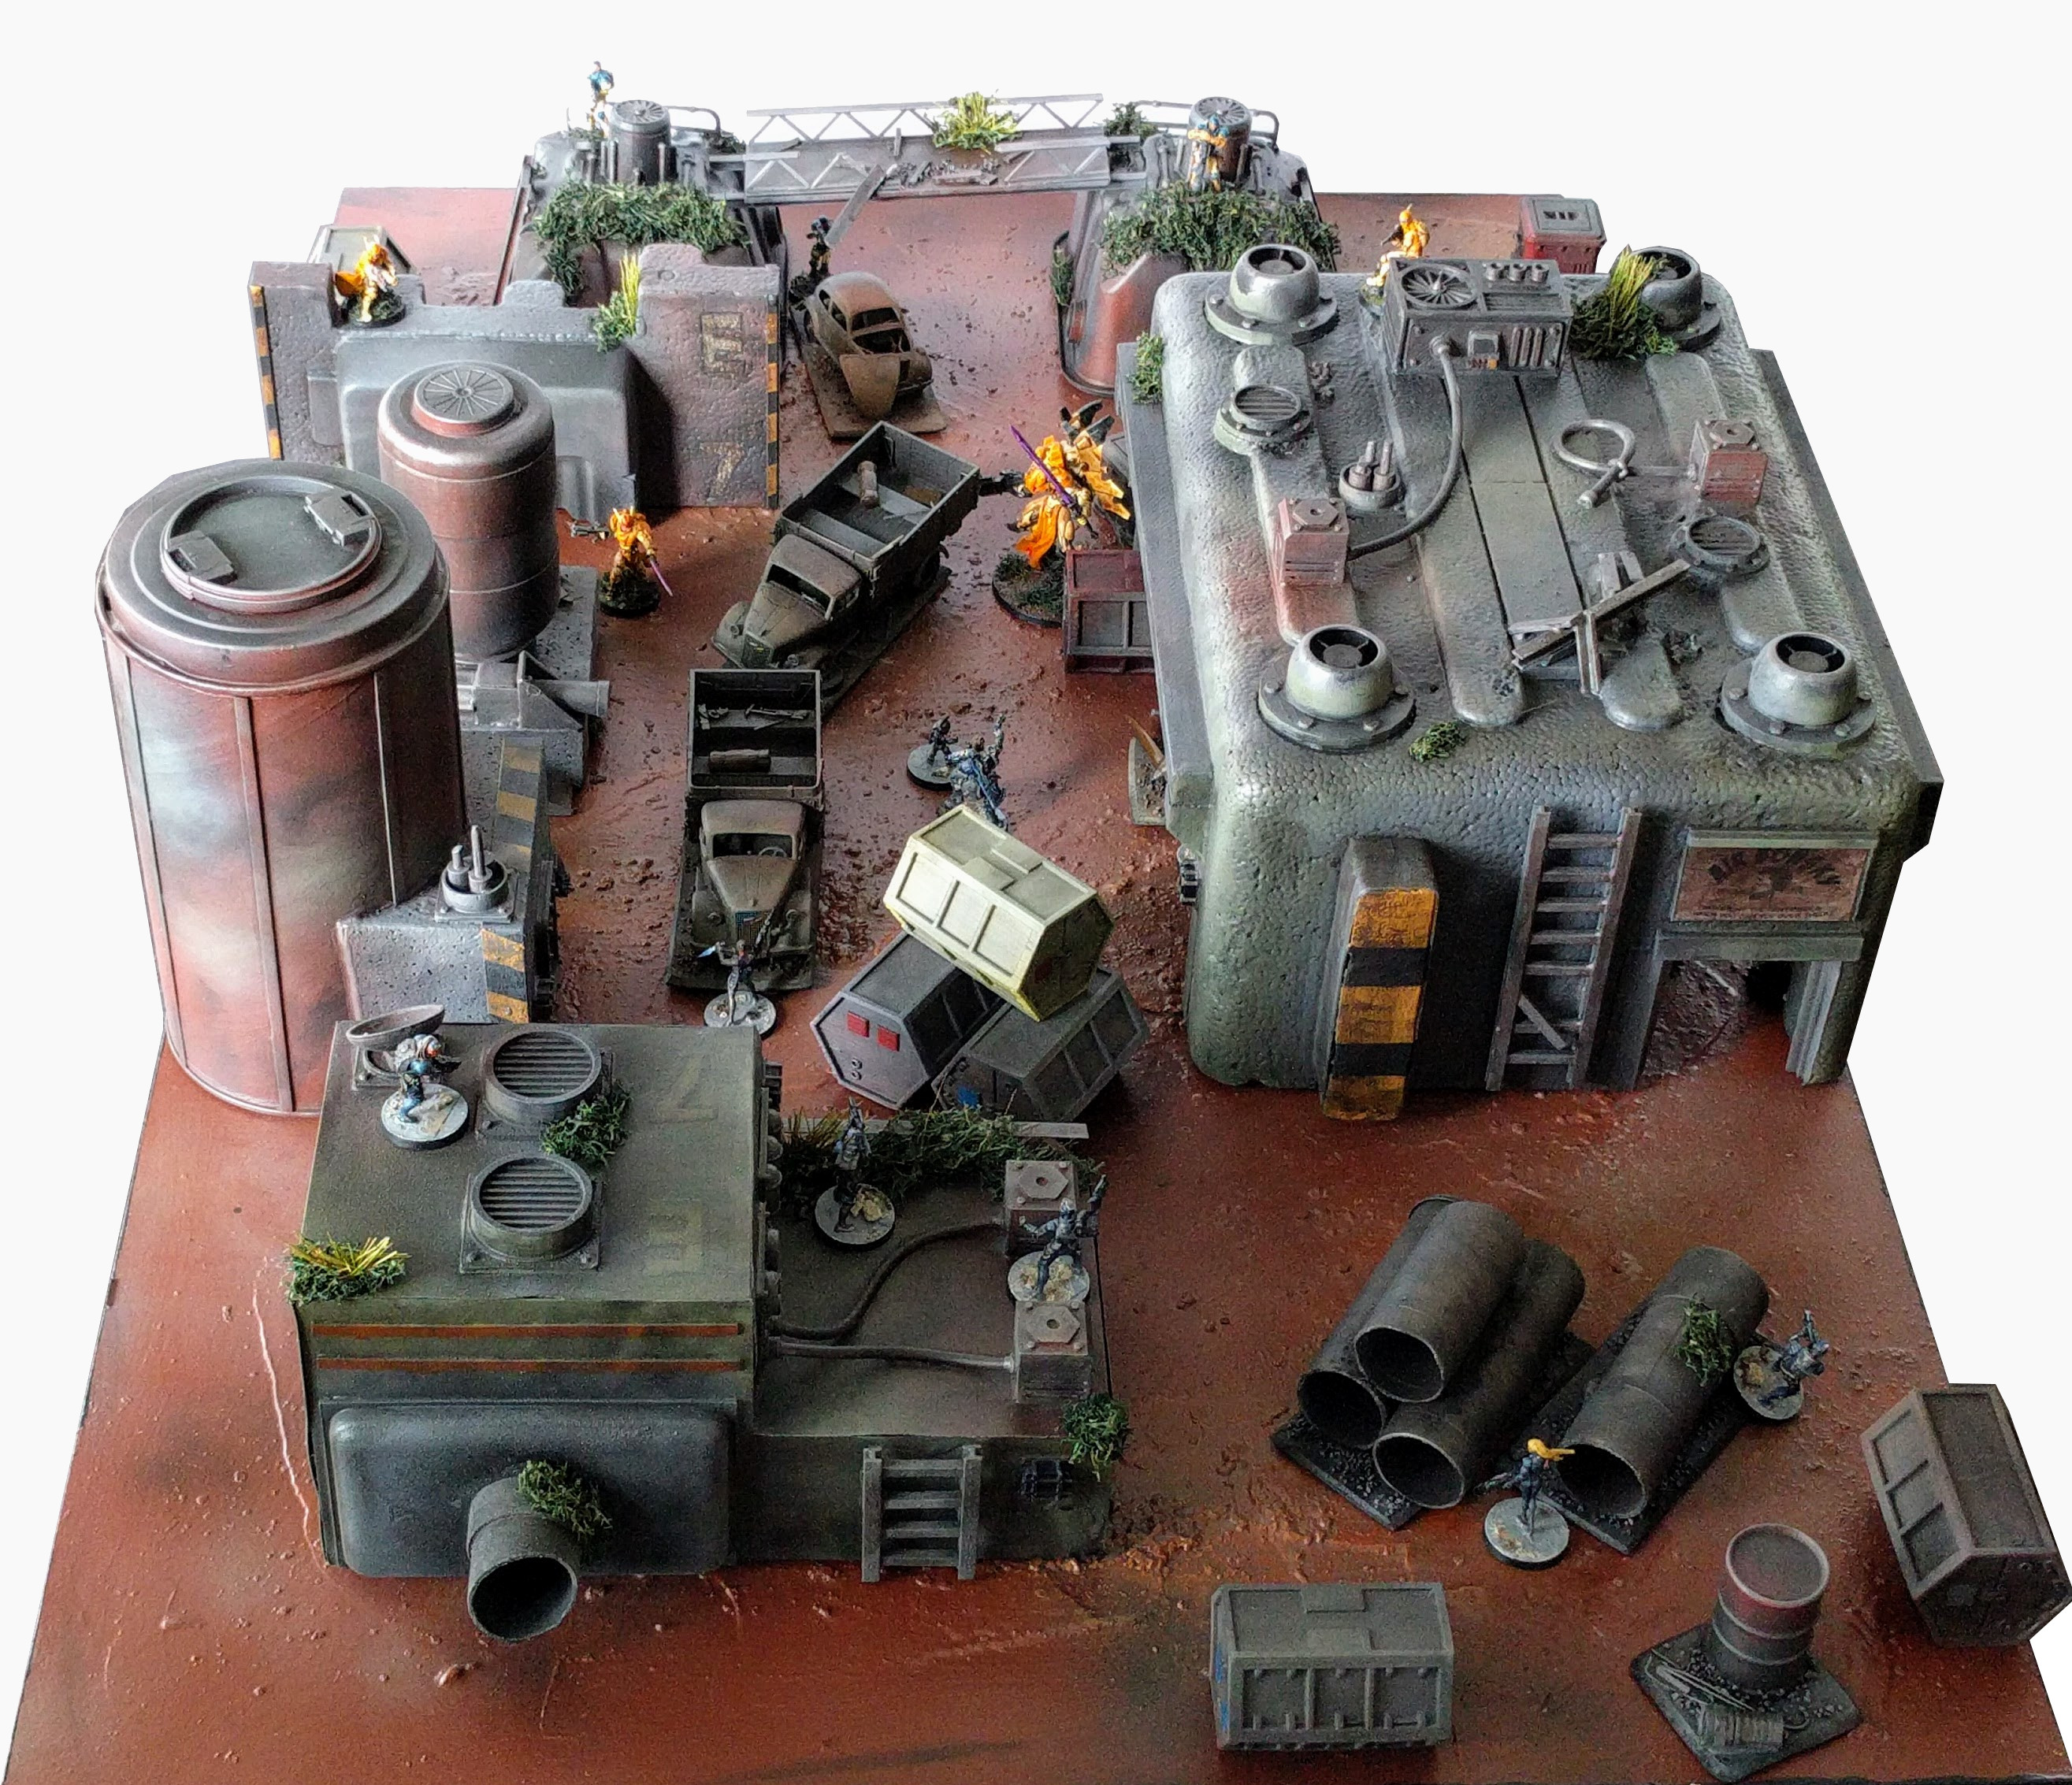
Derelict Depot
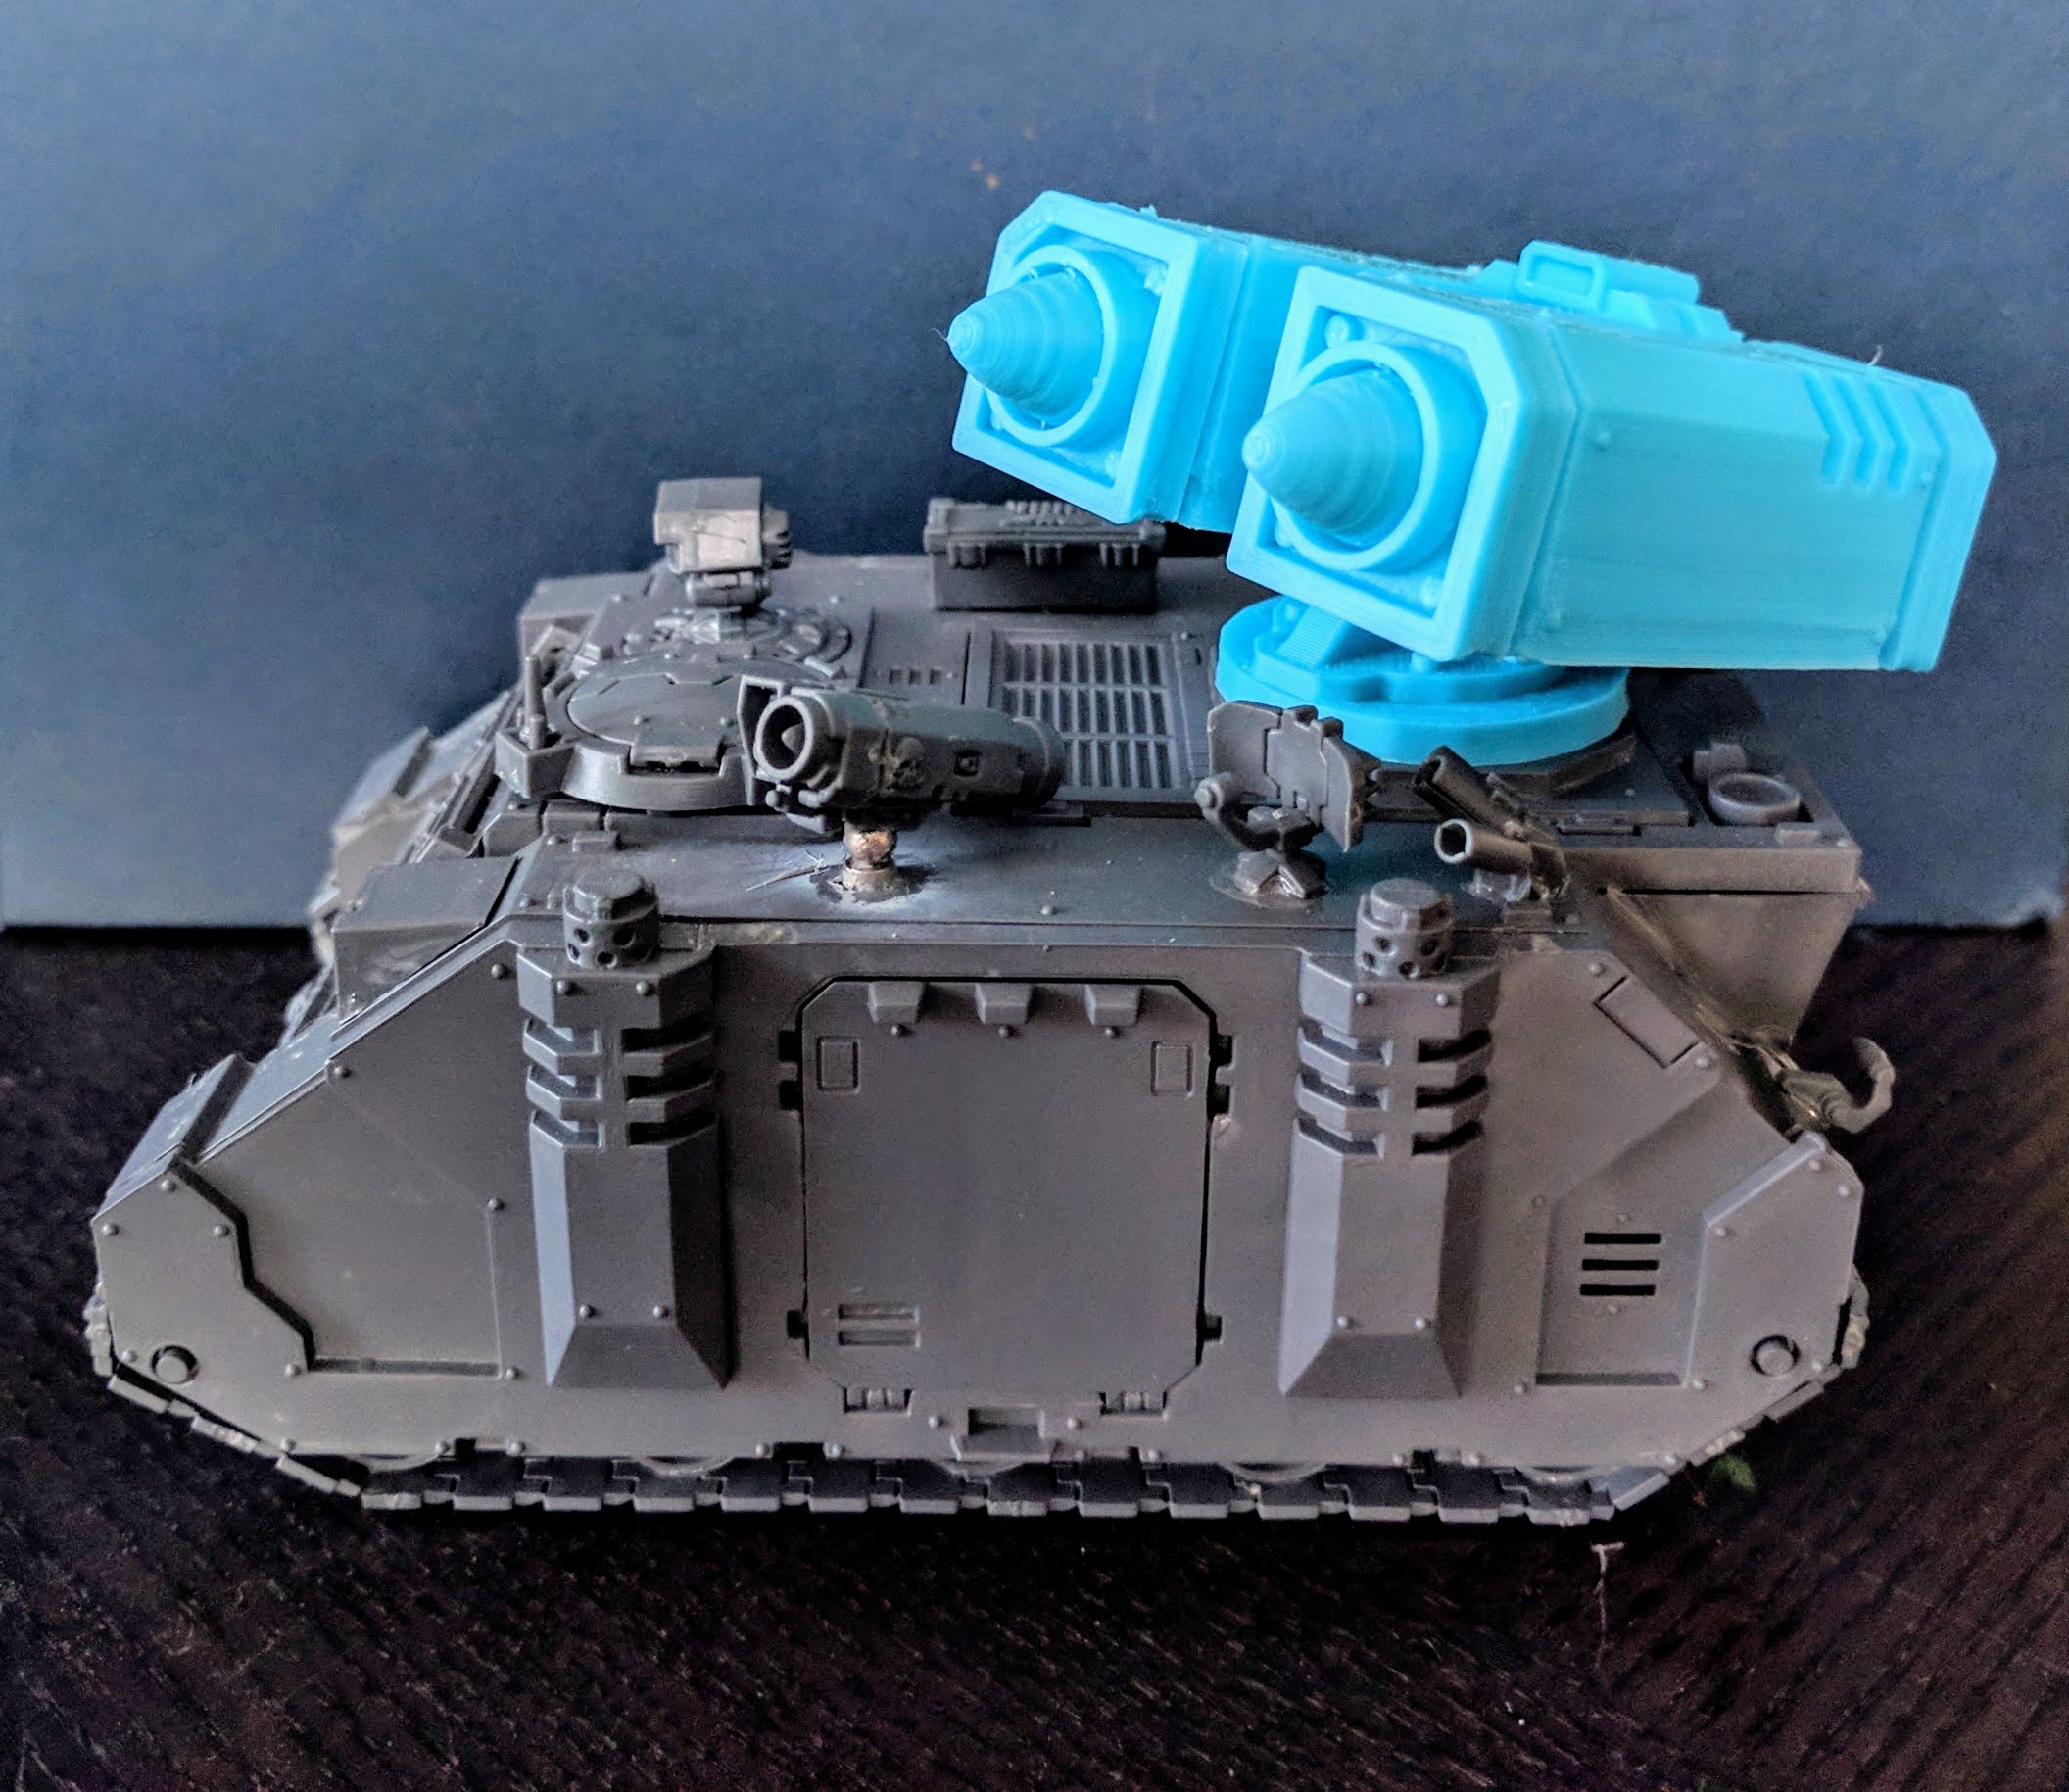
The Derelict Depot is a board I put together for RECON+, essentially half-size games of Infinity, but it should work for a variety of skirmish games. It’s a mix of scratchbuilding, scale models, and 3D printing. More details on its creation are here:
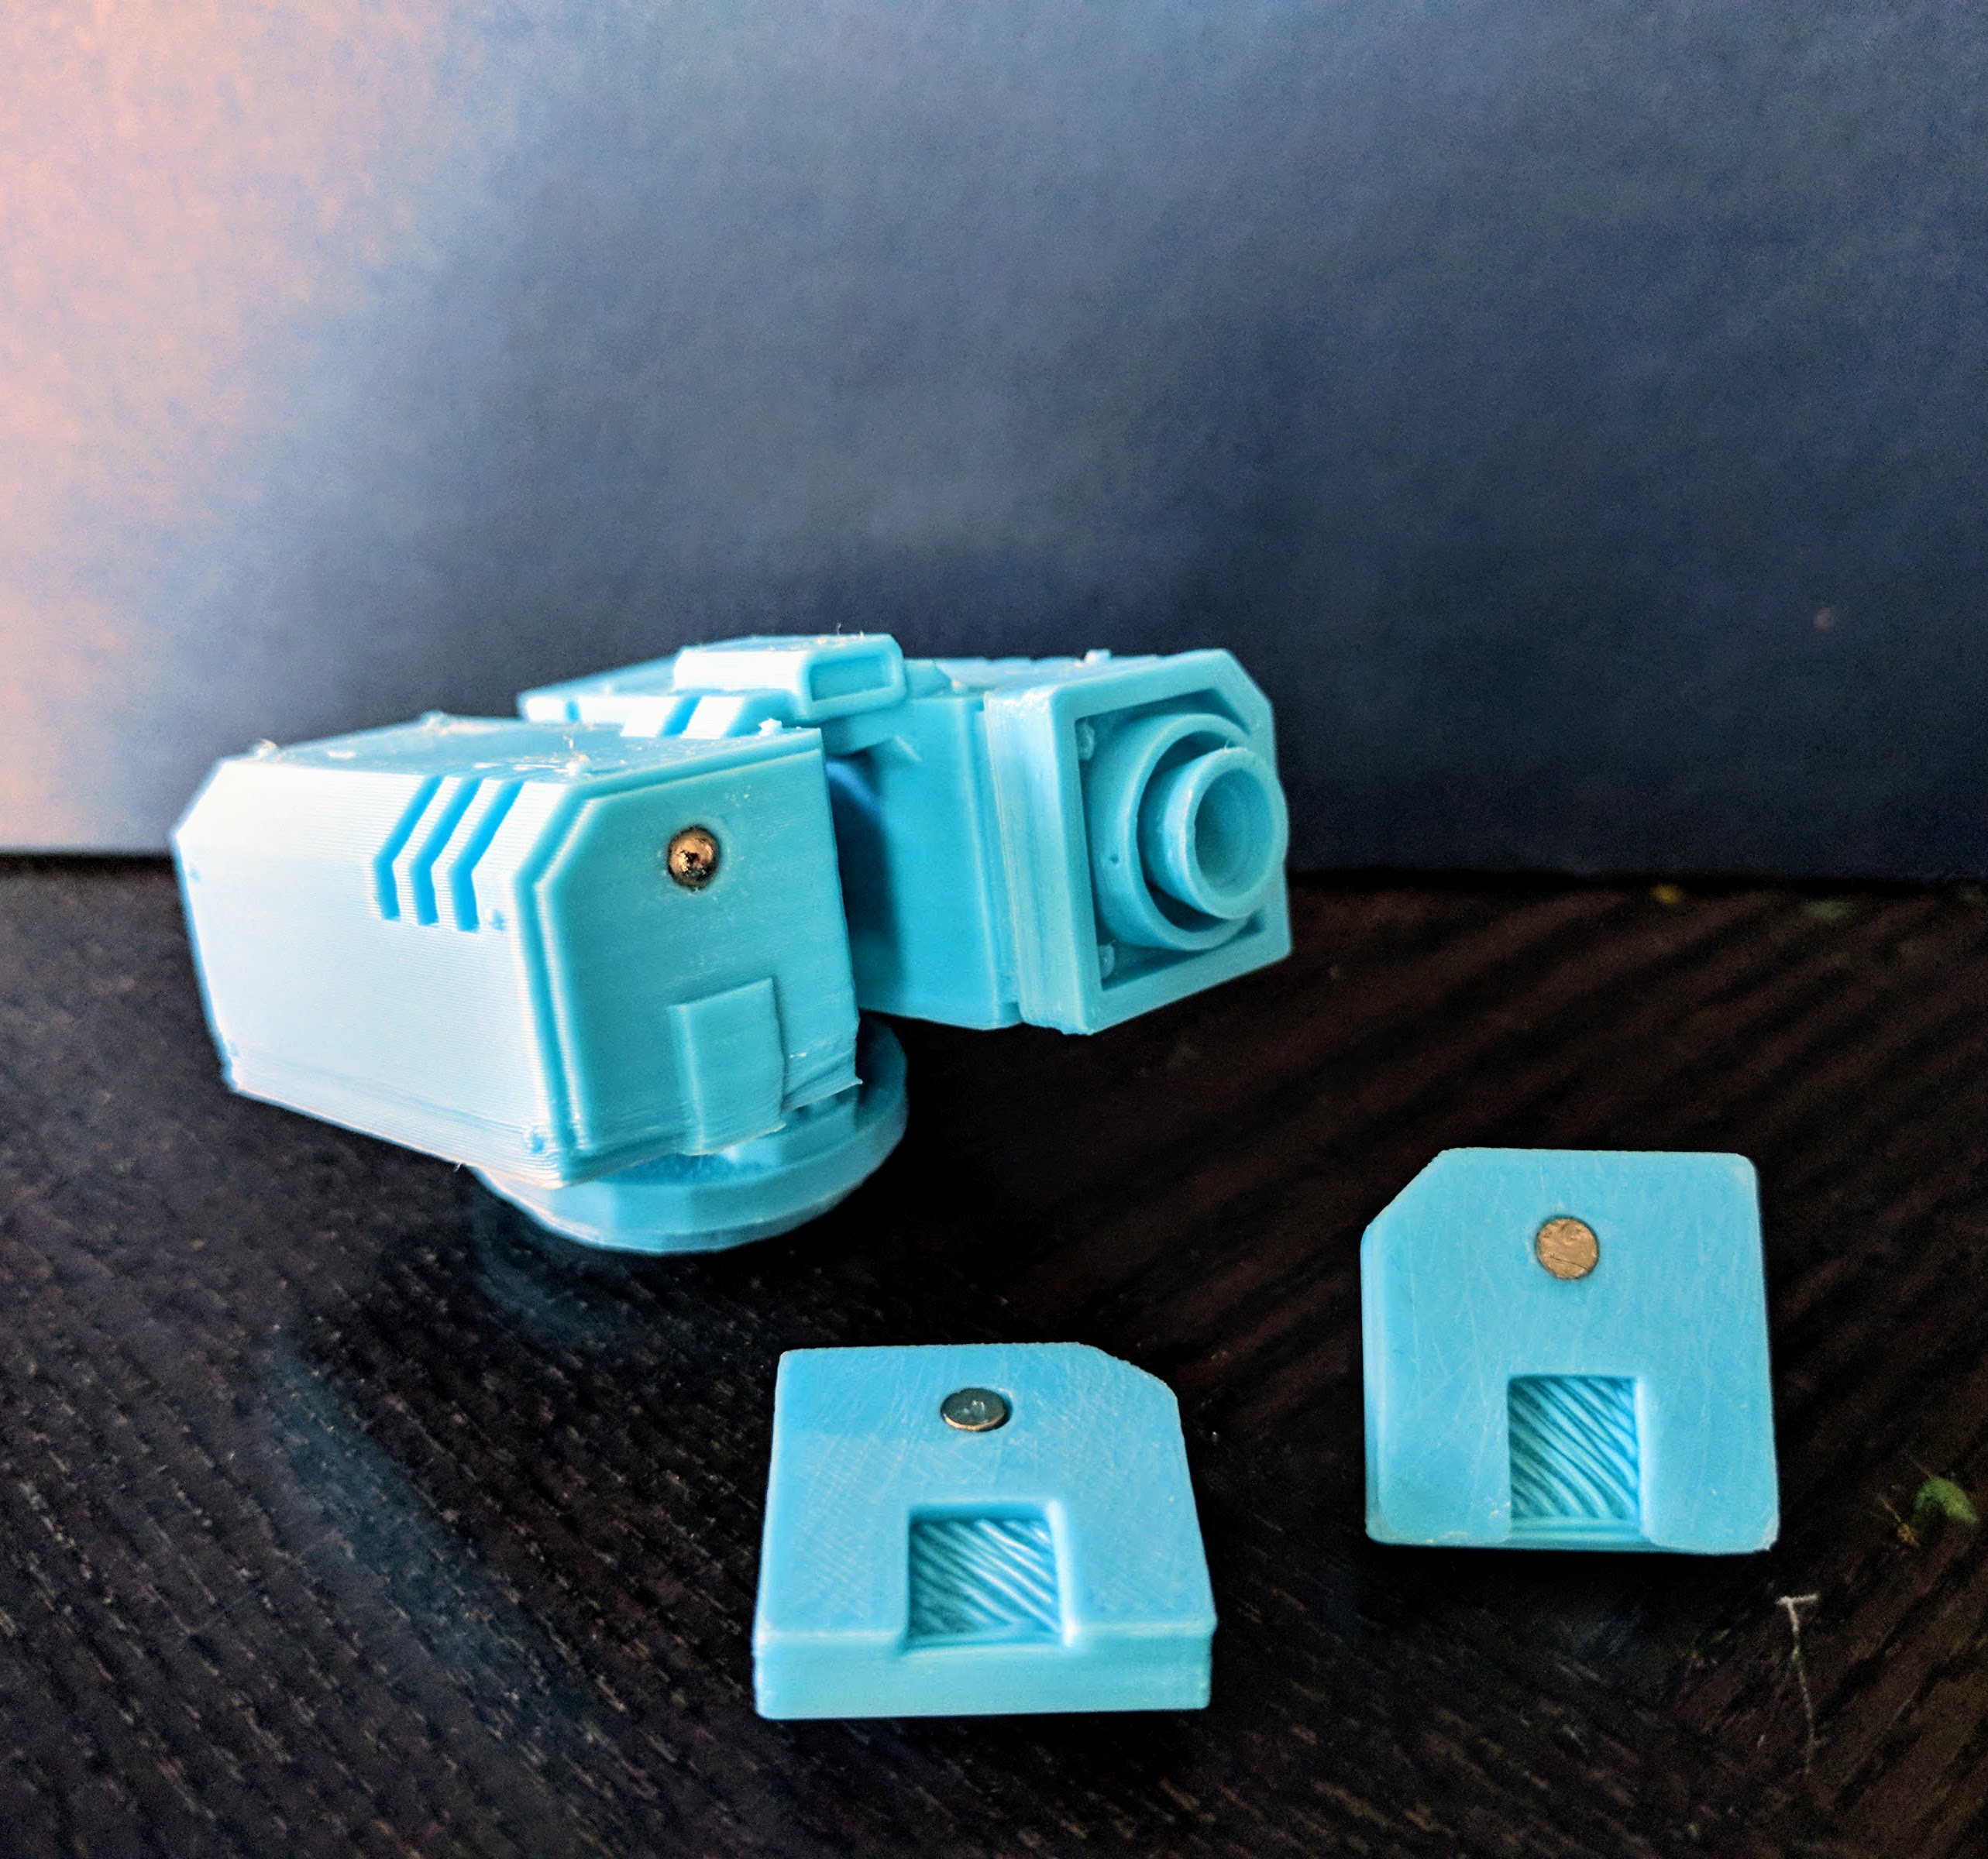
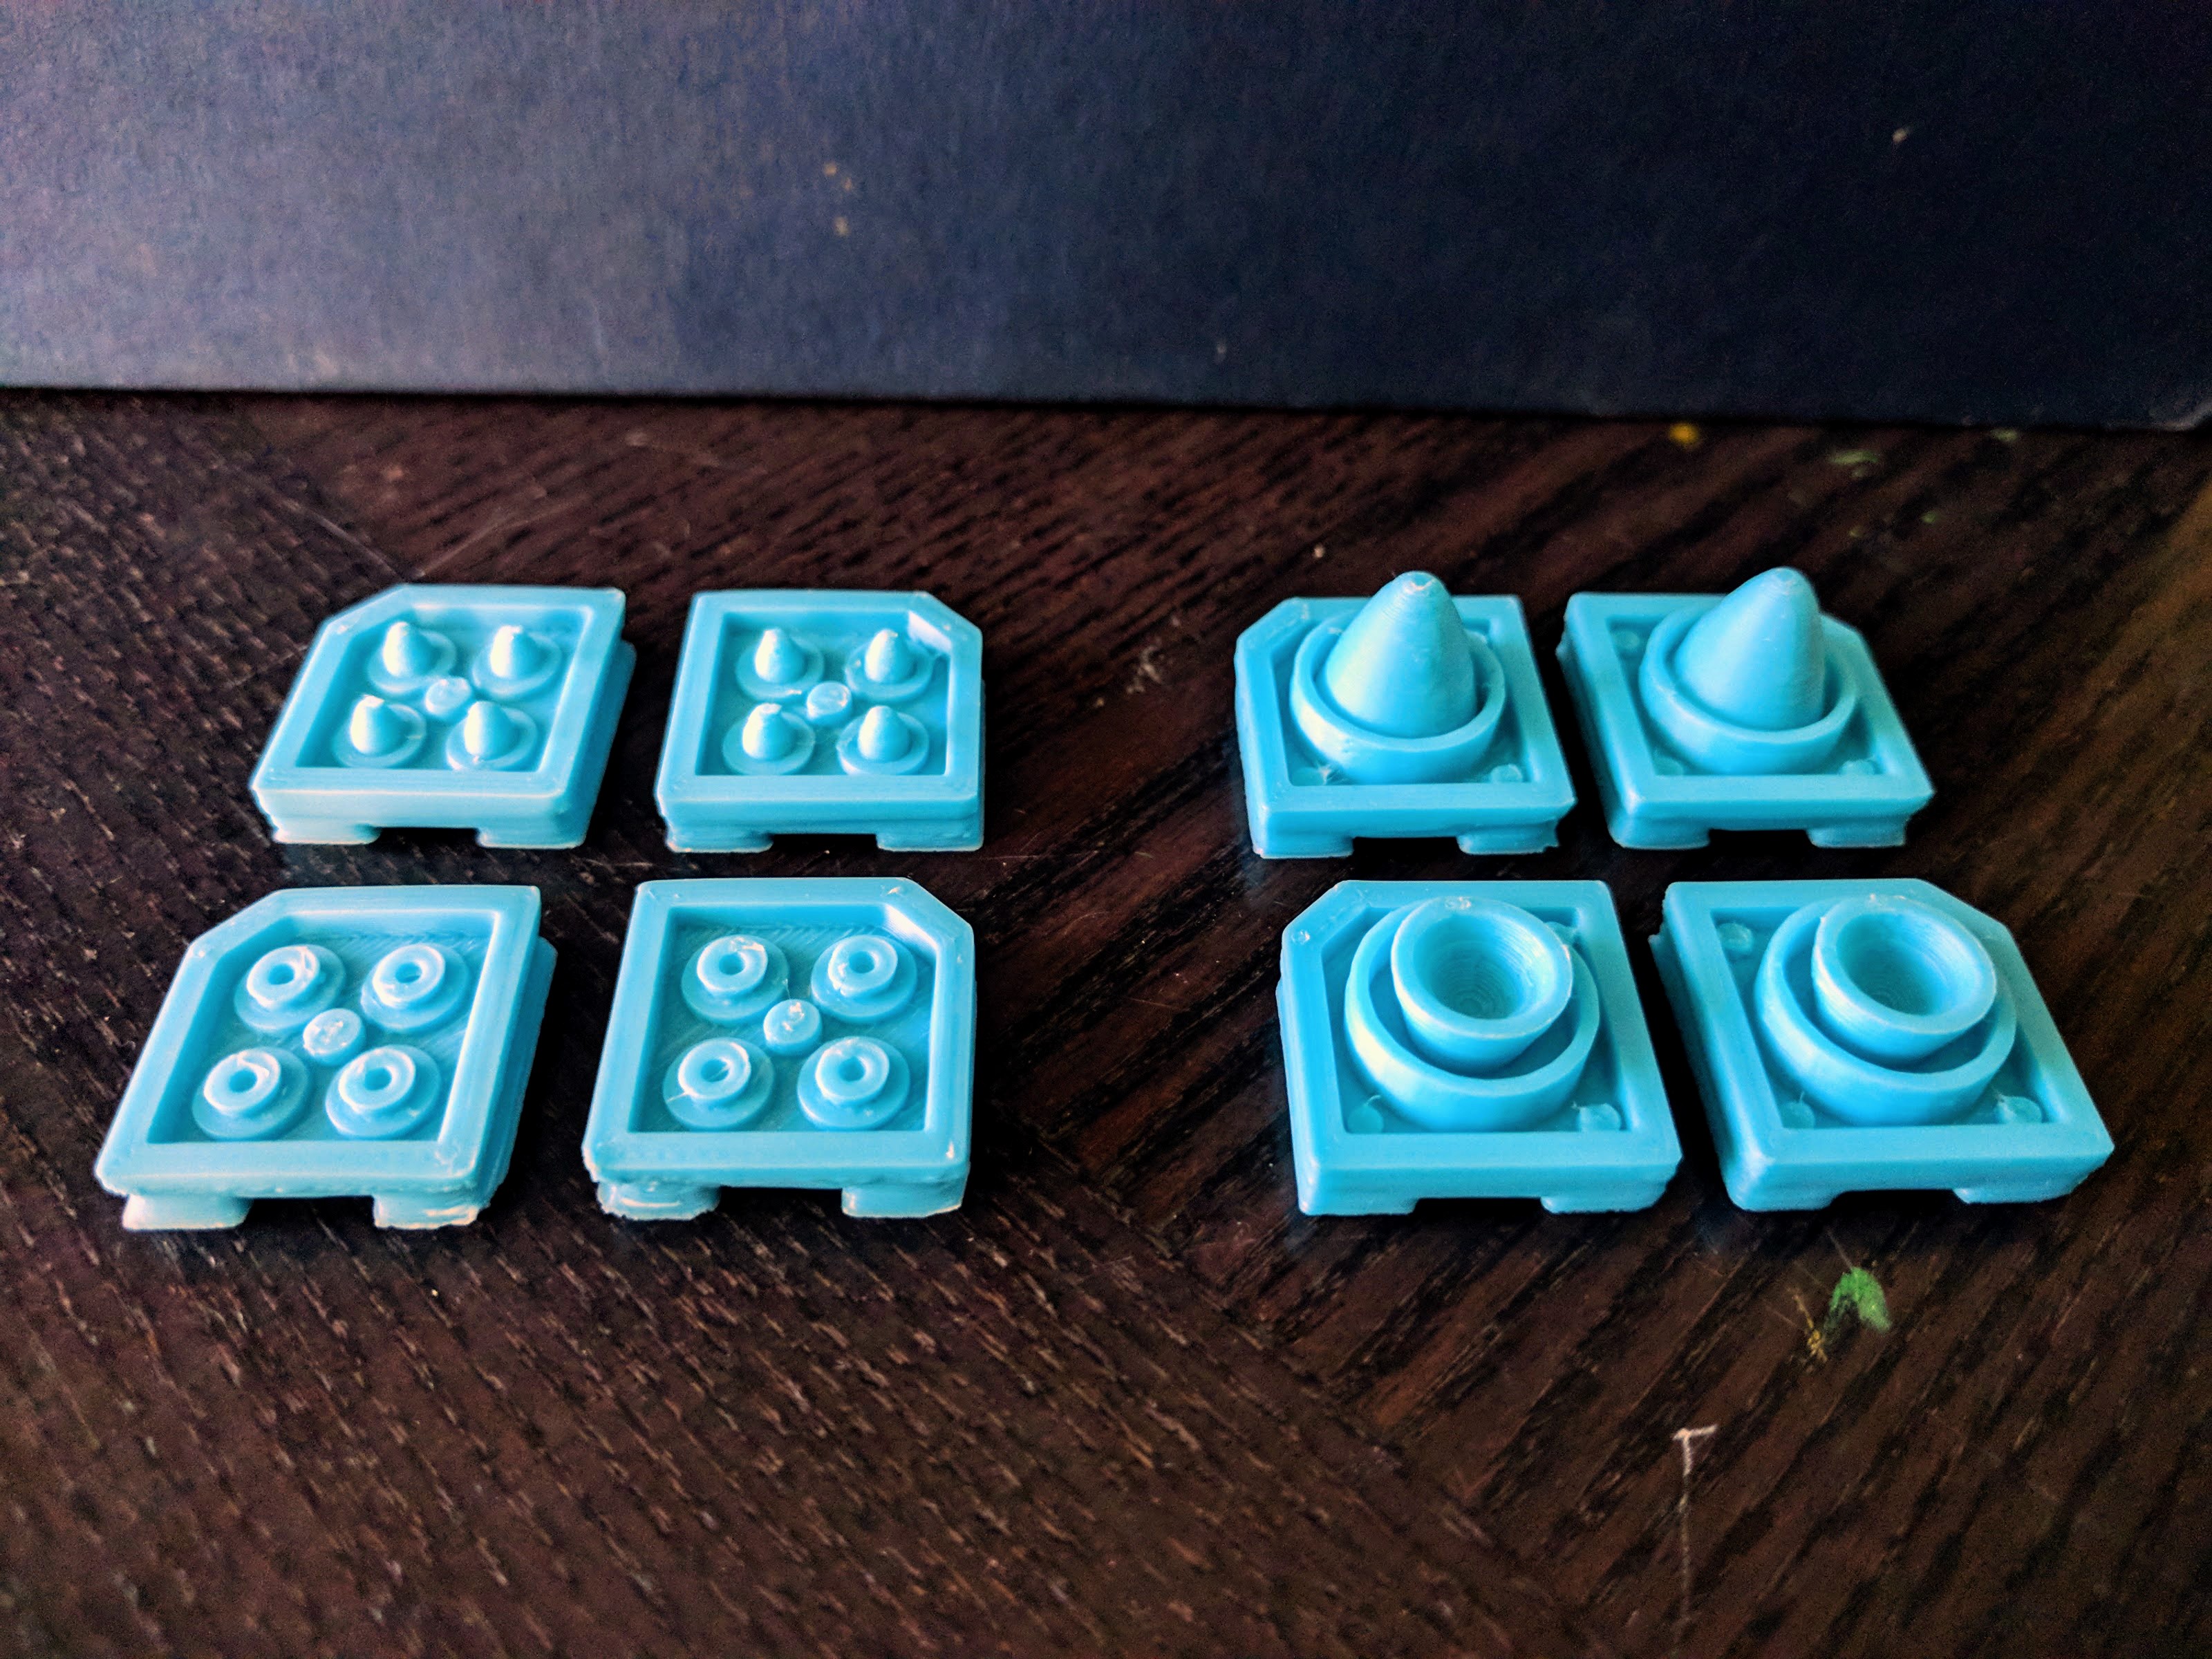
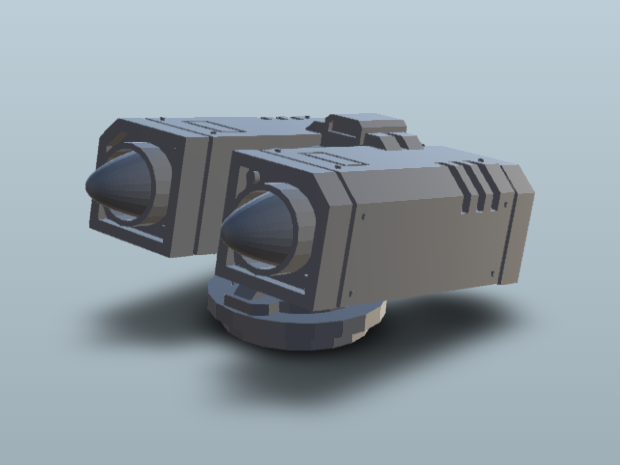
I designed all of the 3D printed parts. Many of them are already available as free downloads in my Thingiverse collection.
The armies fighting it out here are my Military Orders and Aleph painted by Tim D.

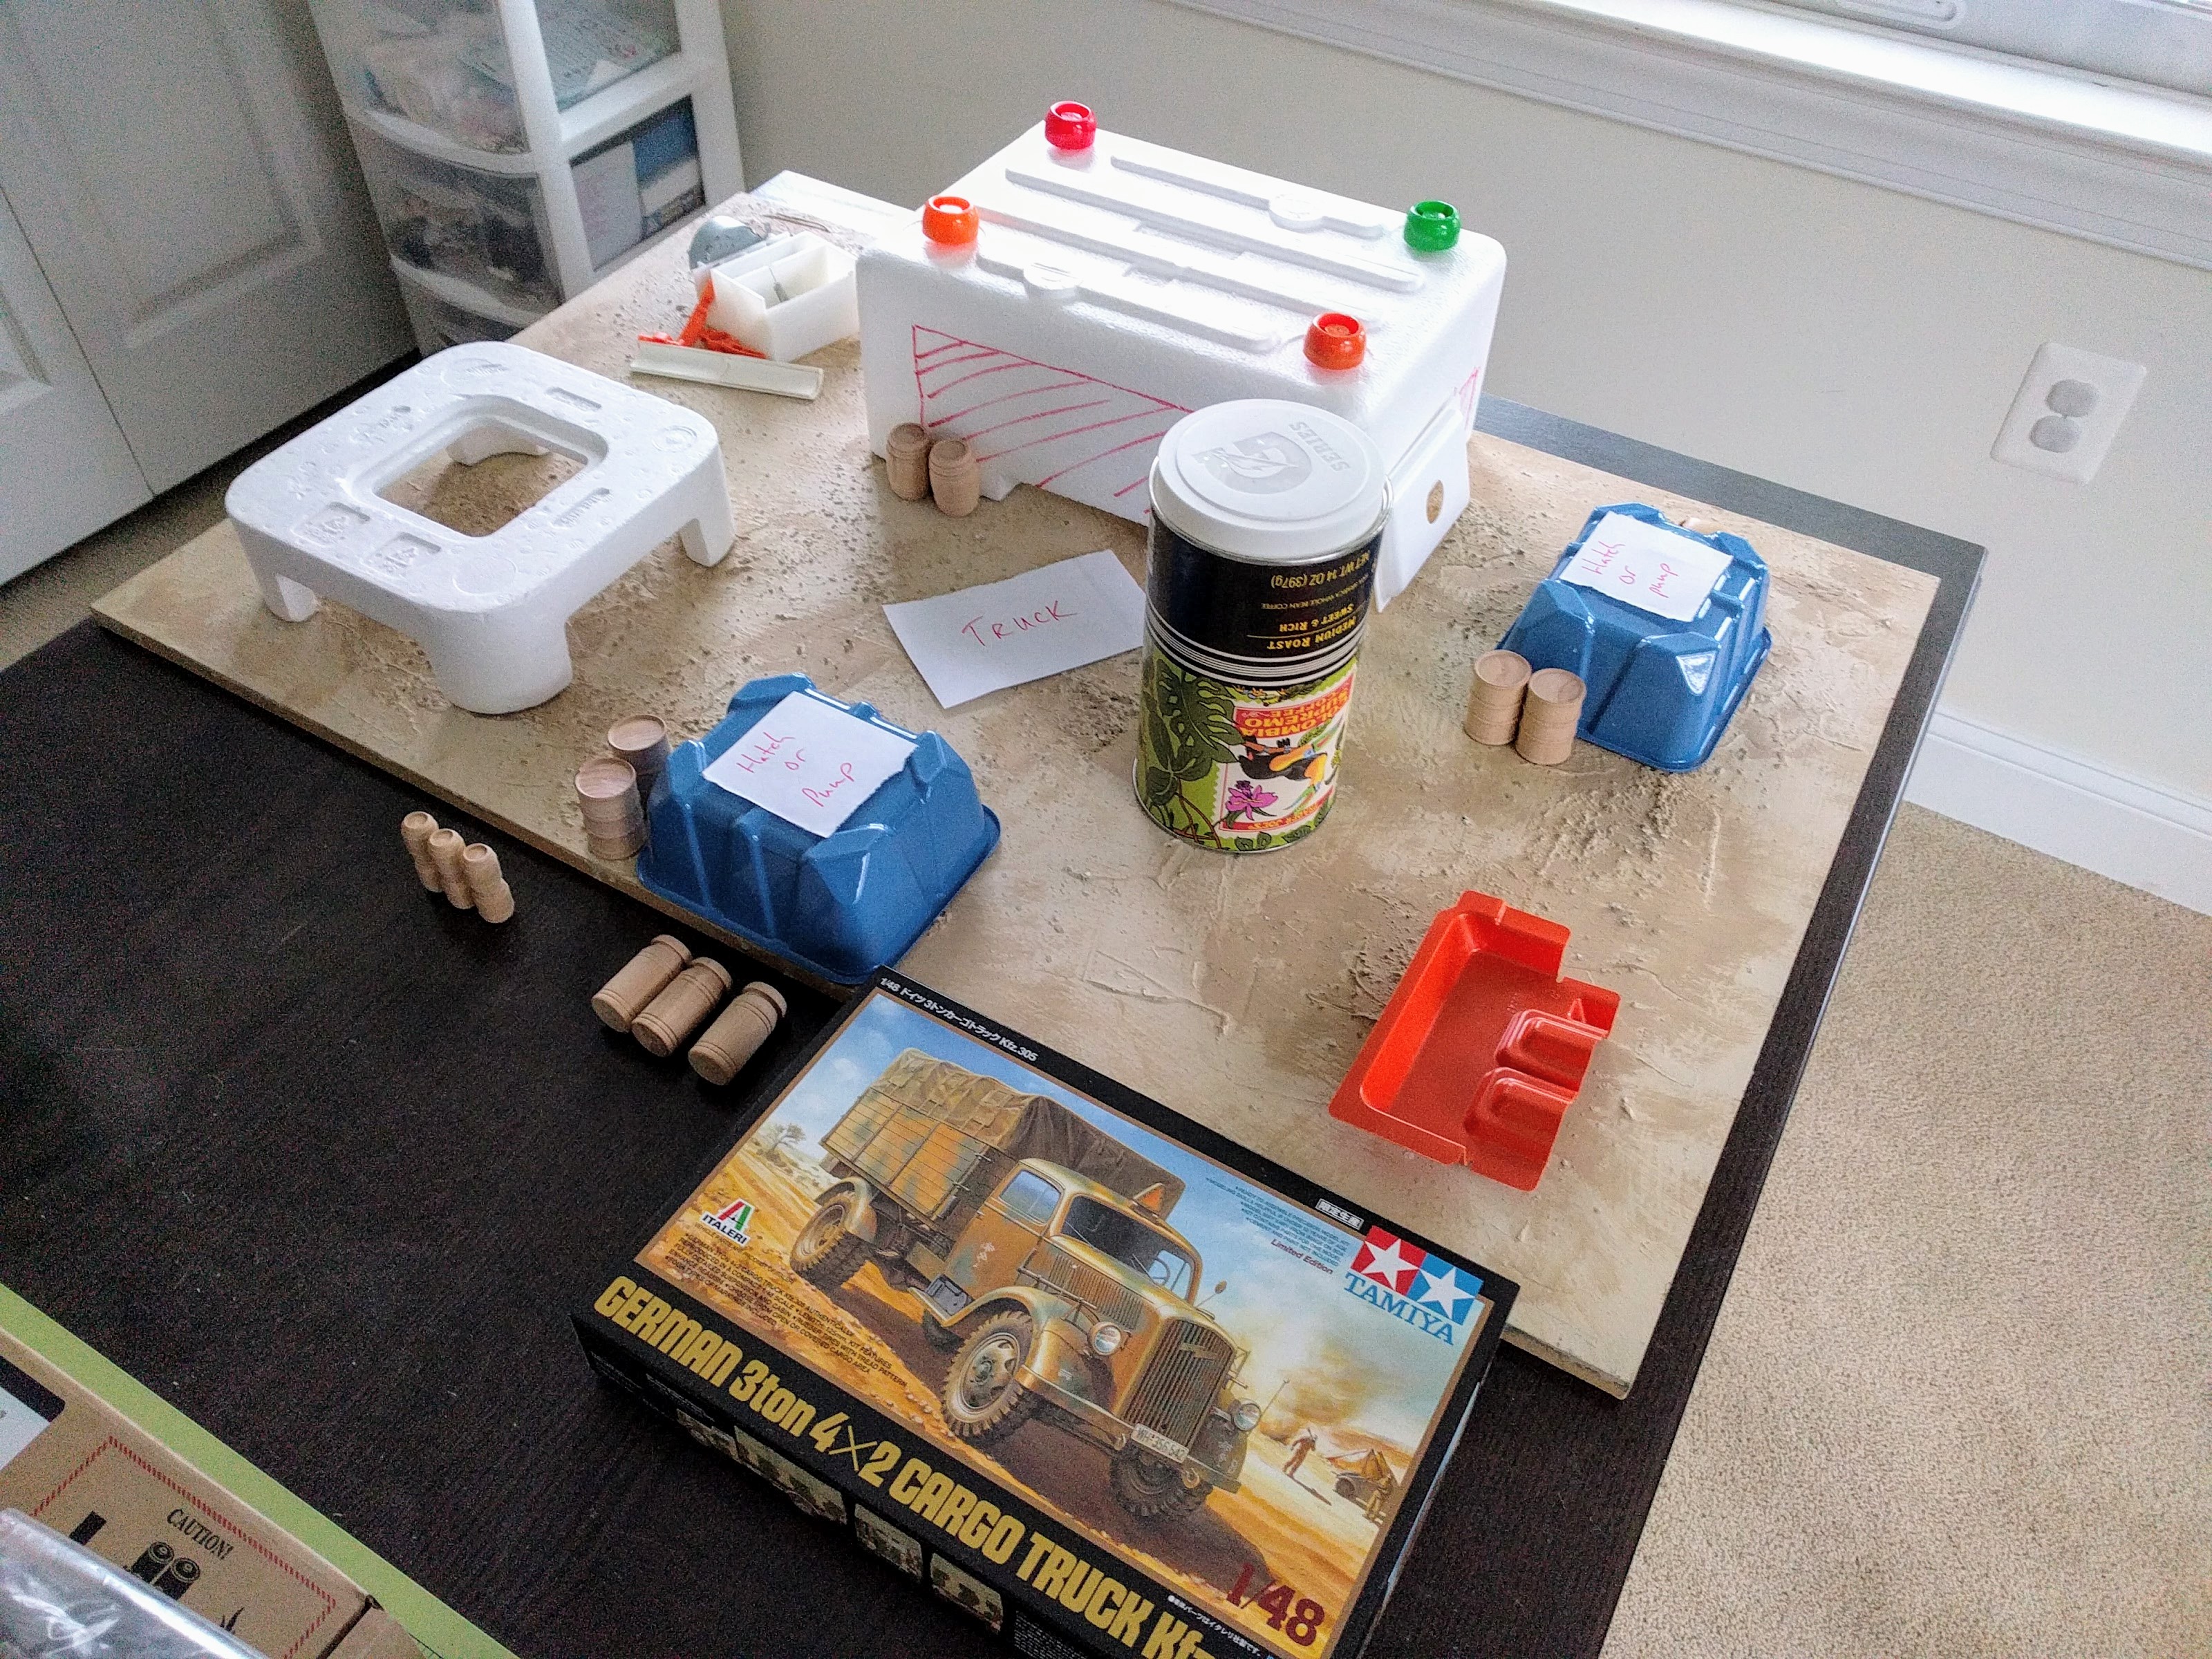
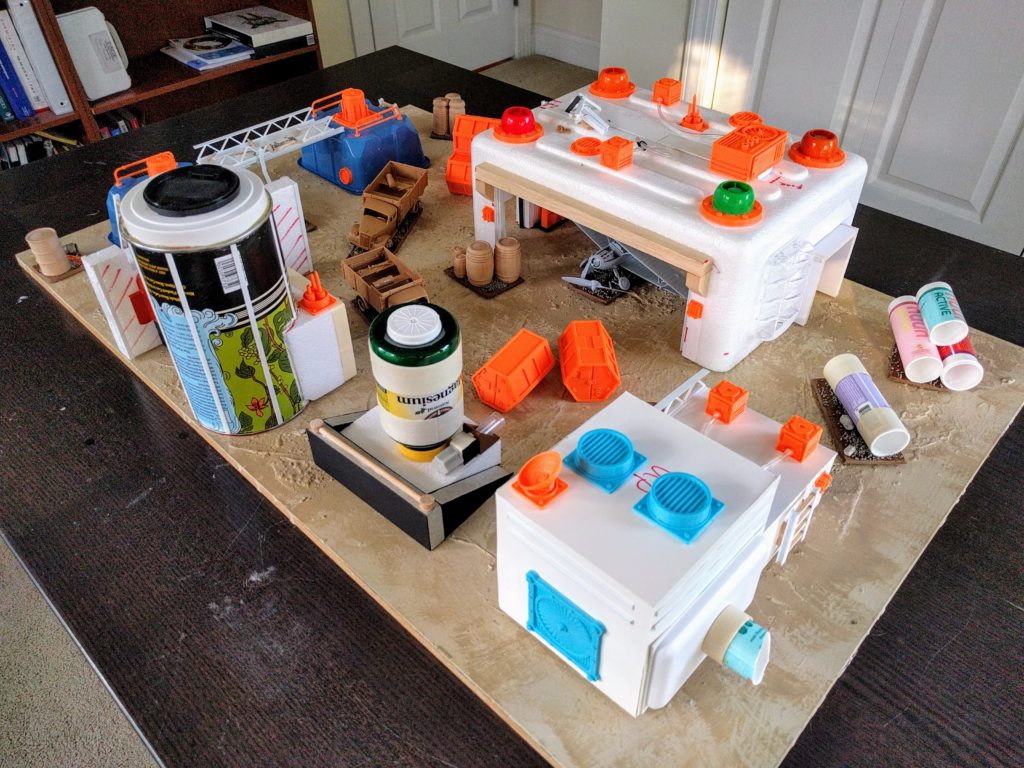
The first step: Putting down some initial ideas.

3D printed and scratchbuilt elements.
Construction complete!

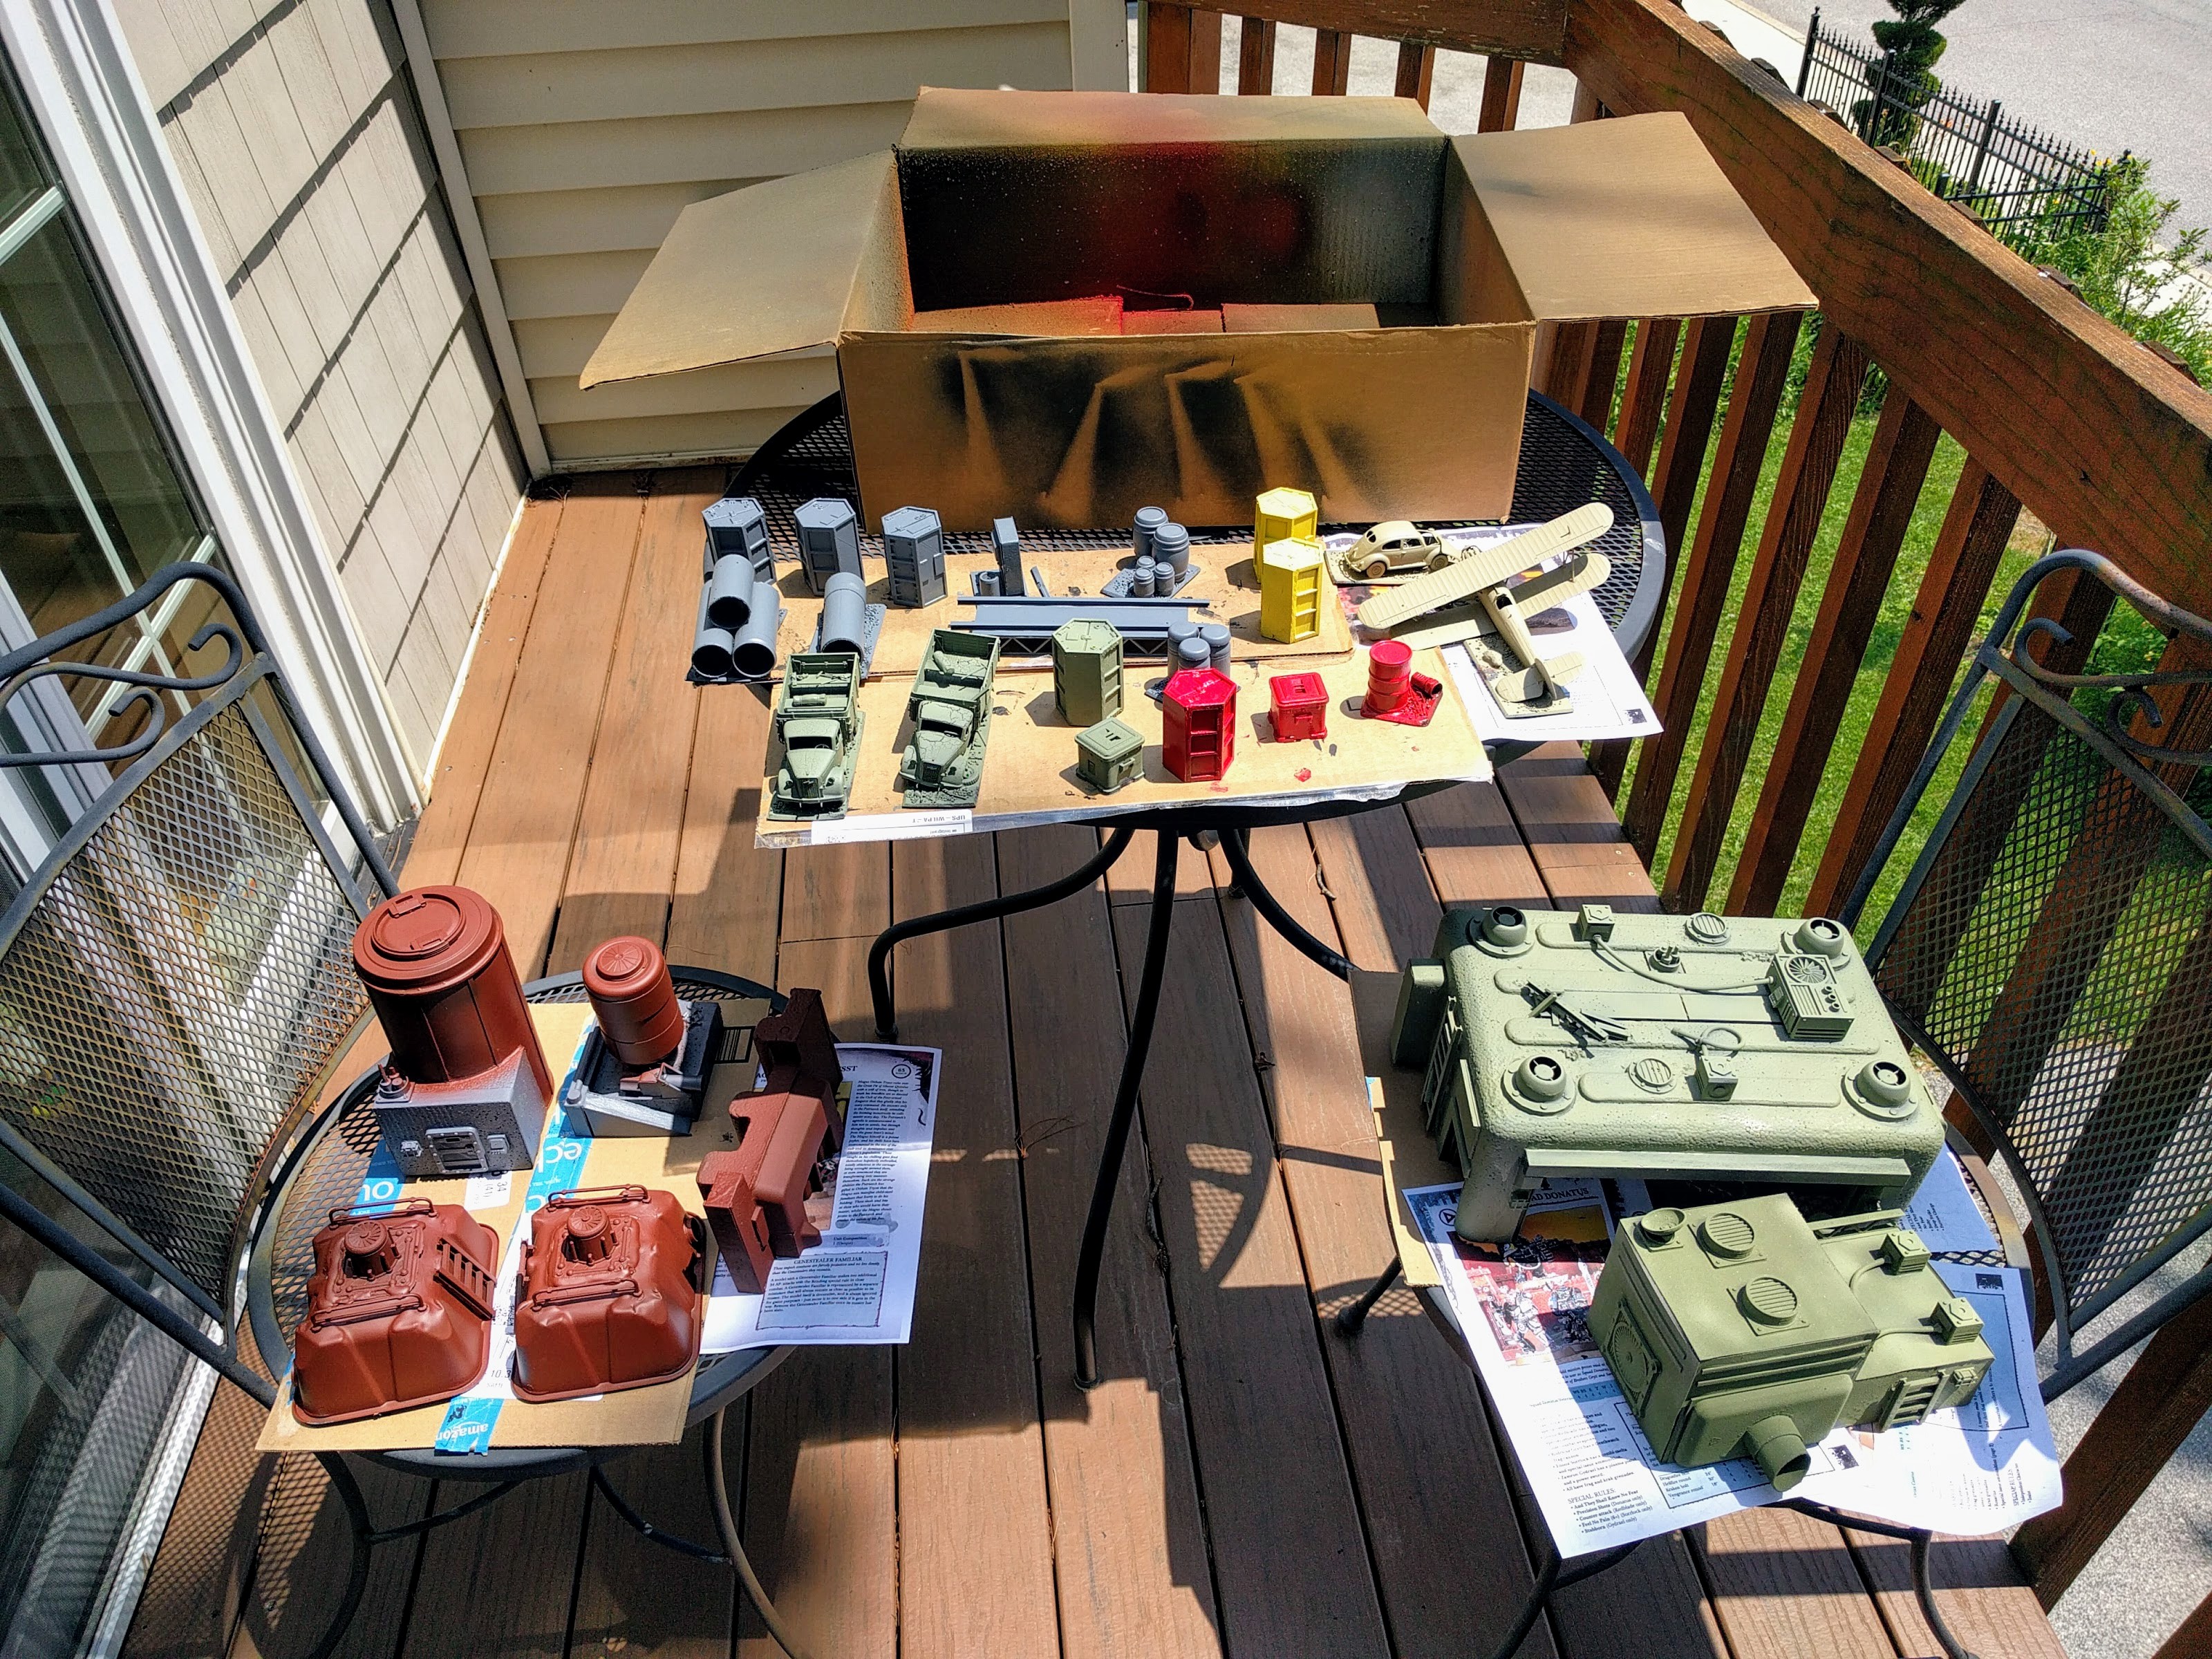
Base coating.

Painting details.
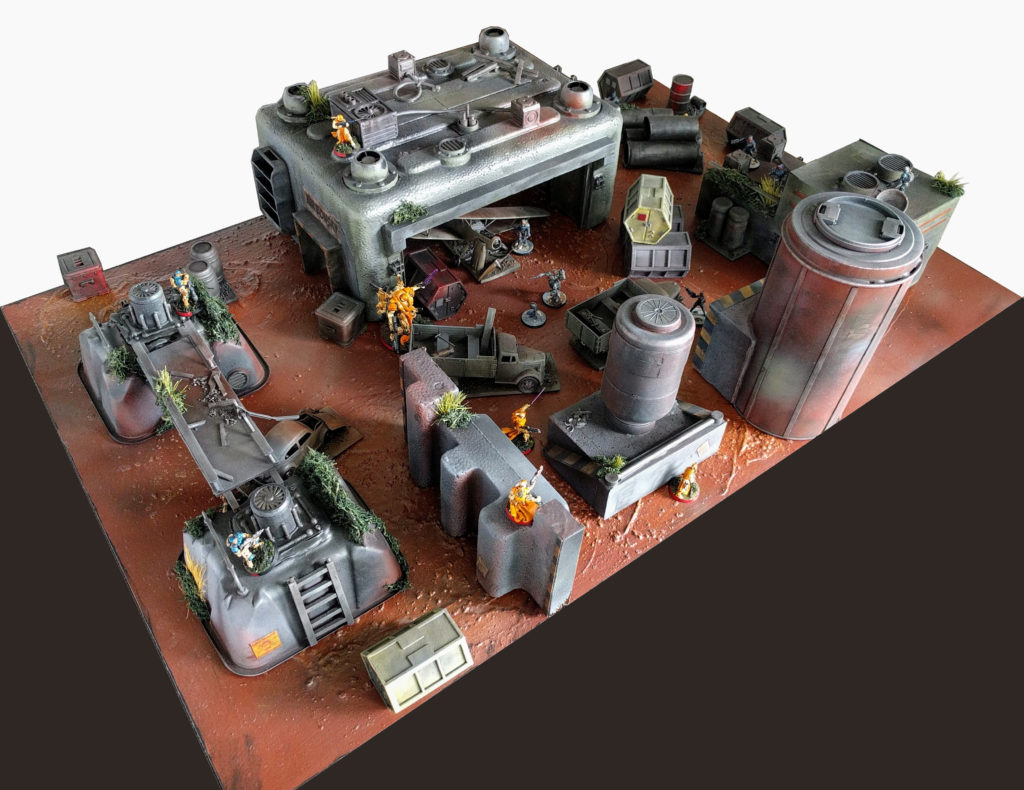
The final board!
Narrative
The story of this terrain is something like:
Early in the colonization of Ariadna, Depot E-7 was a supply outpost used by militias fighting the antipodes on the fringe of the settled area. As the border expanded outward and it was no longer militarily useful, a bold, risk-taking entrepreneur began using it as a base for an air courier service. Given the harsh conditions, limited technology, and few resources available to the colonists, its equipment was all based on very old and simple technology easy to construct and maintain. The service provided an important link ferrying supplies, messages, and people over the dangerous ground between the new, far flung settlements popping up as the colony grew rapidly. Later though the depot was overrun as its region collapsed in one of the periodic waves of antipode fighting. Although abandoned since then, it has recently come to be occasionally used as a waypoint or temporary base by various special forces teams operating on Ariadna.
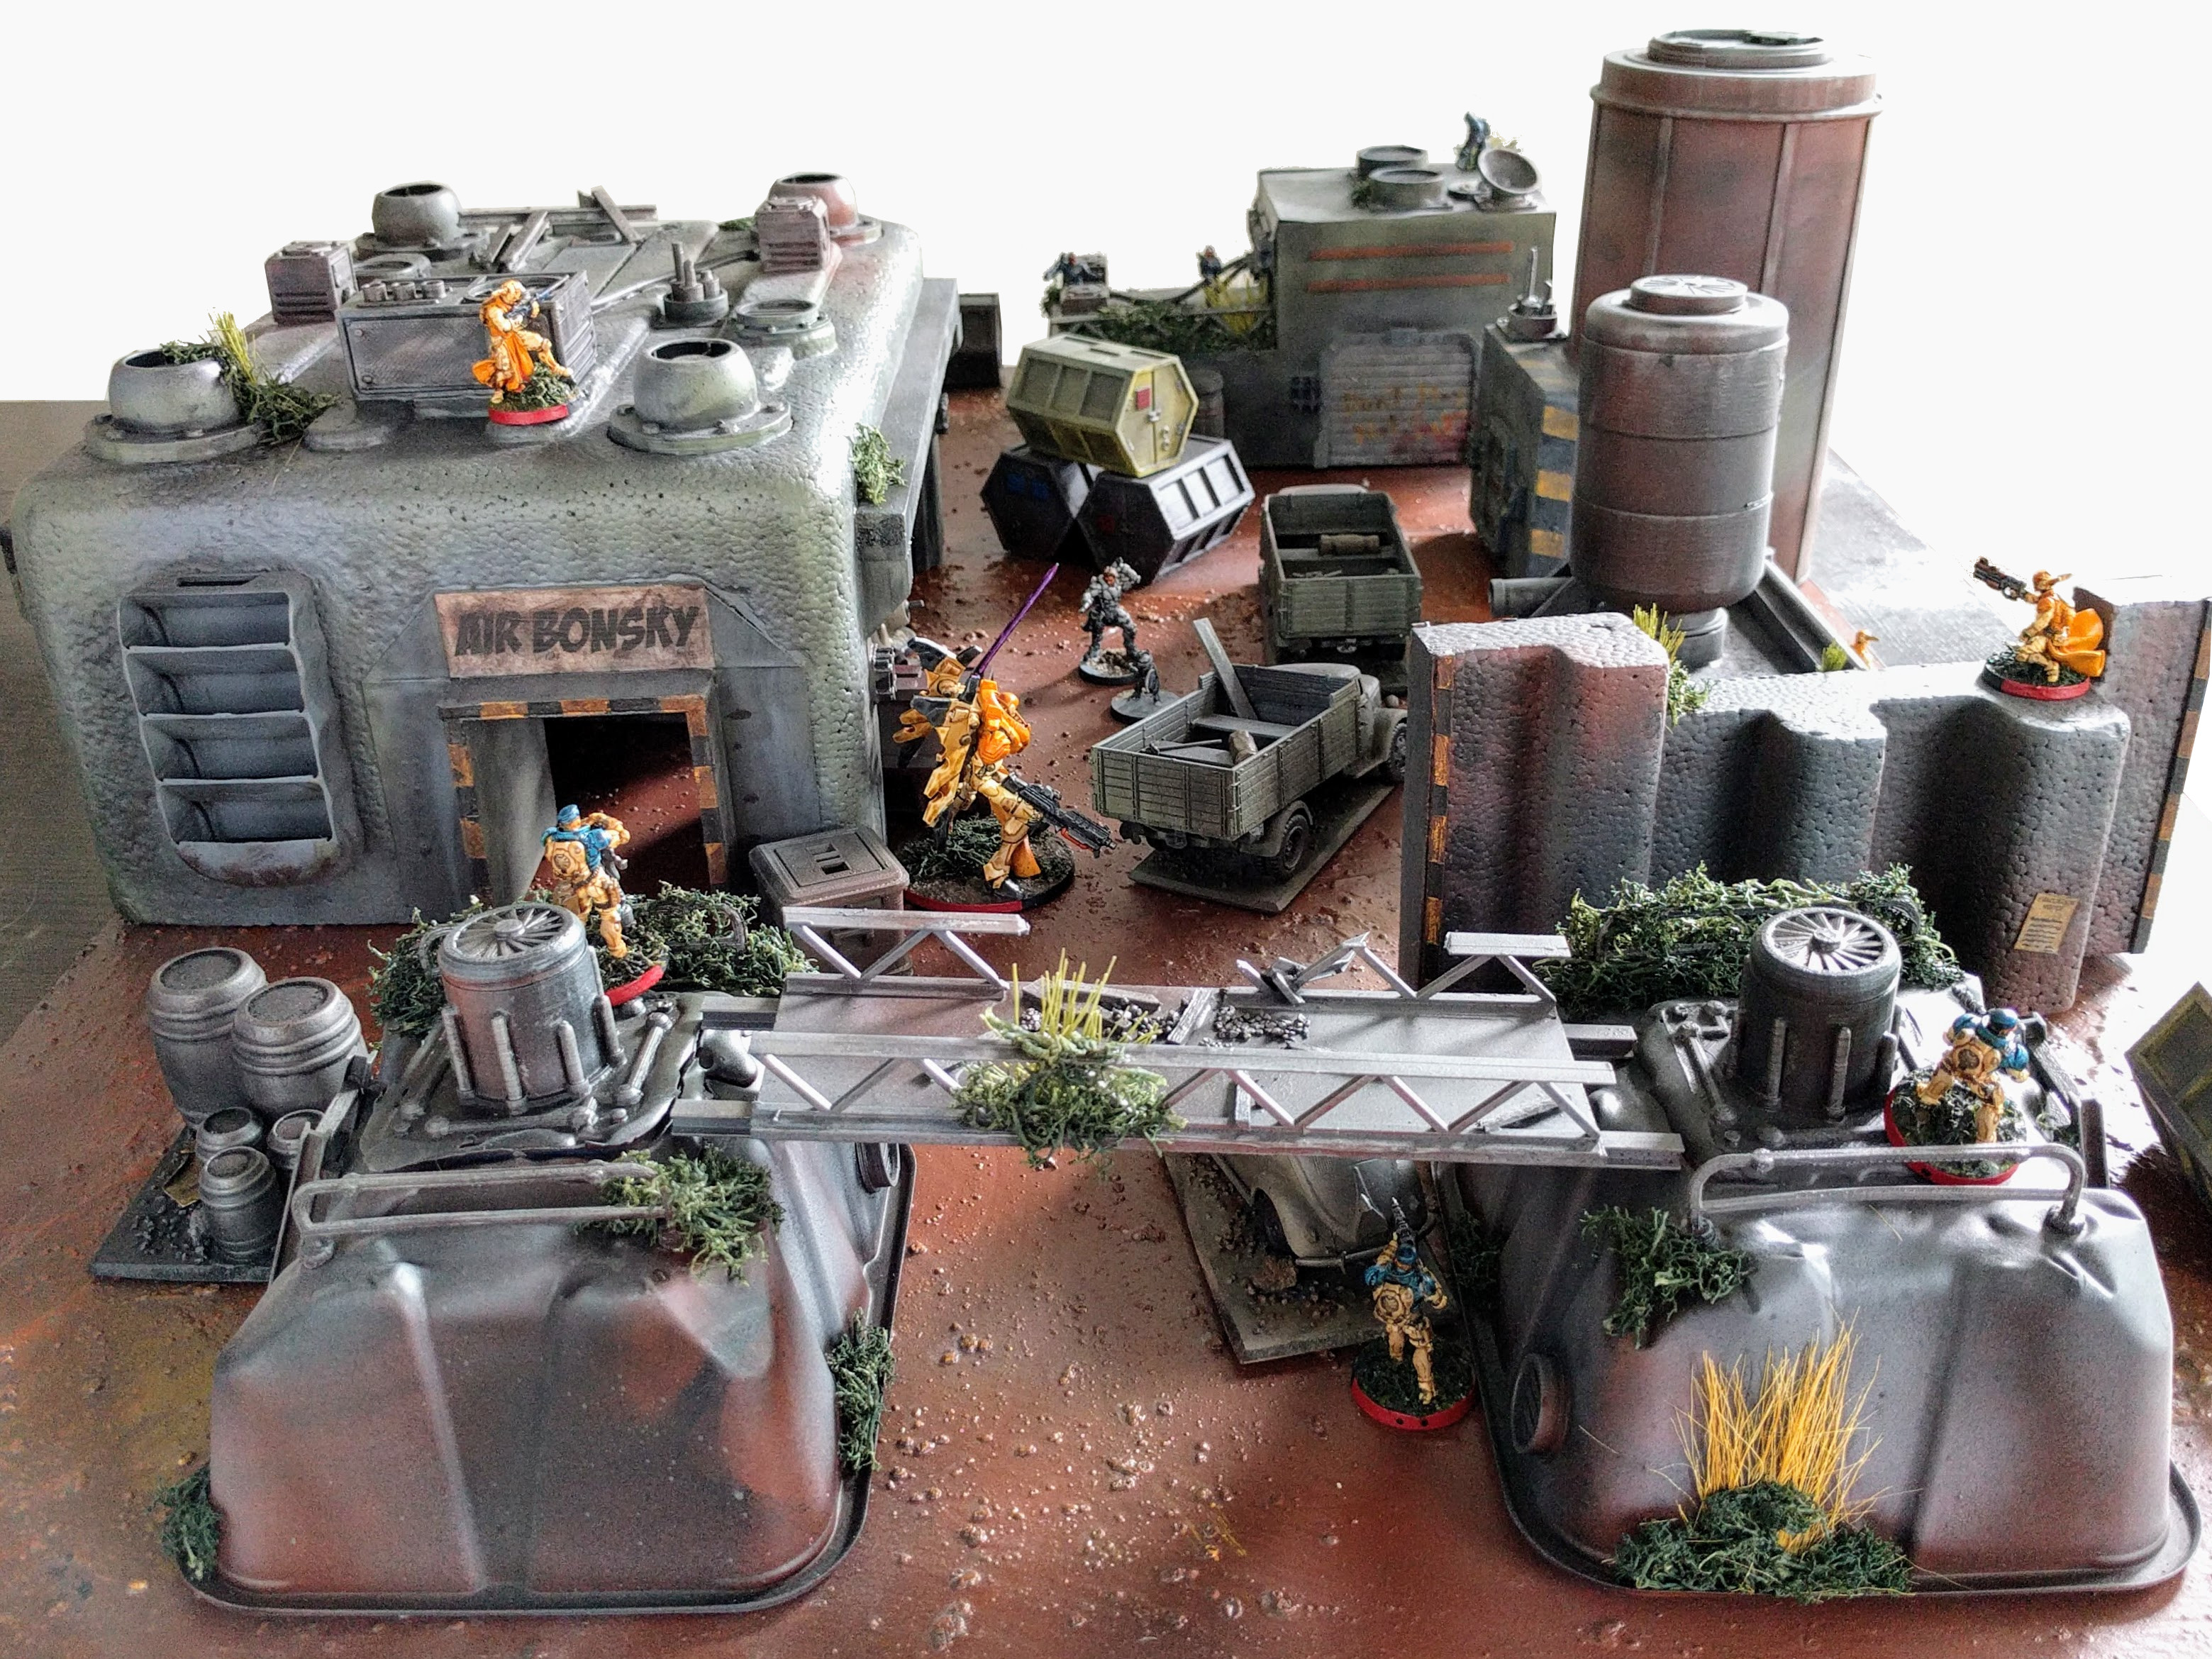
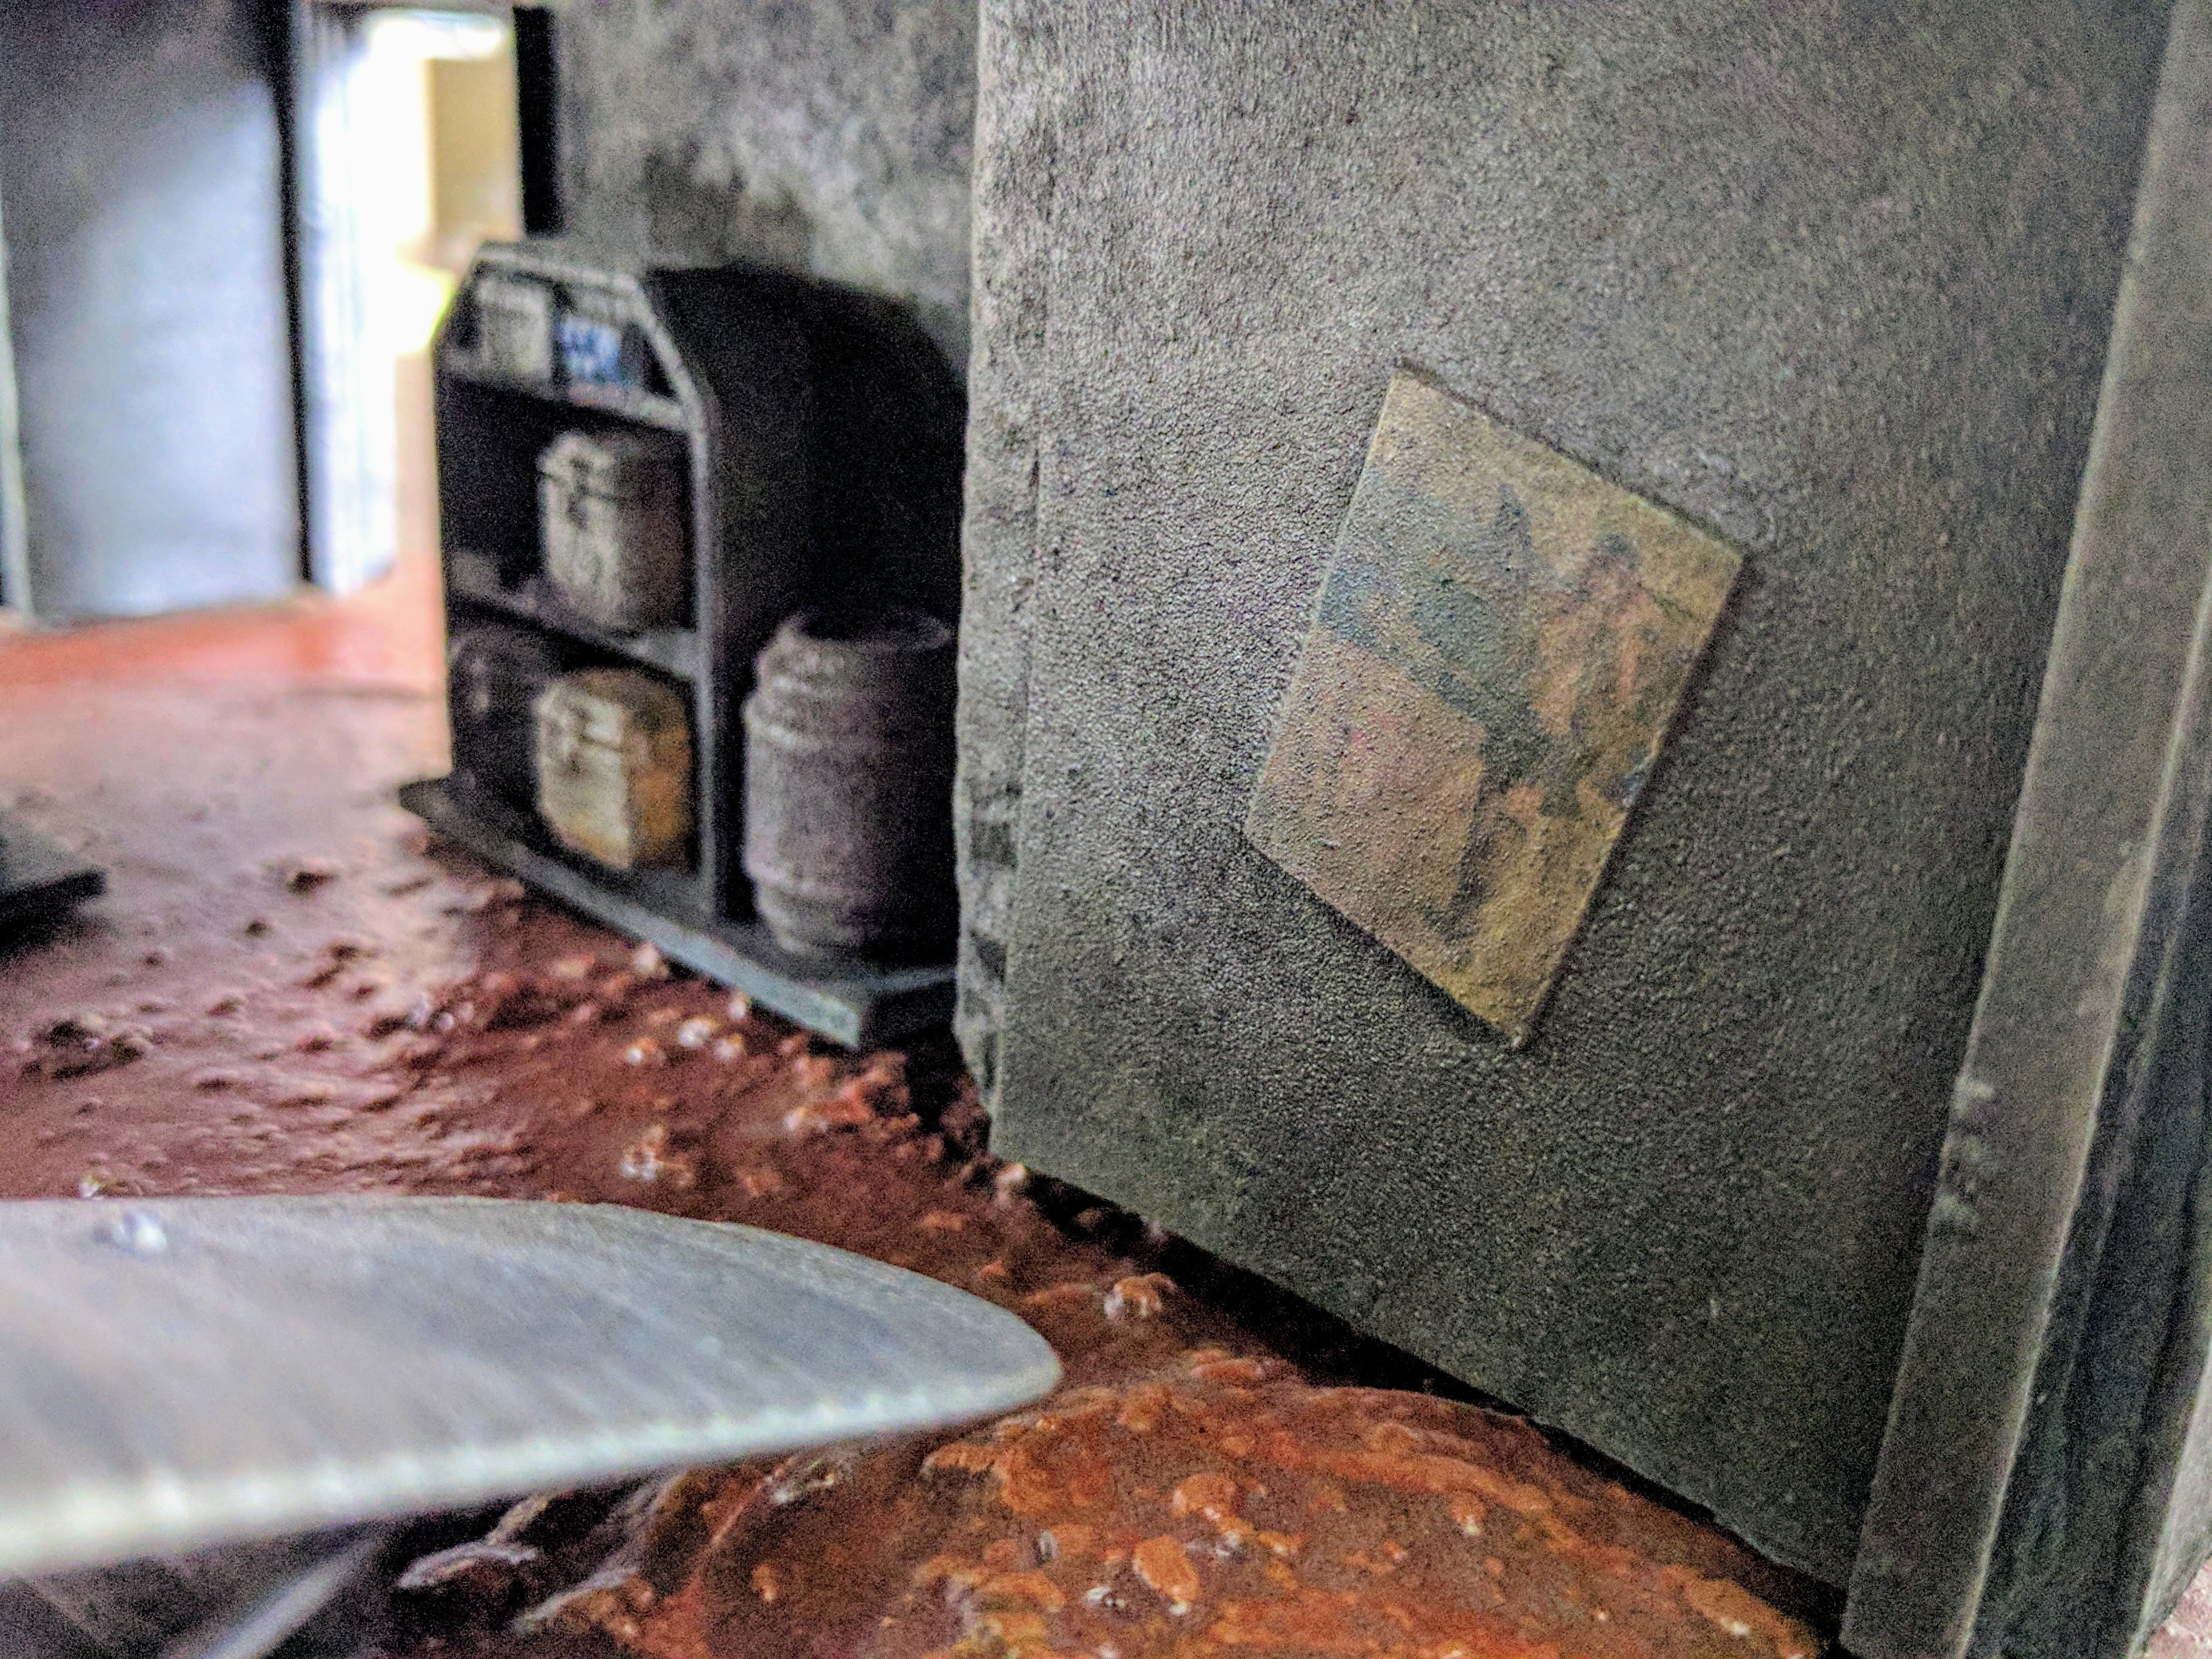
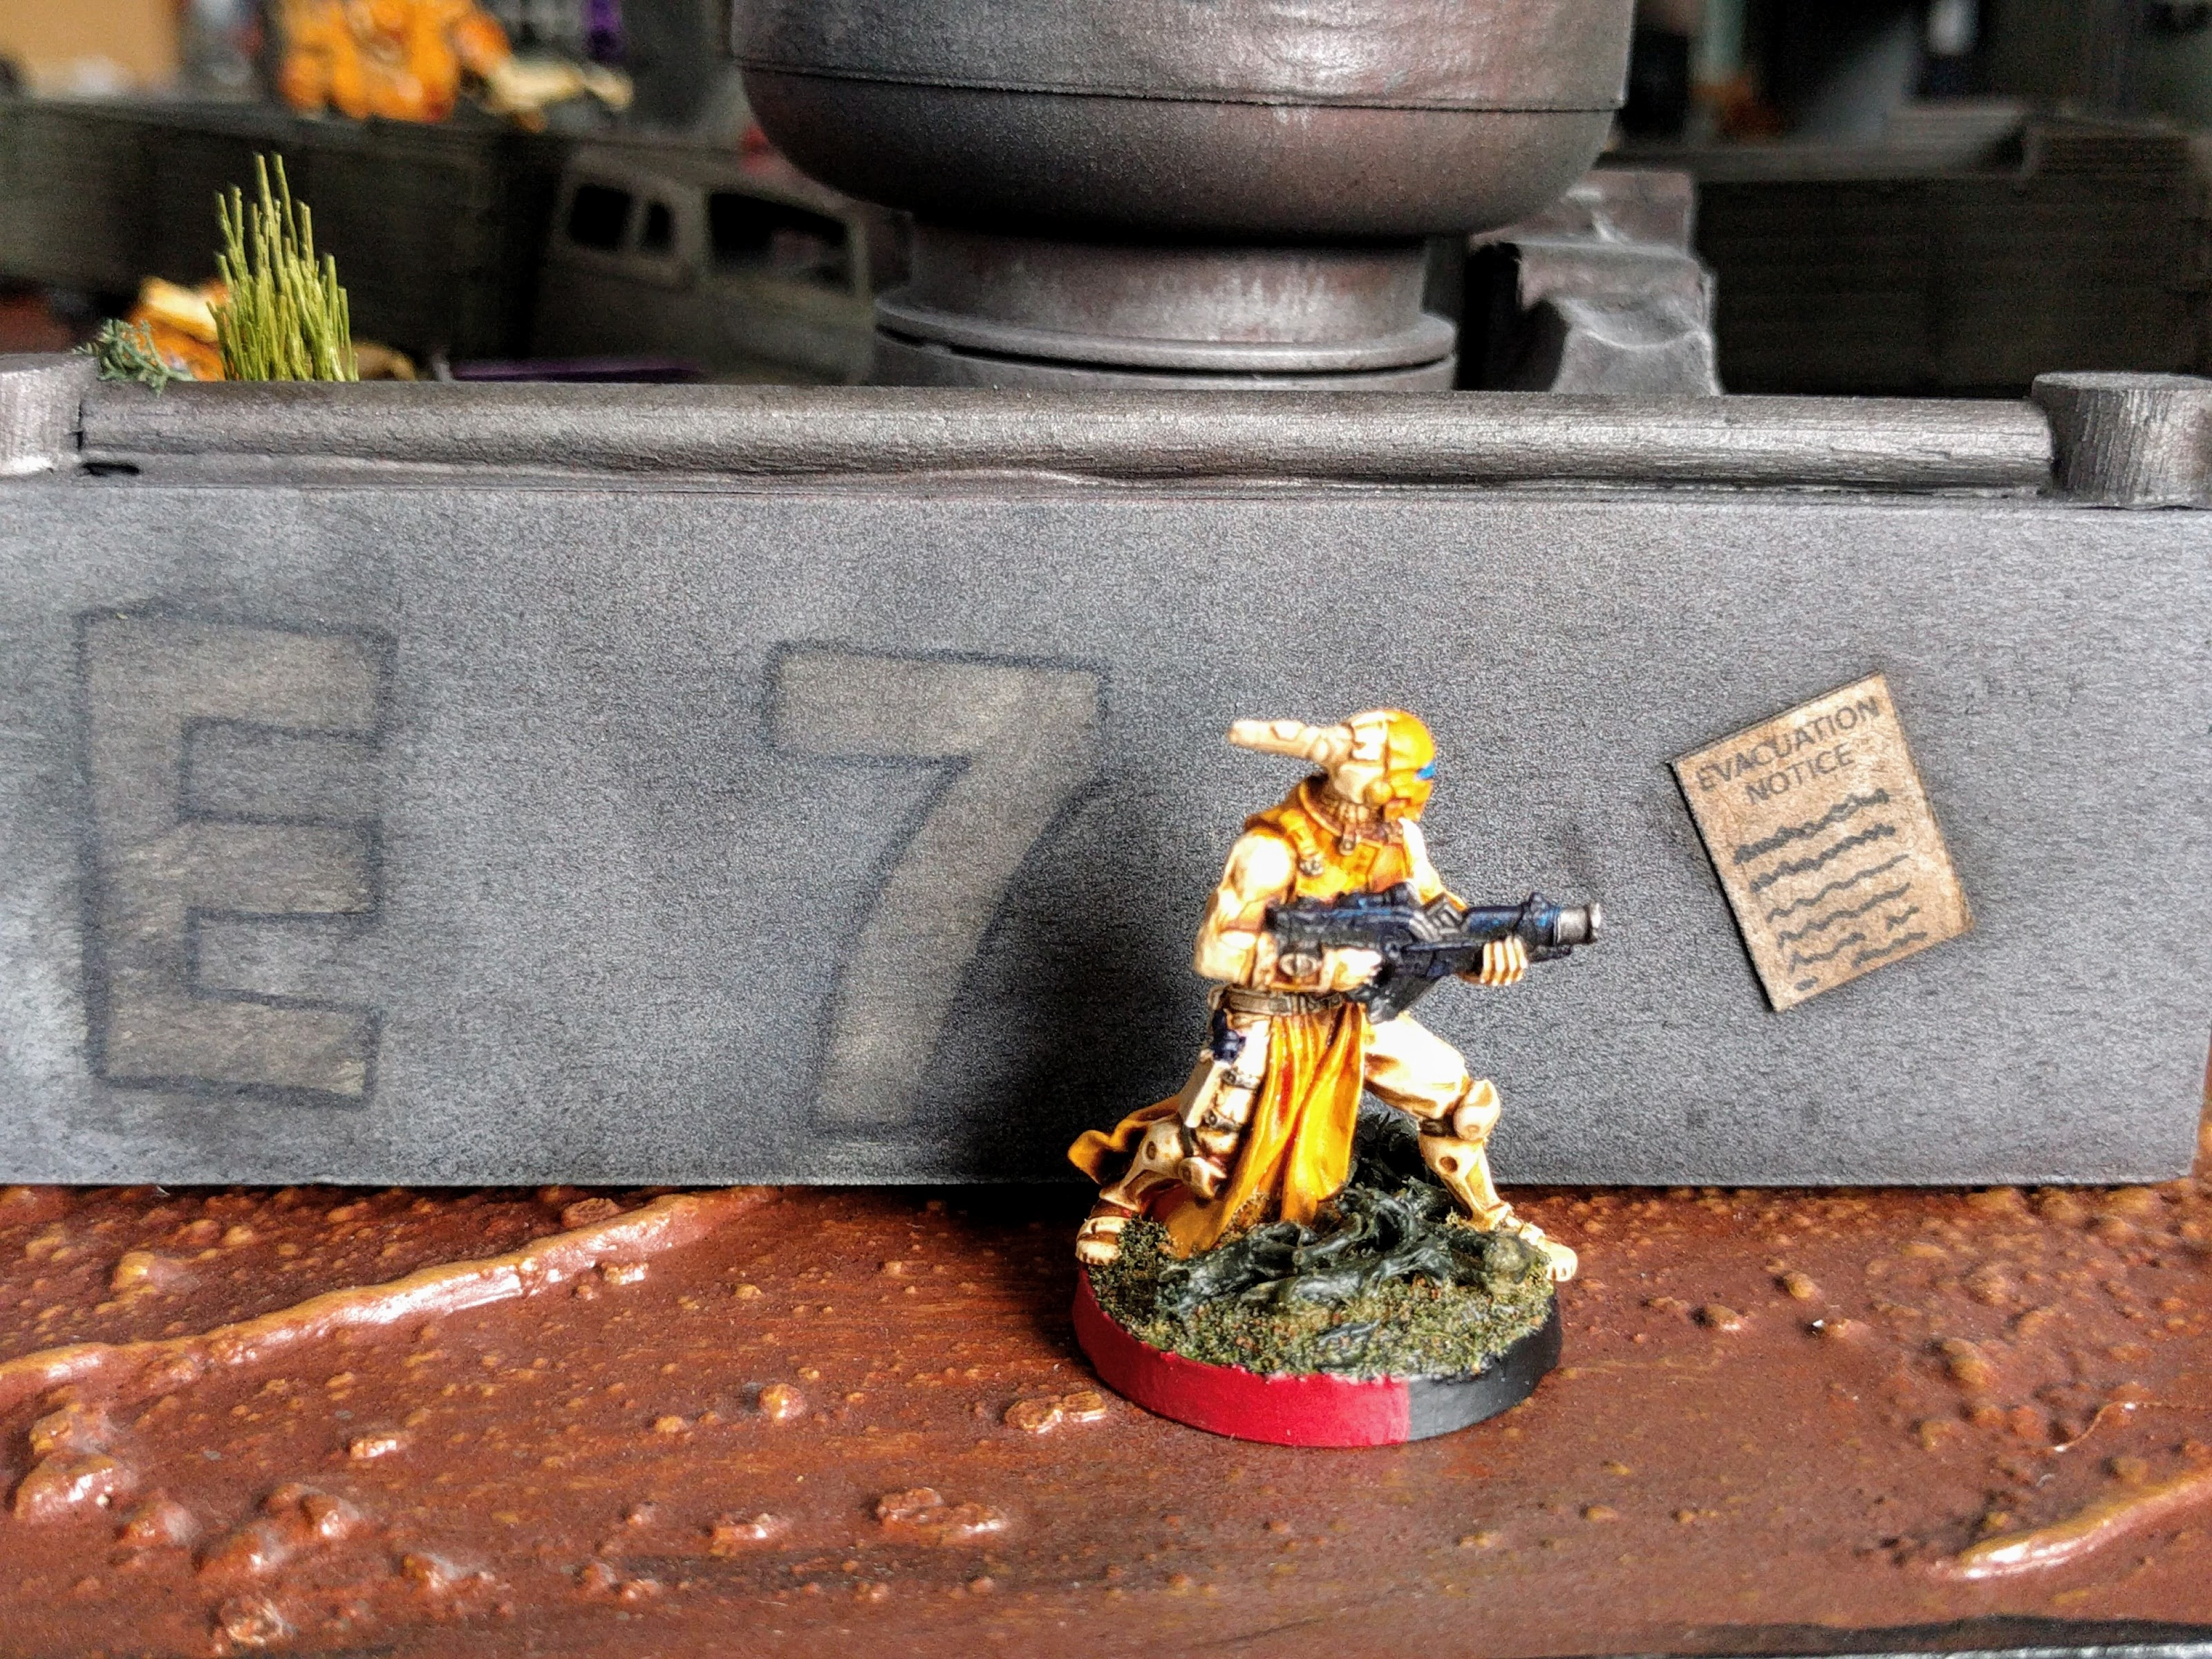
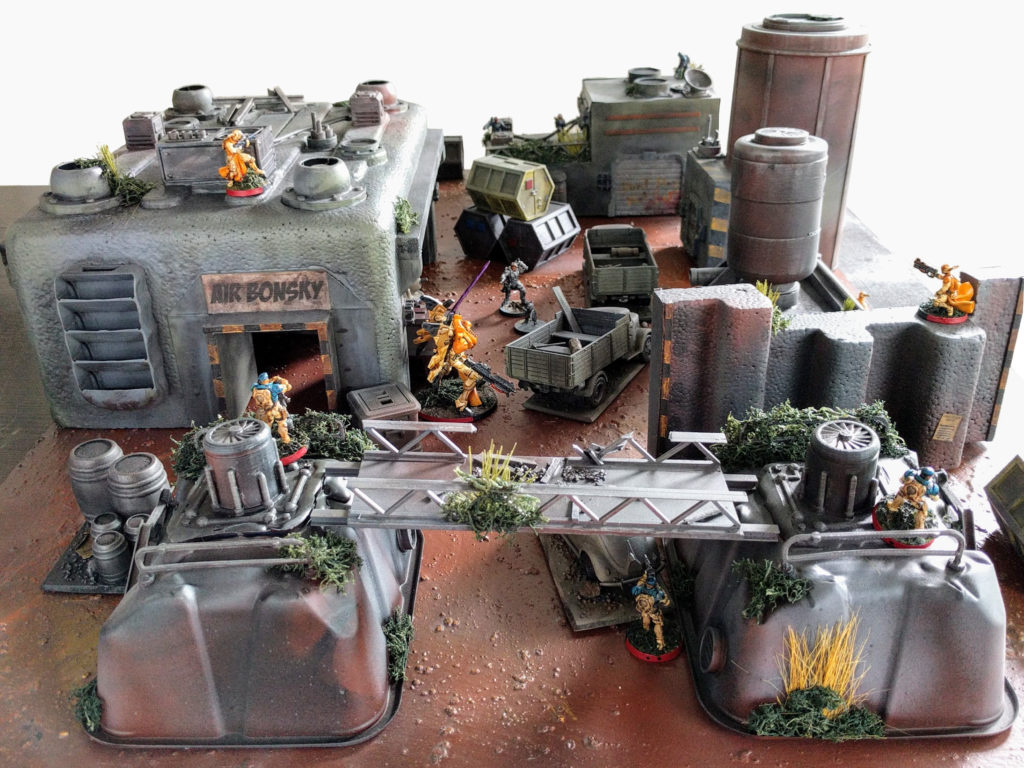
The board is of course designed overall to feel abandoned and disused, but particulars of that story are captured in details here and there: Signage declares the garage to be the home of the “Air Bonsky” courier service (Bonsky being our local lead Infinity TO); militia recruitment and “EVACUATION NOTICE” posters are scattered about on some of the walls and littered on the floor; blood spatters mark where the last defender was caught when the base was overrun; a walkway has been twisted and burnt by high explosives in more recent fighting. It’s not much of a story, but it was just enough to generate some unique, cohesive imagined micro-vignettes and details to add flavor.
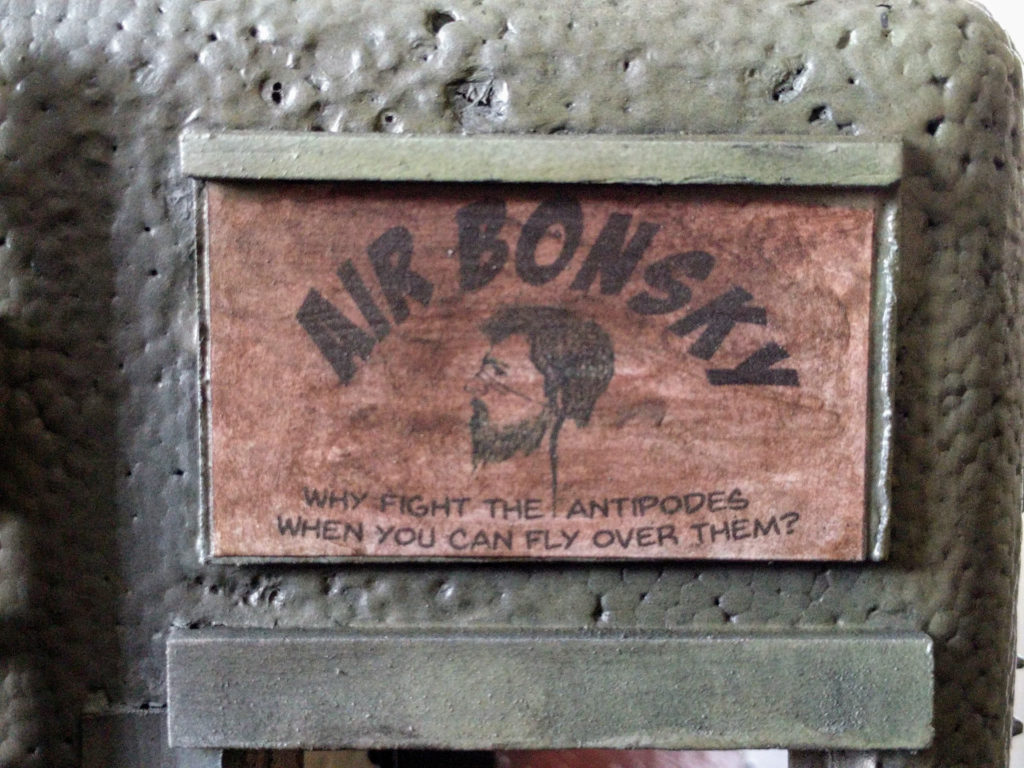
Air Bonsky: Why fight the antipodes when you can fly over them?

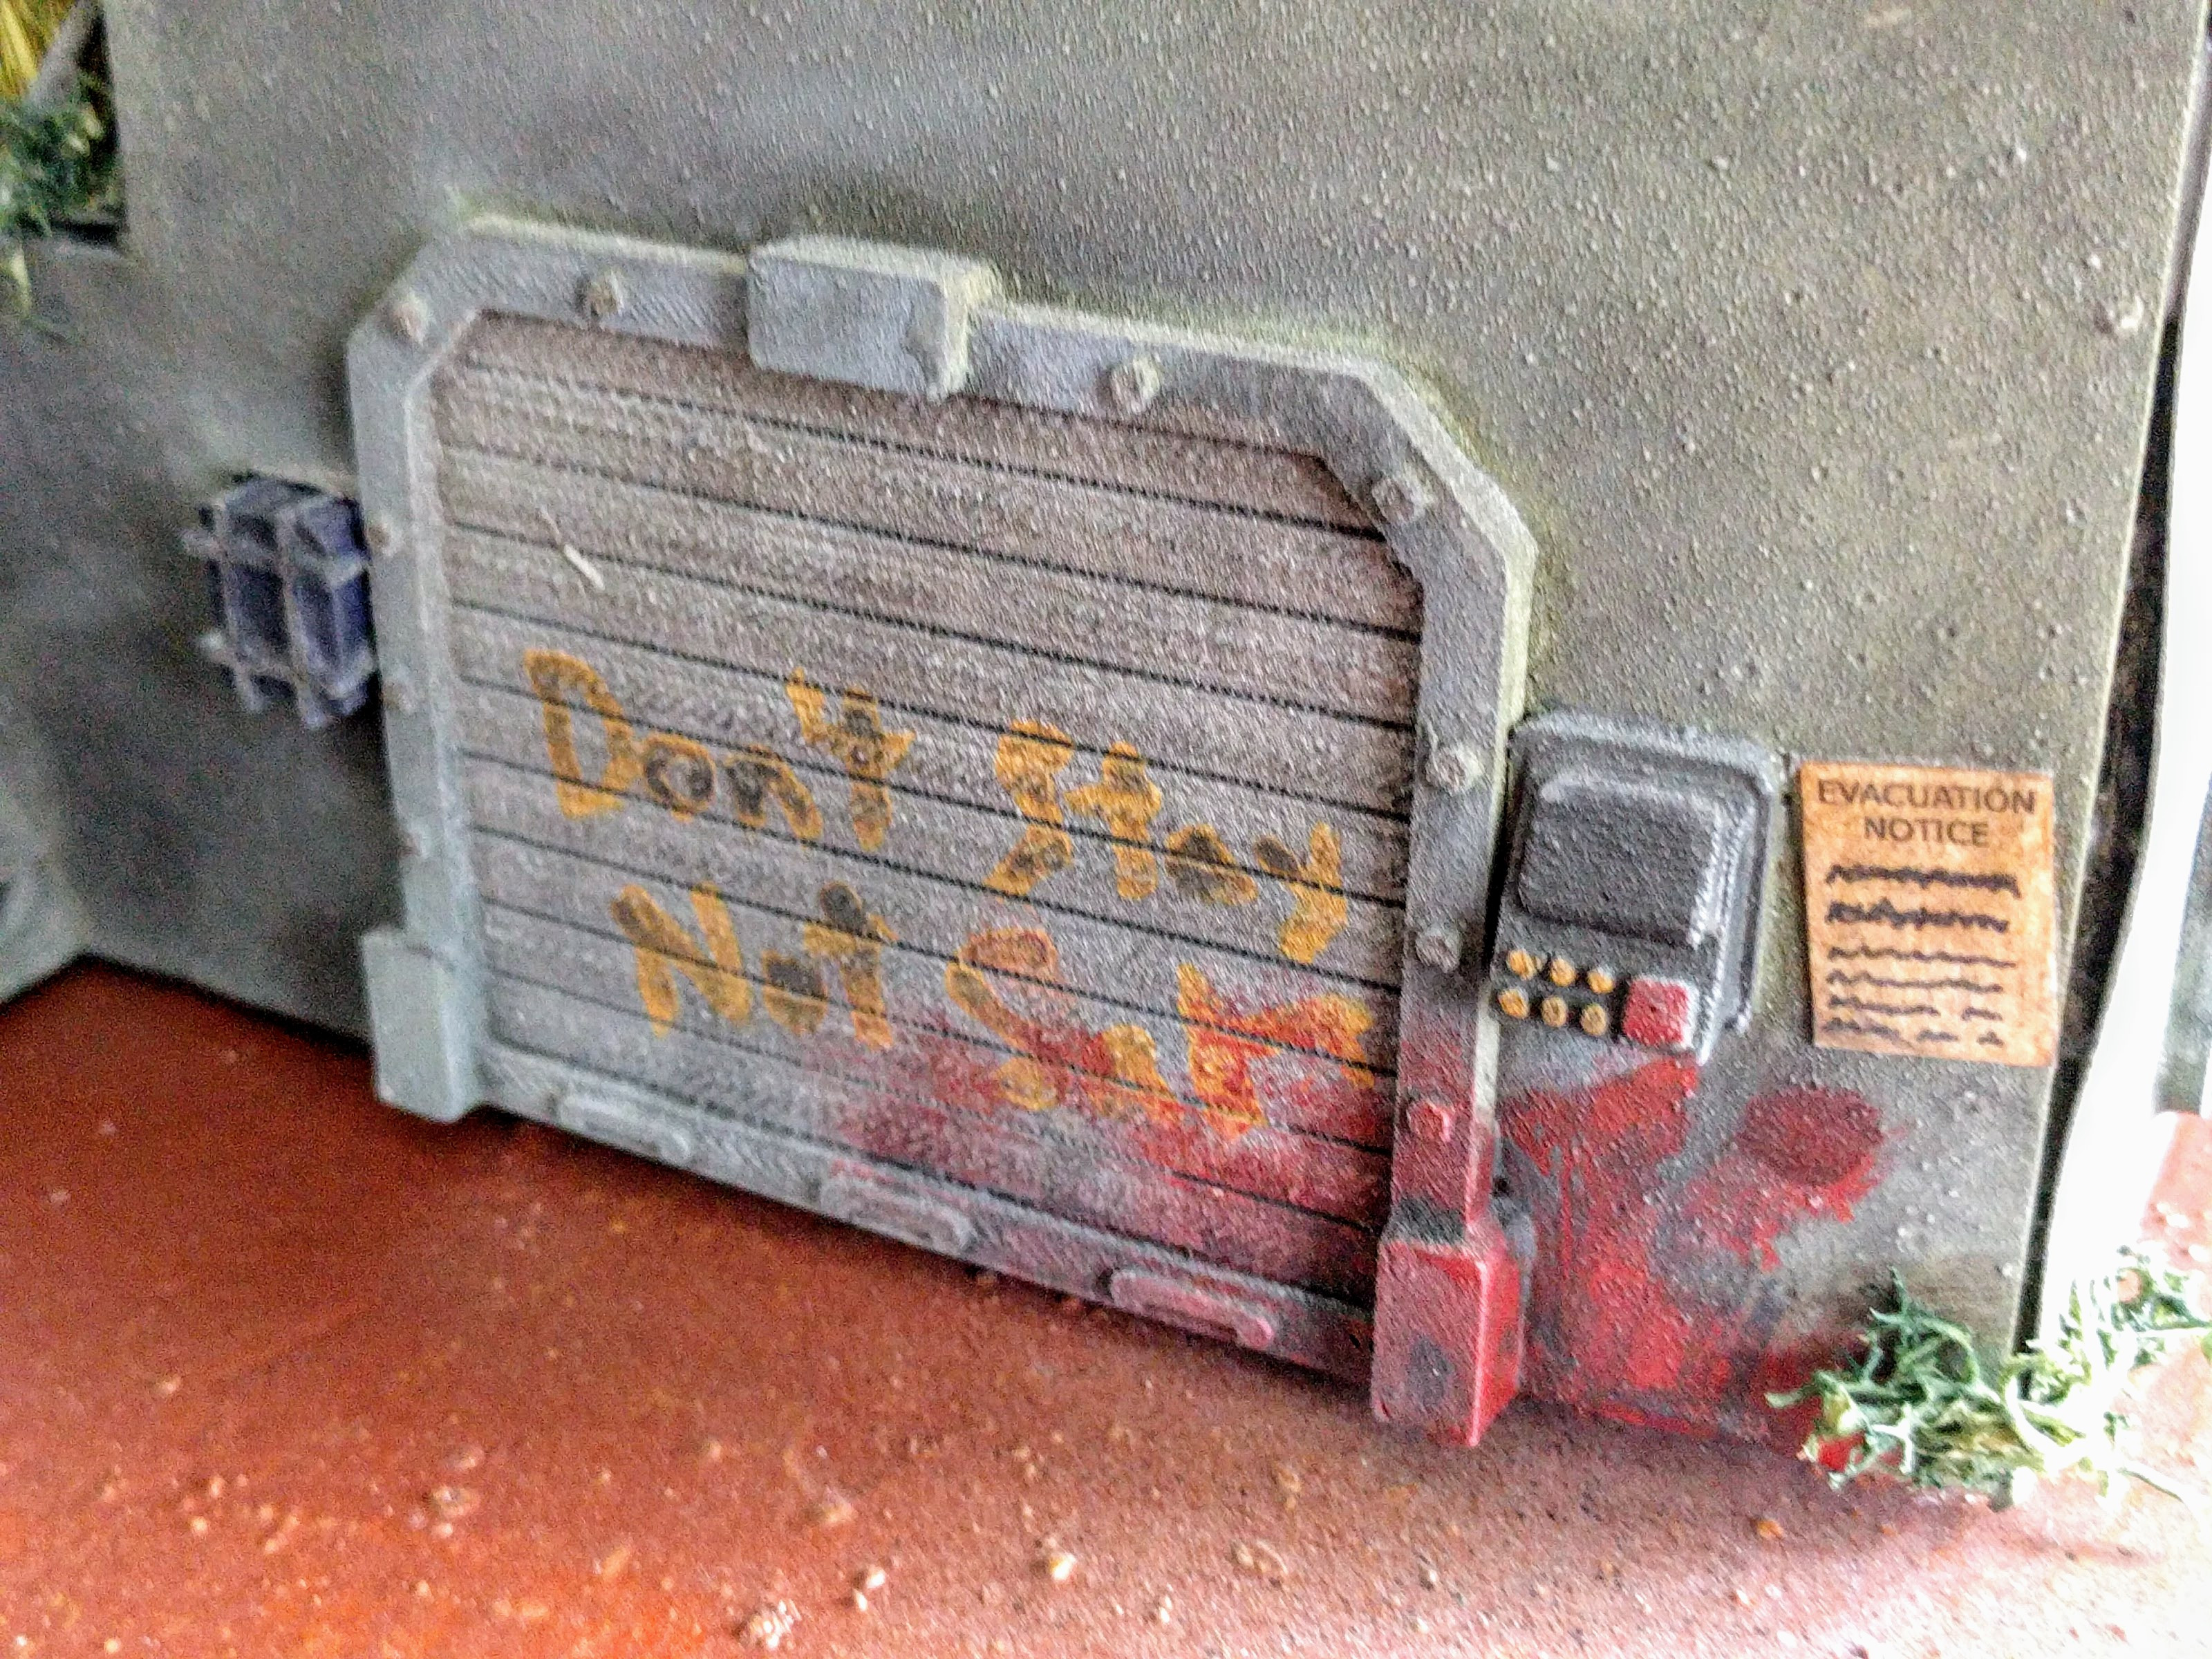
Evacuation notice poster on a wall.

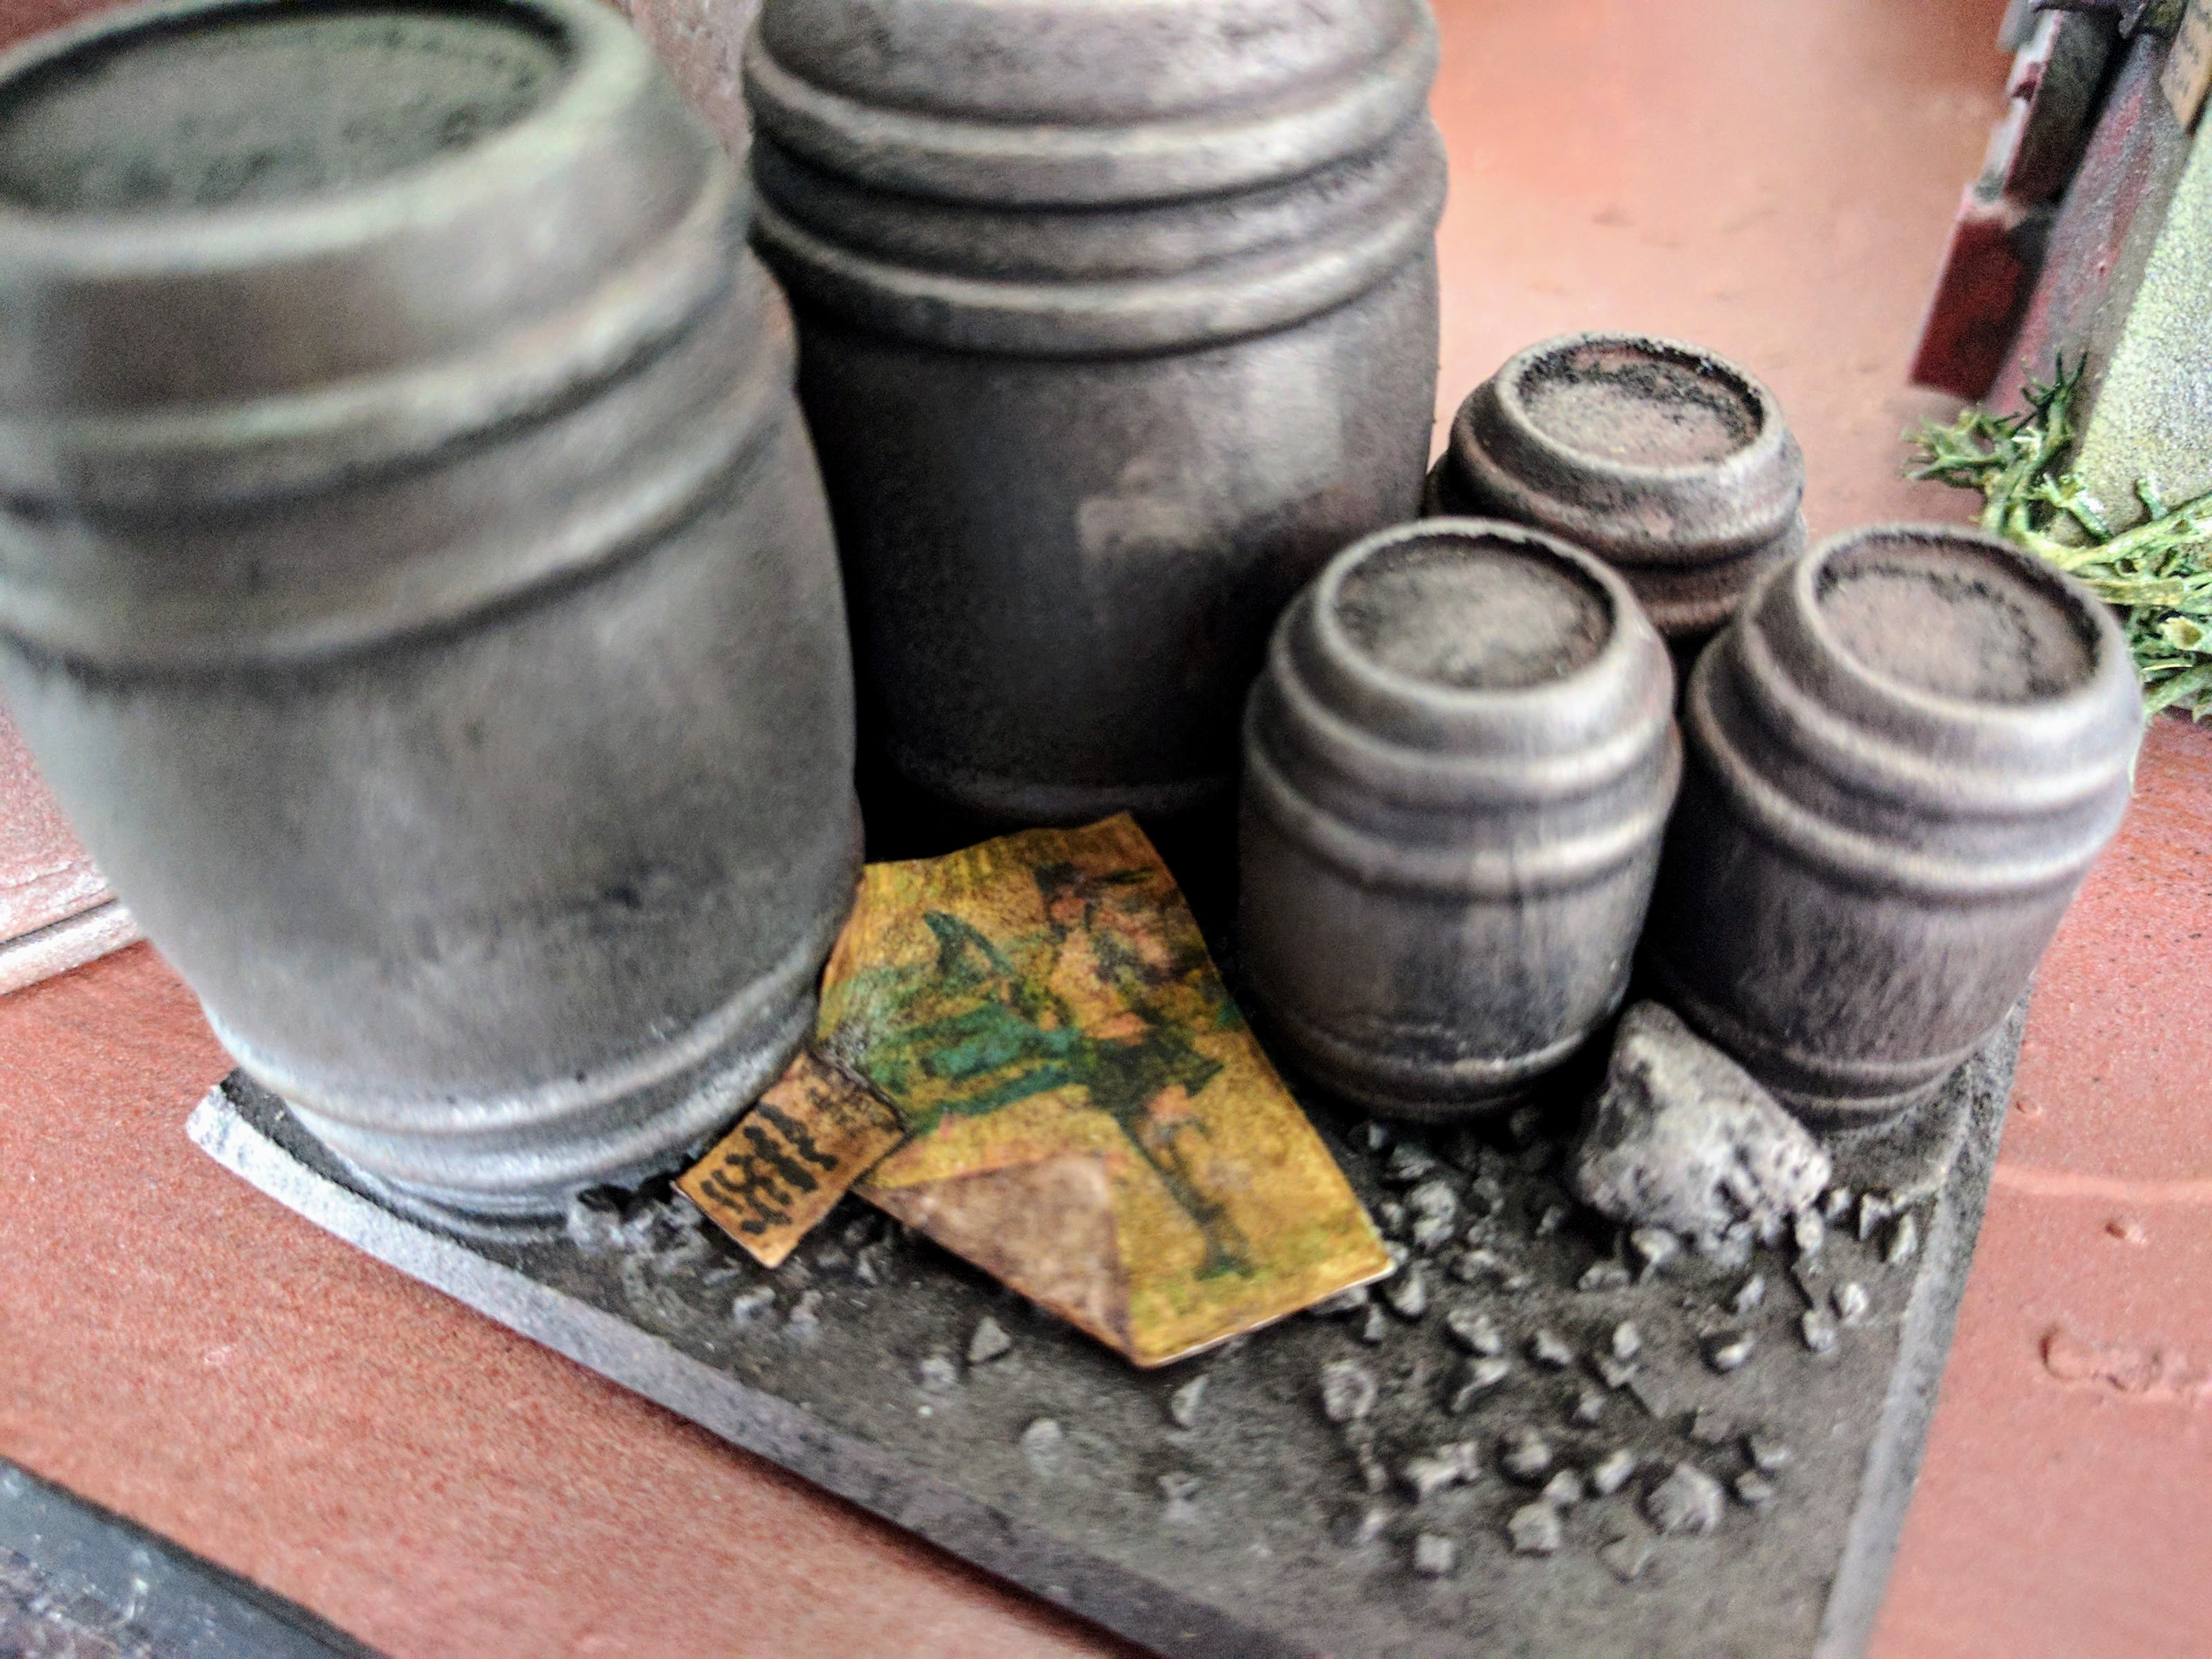
Littered recruitment poster and evac notice handbill blown into a corner.
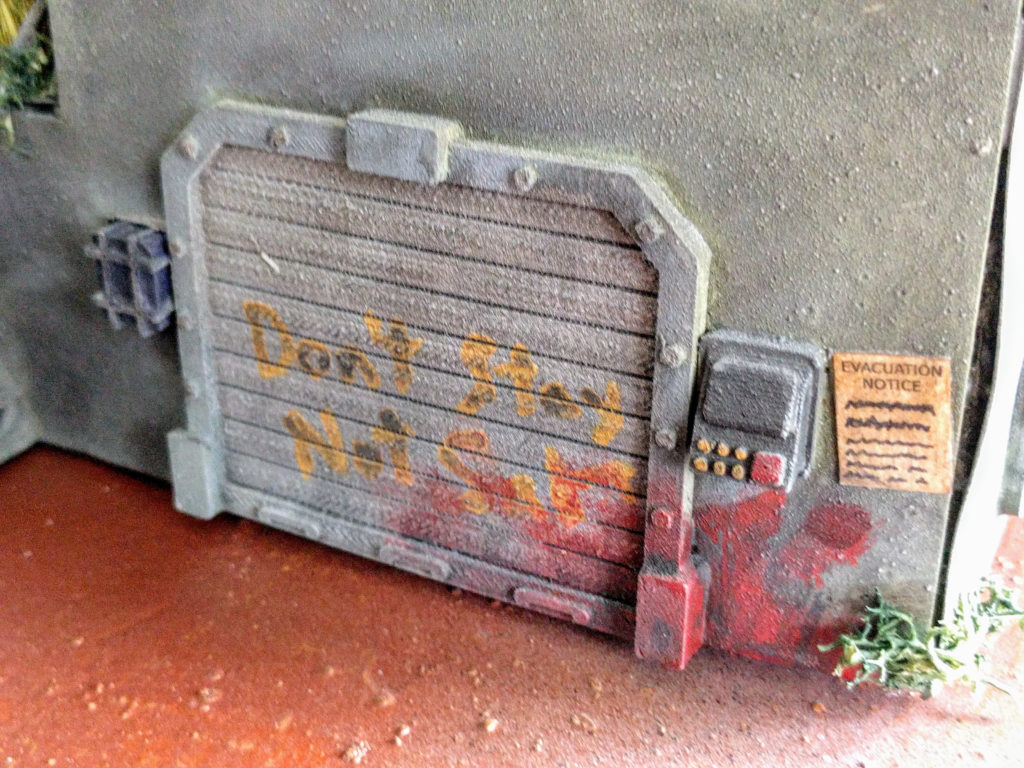
A warning not finished in time.
Play
This board is definitely designed with just a bit of priority toward aesthetics and narrative versus gameplay. In a few places it can be a touch awkward to place figures because of details, many of the shapes are slightly odd so models often don’t perfectly snug up into cover, and so on. But it’s very playable, and has interesting features.
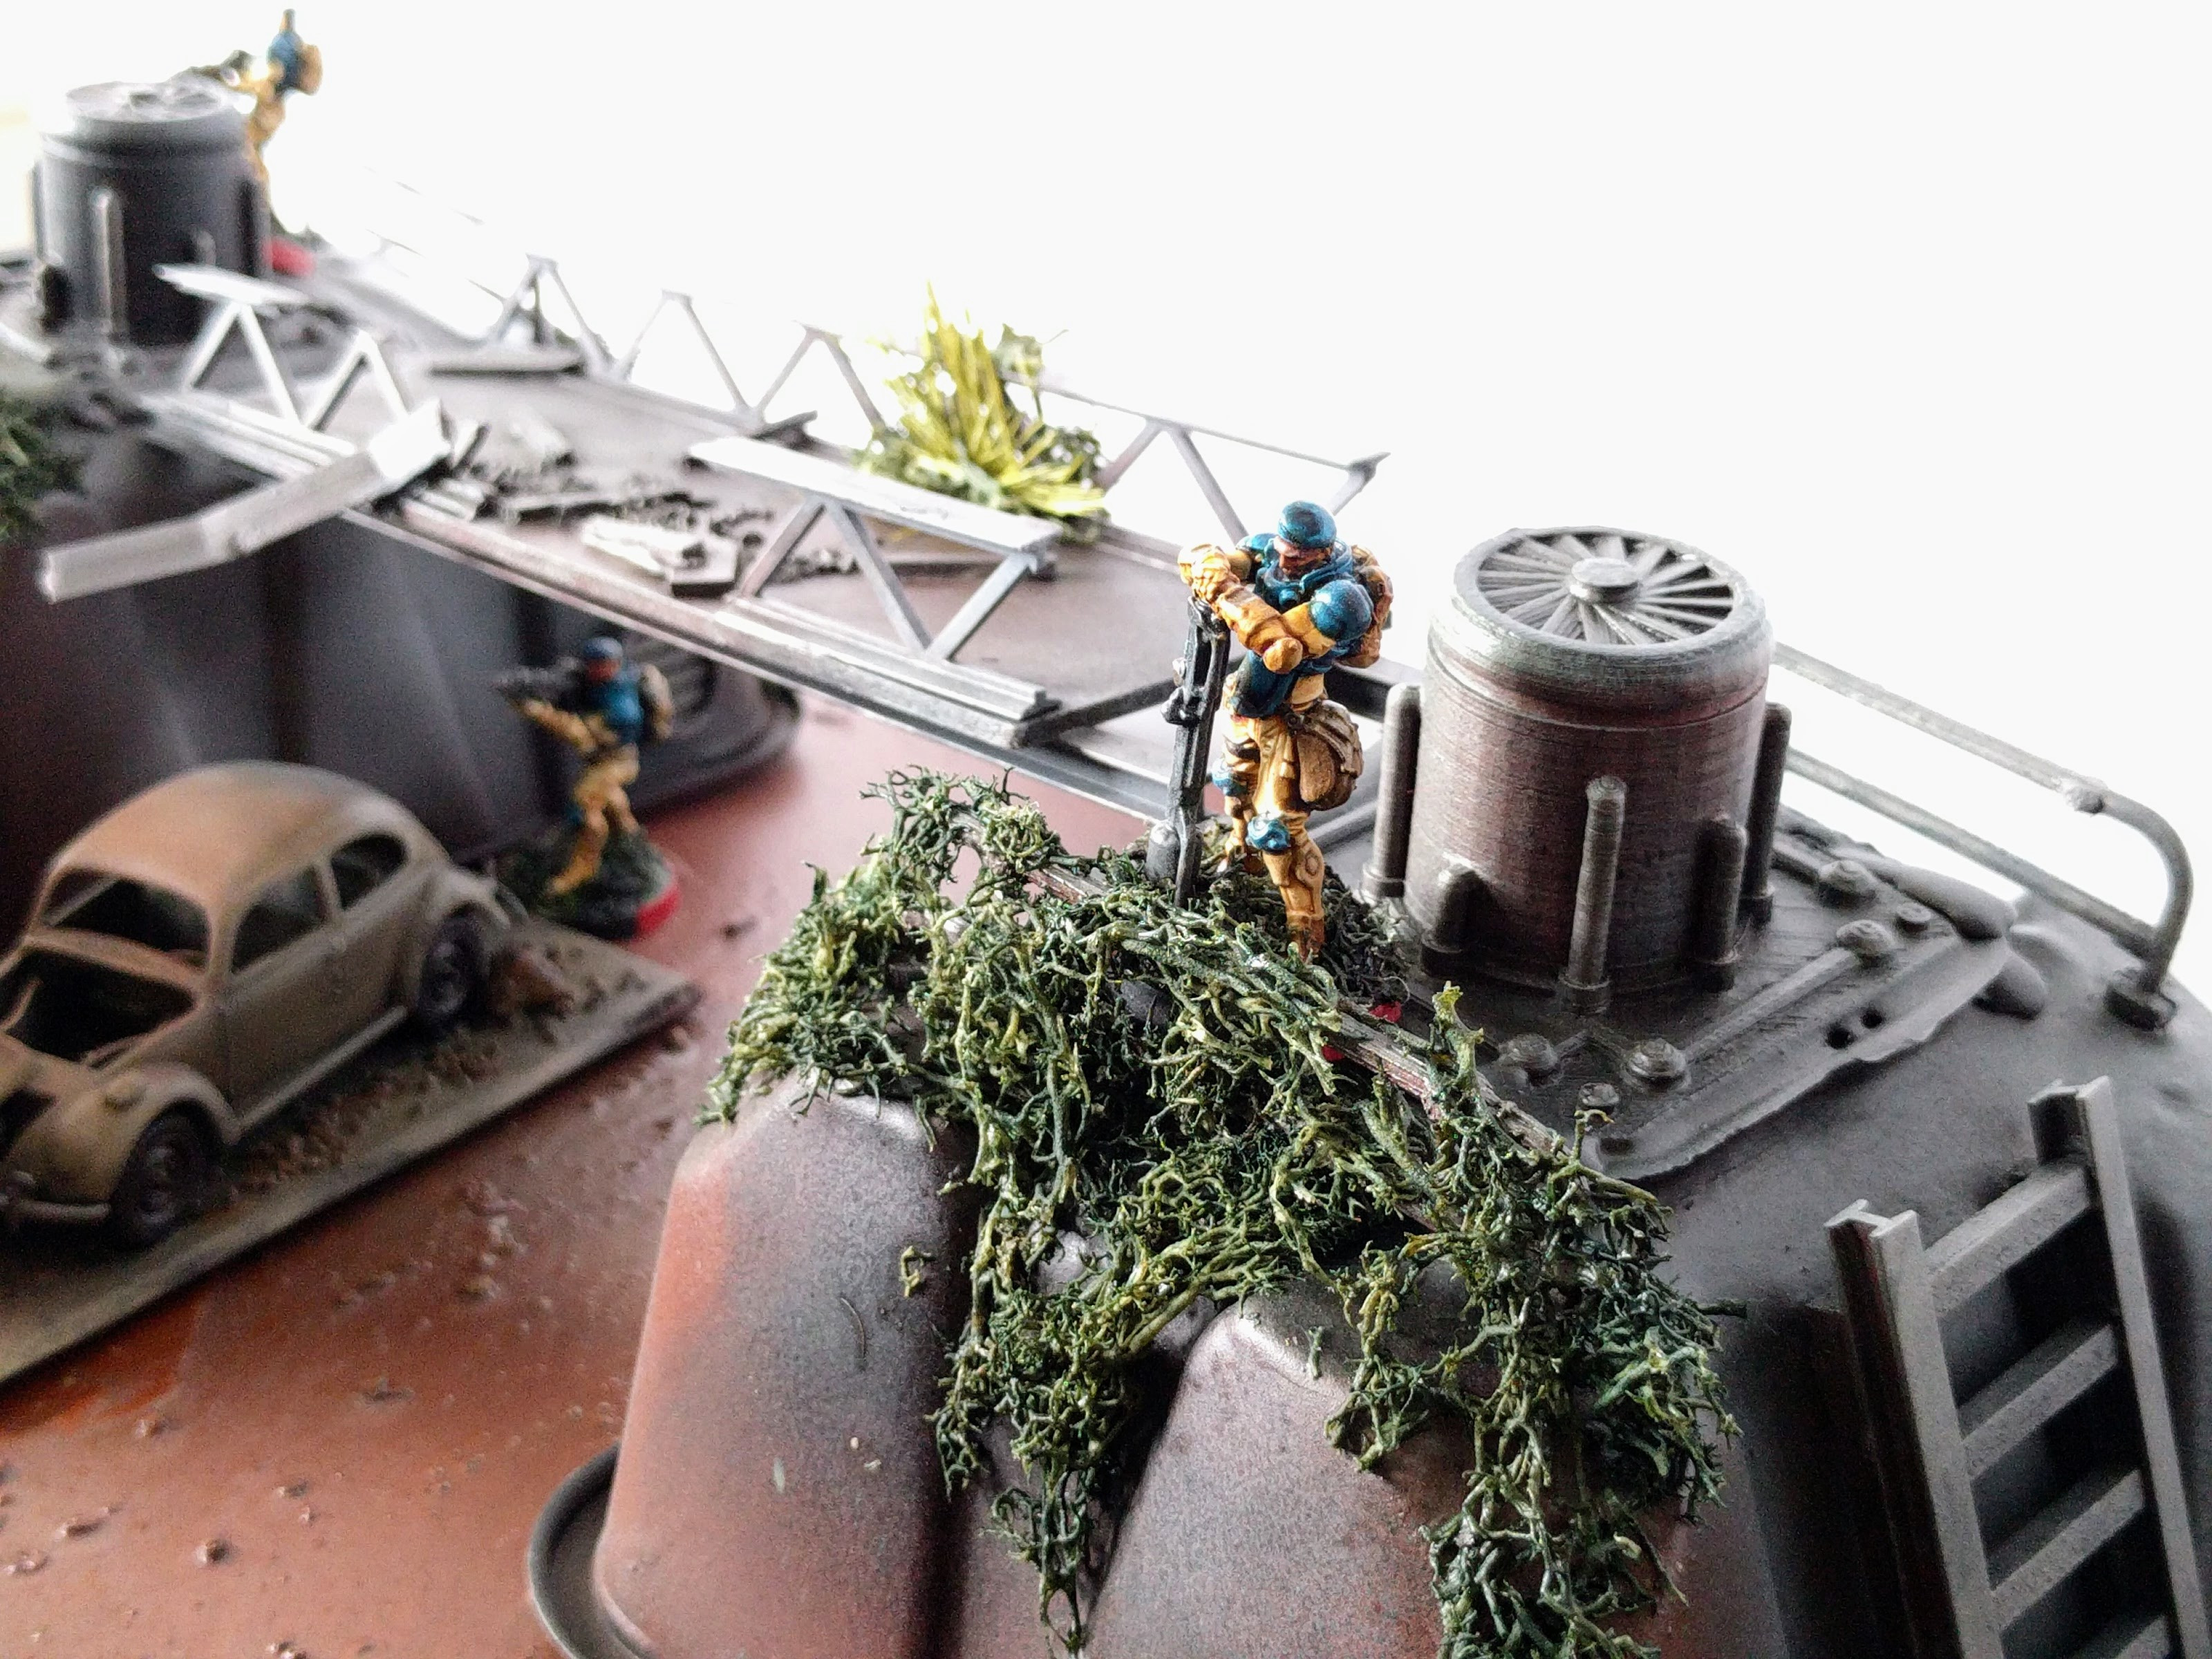
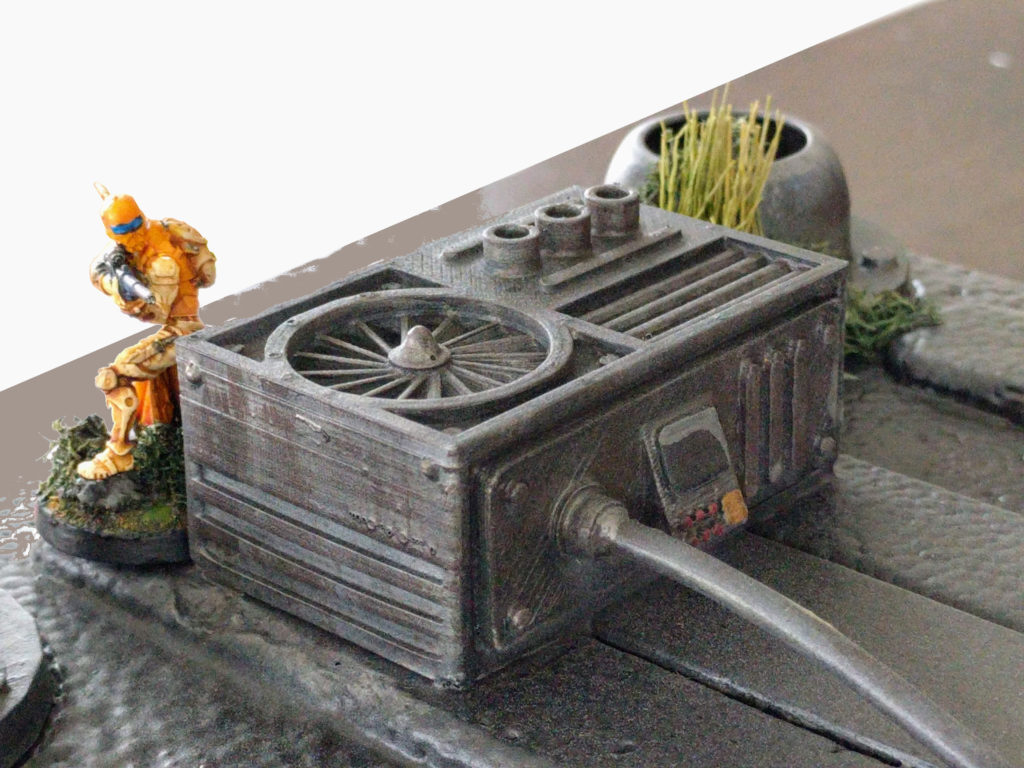
As one example, none of the buildings have the ubiquitous low walls found on almost all Infinity MDF terrain. In places where railings make real-world sense and cover would be useful for gameplay, the metalwork is more realistically thin and open, but overgrown in thick vegetation to physically obscure models and leave no doubt they’re intended to be cover. In other places, a variety of mechanical boxes, large vent outlets, and other details scattered about provide partial cover instead of walls and screens. This approach creates some interesting dynamics. For example, the top of the garage can be a great vantage point for controlling ground below. But it’s essentially not possible to move around on it without either breaking cover between features or going prone out of sight and foregoing your own shooting, quite different from moving along a rooftop railing or edge. At the same time, it’s not possible to get cover from all angles, so no sniper can rest easy if there’s a chance the enemy can flank them—which they might very well do by running through the garage directly underneath them!
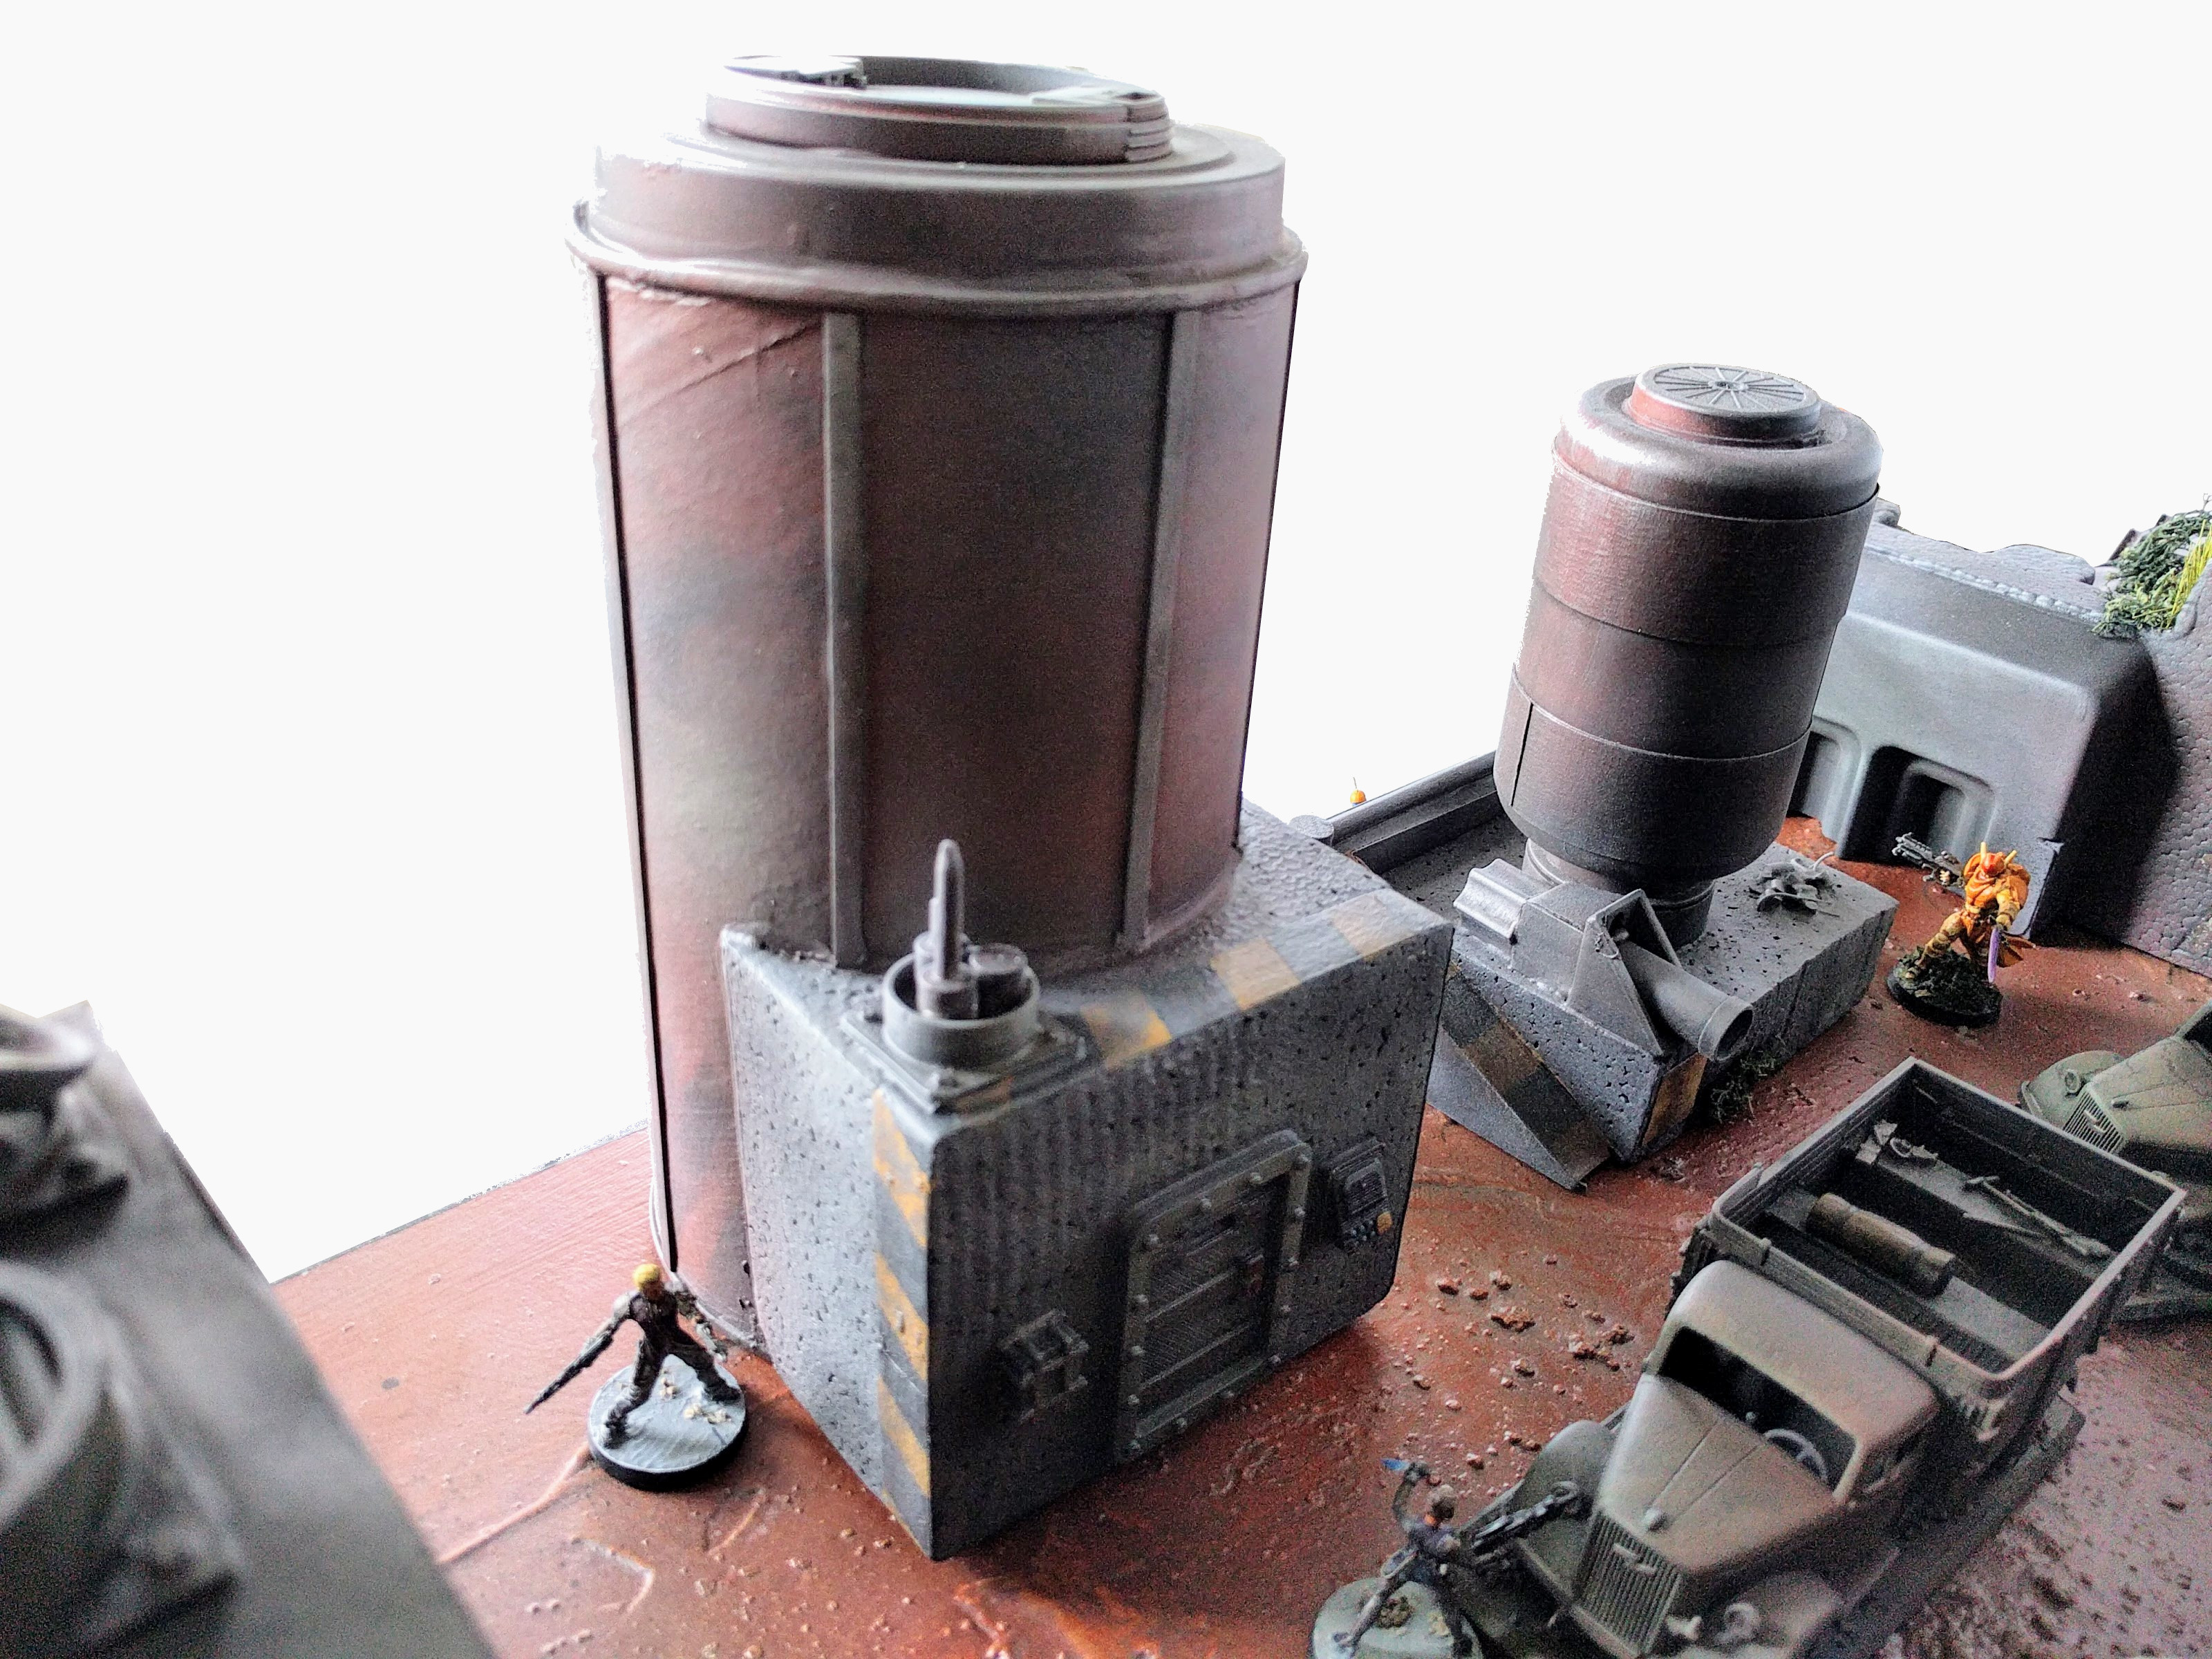
Similarly, the tallest point, the silo, has a piece on top such that models can generally only be placed solidly at the very center. A small lip prevents models from fitting at the edge. So a sniper can be placed there for a commanding view, but if they go prone they won’t be able to shoot anything, and if they stand up they won’t get cover.
The board as shown here is very dense, which impacts some armies negatively, but that just means there’s plenty of pieces to be used or not used in different games, generating a lot of variety in potential setups.

Face-on view.

Mechanical building side.
Fuel reservoirs side.
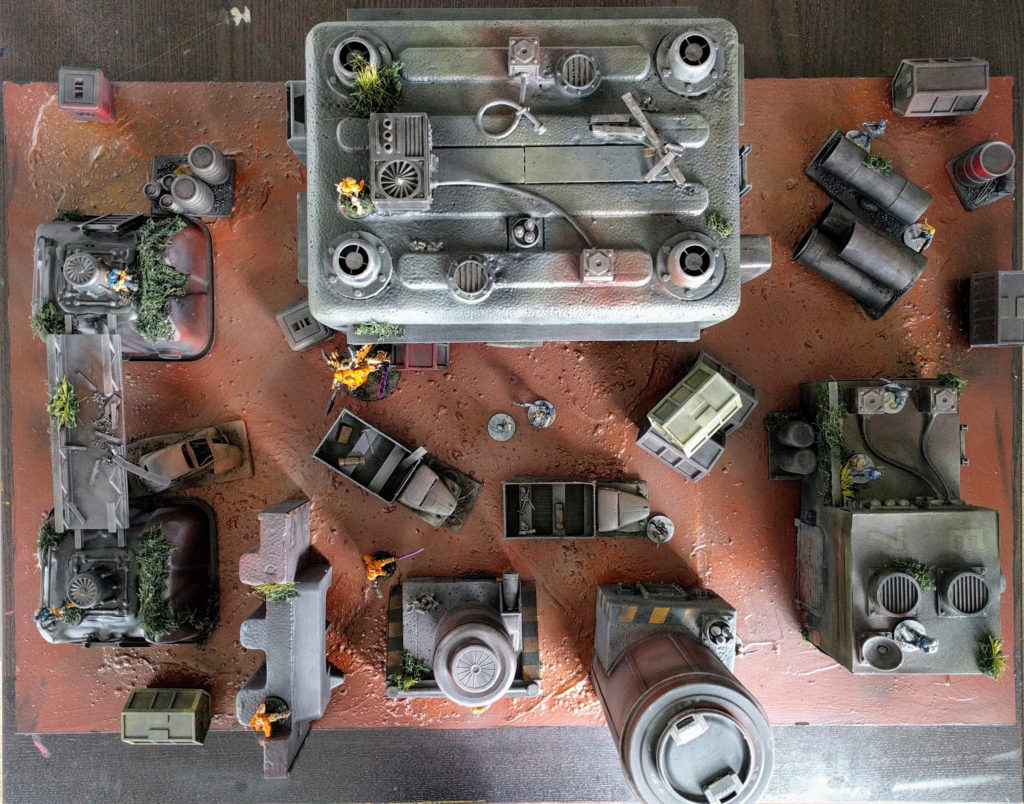
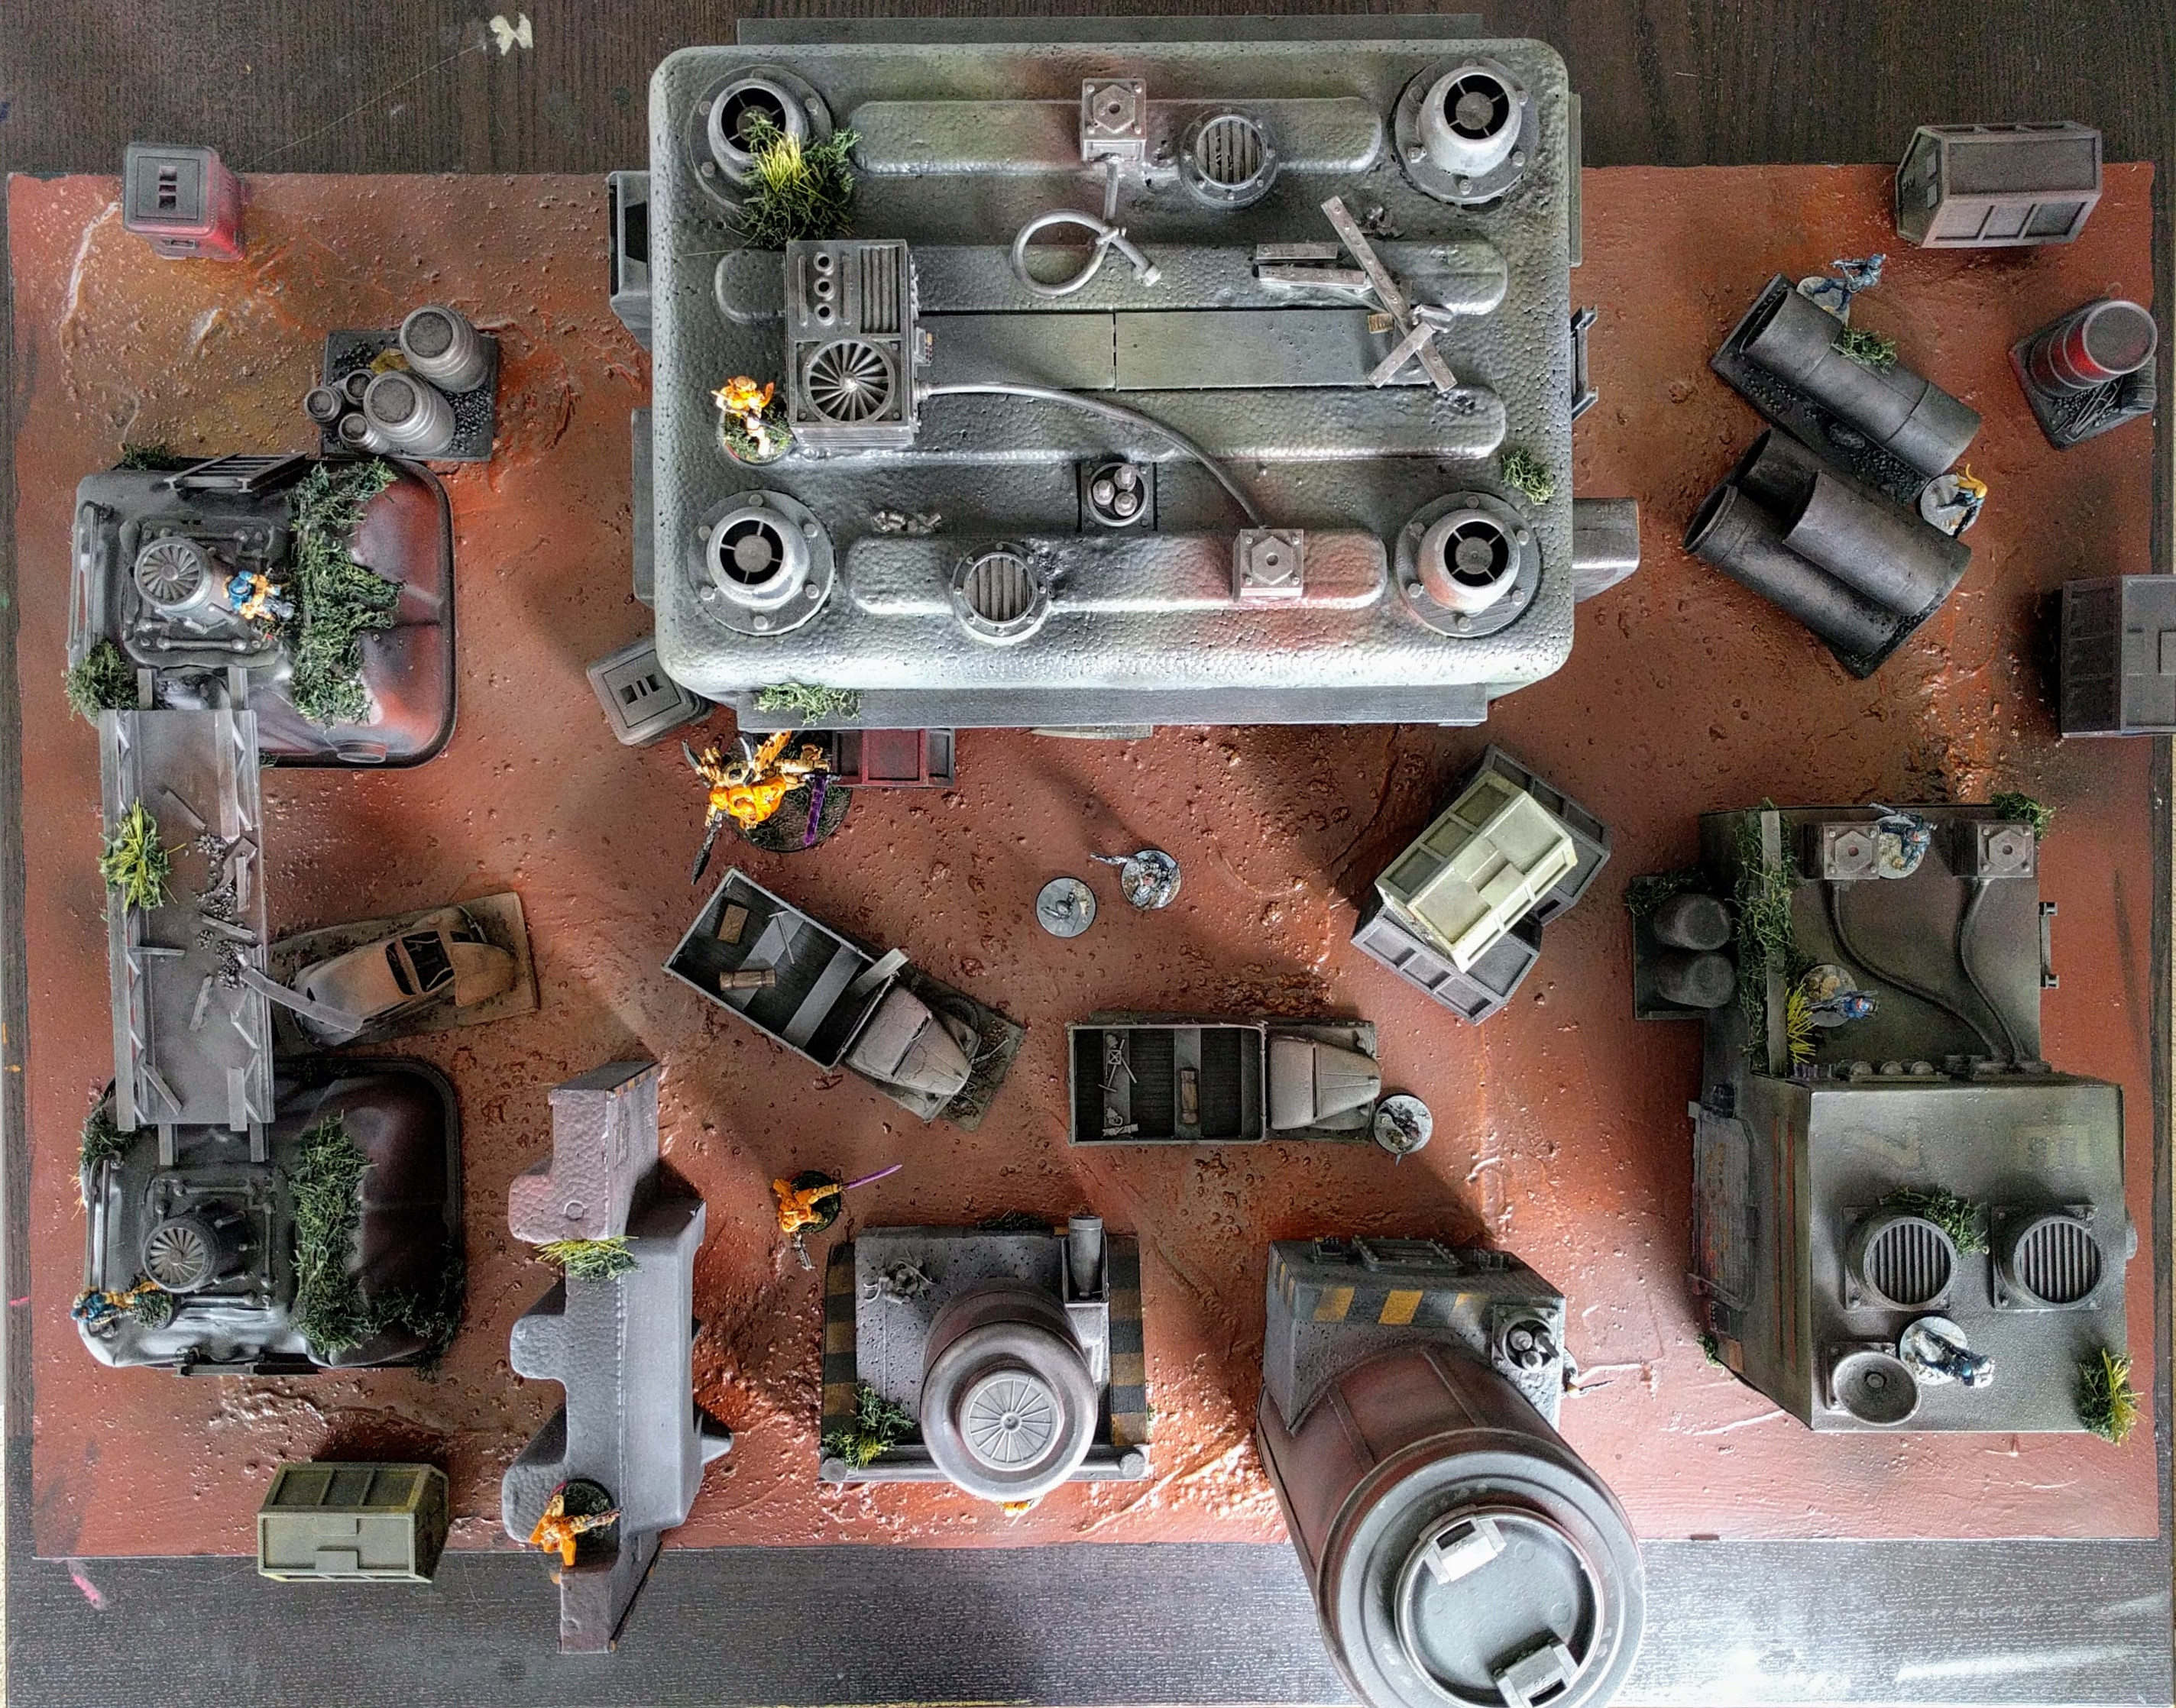
Top view.
Sniper hiding behind a rooftop mechanical box.
Roof of the garage.

Poster inside the garage.
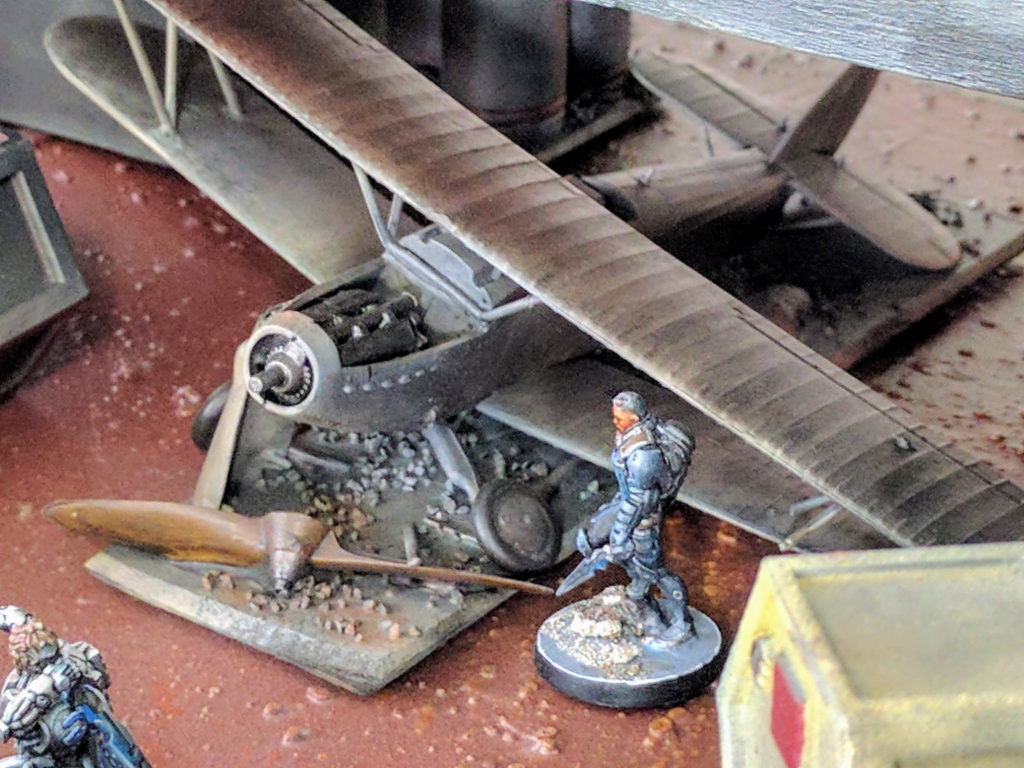
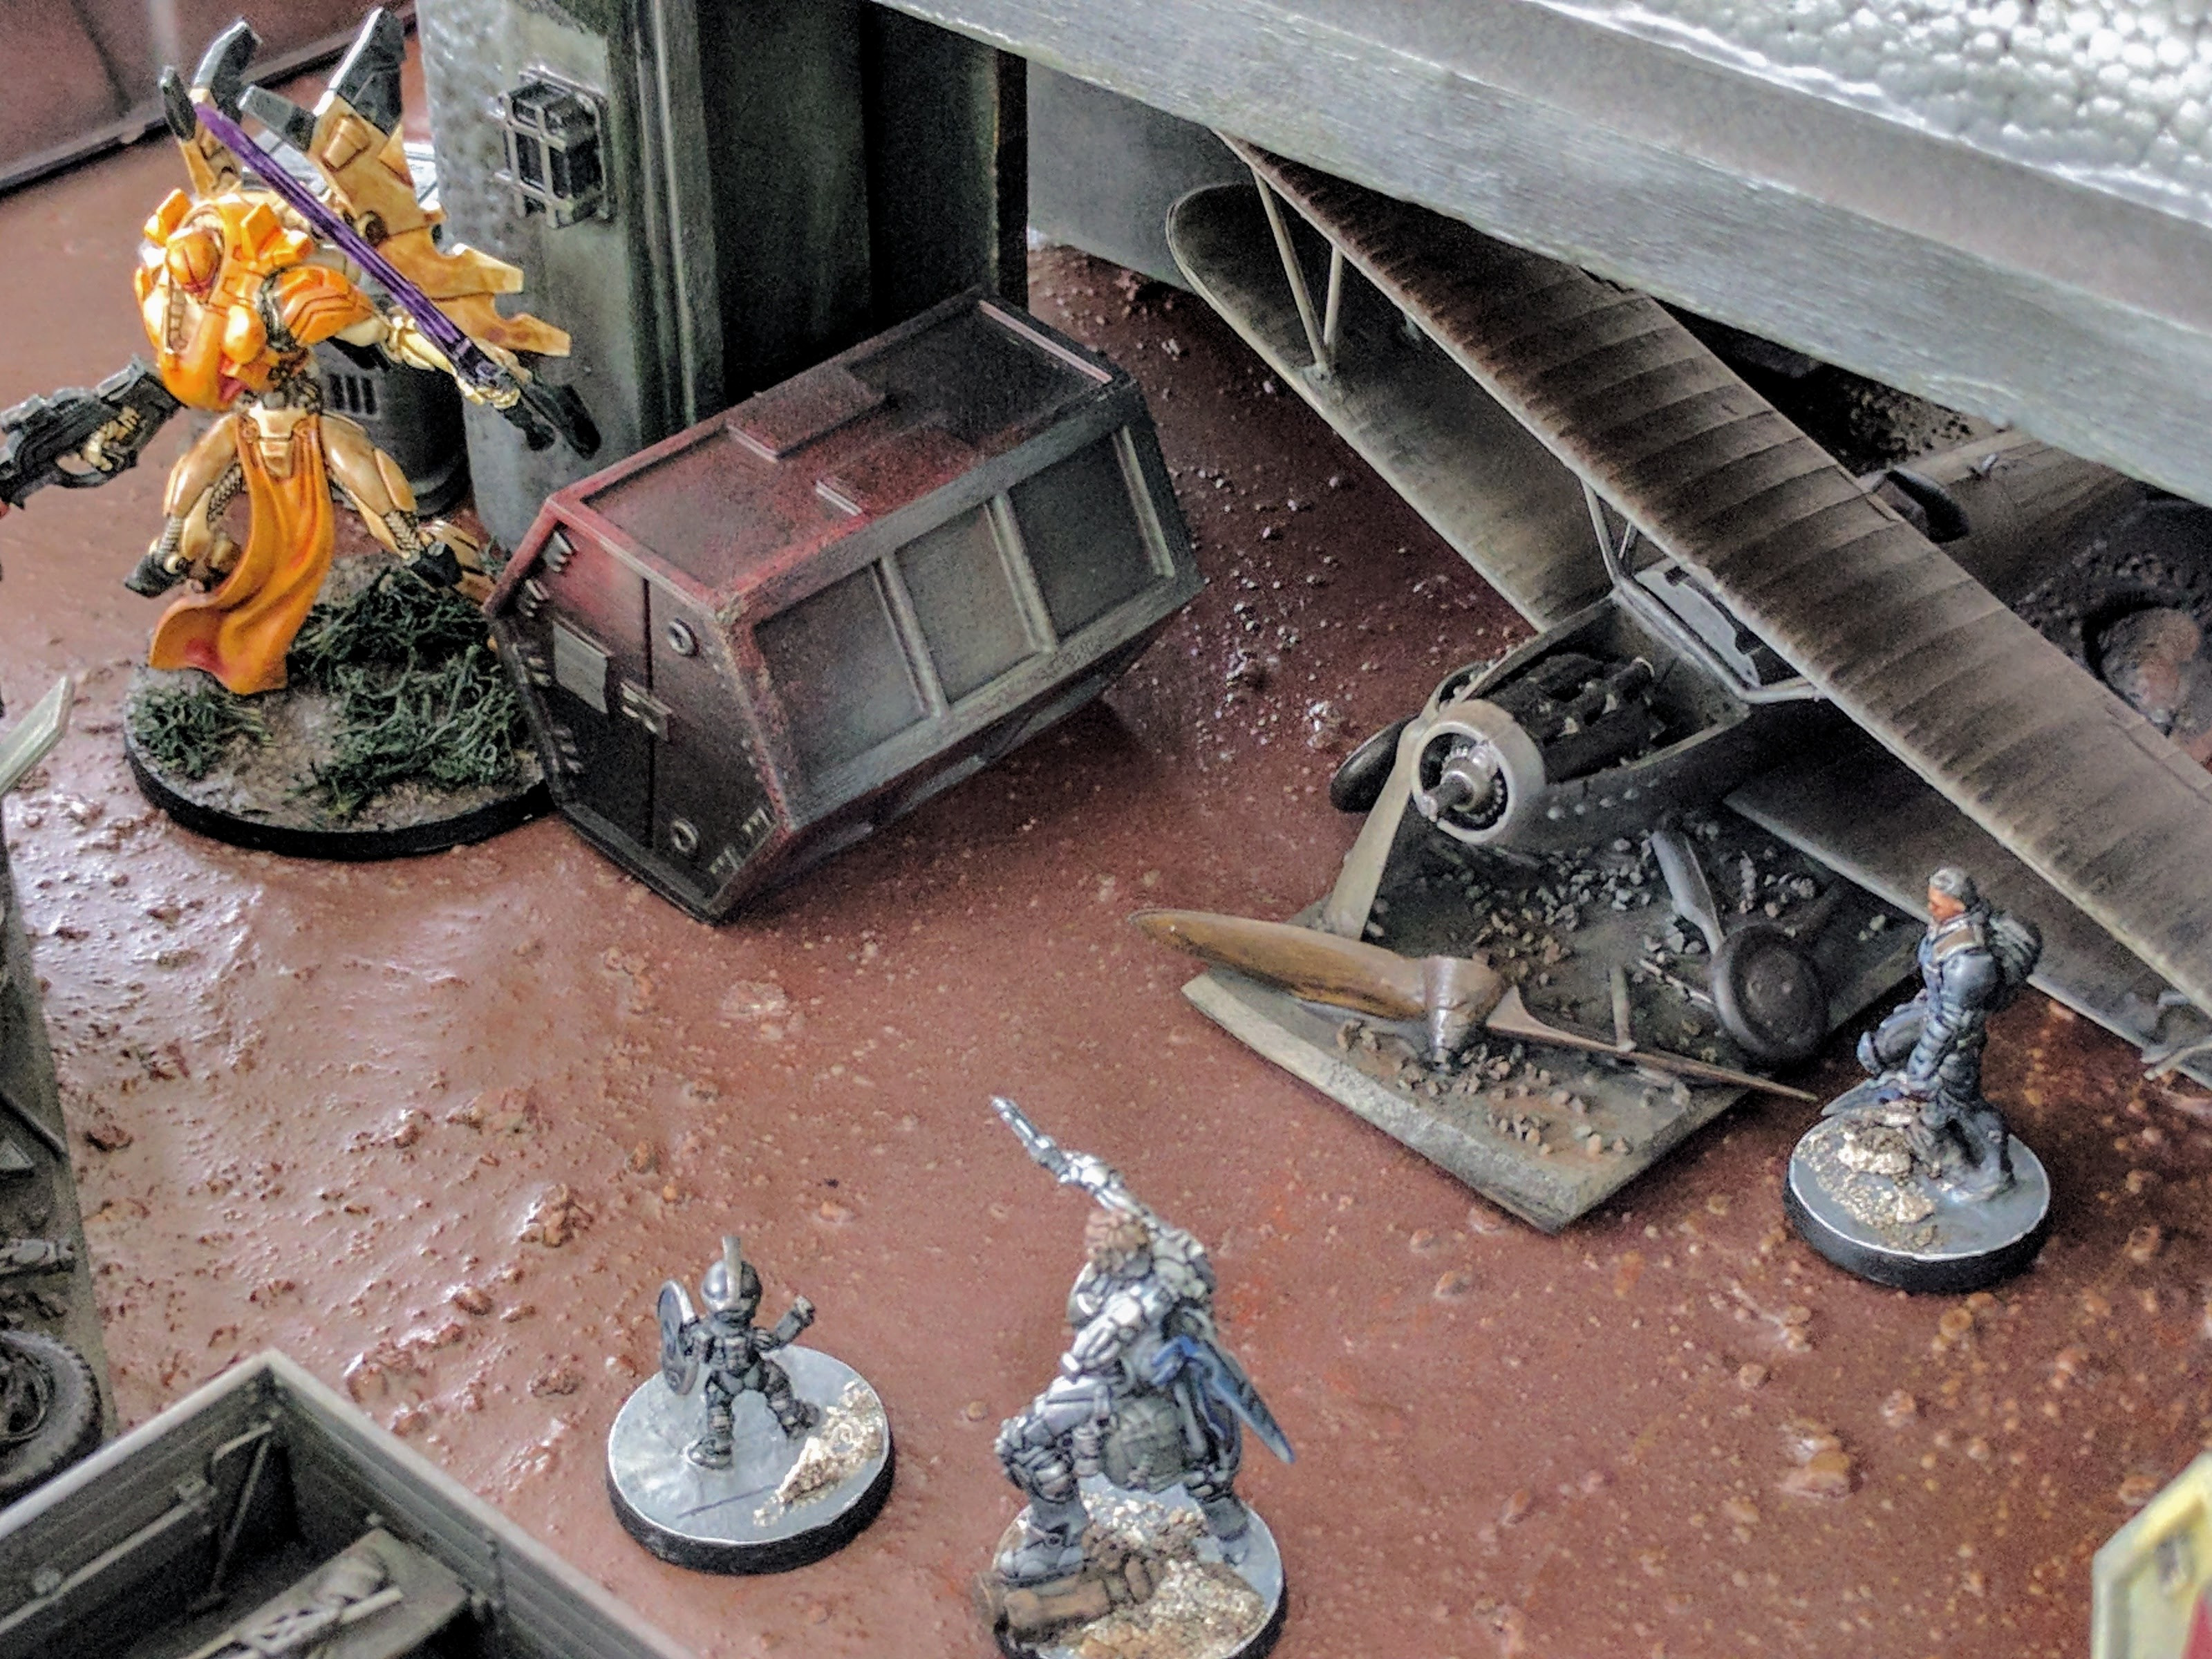
One of Bonsky’s relic aircraft.
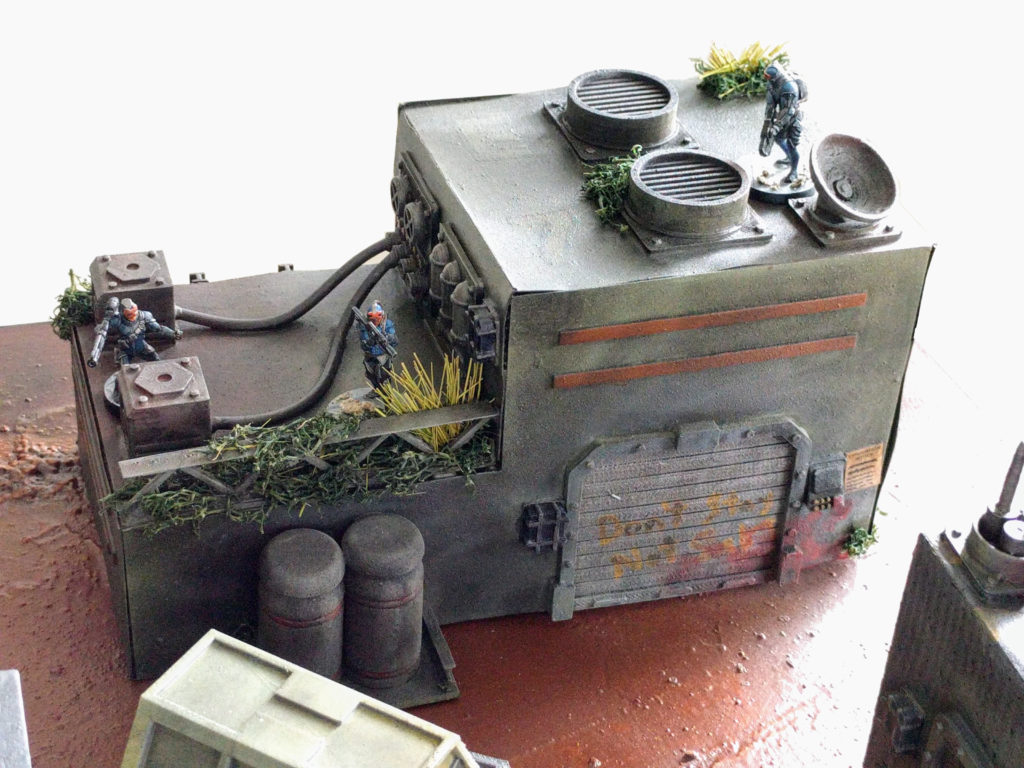
The mechanical building.
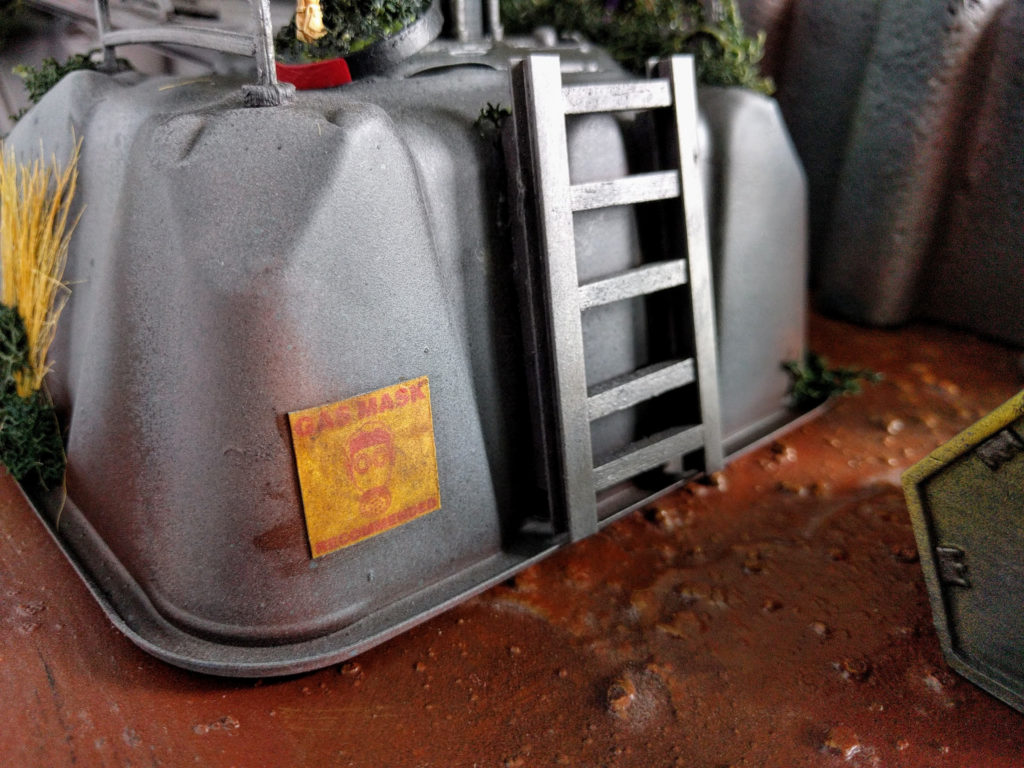
Gas mask warning and ladder on a fuel reservoir.
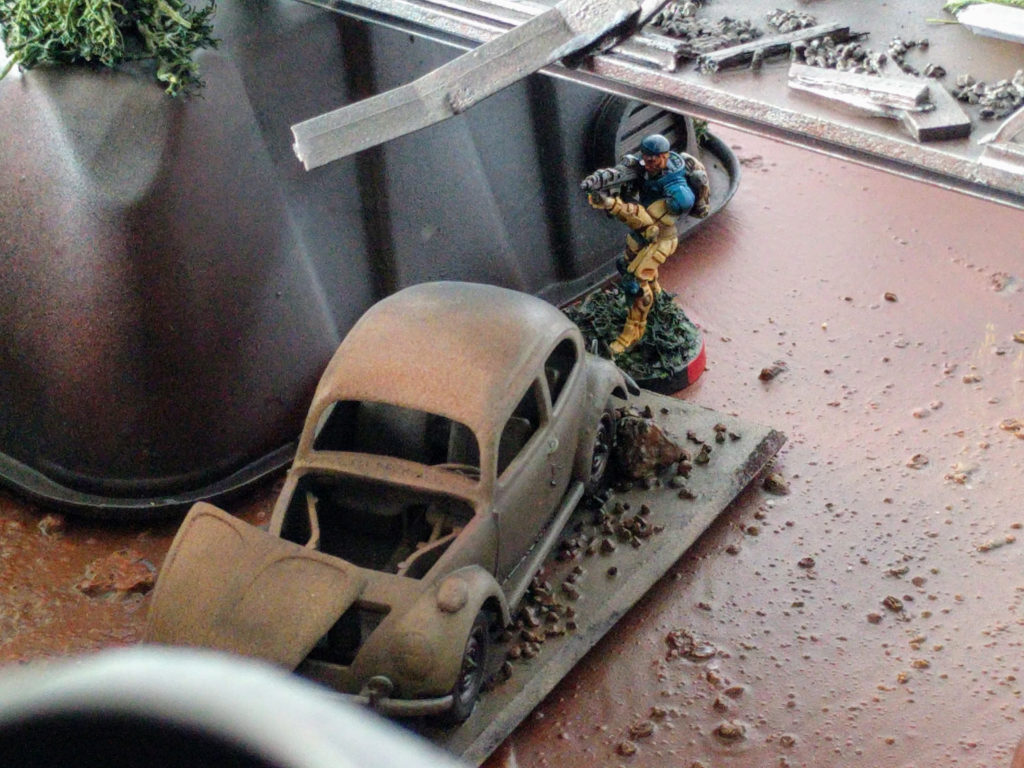
Burnt out low-tech car.
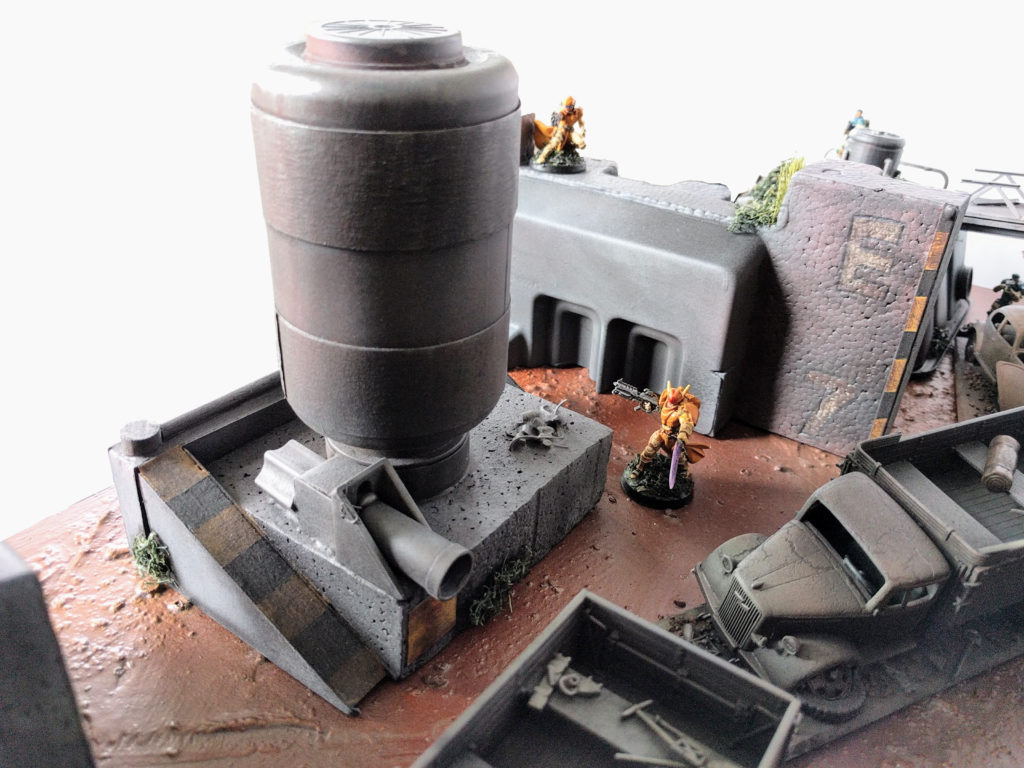
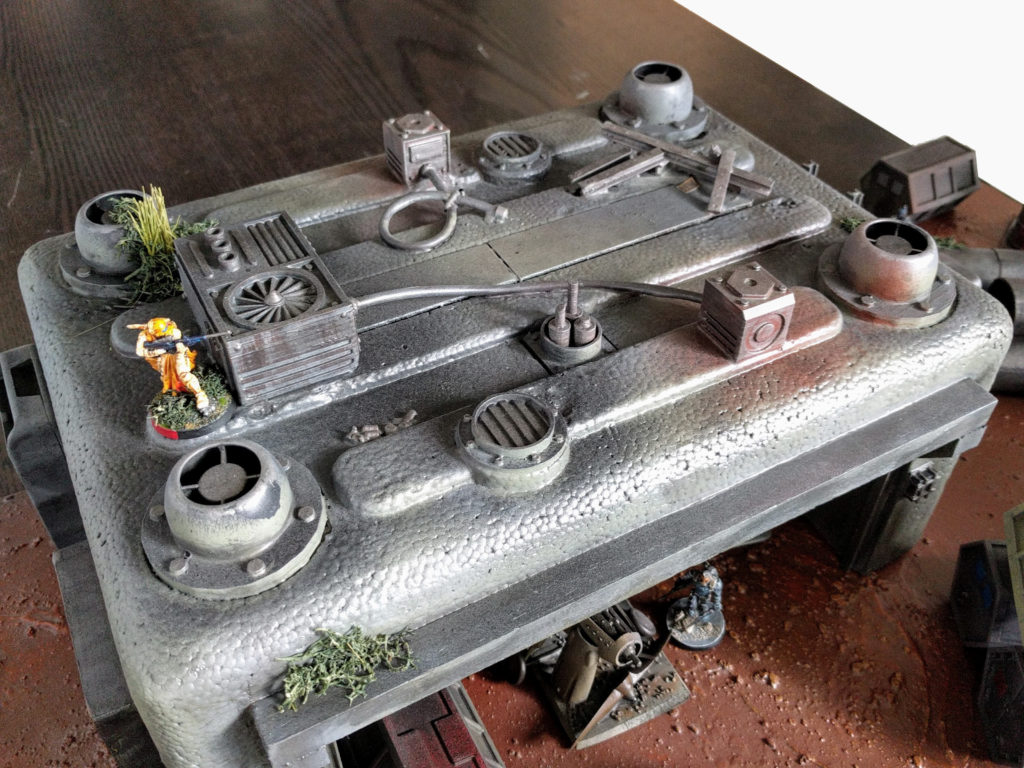
Fuel distribution tank.

Creeping behind the distribution tank.
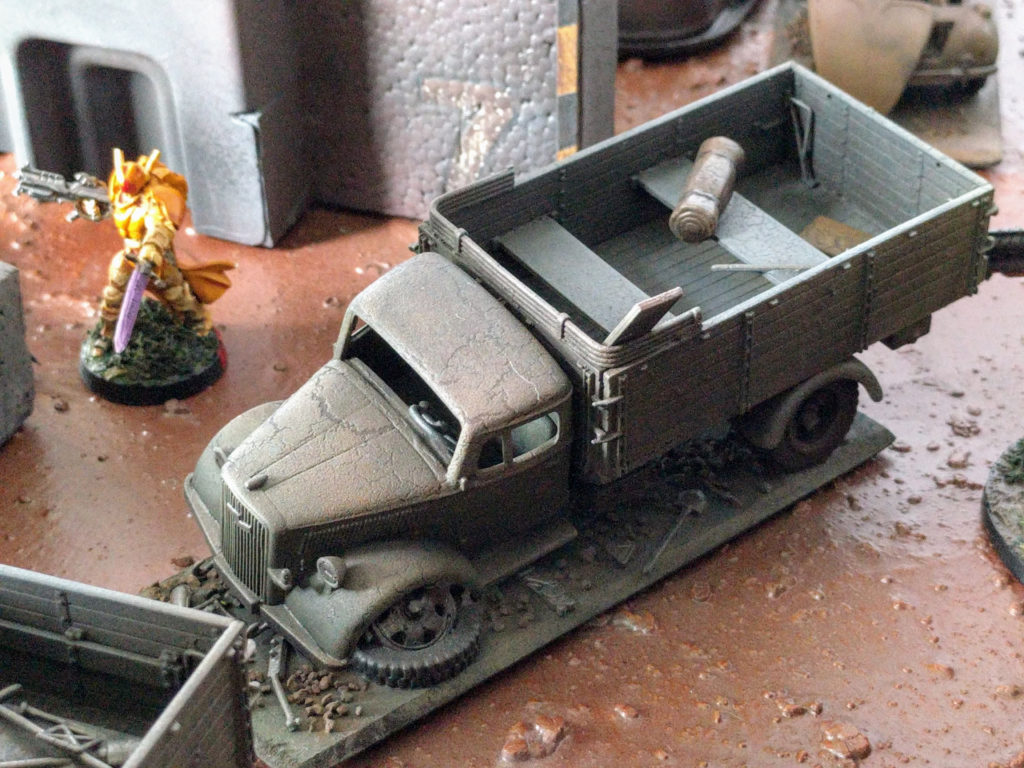
Truck dumped out front the distribution tank.

A silo, the tallest point on the board.
Door on the silo and truck left outside.
Next!
I’m very happy with how the Derelict Depot came together. It was a nice, tractable effort that didn’t drag on forever, and got done on schedule—just barely!—for an event I wanted to use it in. My small library of 3D printable parts made expressly to quickly add details to scratchbuilt terrain like this provided plenty of variety and interesting features, and I enjoyed making good use of a number of found objects. People seem to enjoy playing on the board, the pieces have some neat game dynamics, and the terrain has a lot of character and cool visuals. Mission accomplished!
For another example of this kind of scratchbuilding + scale models + 3D printing, check out my Medea Refinery build. Partly by chance and partly by design, pieces from the two sets go together well to create a really cool, large, detailed board. I also have a few tutorials up on 3D printing and modeling.
I’m not sure quite when I’ll get to them with NOVA and other events coming up, but I’m kicking around a couple neat ideas for new boards and in some cases have even started some work. Stay tuned!
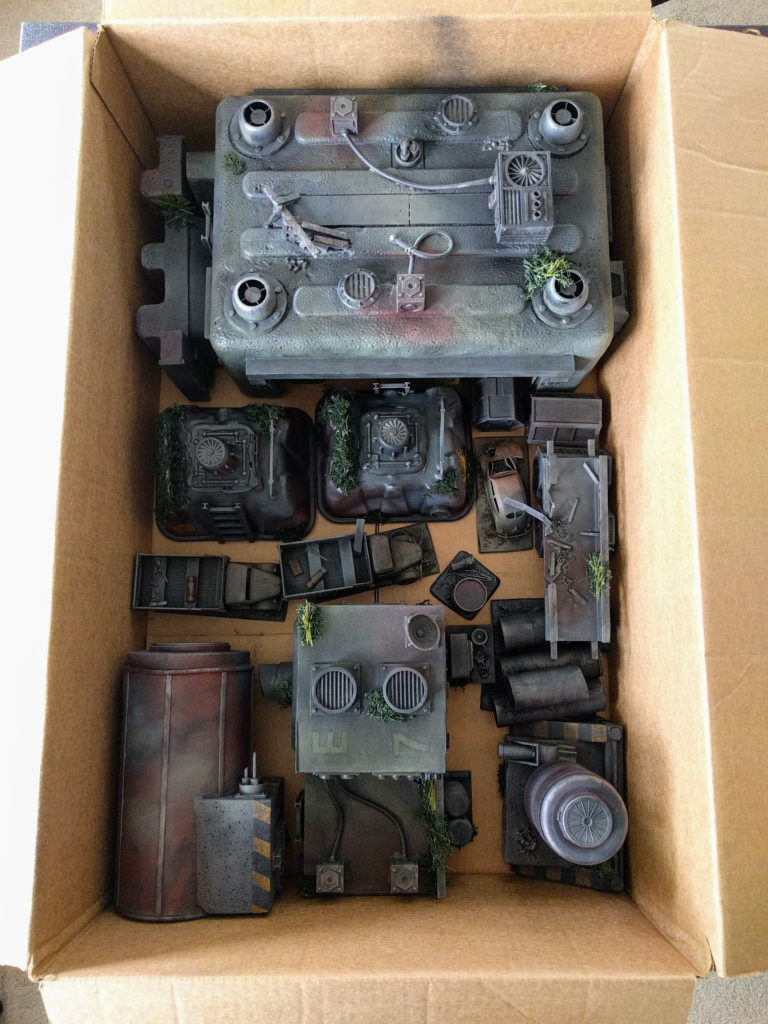
As a bonus, the Derelict Depot packs up perfectly into a box I had on hand!