Odd’l Sputnik

Odd’l Rockets makes a cute little kit called Sputnik that’s real fast to build, flies well & easy, and is just a lot of fun. It’s a classic design of four dowels or bamboo skewers glued into a styrofoam ball with an insulating tube into which the motor is shoved.

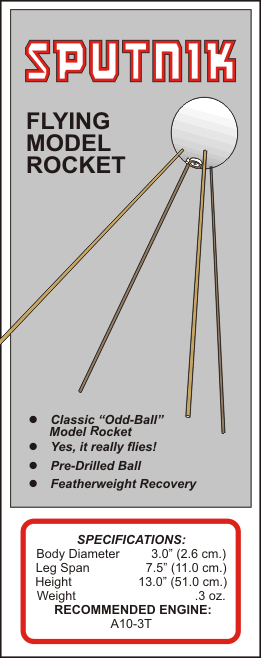
Kit face card.

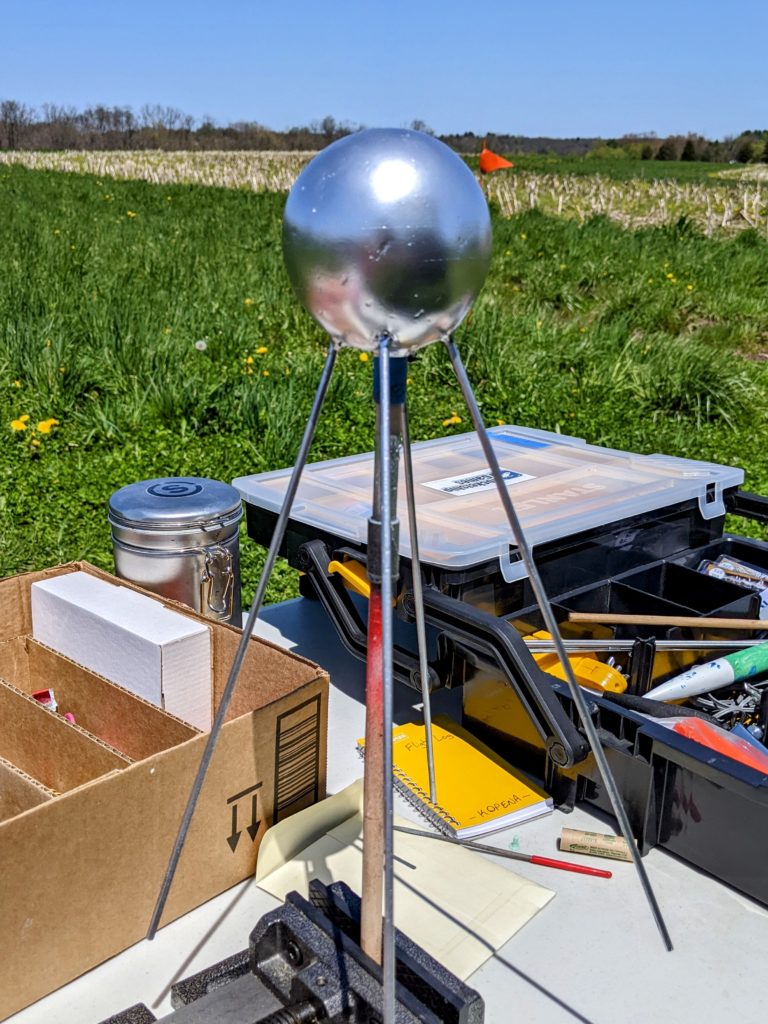
Typically these rockets are flown with no or minimal finishing. Most spray paints dissolve this kind of foam, so it takes some extra effort to paint, and flying au naturale keeps the weight very minimal. Building one recently though, I really wanted an actual Sputnik-lookalike smooth, shiny, metallic finish. Here’s what I wound up with:

Ta-da!

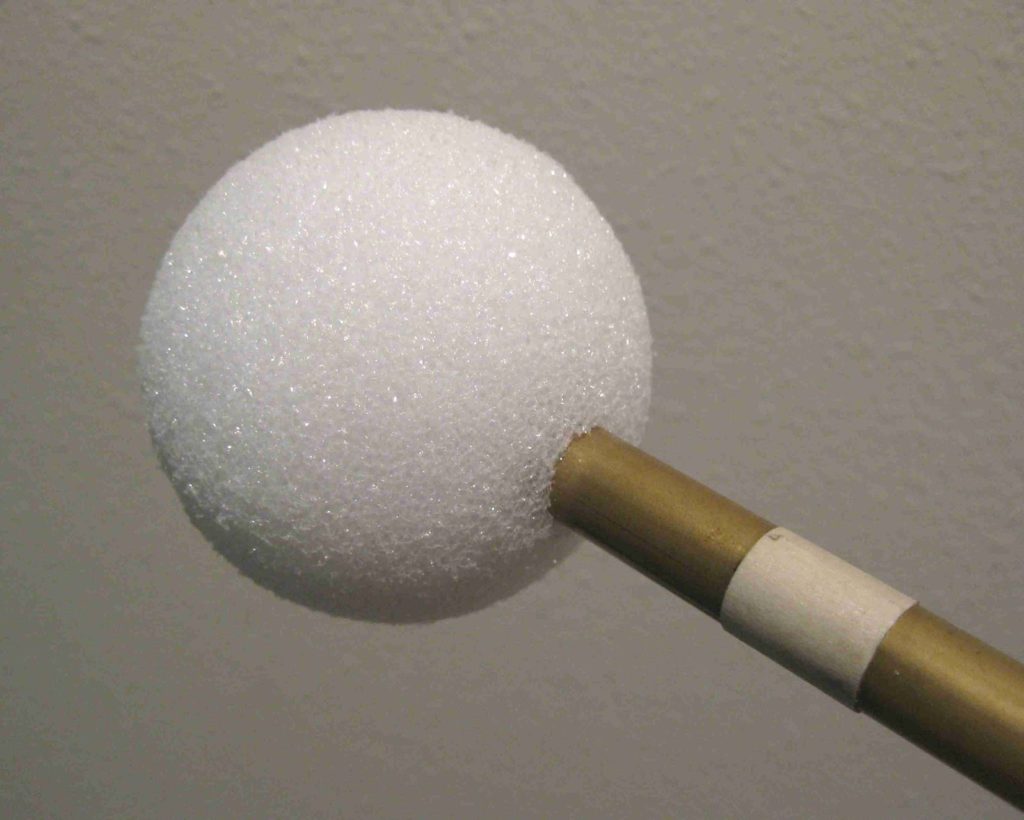
Not completely perfect, but I ran out of time, and it was getting heavy anyway. The deal here is that the ball is low density styrofoam that’s not smooth, at all.

(manufacturer photo)

Getting the look I wanted took a little finishing work:

  1. Coat of Modg-Podg and sand
  2. Coat of carpenter’s wood filler and sand
  3. Coat of carpenter’s wood filler and sand
  4. Filler primer spray and sand
  5. Filler primer spray and sand
  6. Black primer spray
  7. Black primer spray
  8. Metallic chrome spray
  9. Metallic chrome spray

That came out well, but the tradeoff is that the model’s a good bit heavier. It flies up well but doesn’t go as high and lands harder. In its usual unfinished state the design’s featherlight and simply falls down body-first (protecting the legs) and bounces. It might even still be going upward when the ejection charge goes off, giving the rocket an extra boost. The weight of my build means it’s decidedly arced over, coming down comparatively fast, and near the ground already when the ejection charge goes off, hurling it downward even harder. After two flights a notable crack formed in the shell. Still flyable, easily fixable with white glue, and not surprising, but definitely a price paid for aesthetics! In the future I’ll think ahead and order some plugged motors without ejection charges, eliminating that additional impact push.

In any event, despite not being as robust as I might hope, I really like the look of the rocket, it flies well, and was a crowd pleaser at this weekend’s club launch.
 

Rainbow Bobby

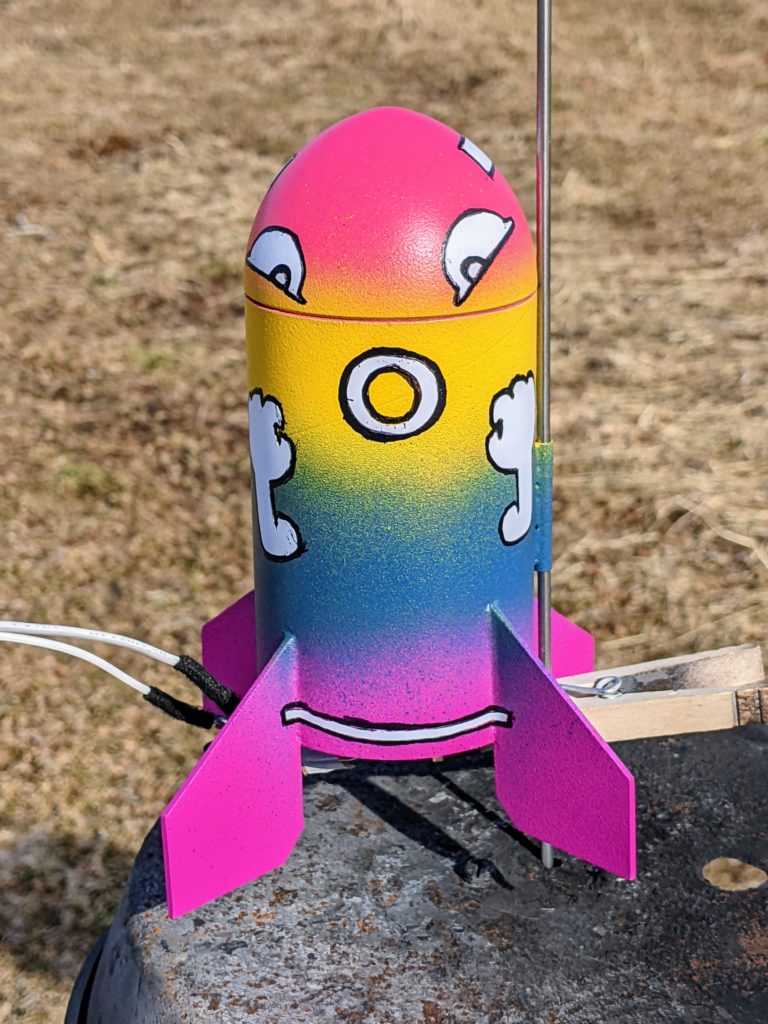
Alice’s Rainbow Bobby, a very alternative take on Launch Lab Rocketry’s Bullet Bobby:

Rainbow Bobby is just suuuper super super excited to fly! Yeah yeah yeah!

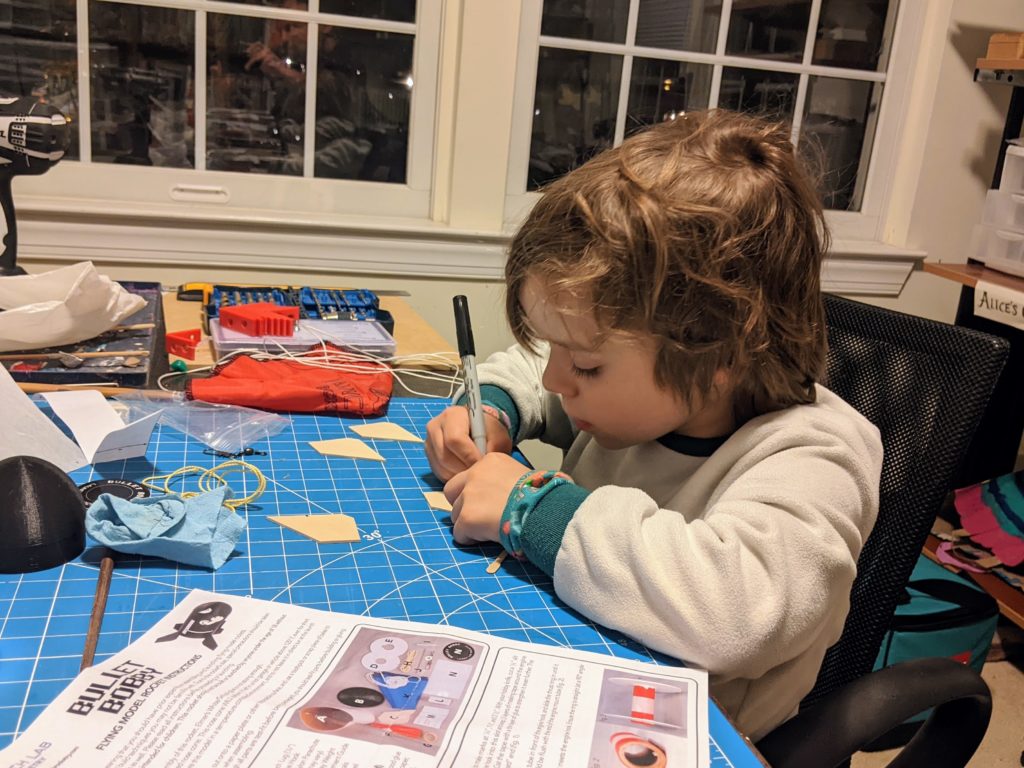
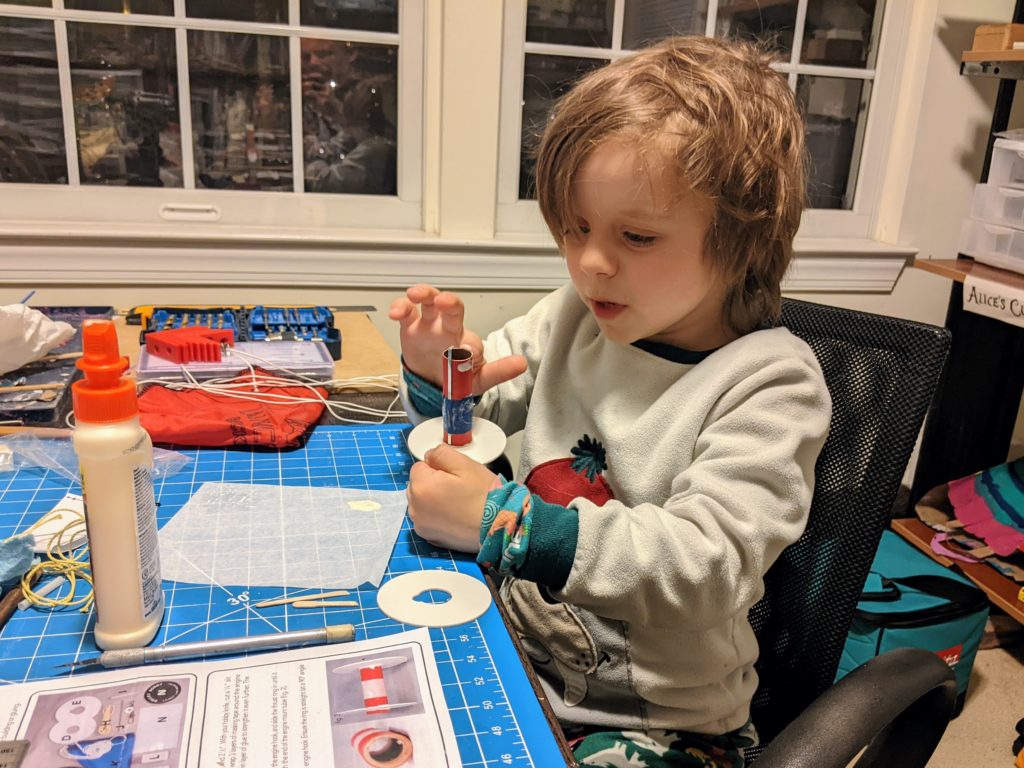
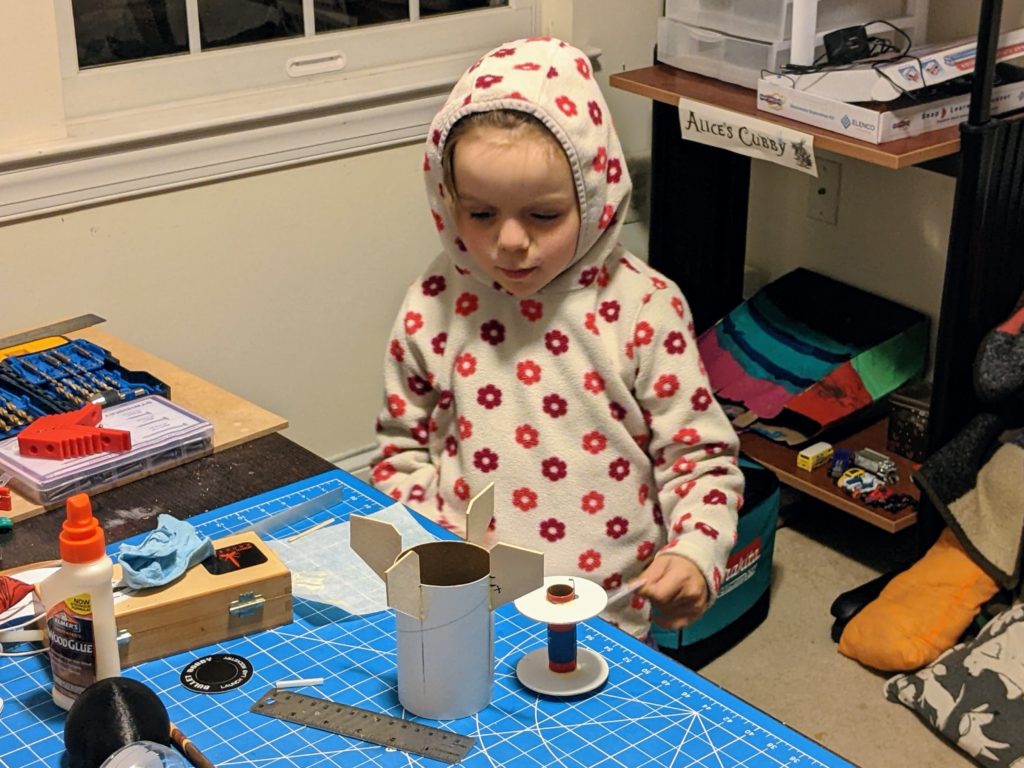
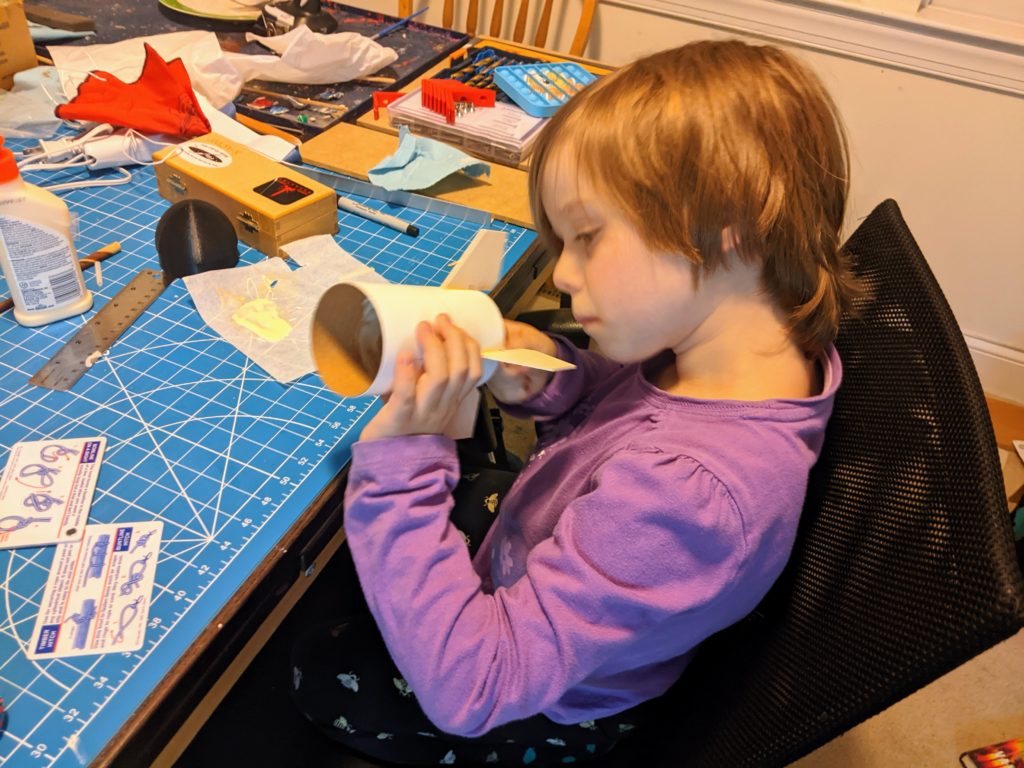
PARA’s Jim H gave Alice this kit at January’s launch. It’s labeled as a Level 2 build but I think it’s a good kit for beginners. There’s almost no knife work (the fins come completely cut out) and you can produce a good result without sanding, sealing, or papering. Alice built the whole thing herself with minimal guidance.

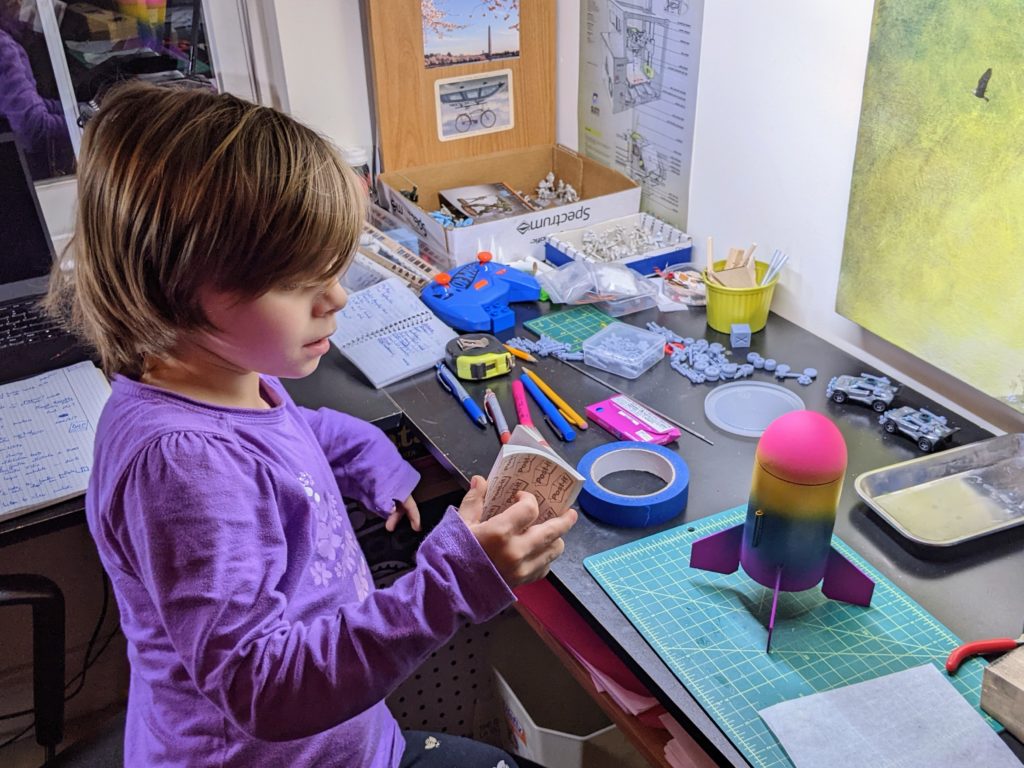
Carefully measuring & marking where the fins will attach.

Assembling the motor mount.

One last check right before bedtime that the fins are still drying in place.

Gluing in the motor mount.

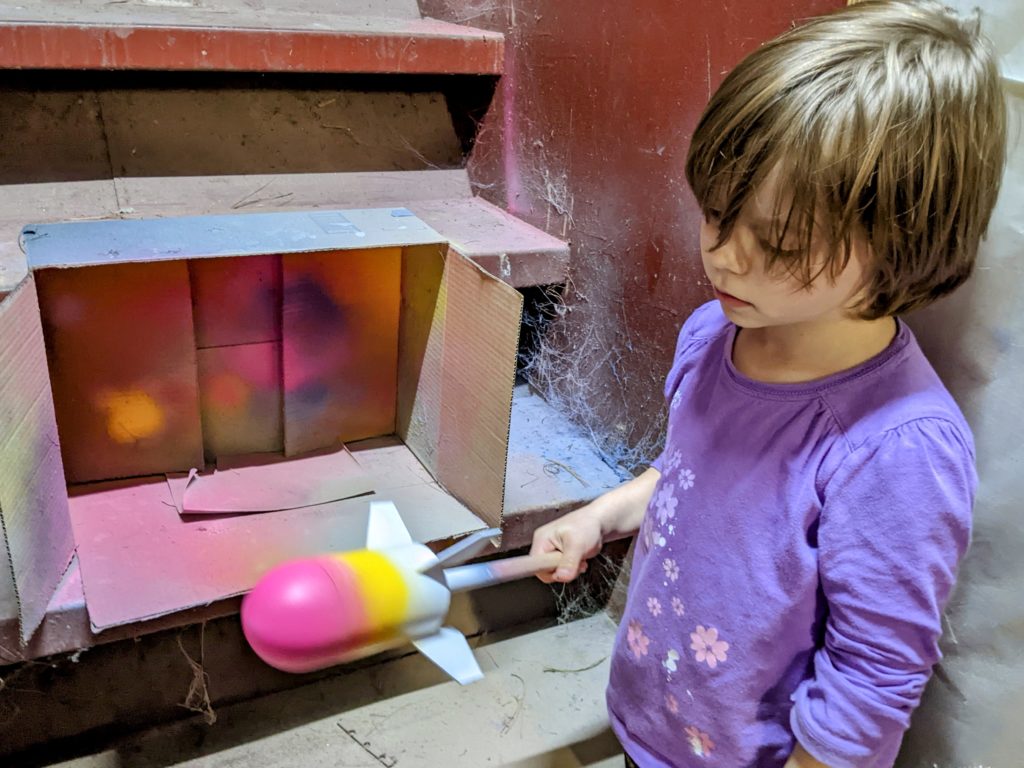
I did wind up doing most of the spray painting as the cans are too big for Alice’s hands to make the rainbow she wanted in such a small length. Even I had to talk her into dropping a couple colors. But I did follow strict specifications and supervision to achieve her intensely deliberated paint scheme. There was even a household vote on candidate designs. I admit I was skeptical at first of the stickers layout she came up with, but the rocket turned out very characterful and wonderful.

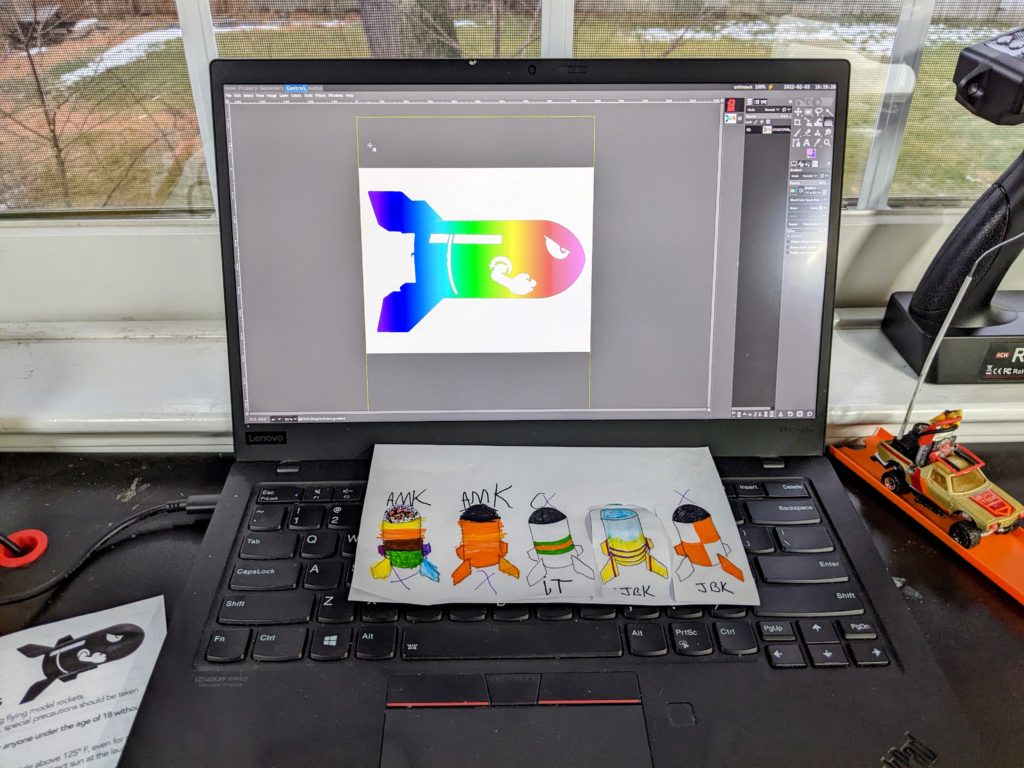
Very serious studies went into the paint scheme, including a household vote on a slate of sketches as well as computer aided visualization, all to wind up with… a rainbow! Surprise! I WOULD HAVE NEVER GUESSED.

Alice evaluating whether she wants to simplify the paint scheme to make it more feasible for her to paint, or take a gamble on trusting dad to execute her vision… Decisions, decisions…

Checking her notes before the all-important stickering phase.

The debut launch was… dramatic. The launch lug somehow bound on the rod and took it for a ride as the rocket looped hard into the ground right in front of us. After some field repairs to re-attach fins, launch lug, new parachute, etc., the second flight went up well but again lost a fin on landing, ending flights for the day. At this point Rainbow Bobby’s had fins ripped off on 3 out of 4 flights. Part of it is that the official motor recommendations are a bit underpowered and the delay too long for how much nose ballast is mandated by the instructions—it comes down hard. Compounding that, many launches this year have featured rock hard frozen ground, wrecking numerous rockets on landings that might be fine in summer.

To some extent I think the kit should have been designed with through-the-wall fins given how little attachment they have to the body and how far below it they hang. One tweak to the kit as-is that I’ve applied in our repairs is to drill holes in the body tube where the fins attach, to allow glue plugs to form inside. However, it’s a tradeoff; reinforcing inside the tube makes it harder to replace fins if/when they break rather than tear off. Another thought is that the ballast might be too much. It makes sense, but intuitively seems like a lot when you actually hold the rocket. Perhaps the design doesn’t account for the effect of base drag from the low fineness ratio (its stubbyness)?

Waiting for Bobby’s first flight!

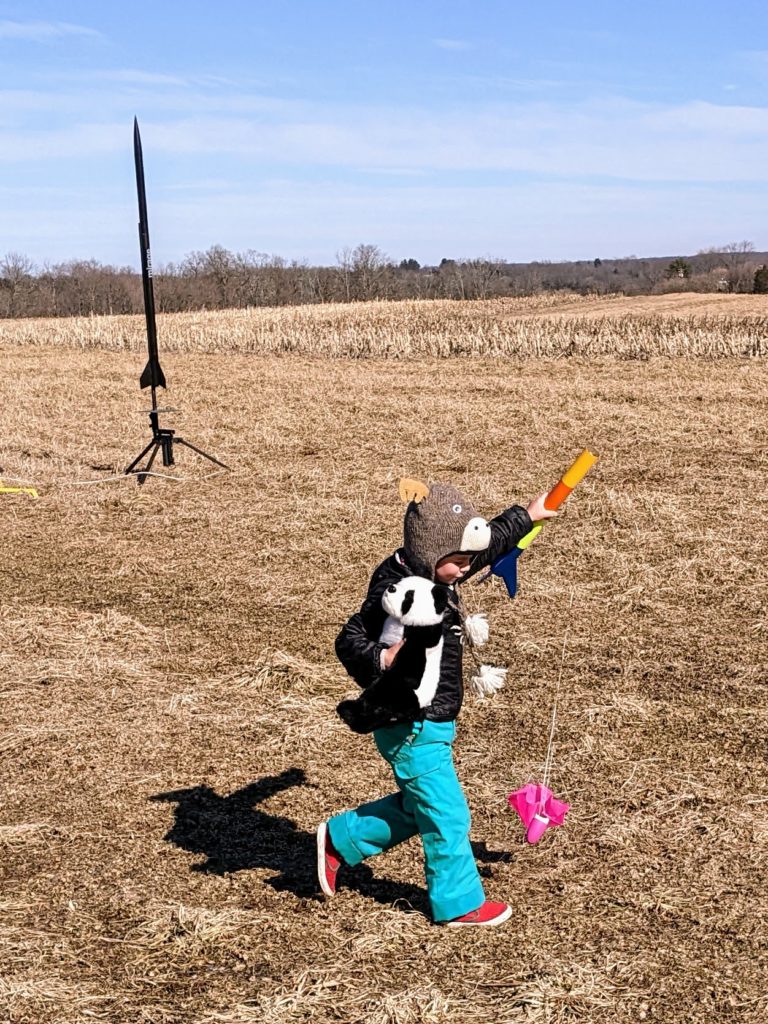
Recovering our OTHER rainbow rocket, a stand-in for the less successful Bobby recoveries.

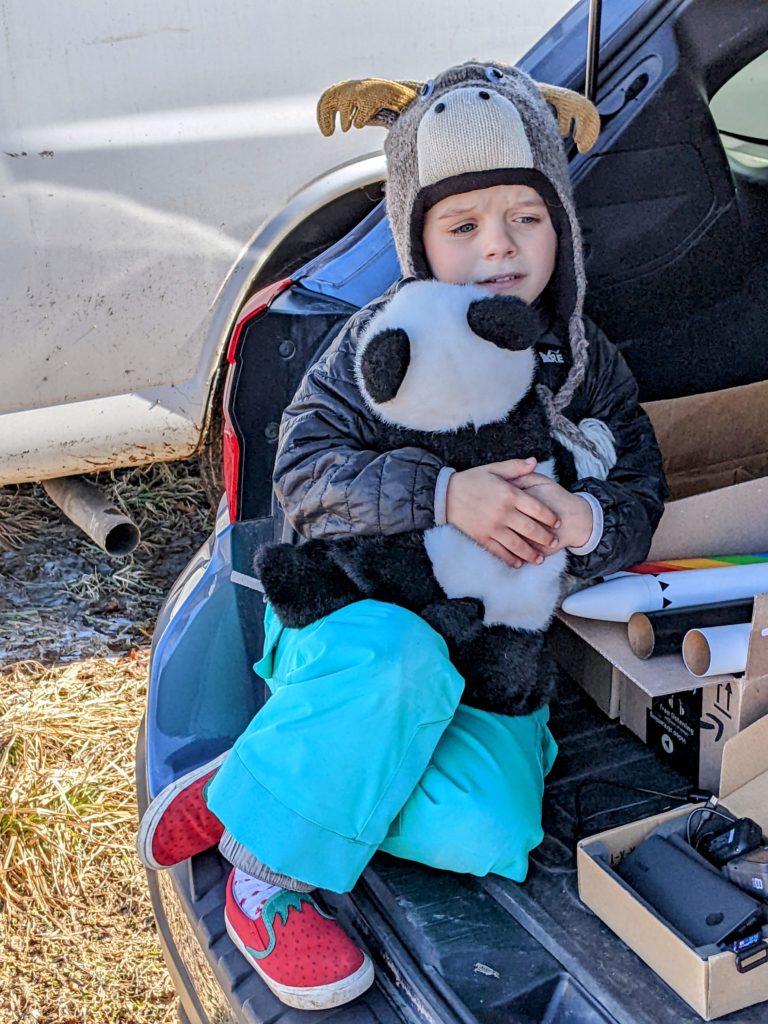
Sleeping off a big day and a couple disappointments on the way home (we also lost our Tall One super-roc to a tree).

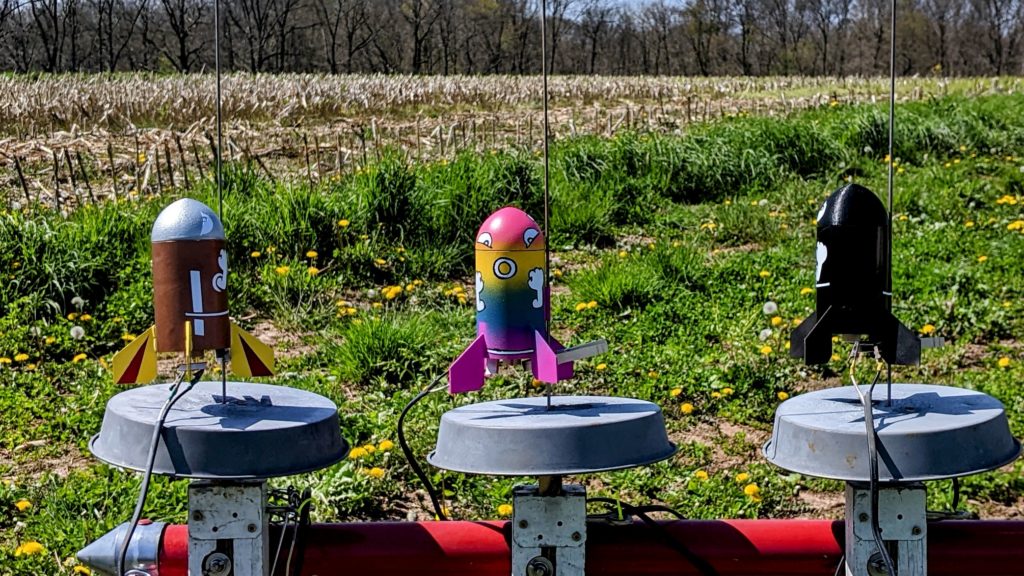
But, this past weekend the ground was soft and it just happened that both of the cars next to us had their own Bullet Bobbies! So of course we had a Bullet Bobby Blast-Off, from which all rockets were recovered undamaged.

The lineup for the Bullet Bobby Blast-Off.


Bumblebee

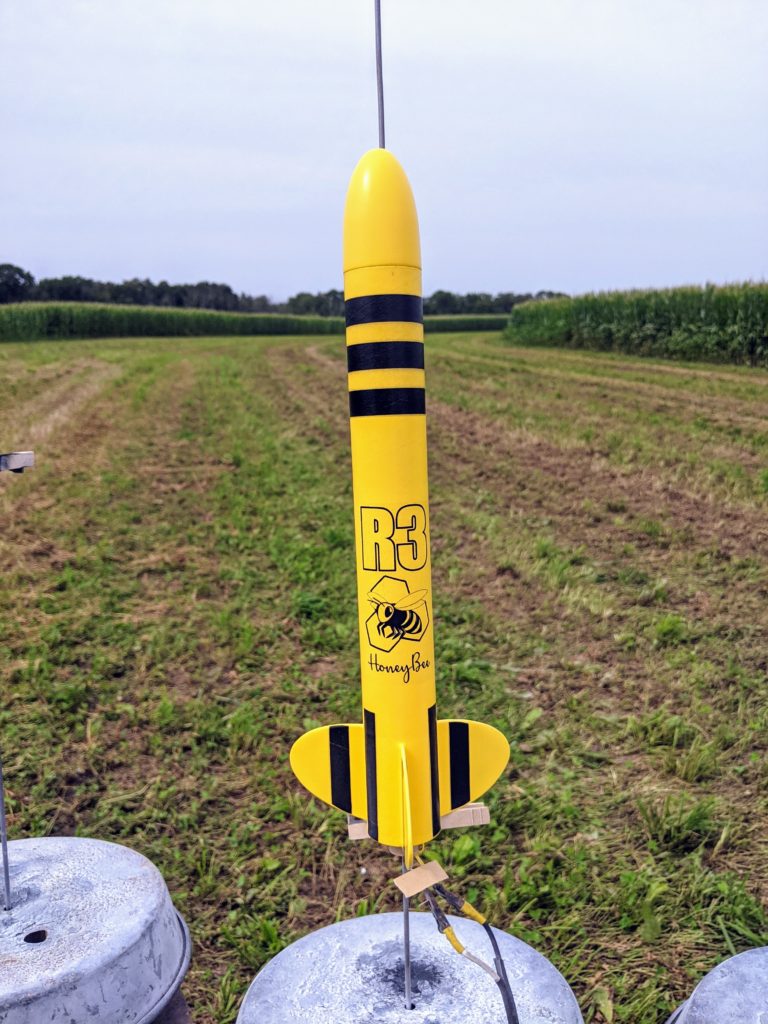
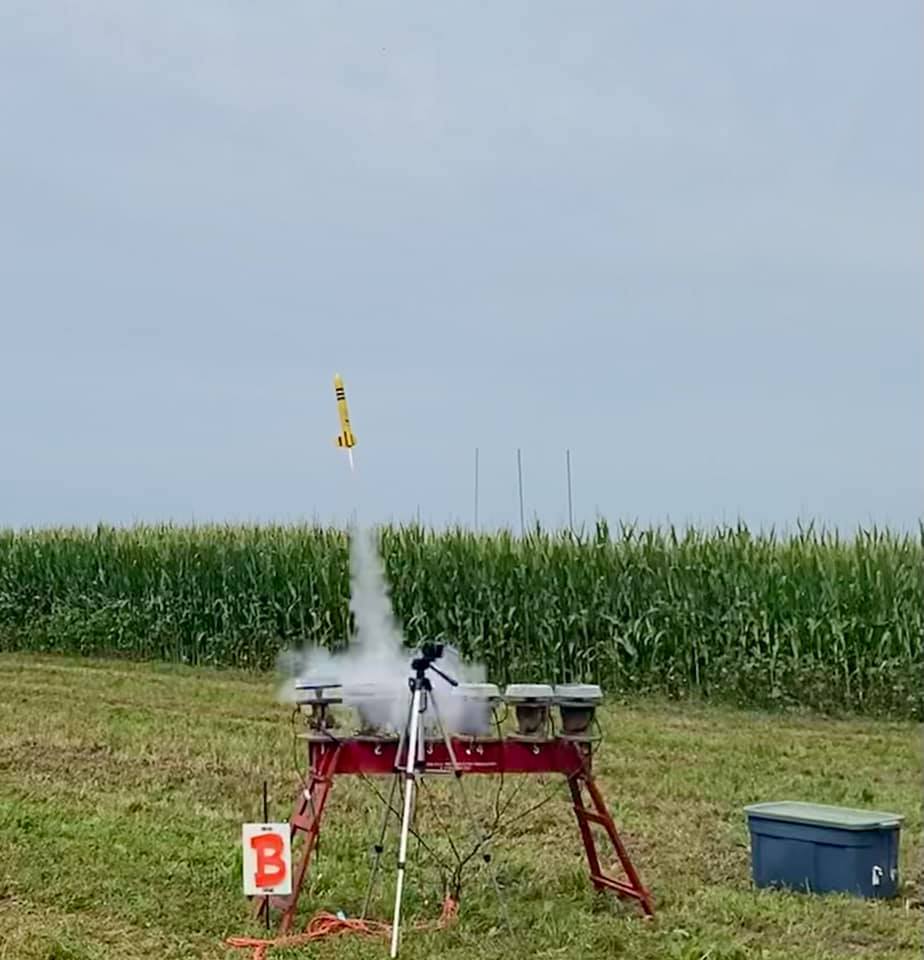
Mike S from PARA surprised Alice & I with this absolutely gorgeous 3x upscale of R3 at the most recent launch meet. I can’t understate how great this model looks and how much it meant that he built it. We didn’t want to take too many risks with the corn, but it had an excellent debut flight on a B6-2.

R3 at BT60 size.

Takeoff! (photo by Tanya M)