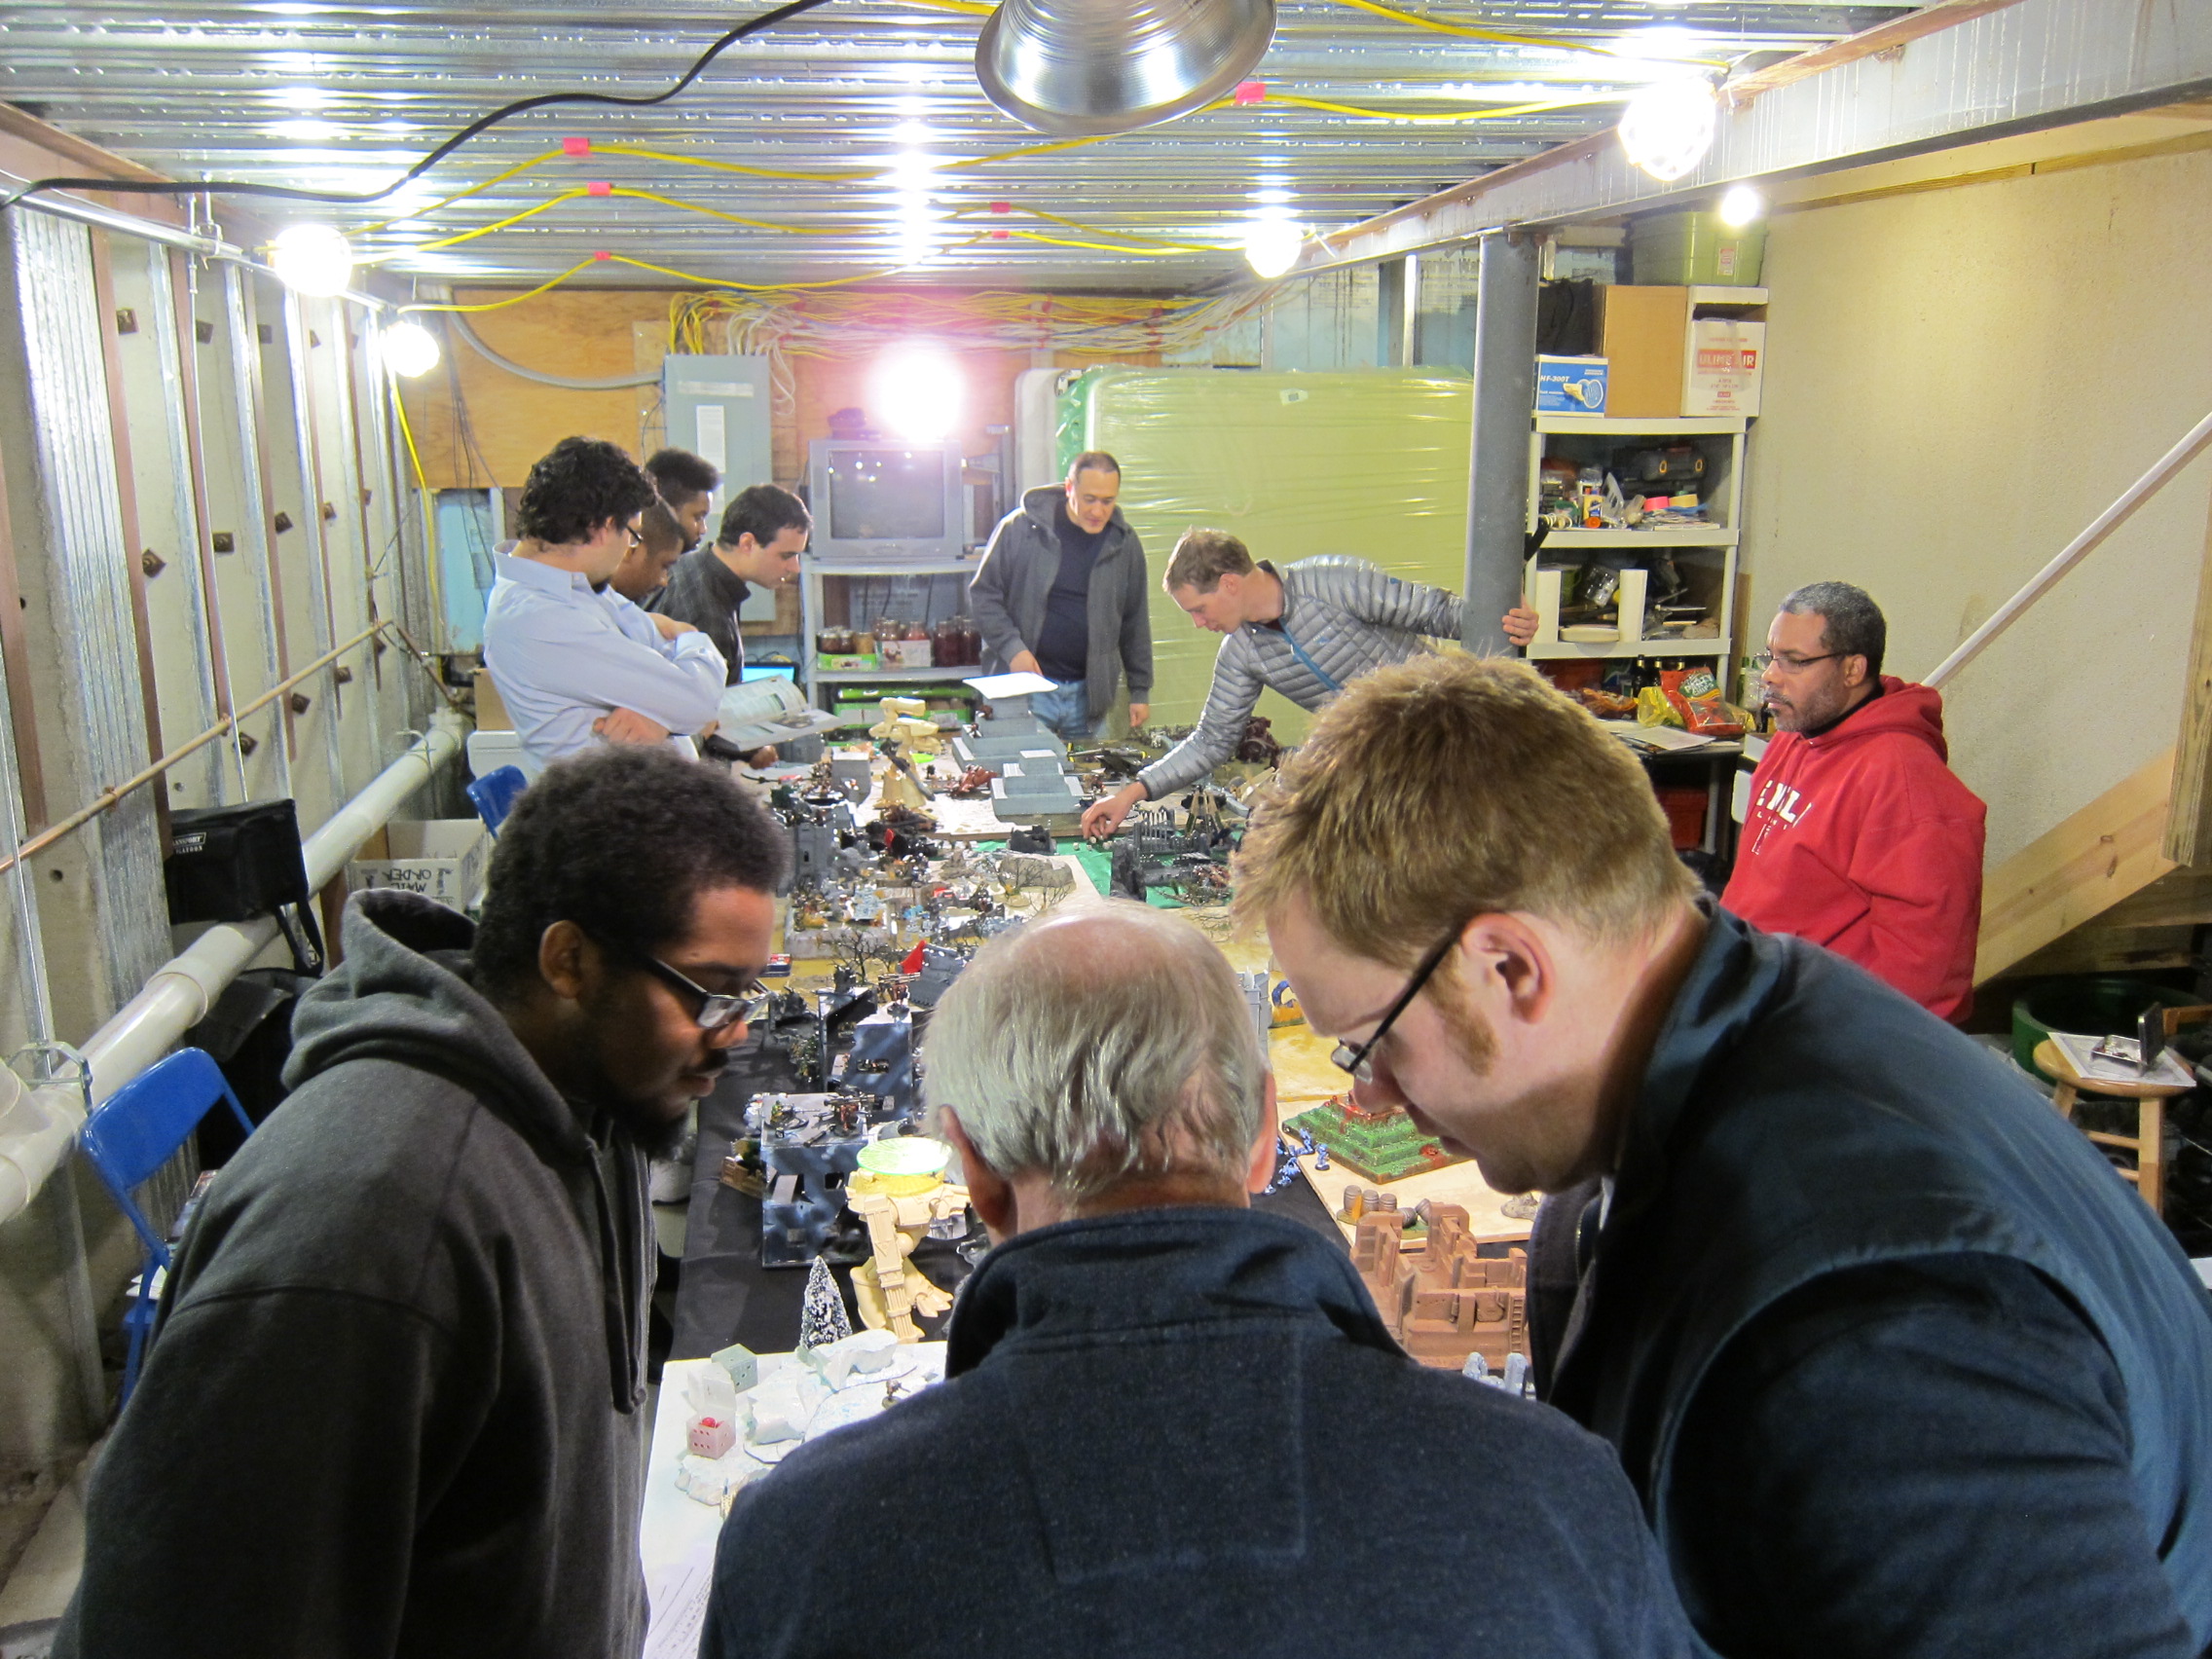
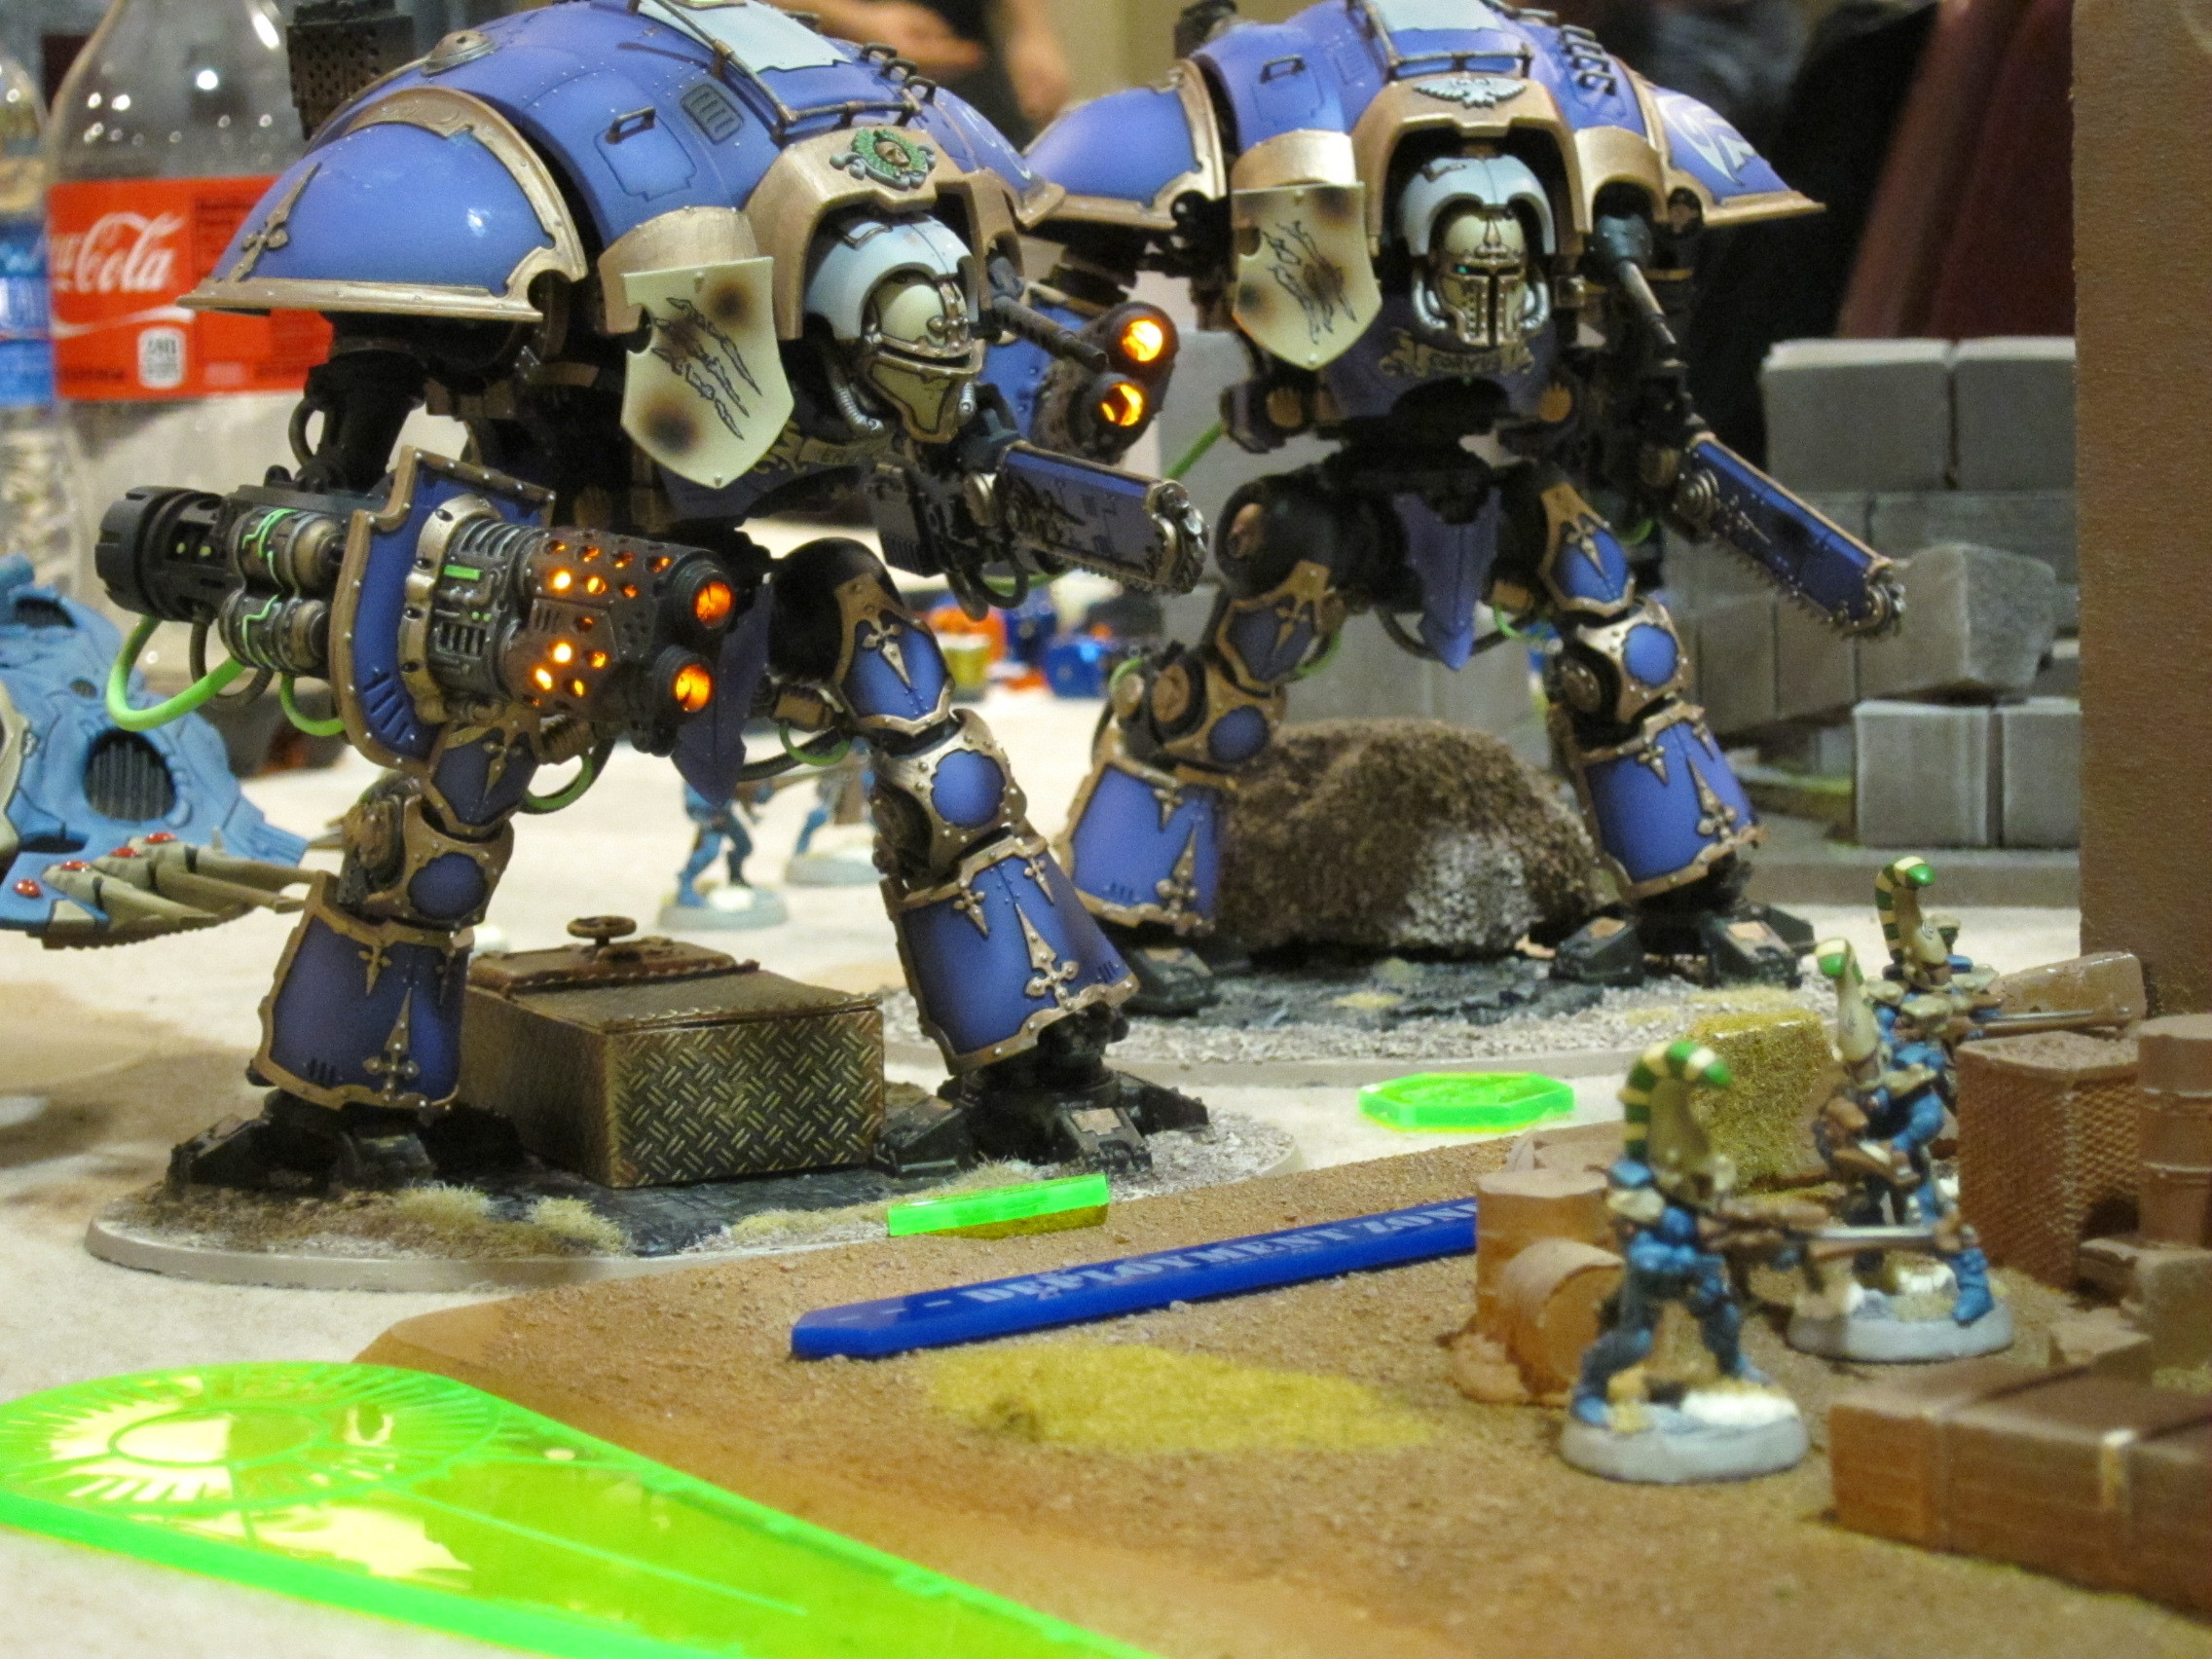
This past weekend a good-sized crew from PAGE went out to the NOVA Open. I pretty much got my face punched in throughout the Trios and Narrative tracks (reports here & here), but I learned a lot and had a great time. Even in those but especially walking around the Invitational and GT you couldn’t help but notice the multitudes of Knights: Imperial Knights, Wraithknights, Rip-knights… Gorgeous models, under-costed points, for once GW figured out how to really sell something everyone will like, as long as it’s on their side of the table. The following are some lessons I’ve learned about fighting and using Imperial Knights.
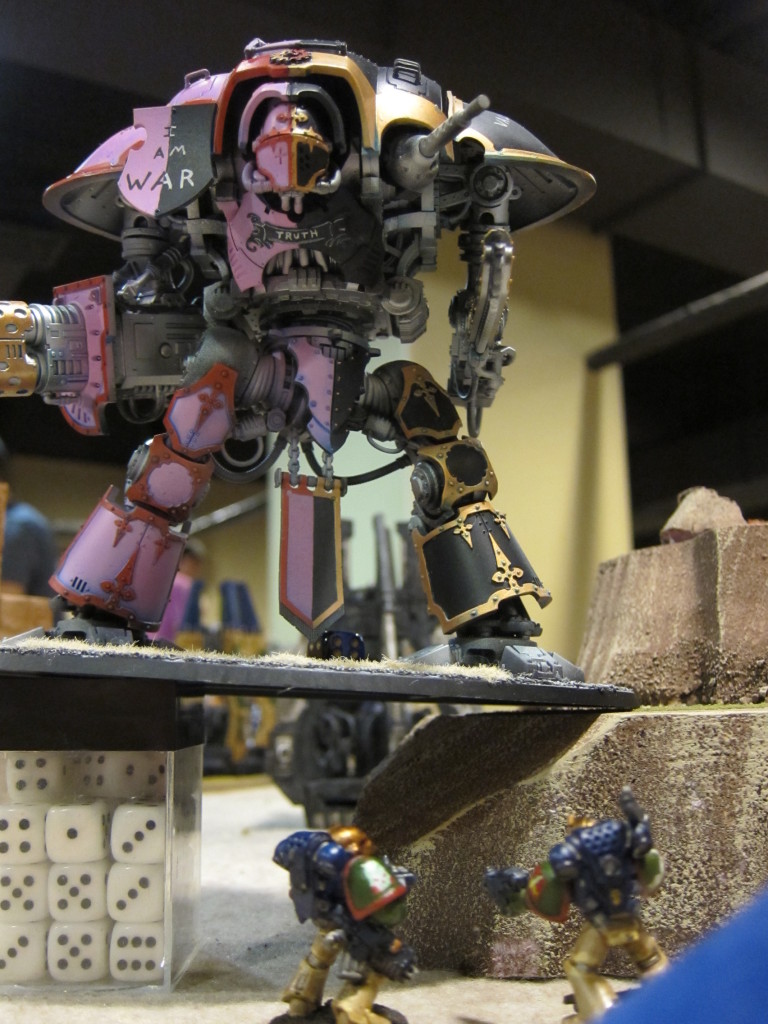
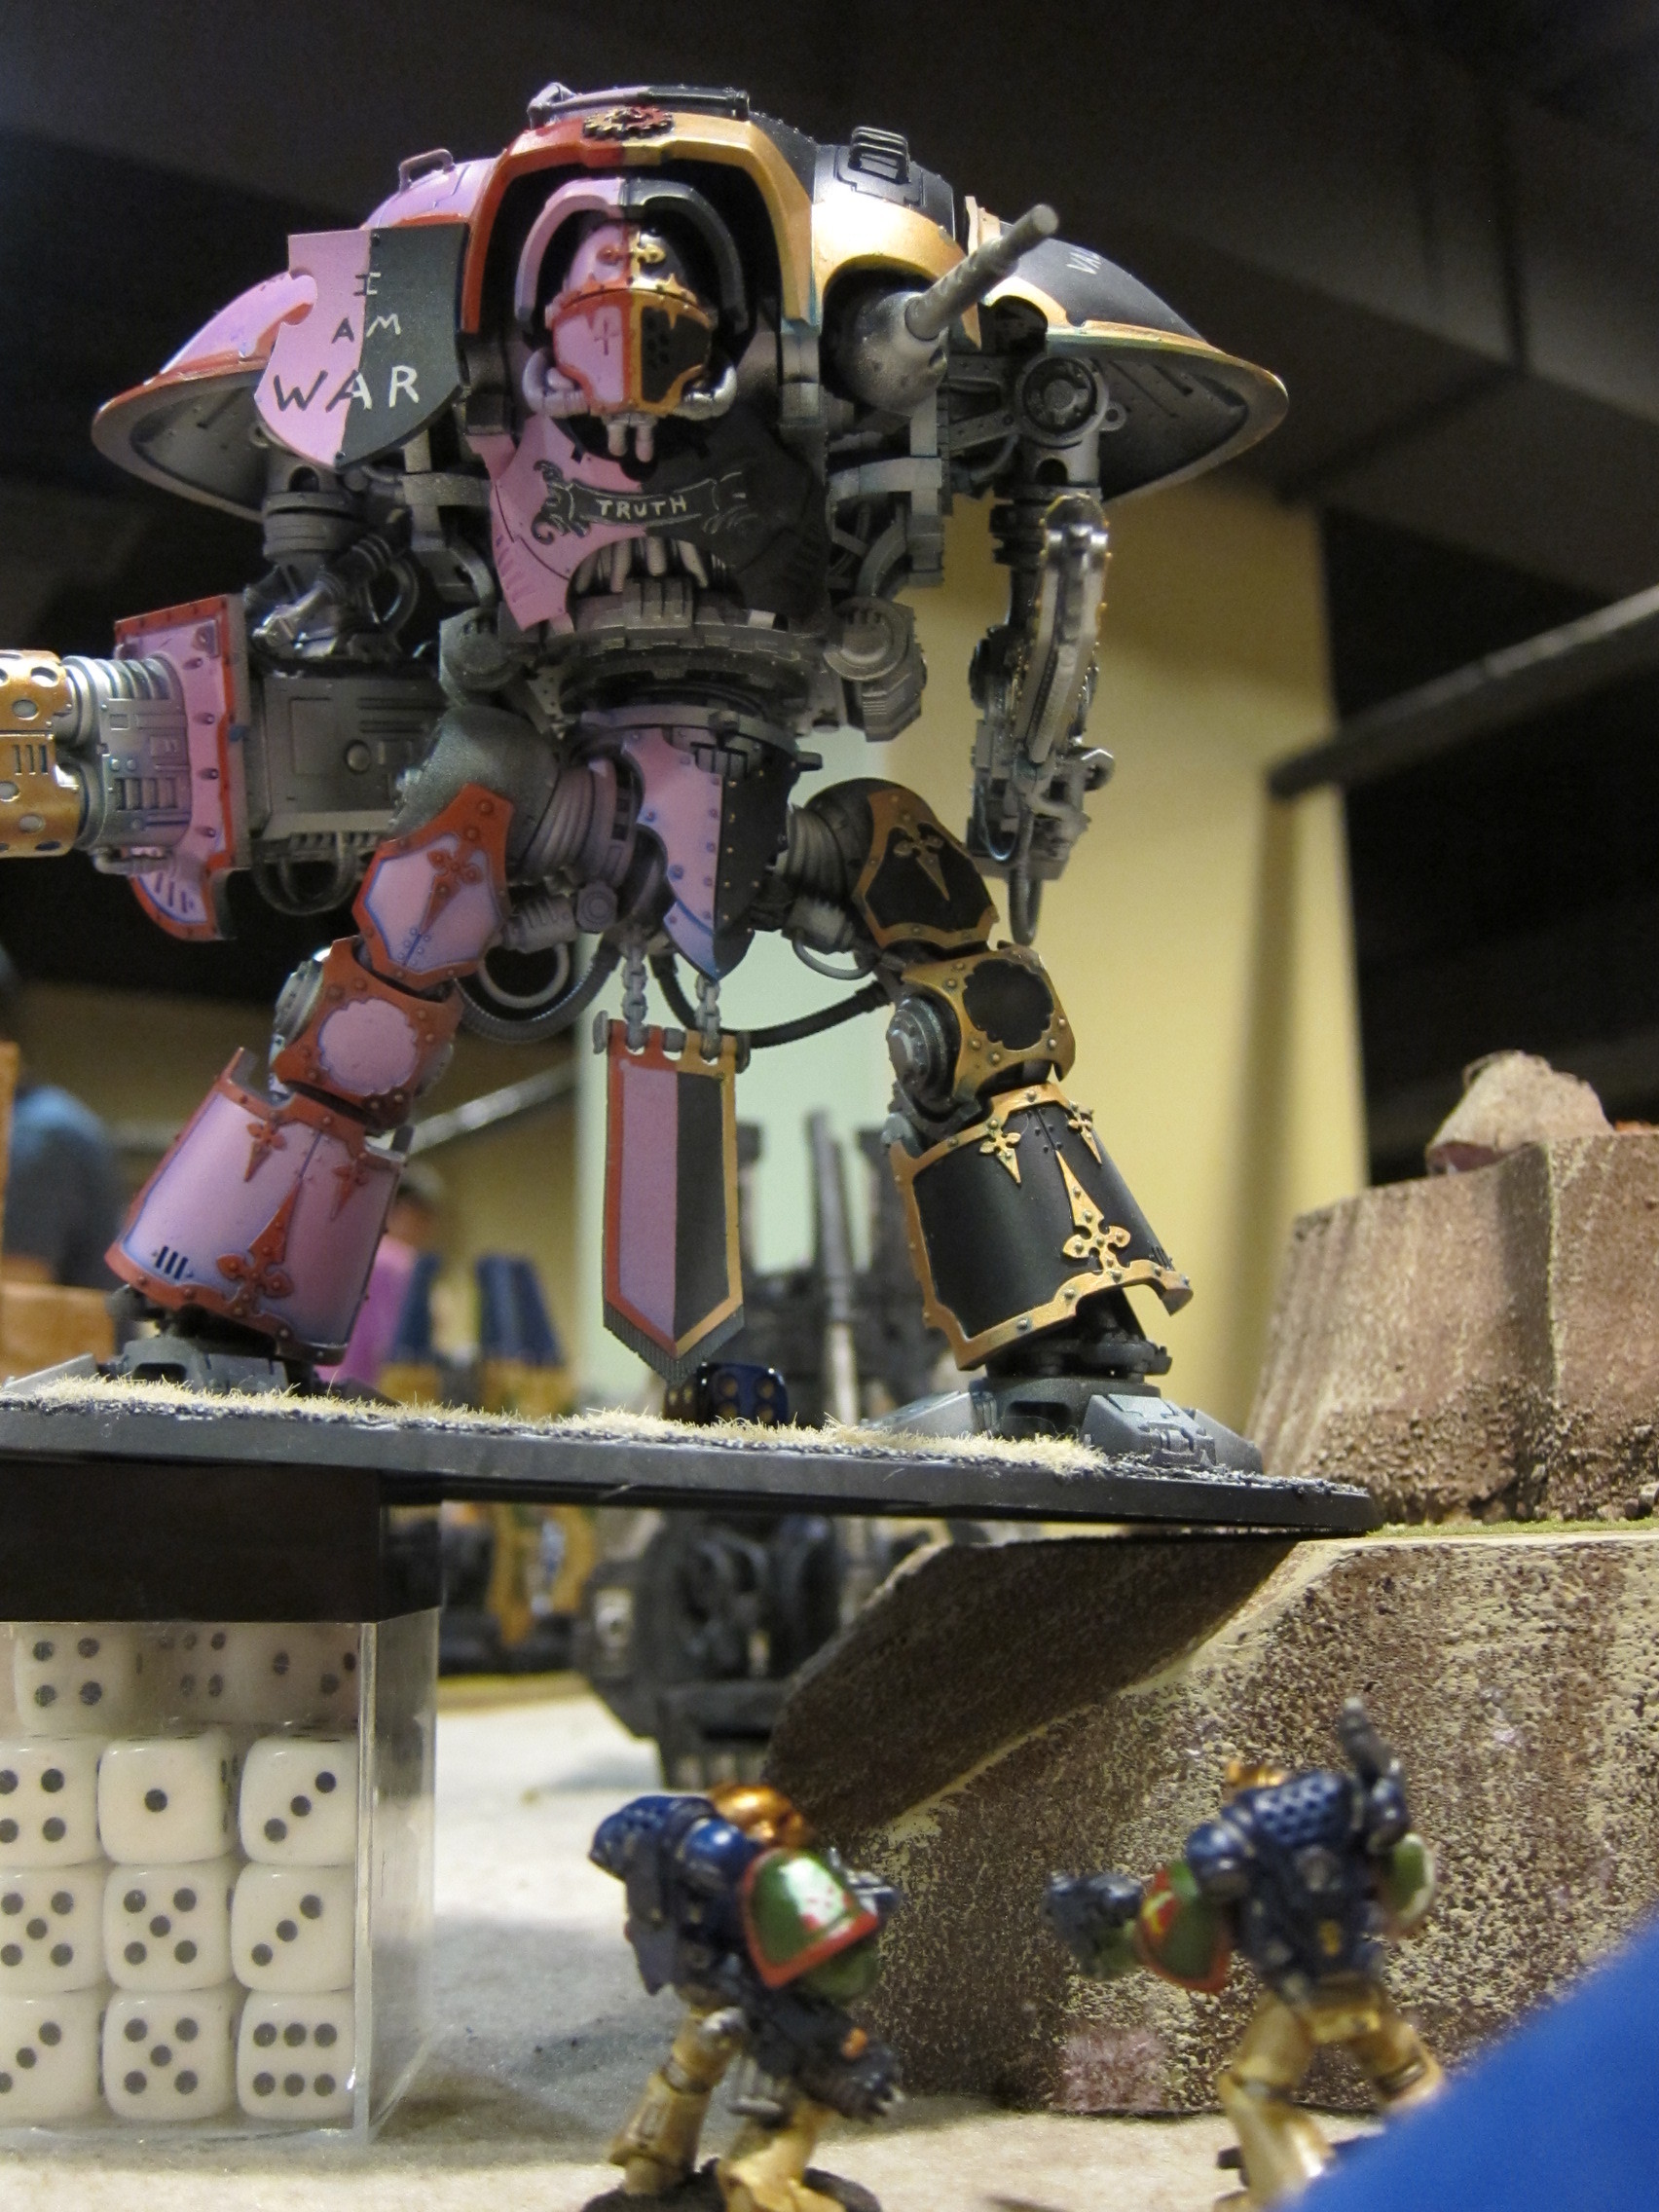
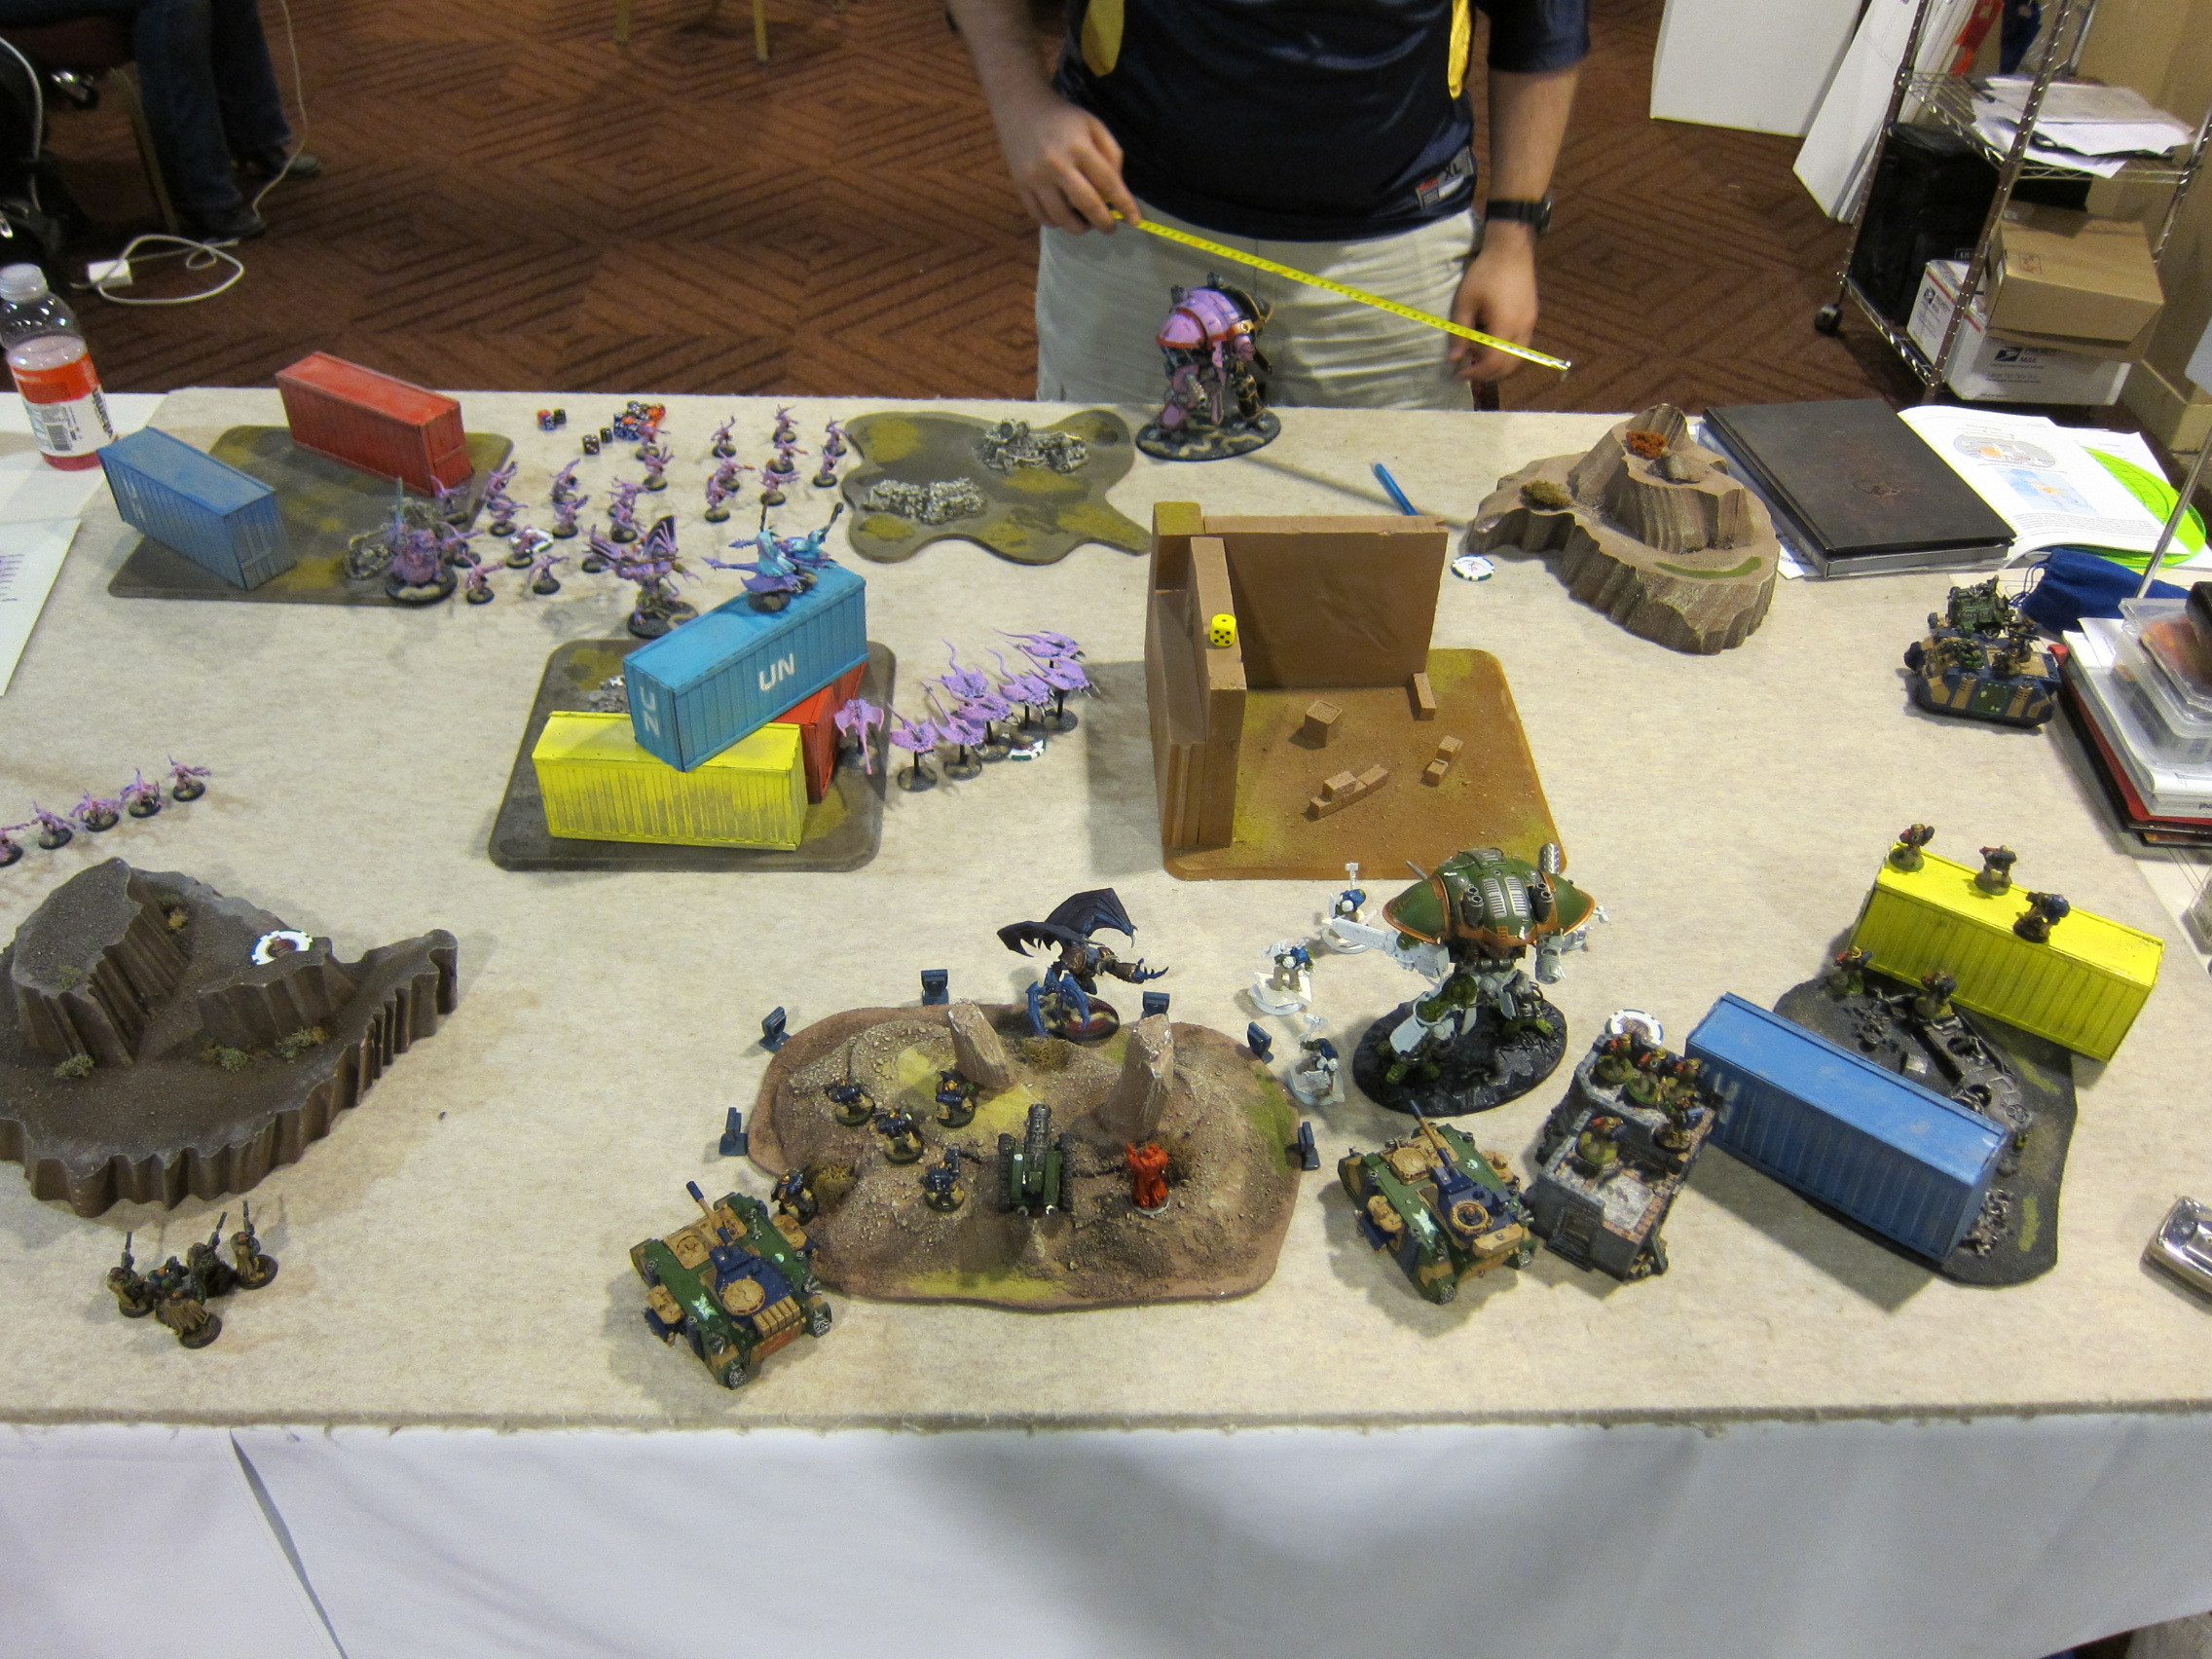
Your weapons are (all but) useless, puny fleshlings! Charles Craig’s sweet Chaos-allied Knight picks a fight with Sgt Titus and his meltagunner friend.
War at Range
Knights have considerable effective shooting range: 36″ on their guns and 12″ movement over clear spaces. Gerantius the Forgotten Knight, a White Dwarf character that should have been in the damn codex (making for a whopping ~4 pages of rules), can additionally run and then shoot. That basically means if you want to shoot at one you’re going to need at least 36″ effective range, ideally 48″ if you want to hit it on turn one while it’s still in its backfield. For the most part that requires a vehicle, able to move and shoot, or missile launchers, which have enough range to sit & shoot. I have a multi-melta on one of my tacticals because I get a re-roll to hit (Vulkan) and it’s useful against Dreadnought Drop Pods coming down on my lines, of which there are still some in my club. The range isn’t enough though to help me fight Knights, which take far too long to walk into range, even assuming they don’t just hang back and blast away. So in the future that MM will be either swapped out for another missile launcher, or start riding down in a Drop Pod with its compadres for early melta snaps and hopeful midfield positioning.
Sir Stomps-A-Lot
Depending on which side of the machine god’s wrath you’re on, stomp attacks are either really useful or more salt in the wound. Of course they’re powerful just for clobbering whatever is currently in close combat with a Knight, particularly if it’s being tarpitted with a gaggle of weak infantry. But they also have a handy ability to reach out and touch enemies.
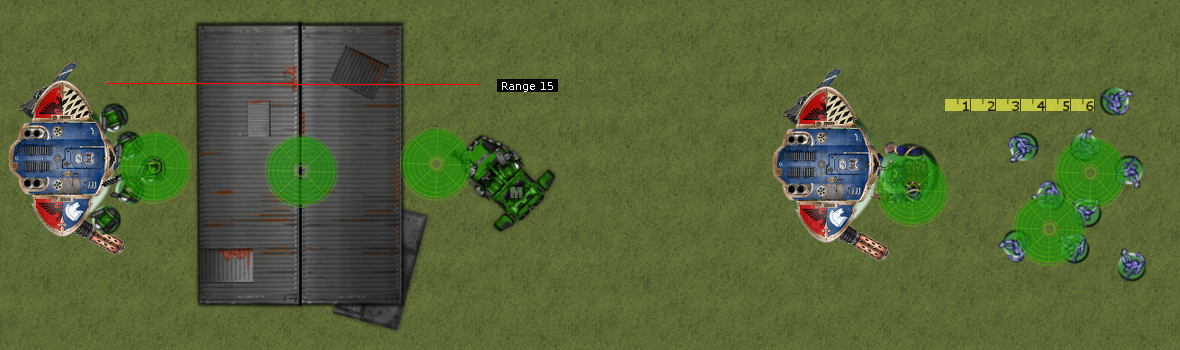
A stomp attack has you put down D3 blast markers. The first one goes in base-to-base with your Knight, but the others can be up to 3″ from a previously placed marker and don’t have to be placed over an enemy base. That allows you to chain the attack out and hit targets up to just under 15″ away. There are also no line of sight restrictions on placing the blasts, so even large terrain doesn’t provide protection. Nothing came of it, but in one game I was caught off guard when an opponent used that to hit a Landspeeder tucked behind terrain over a foot away, waiting for the combat to end so it could pop out and melta the Knight.
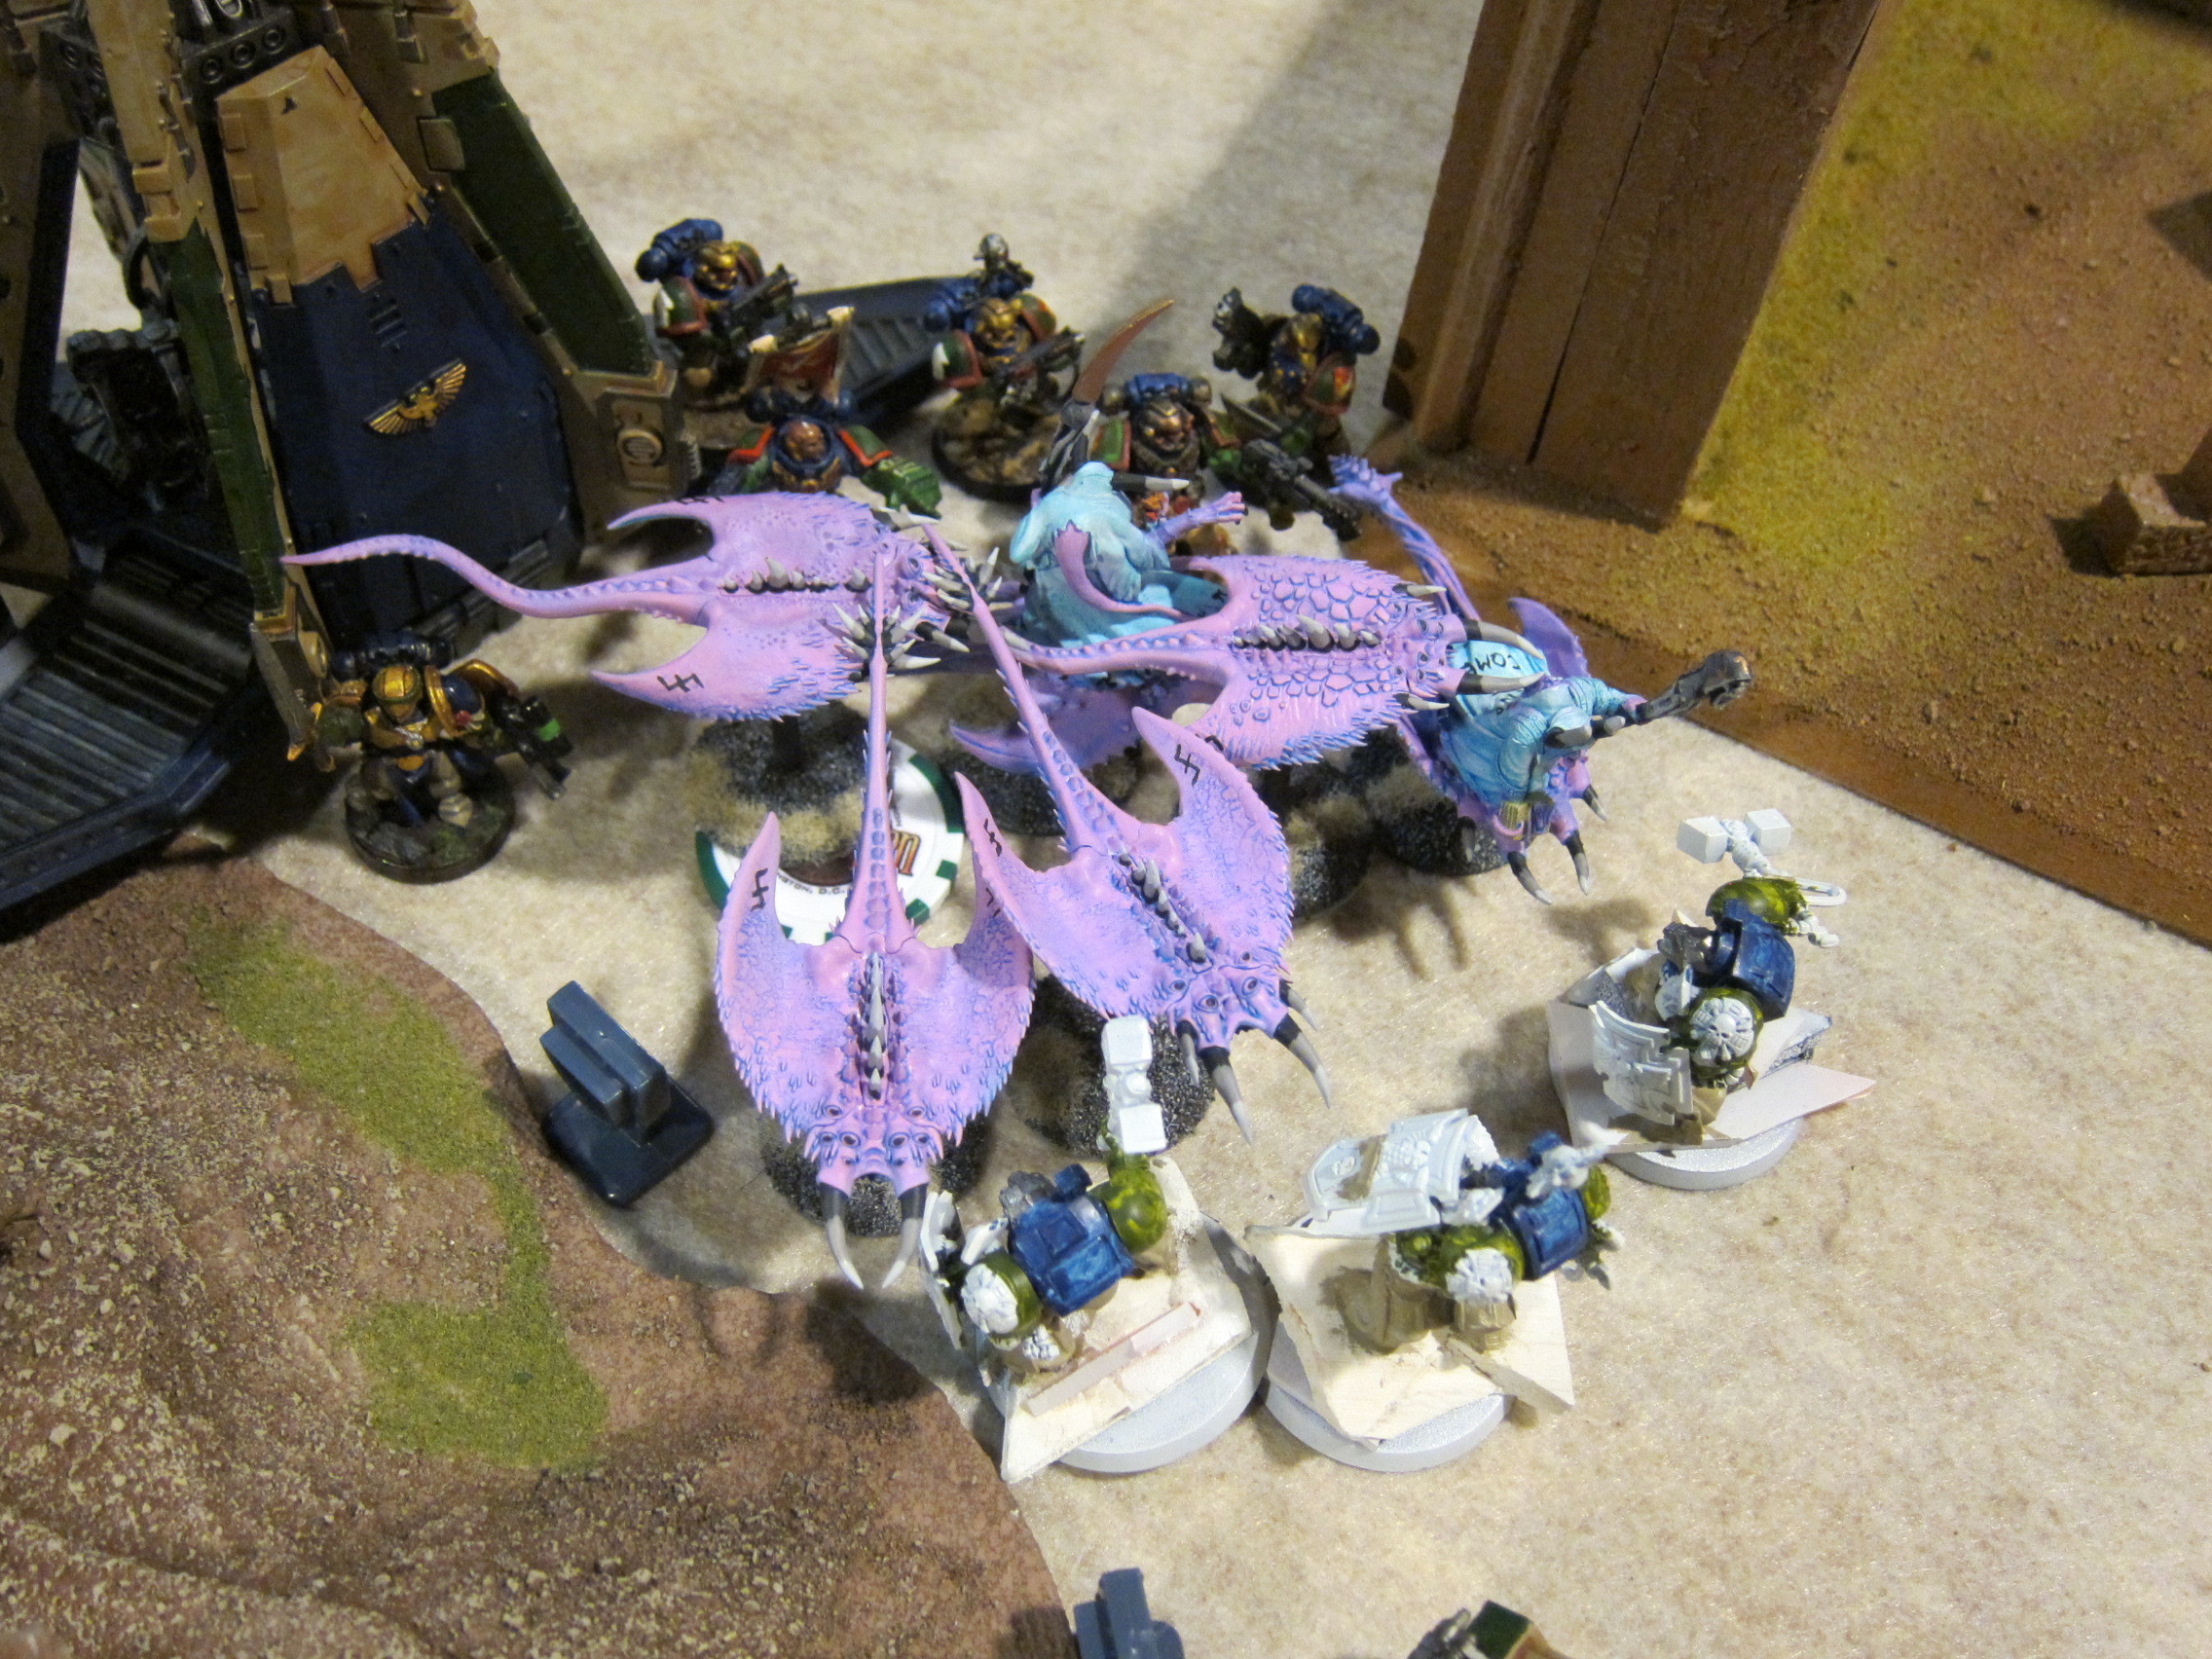
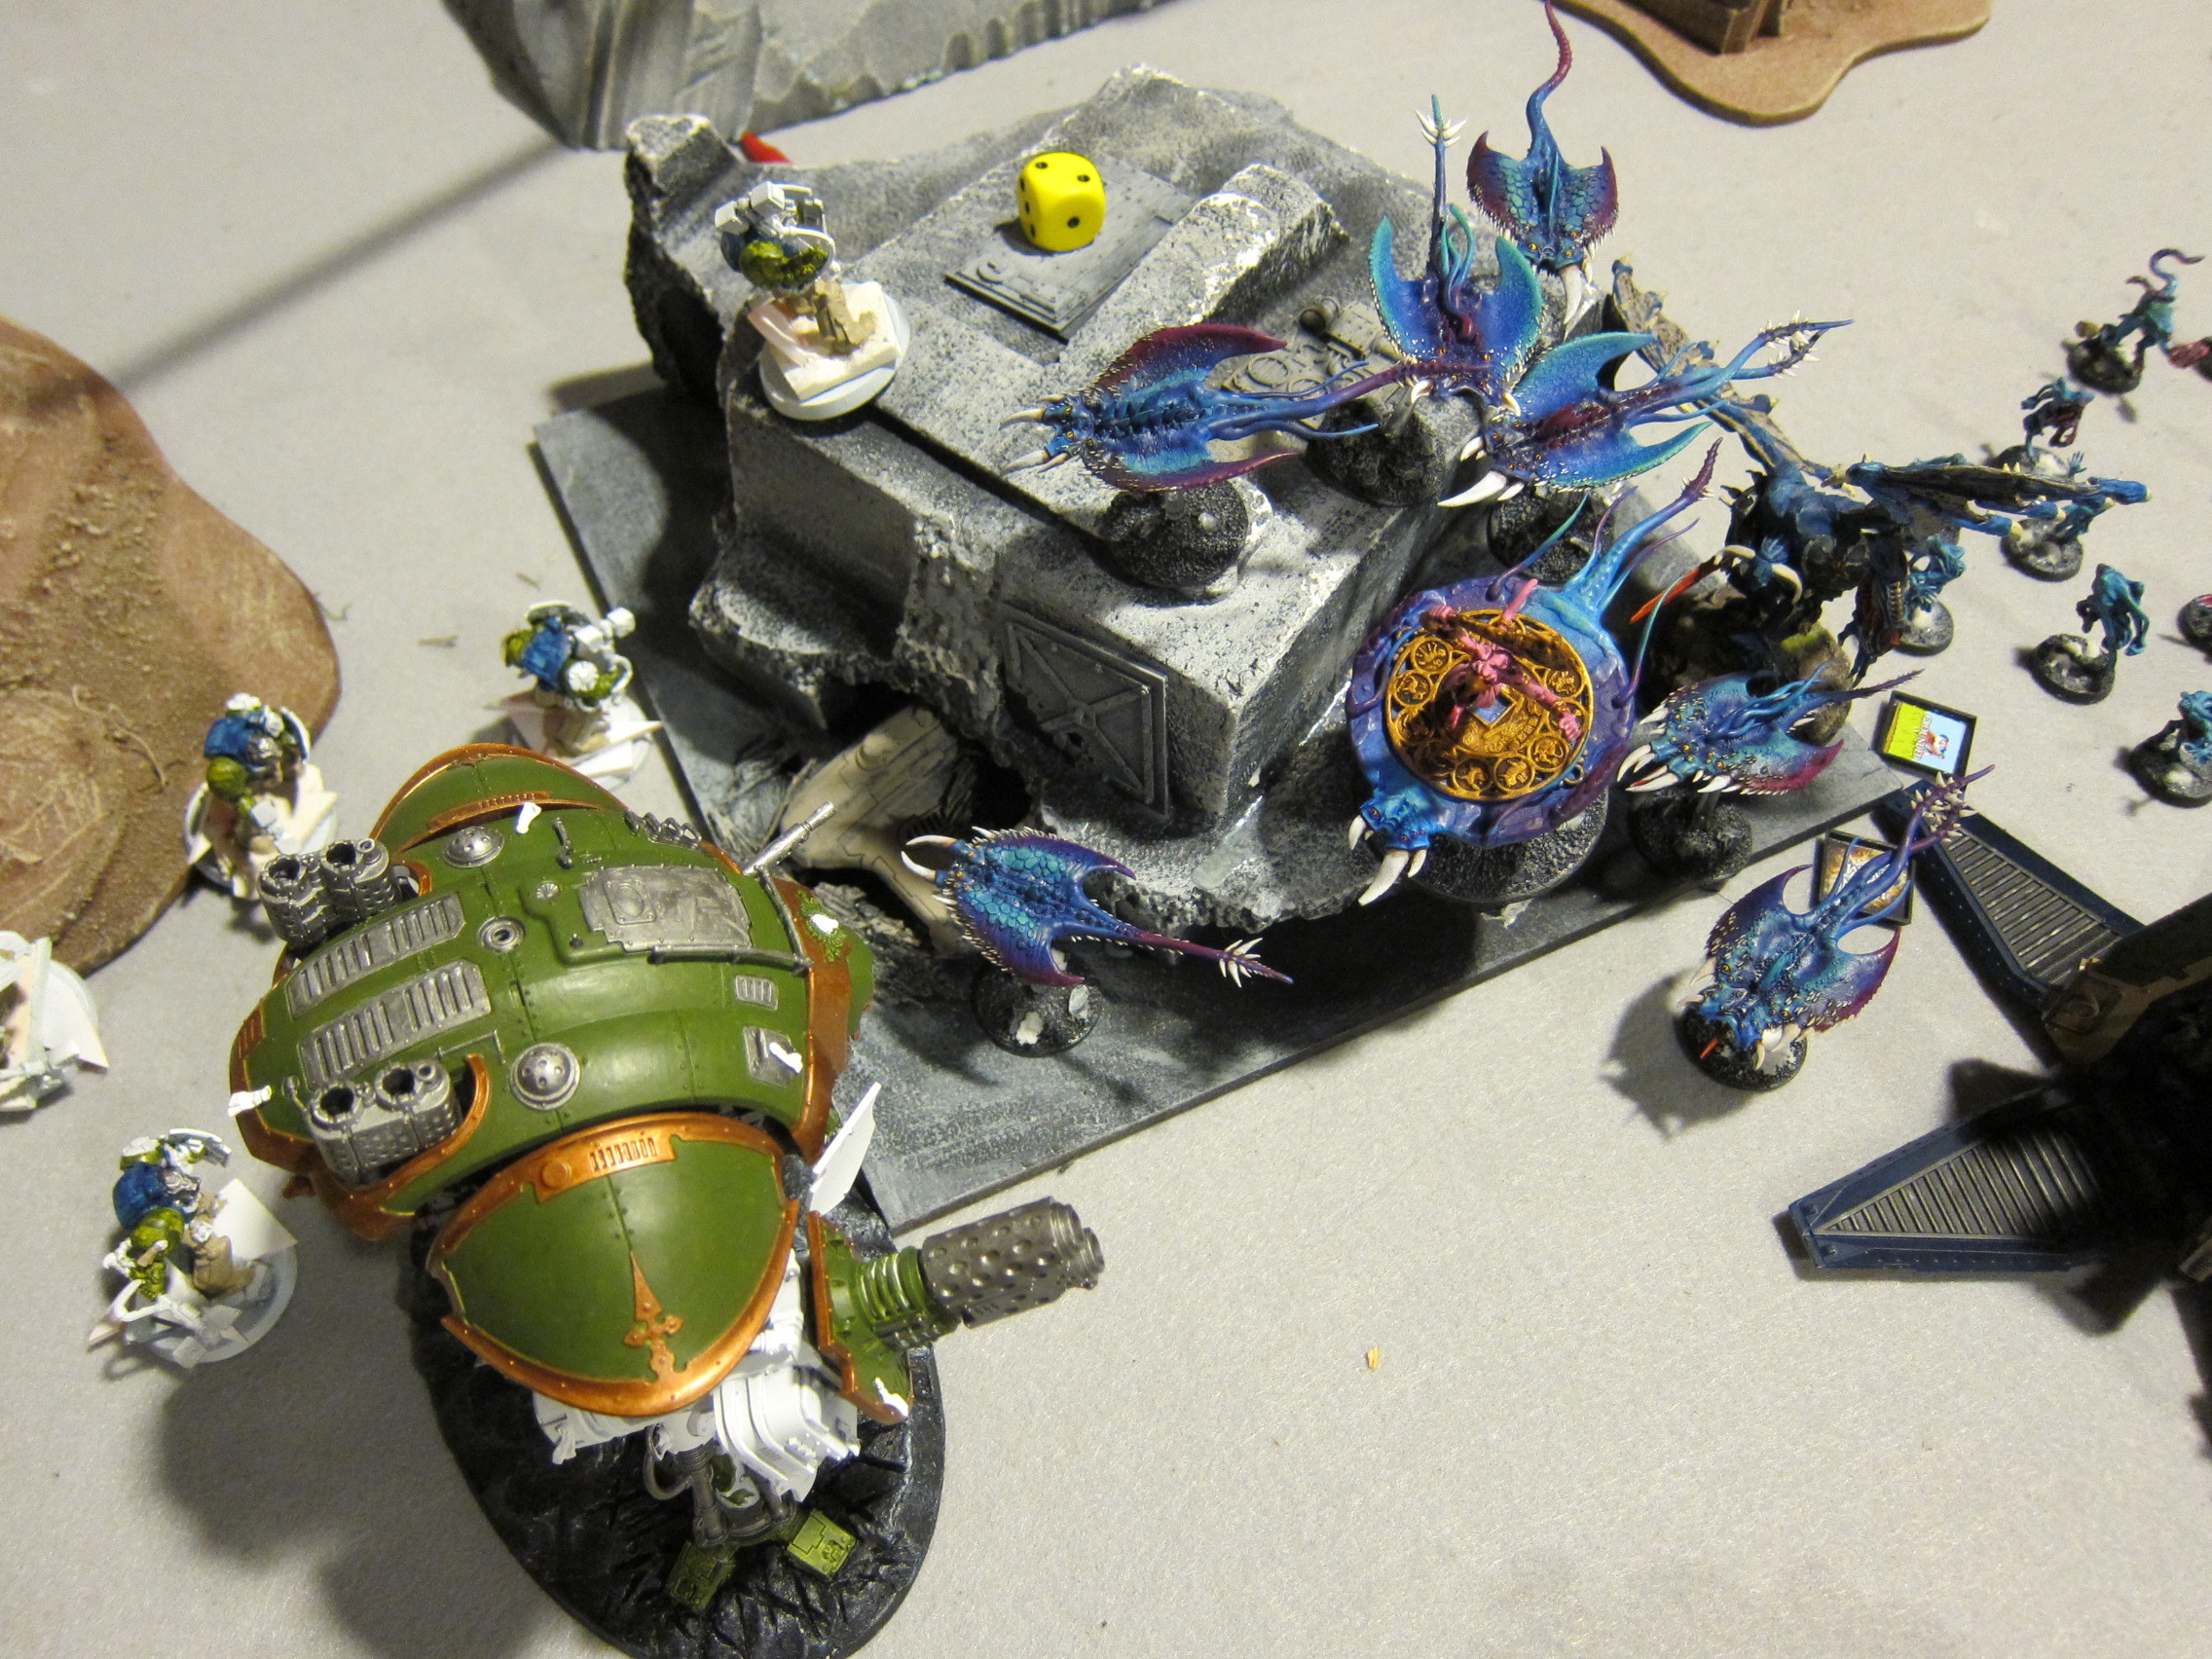
Stomps can also be useful to cause secondary casualties and force a positive combat result. In a different game I used a second and third stomp to pile wounds & then casualties onto a bunch of Blue Horrors nearby but not involved in the combat in any way. Since all unsaved wounds incurred by a side are counted in combat results, that drove the leadership way down for the Instability roll on the Daemon Prince my Knight was actually fighting. In that case it created a bunch more free wounds, but against other armies it’d be a good way to force a morale break on an otherwise stalwart unit.
So, as a Knight player, the stomps let you reach out a bit from combat for some neat tricks. Playing against a Knight, you have to be aware that units could be directly affected by the combat even at a significant distance away.
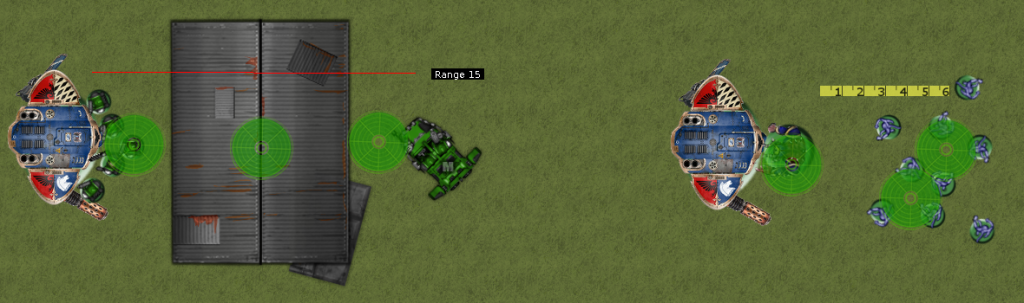
On the left, a Knight stomps its way through a warehouse and into a poor lonely Landspeeder. On the right, a Knight drives down the leadership of a Daemon Prince by stomping Horrors trying their best to avoid the combat.
Huddle Up
The large blast, low AP shots rained down by a Knight are a huge problem. Getting models into cover is obviously good, but even better is not being targetable at all. Unfortunately getting and staying out of line of sight can be difficult given how tall the Knight is and how fast it moves over open terrain. However, another way to not get shot at is to huddle up close to enemy models. Blasts generally can’t be placed such that they’ll be over the shooting player’s own models. If it’s not possible to put the marker over your models without touching their own, your unit will be safe from being directly targeted.
Clearly that’s pretty situational, there’s a relatively limited set of circumstances in which you can or want to be that close to the enemy. However, one such situation that comes up fairly often is deep striking units to join an assault. The arriving unit is very exposed, typically having to stand around for a turn and get their bearings before joining the combat. When there’s the potential to be tagged by a Knight or other large blast in the interim, better than ducking into nearby cover is to use the combat itself as a shield. By getting up tight with the enemy models, those models won’t even be targetable by the blasts and will have a much better chance of living through the next round of shooting to make it into the fight.
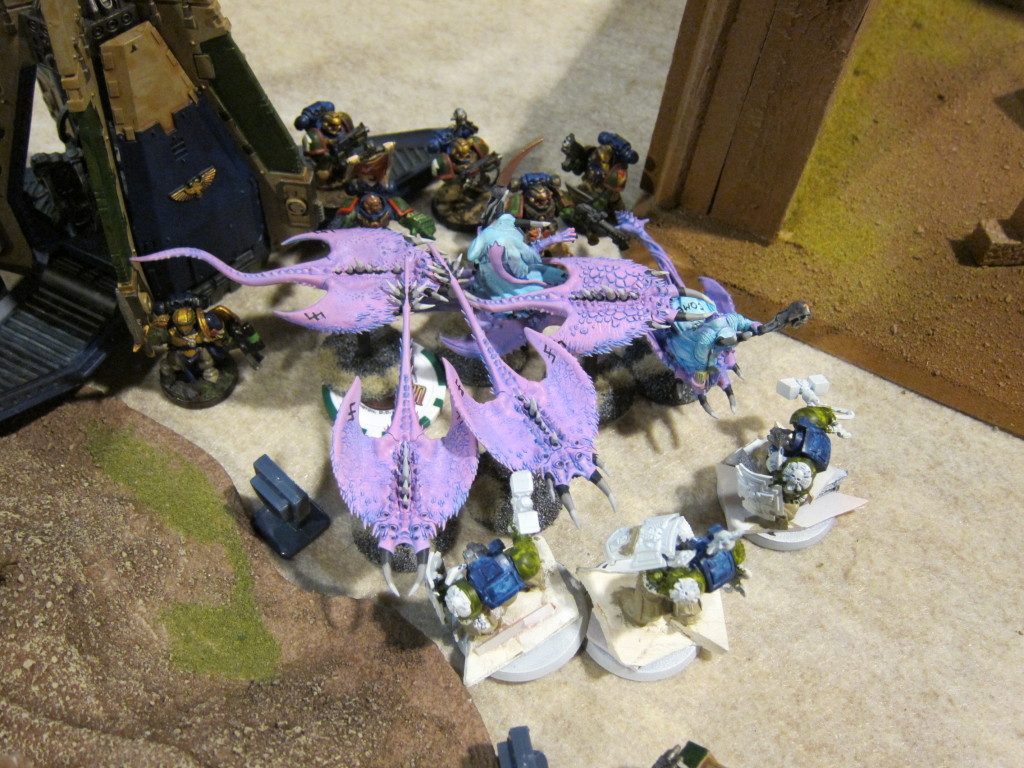
Drop Podding Vulkan and a powerfist combat squad huddle up tight against a combat for blast protection before being able to assist their Terminator battle brothers.
Bubblewrap
In my local scene there’s a bunch of meltagun Drop Pods, with their 6″ armor penetration bonus, as well as Screamers of Tzeentch, which have armourbane on their bite attack, so bubblewrapping key vehicles is important. One thing to note is that unlike a normal vehicle, with any reasonable amount of terrain on the board it’s quite a bit easier to bubble wrap a Knight on the move without sacrificing its mobility since it moves as normal infantry—so slow!—through terrain and the base is so big it’s bound to hit some wherever it’s going.
To protect my Knight I’ve been vacillating between cheap Imperial Guard and expensive storm shield Terminators. There’s a clear tradeoff between the two: For ~100 points I can bring enough Guardsmen to wrap completely around the Knight and protect it from all angles, but in a purely sacrificial way. Something else, possibly the Knight itself, needs to step in to actually remove the threat, and quickly so before all the Guard are eaten through. On the other hand, for 225 points a squad of thunder-shields can clobber most assault threats, or at least tarpit on their own for quite some time. That handful of models though has a tough time maintaining an effective wall against mobile threats like Screamers that will just do an end run around it. Which approach is better in general is tough for me to say, but in many tournaments, as at NOVA, restrictions on detachments, allies, or sources may force your hand. Similarly, Come the Apocalypse allies won’t really be able to wrap at all against an alpha strike.
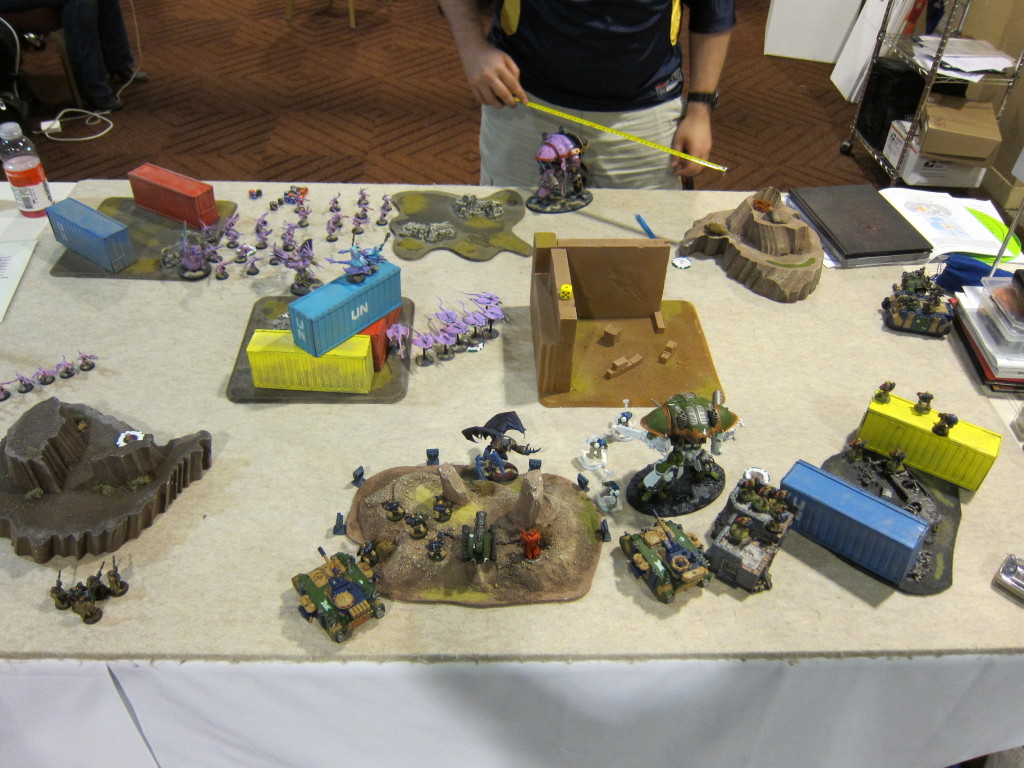
This bubblewrapping successfully protected my Knight against incoming dangerous assaults. Note that the opposing Knight is not shielded at all, because it had to deploy 12″ from CtA allies.
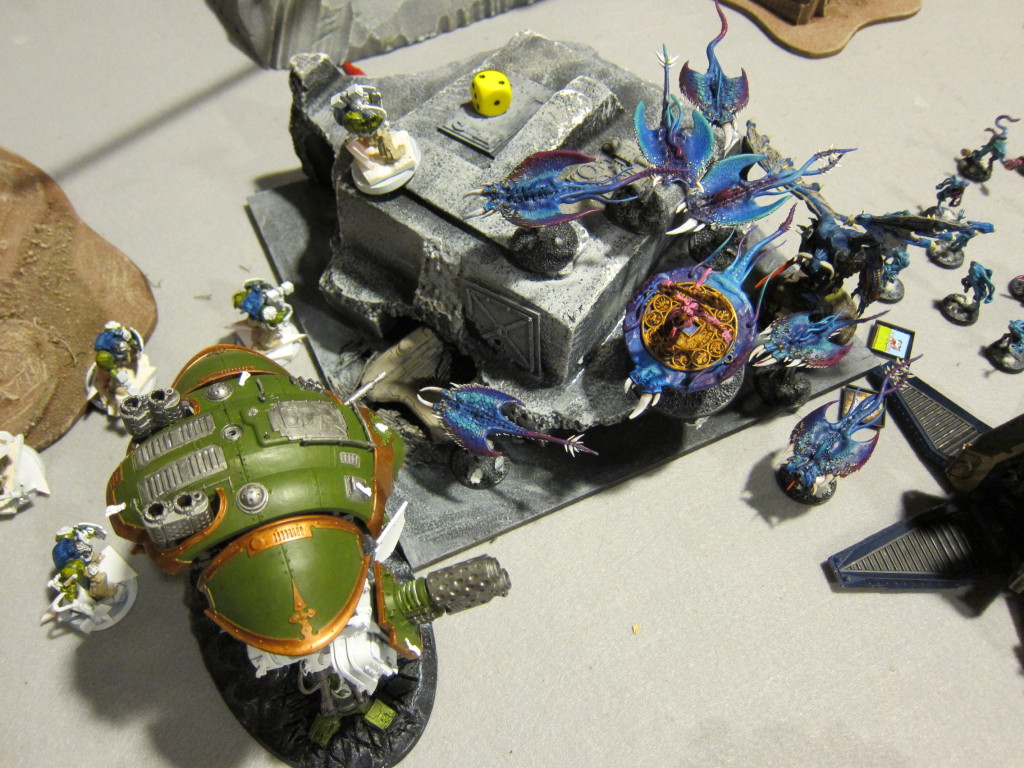
It worked out ok in the end and the Knight lived on the rest of the game, but this bubblewrapping has failed completely and the Knight should die. Screamers have a ton of ability to just fly over and around low model count walls.
Tarpits
Similarly but on the flip side, an important tactic fighting Knights is tarpitting. Every turn it spends stomping expendable troops is a turn it’s not dropping pie plate blasts or mega-chainsword swipes on critical units. In thinking about doing so, it’s easy to overestimate how killy a Knight is in close combat.
Like many big models, with the 7th edition Destroyer weapon table and the Knight’s basic statline, it’s more efficient and effective going after big targets than little ones. Successful D weapon hits put multiple wounds/hull points on models, not units, so they clobber vehicles and monsters but are way overkill and not more effective than a standard powerweapon or monstrous creature against typical infantry. In ongoing combat, a Knight is only going to kill 1.25 MEQs per round with its base attacks (3 attacks, 4s to hit, 2+ to wound at AP2). The effect of the stomp attacks is fairly situational because the hits are determined by blasts and thus dependent on precise positioning. But, if I’m doing my math right, each MEQ has a 65% chance of surviving each hit (2/3 chance of Ker-runch effect times 5/6 chance of wounding at S6 times 1/3 chance of dying on 3+ save plus a 1/6 chance of the Overrun effect is 35% chance of an unsaved wound per stomp blast over a MEQ). Each Marine thus has a 45% chance of surviving a stomp attack (1/3 for 1 blast times .65 plus 1/3 for 2 blasts times .65^2 plus 1/3 for 3 blasts times .65^3). So even if a full combat squad is bunched up to be wholly placed under a blast, it should expect to lose “only” 2.75 guys per round to stomps, and remember that the guy killed by the base attacks can’t be hit by the stomps.
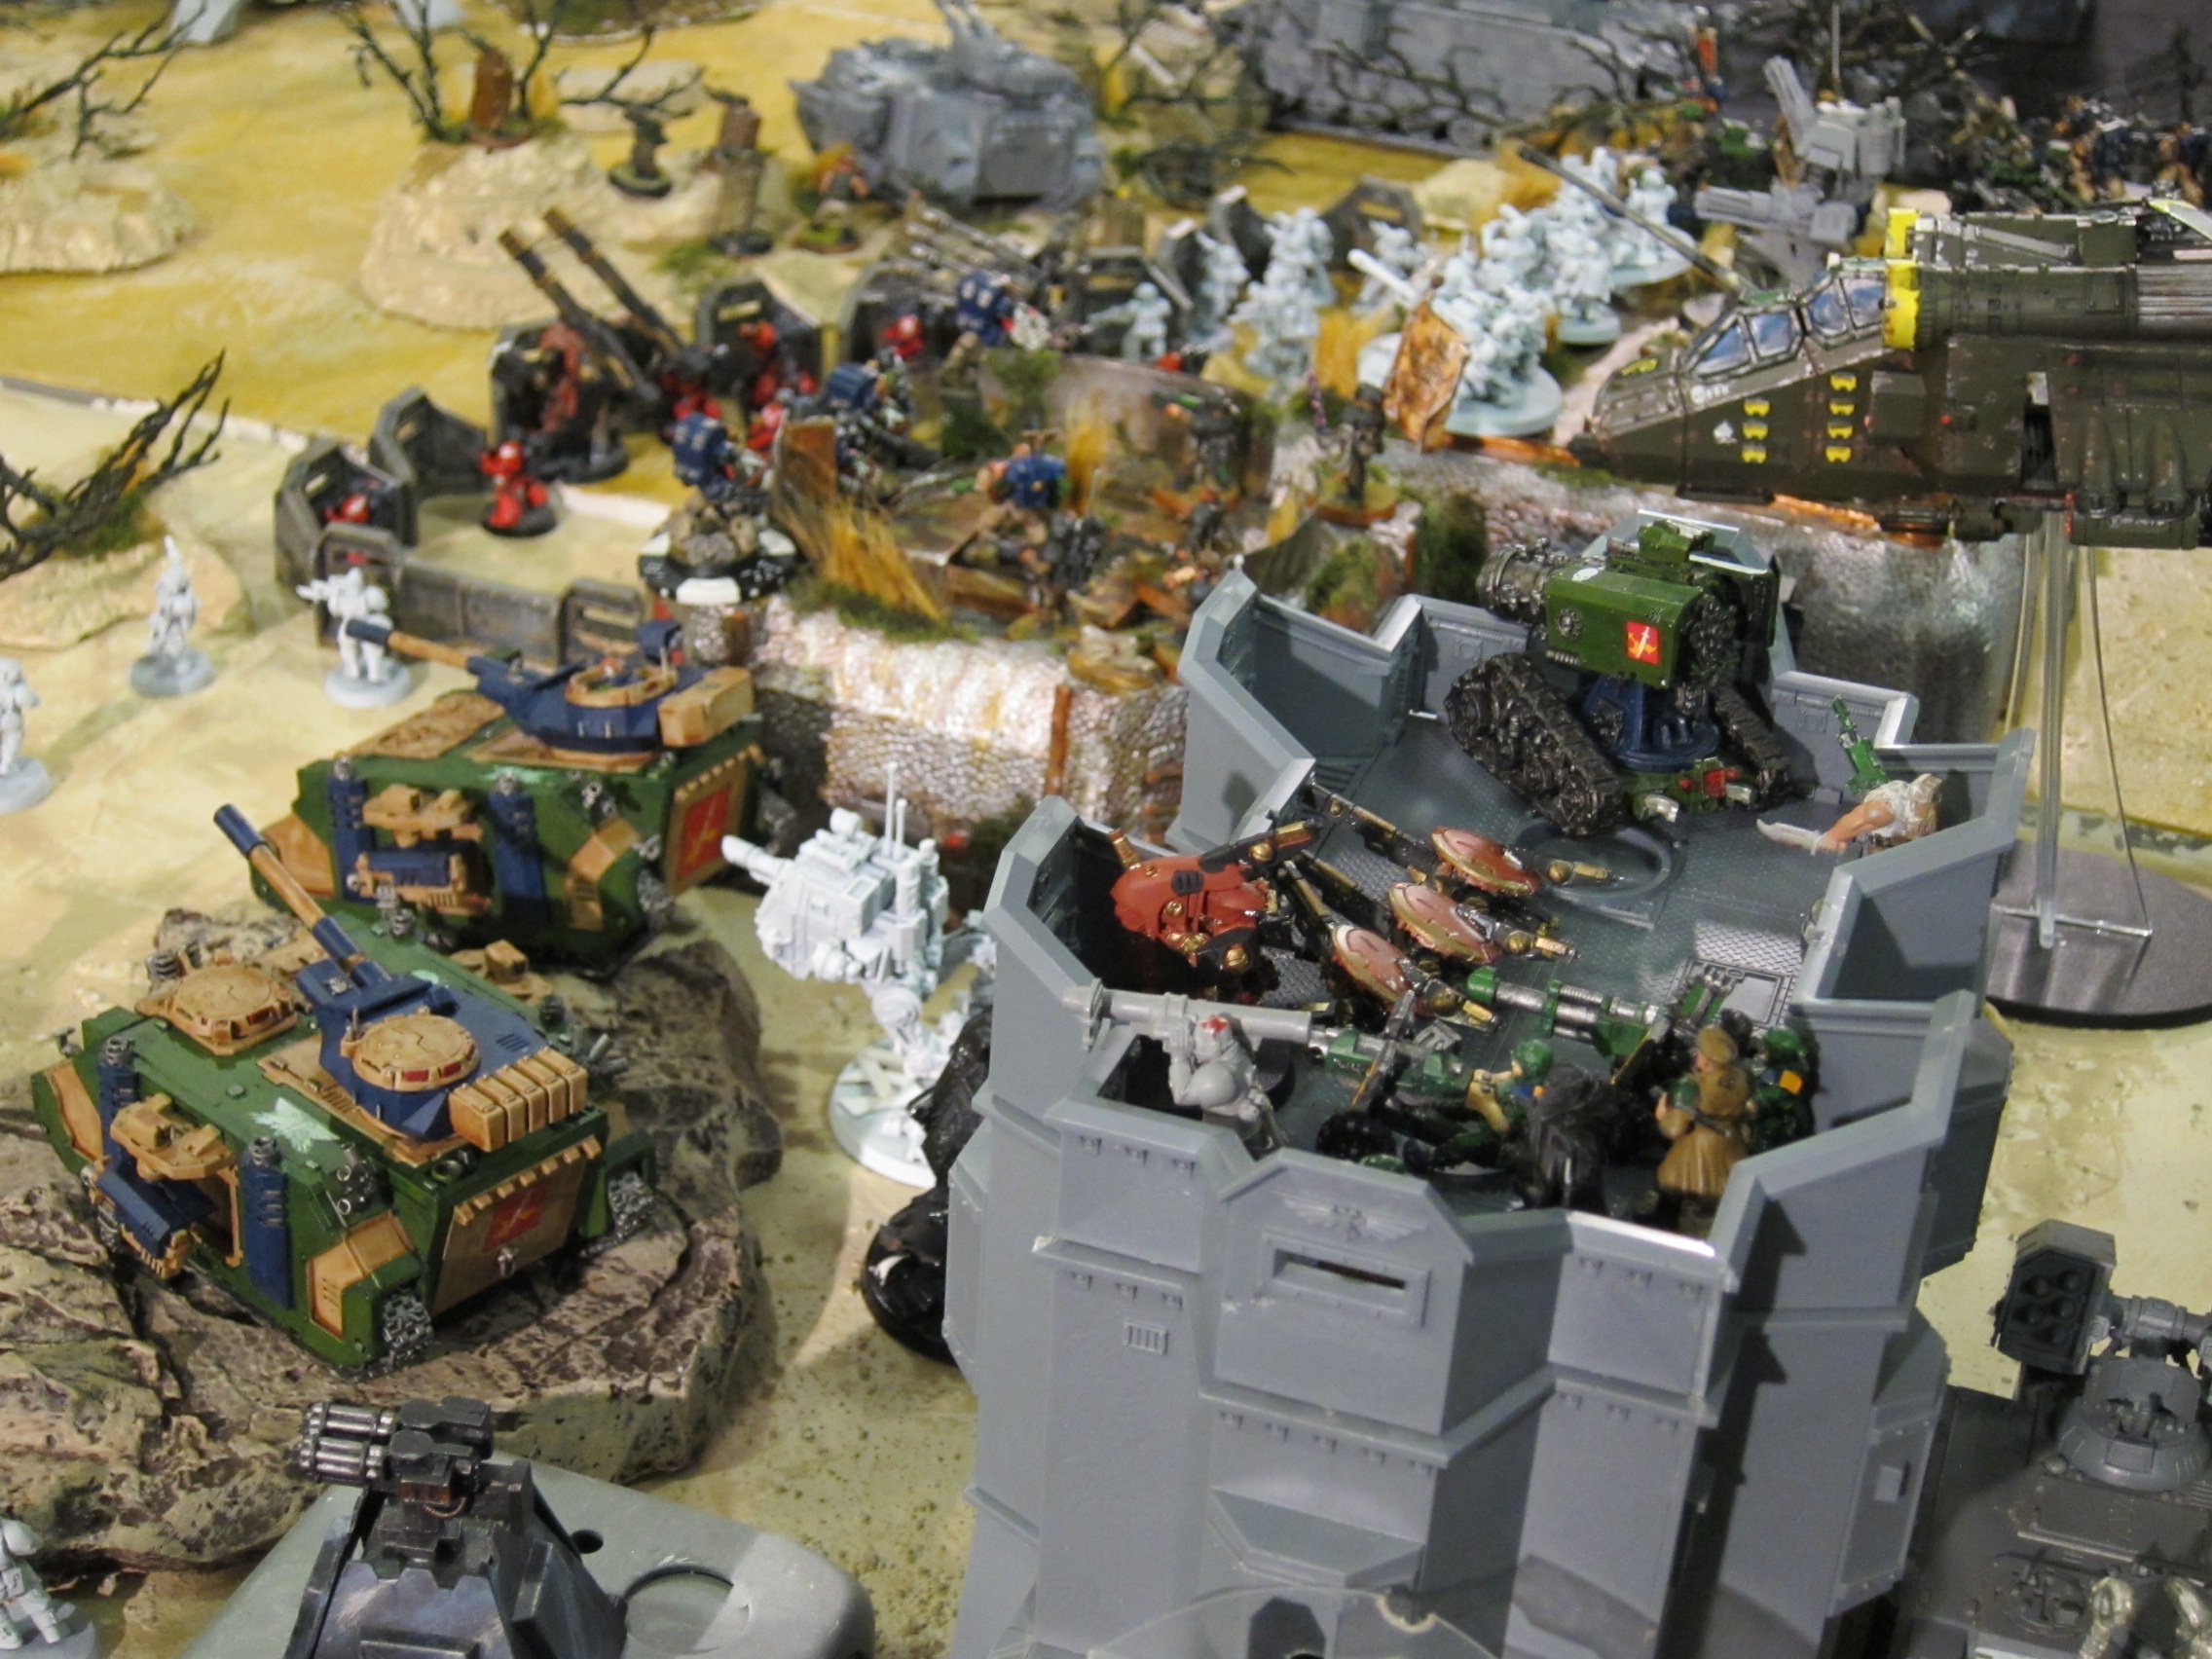
All in all, that’s pretty good for the MEQs! Even a few lowly Tacticals can tarpit and hold up to one of the Martian C’Tan’s warmachines for a bit. They might even do some damage, because their krak grenades and melta bombs if they have them will strike simultaneously with the Knight’s base and stomp attacks respectively. In the photo at the top of the article, those two Tacticals tied up that Knight for several critical rounds of combat, leaving my other forces free to deal with other threats.
Don’t Get Shot!
Against longer range shooting attacks, bubblewrapping and protecting a Knight can be difficult. The model’s just so big that almost no models and only the biggest, purpose-built LOS blocking terrain will give it a cover save. Its ion shield of course will give it a save, but only against one facing. It’s therefore important to try to force incoming shooting into one arc, and to otherwise minimize the damage through range and any available LOS blocks as well as the board edges.
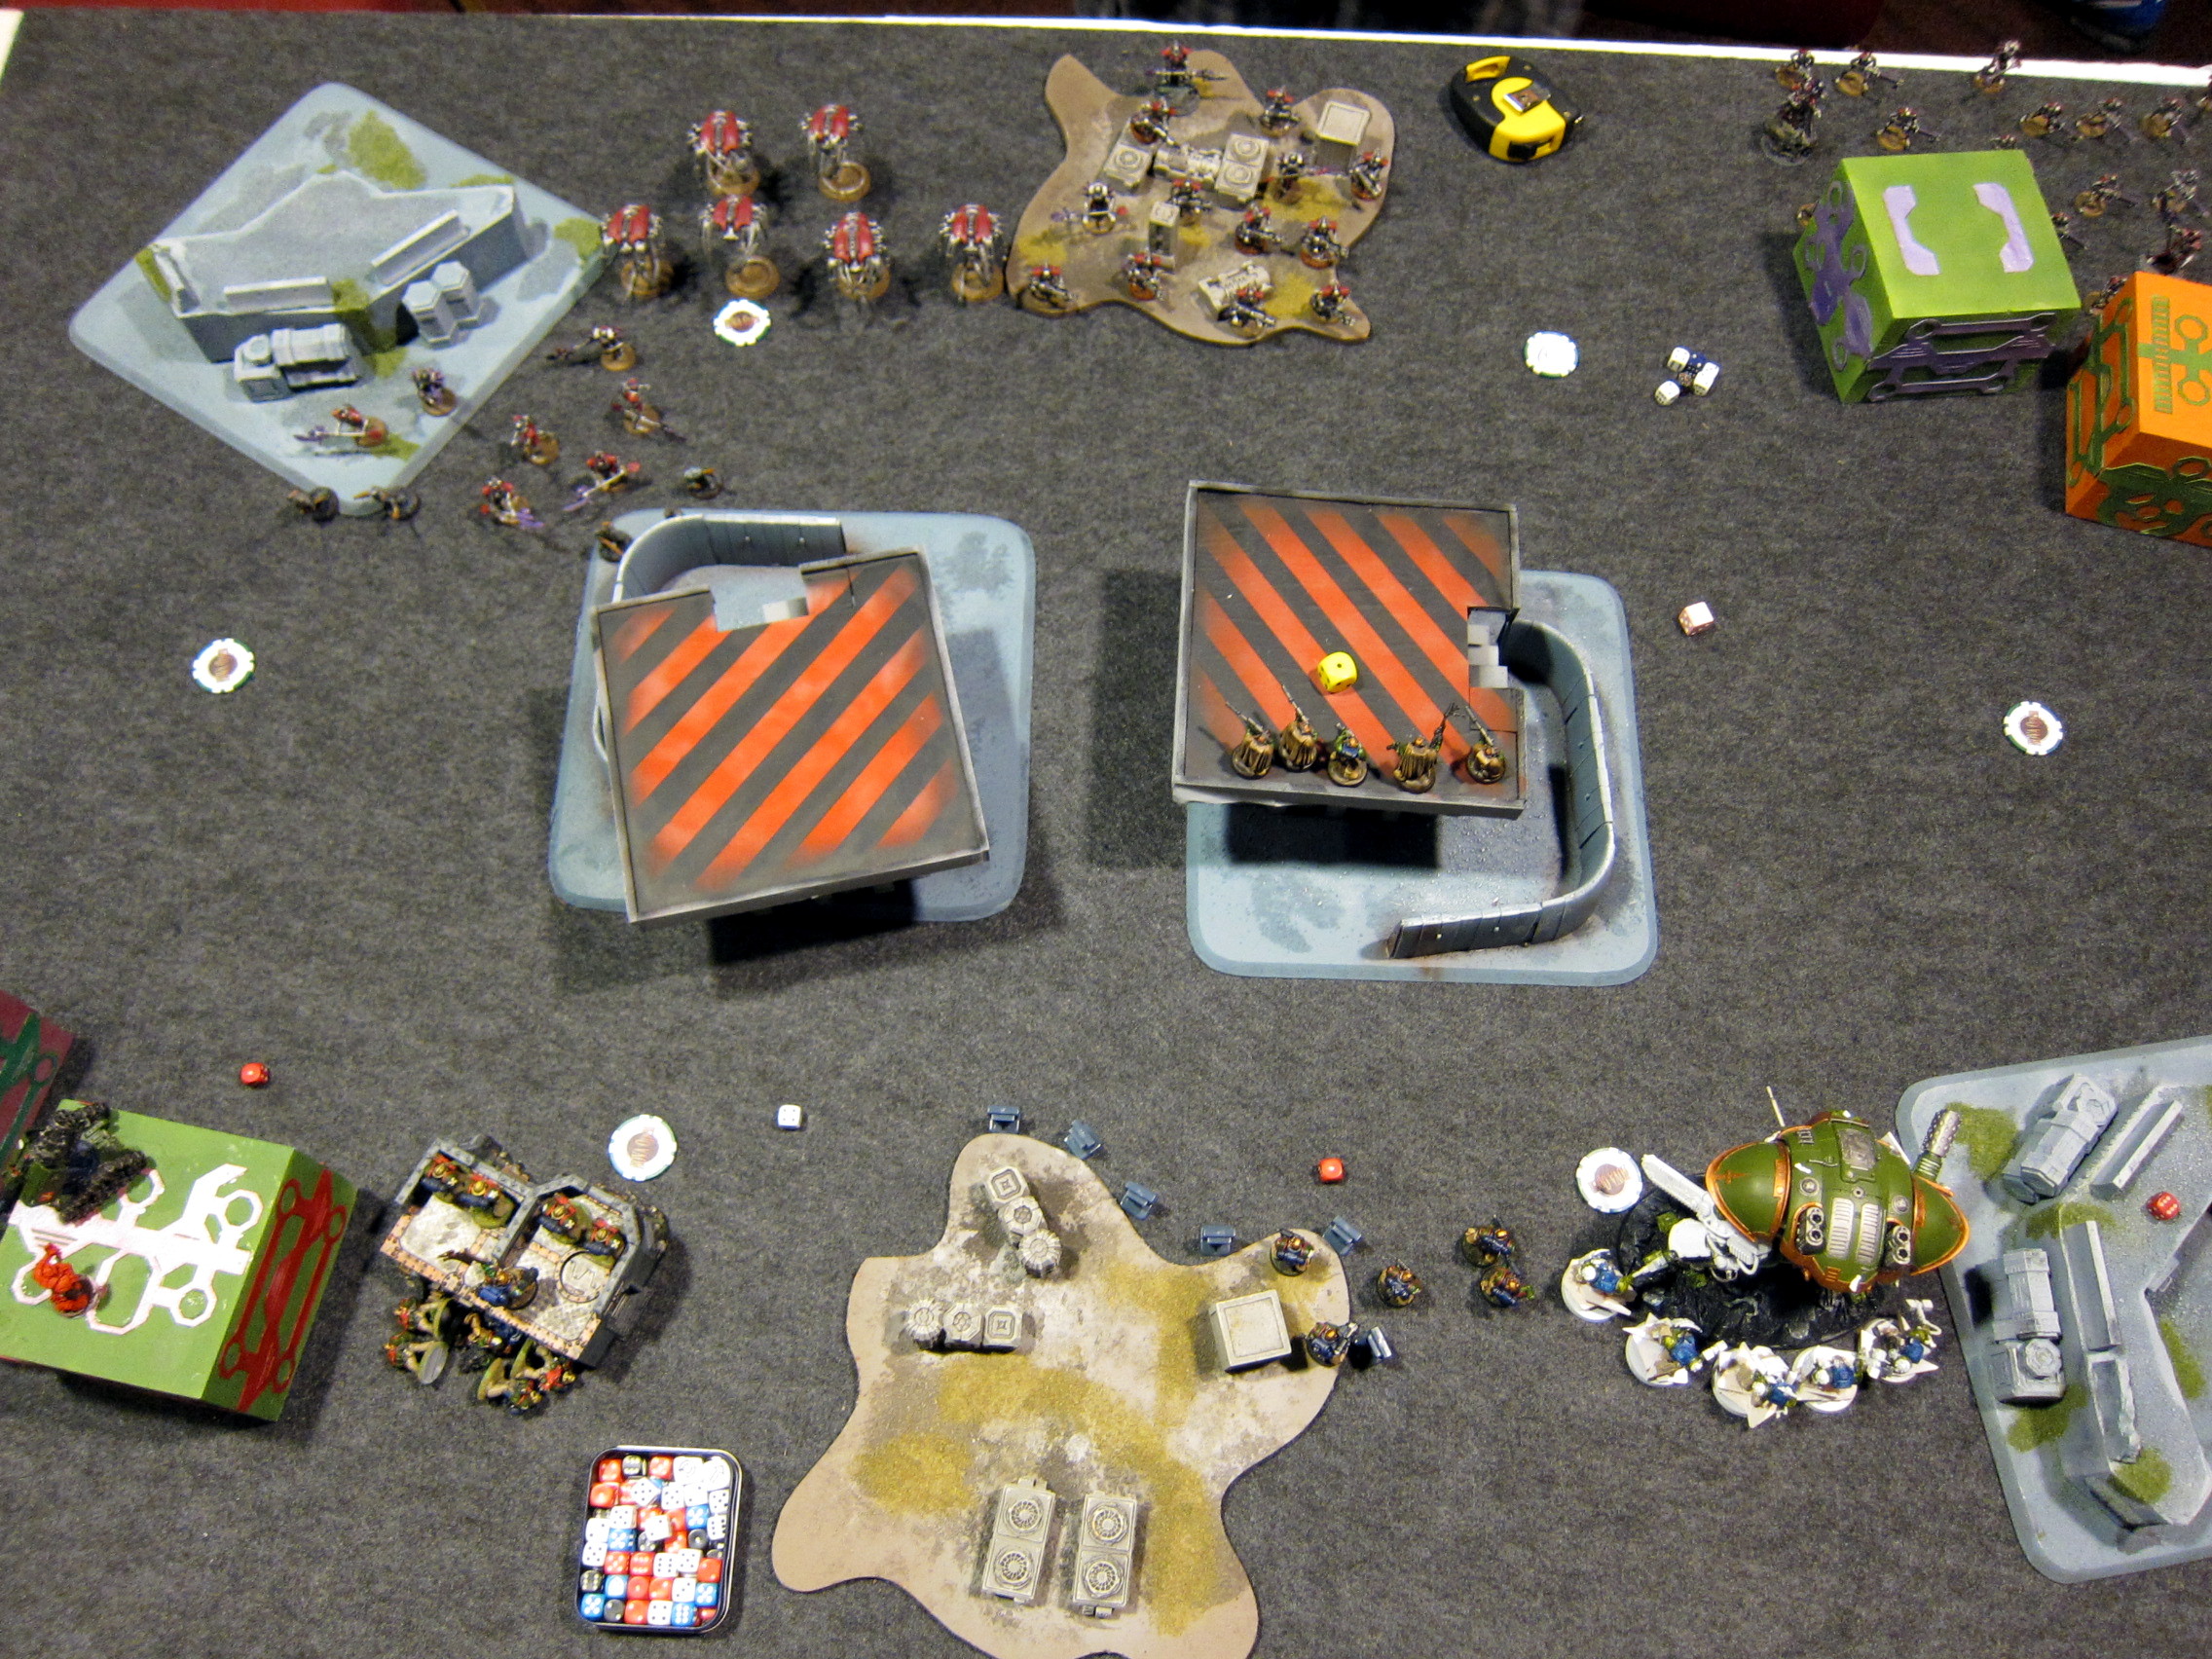
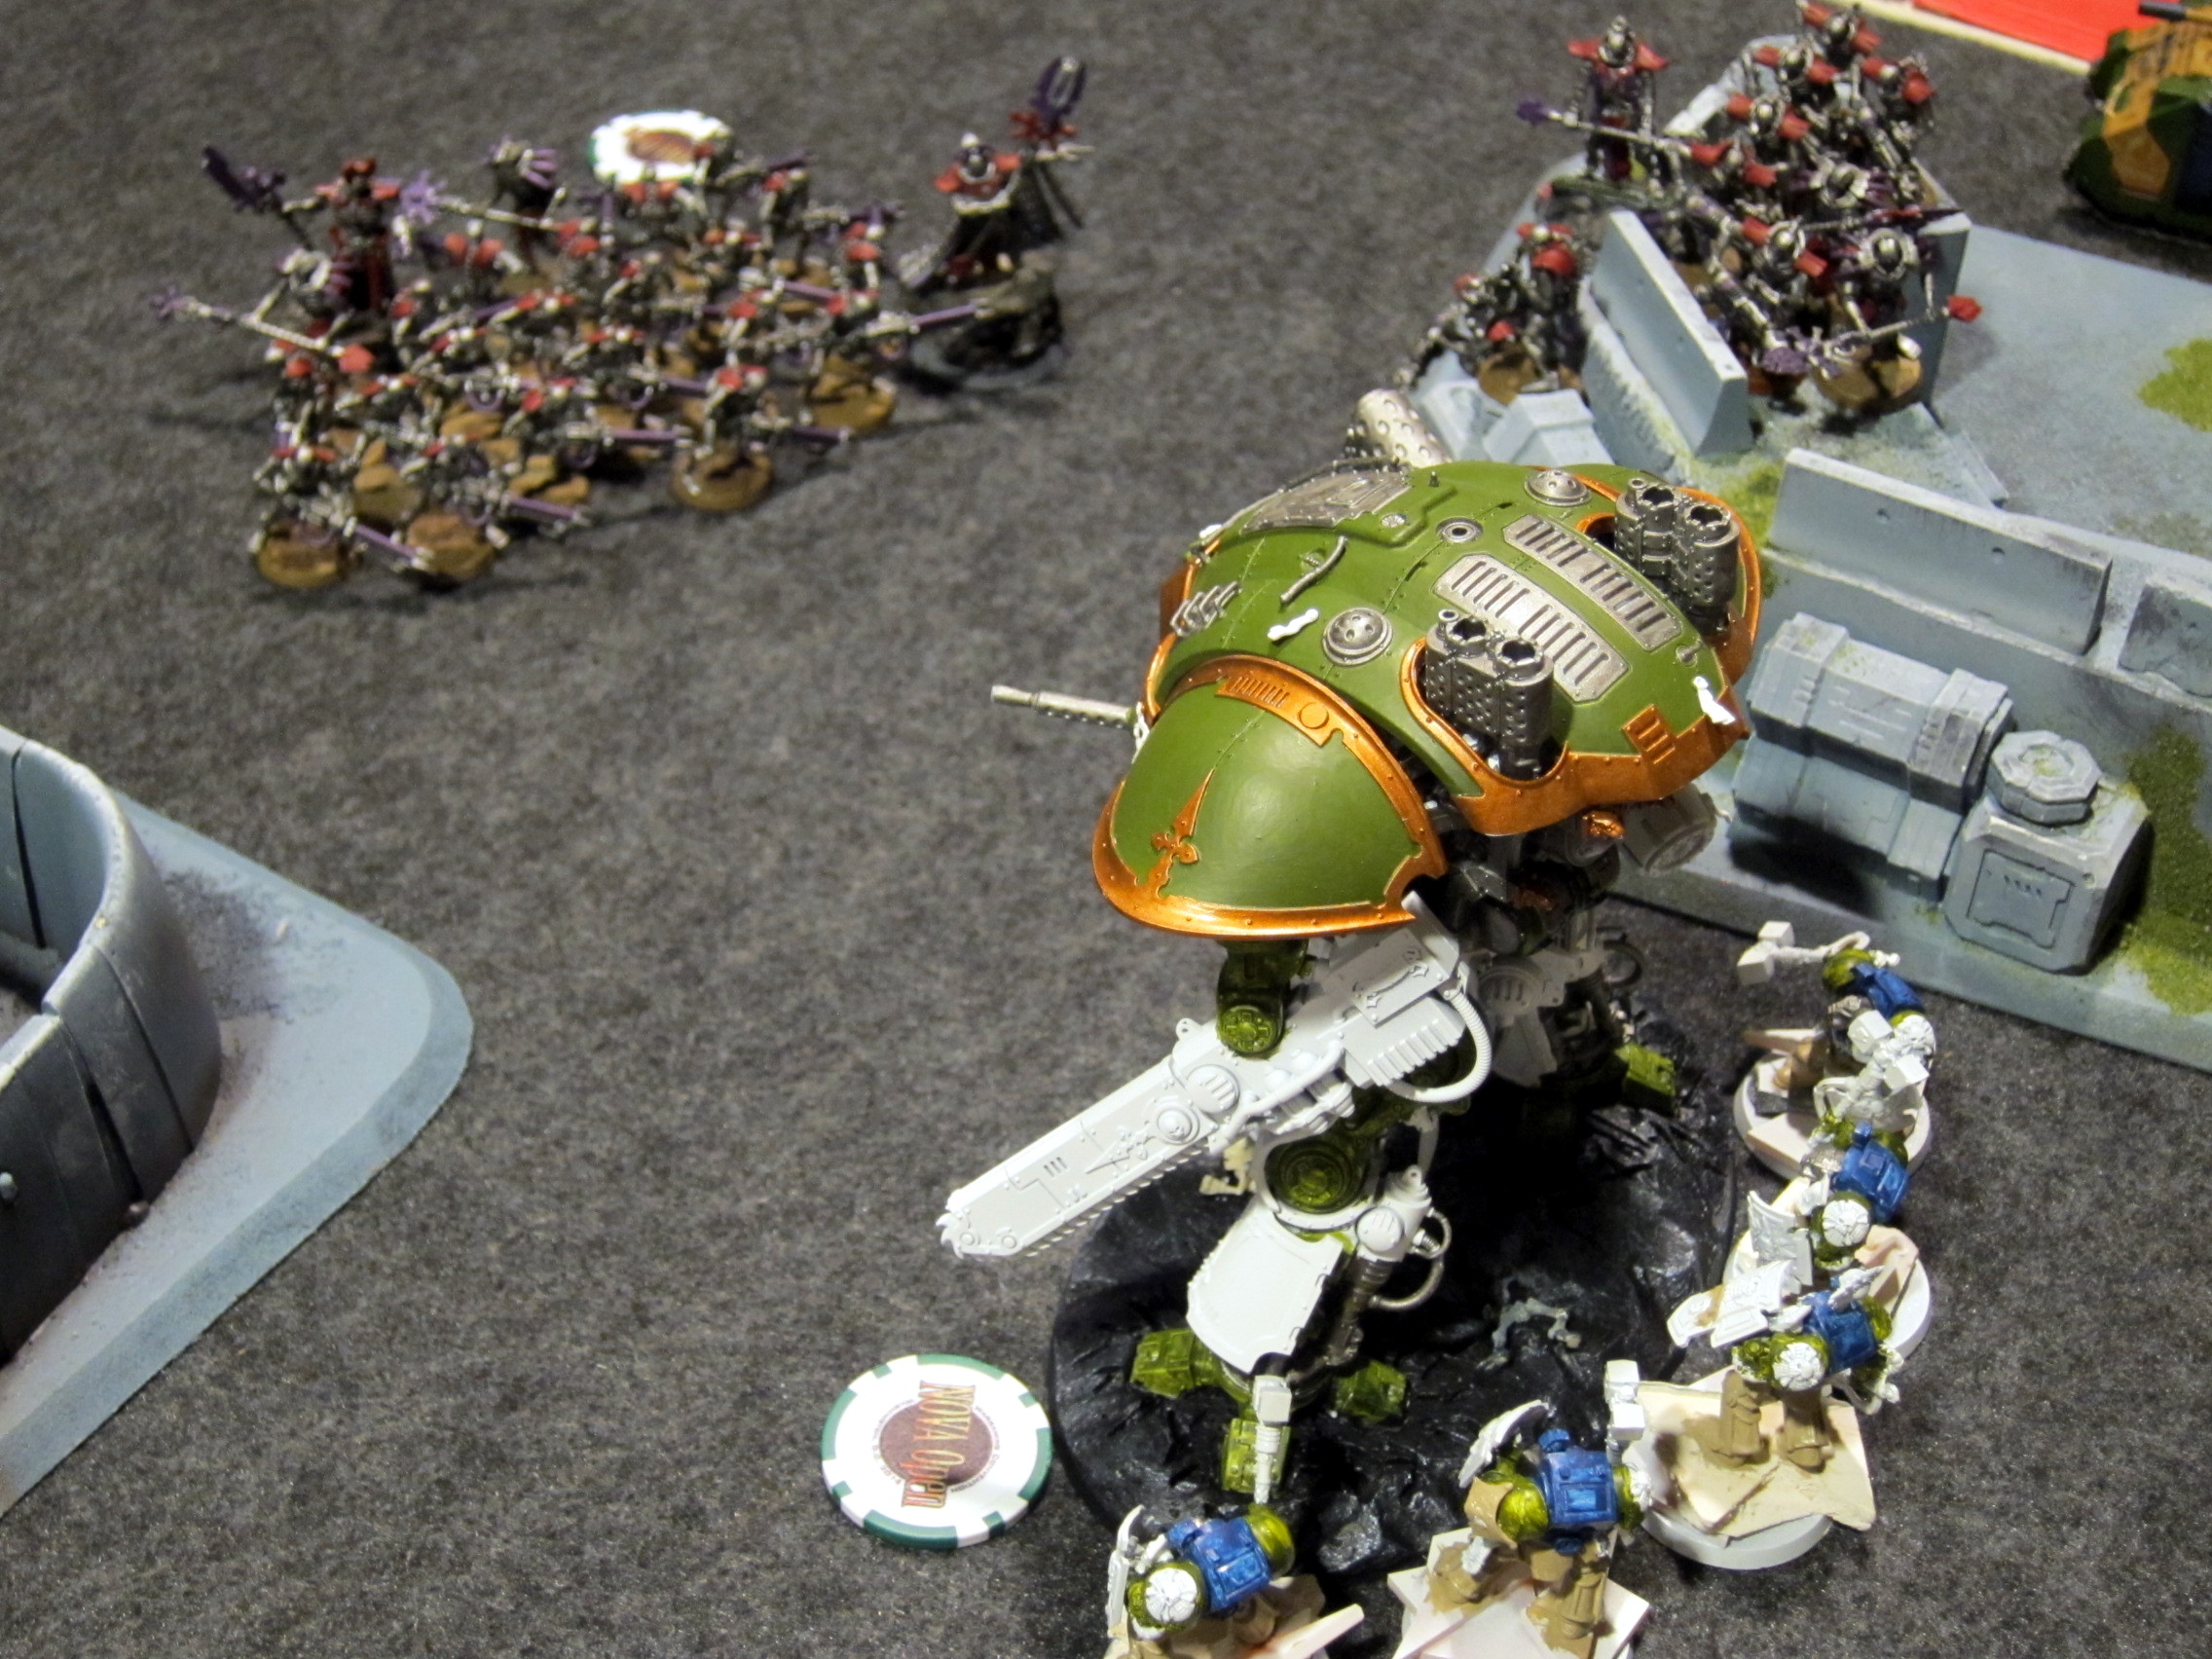
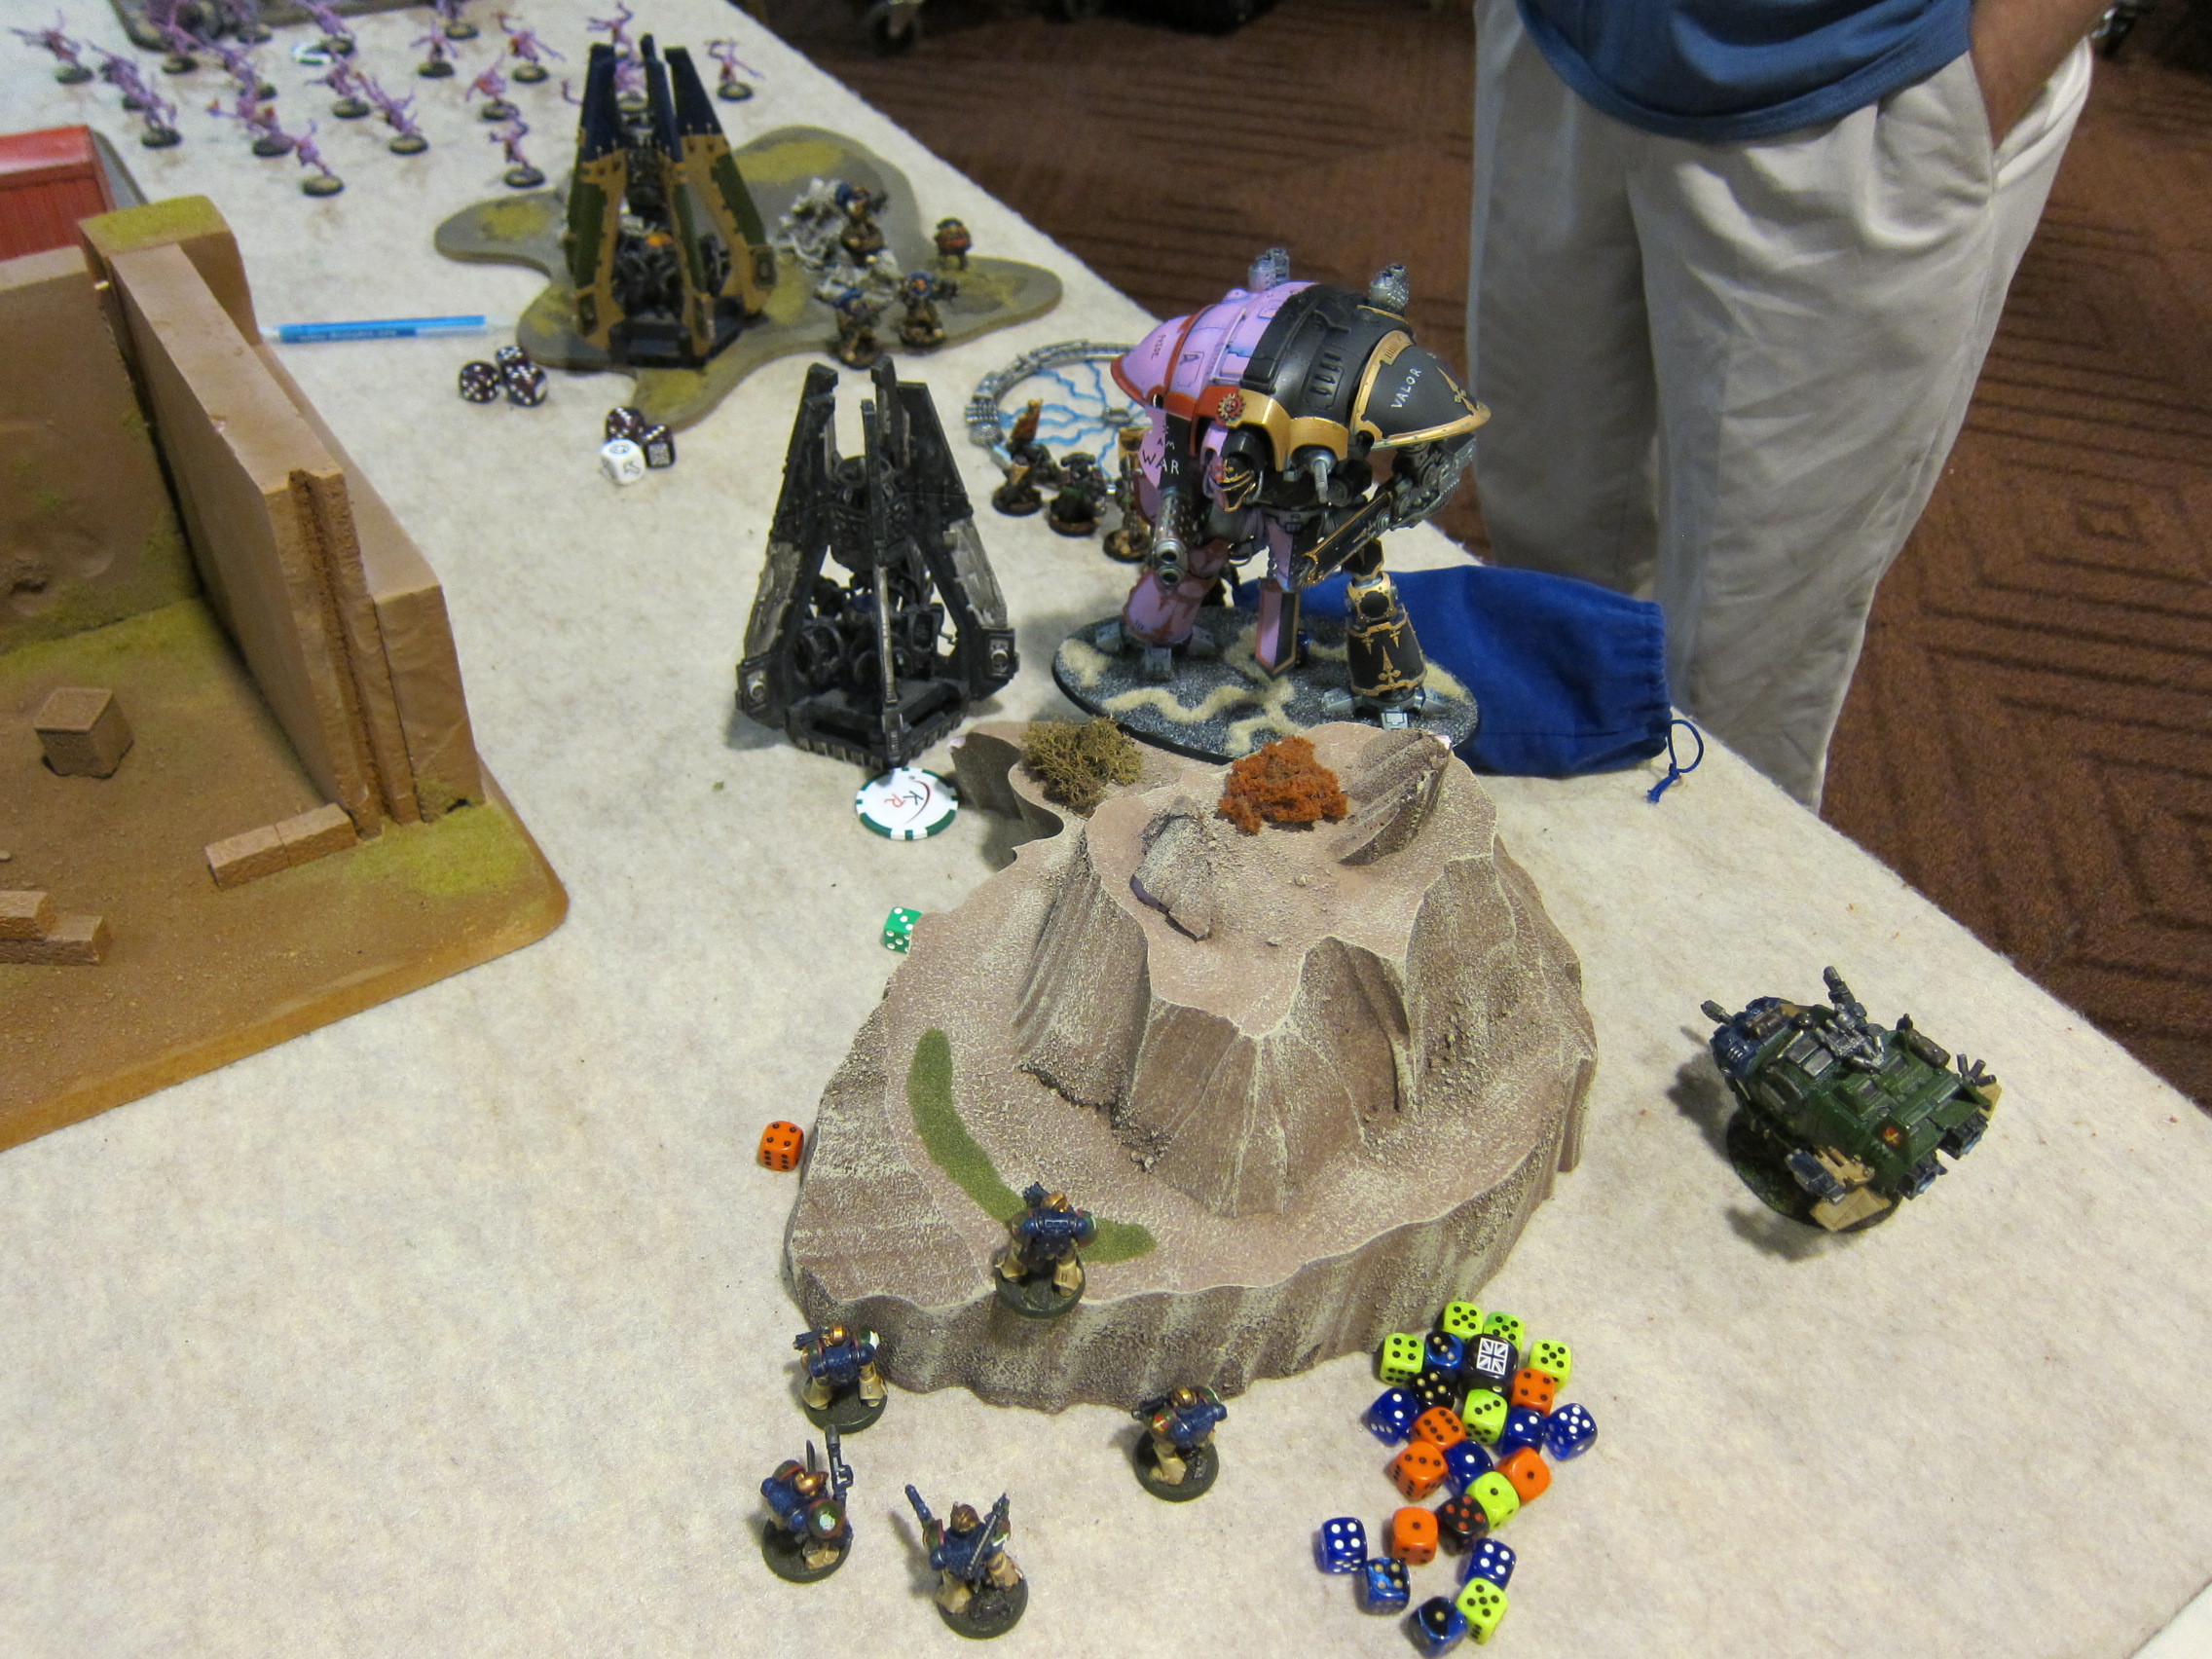
In a recent game against Necrons, I set up my Knight as in the picture below. Without Drop Podding melta or fast assaults to worry about, I placed my Knight aggressively in hopes of moving forward quickly and clearing the central LOS blockers for more shooting options. In actuality though this Knight was dead before my first turn: I got literally caught off guard by having the initiative seized, and then caught off guard again by a Cryptek and Vargard Obyron teleporting ~30 Necron Warriors on top of me in double tap range. The two blobs went into two separate arcs, rendering my ion shield applicable to just one. Either way though, no Knight’s going to stand up long against 60 gauss weapon shots and it promptly exploded.
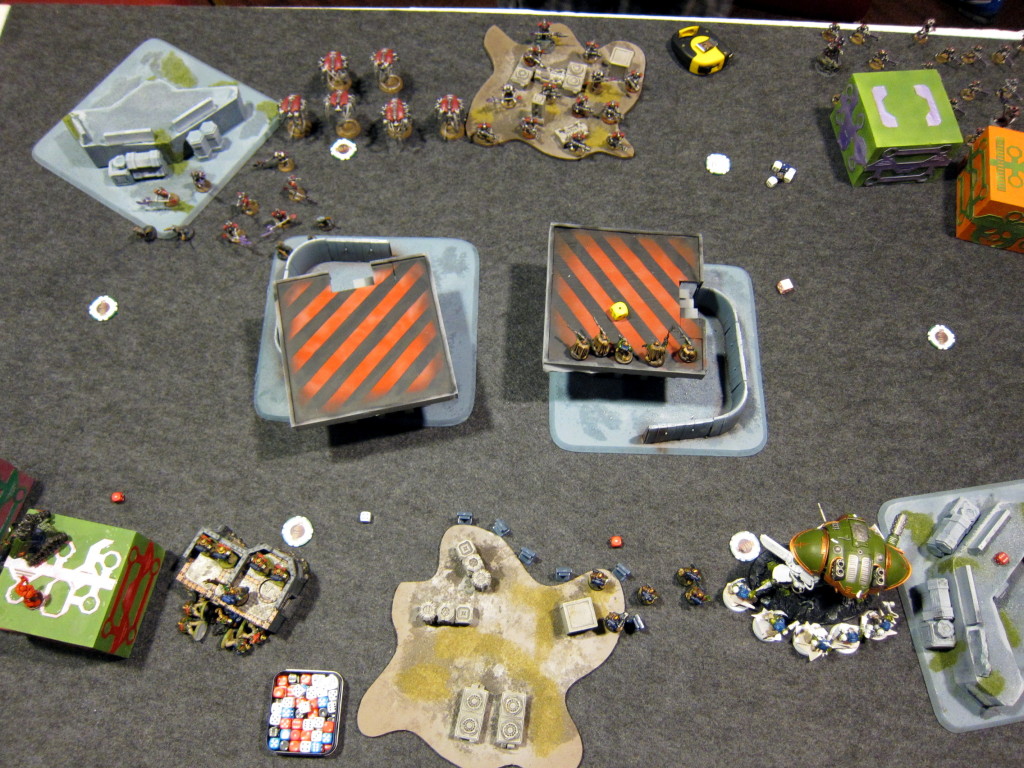
The game begins, and I’ve already made horrible mistakes!
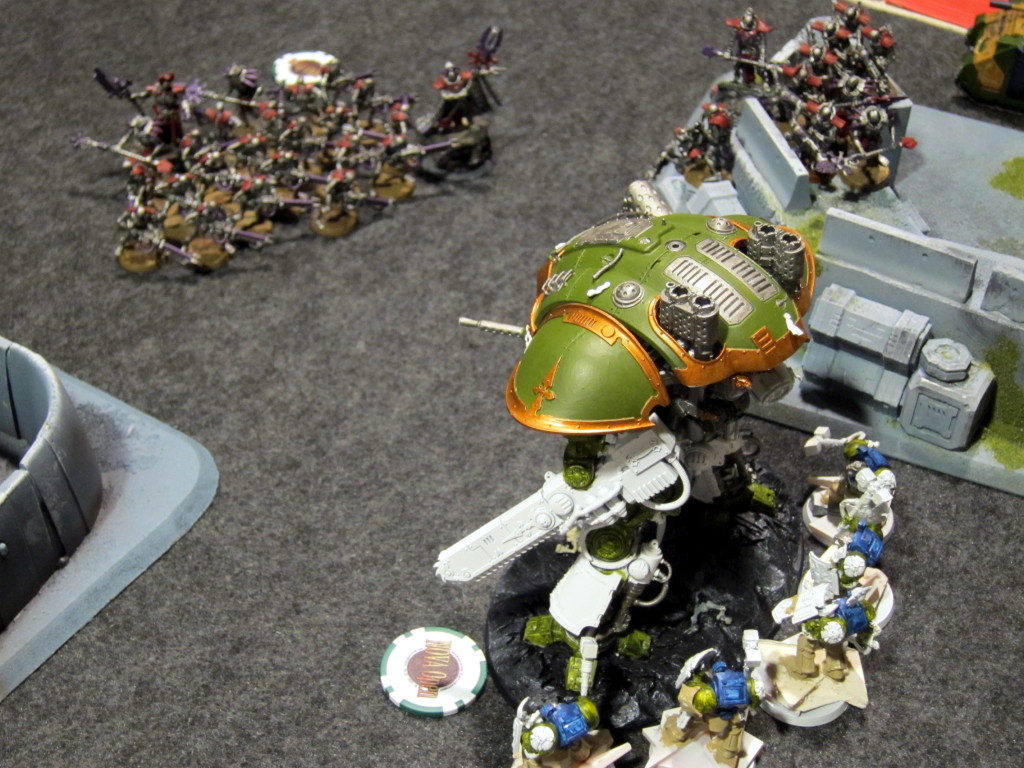
Jeremy Chamblee’s Necrons are about to take this Knight down, and how.
What I probably should have done is set the Knight hard into a corner with just its front facing exposed, enabling the ion shield to protect the whole exposed area. Further, I should have used various units to build a wider diameter bubblewrap around the Knight, leveraging the two board edges in the corner to minimize the models needed. I’m so used to protecting against melta Pods and assaults that I was thinking there was little I could do about longer range gauss shooting. In reality though, I could have forced them to teleport in beyond double tap range, literally halving the number of shots the Knight would have to survive.
Notable there is that with melta Pods I worry about bubblewrapping a 6″ radius with a tight cordon so dudes can’t work their way into bonus range on disembarking. Against double tapping gauss or other weapons the bubble has to be much wider, pushing them out beyond twelve inches. Making that easier though, the wrap doesn’t have to be as tight. Individual shots sneaking through aren’t as lethal as melta, and a large blob like these tens of Warriors will have a large deep strike mishap footprint that stands a good chance of hitting a loose curtain wall if they’re dropped aggressively or scatter badly.
Pincer Attack
Conversely from the defender wanting to force all shooting onto one ion shielded facing, I think the most important tactic in going after an Imperial Knight is being able to hit more than one facing at once. This seems to be overlooked by many/most tacticas and maybe overlooked by many people but is fairly easy to apply, at least in theory.
The Knight’s ion shield confers a 4+ save, 3+ if it’s a Seneschal or Gerantius, and a re-rollable one if deployed in the Adamantium Lance formation. It’s limited to one facing though, chosen at the start of shooting. The best way to leverage that limitation and mitigate a key part of the Knight’s defense is simply to hit multiple facings at once, ideally with a roughly equal spread of power, leaving it able to shield only a portion of the attacks. This is going to be more effective than a mere large number of shots alone.
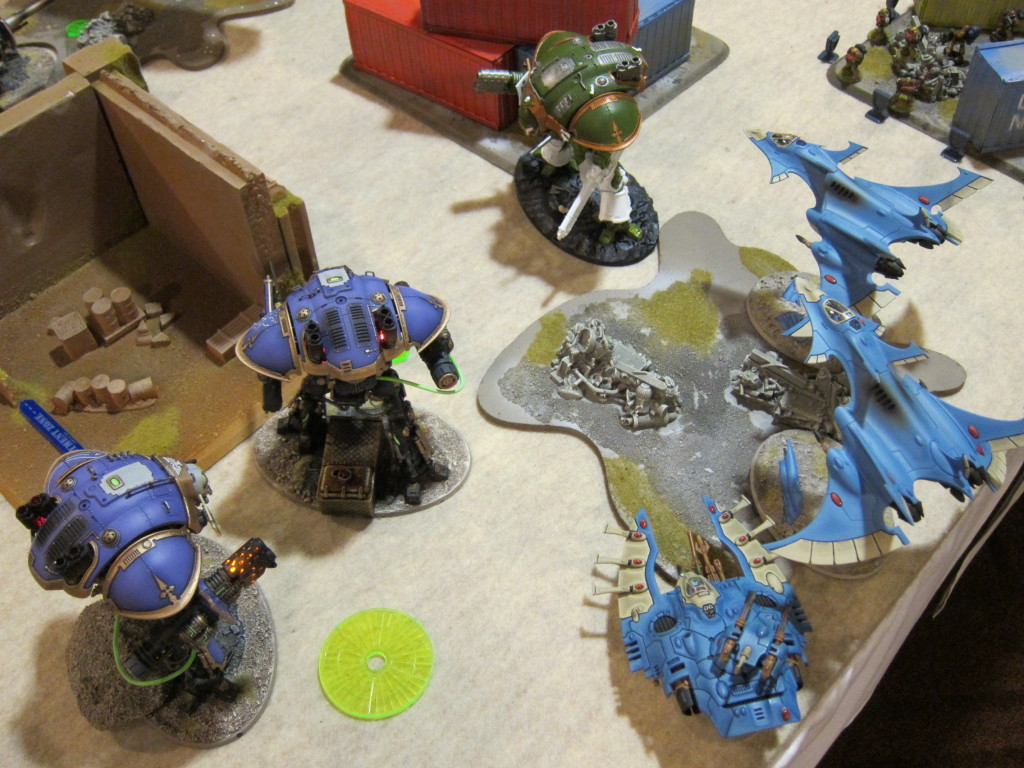
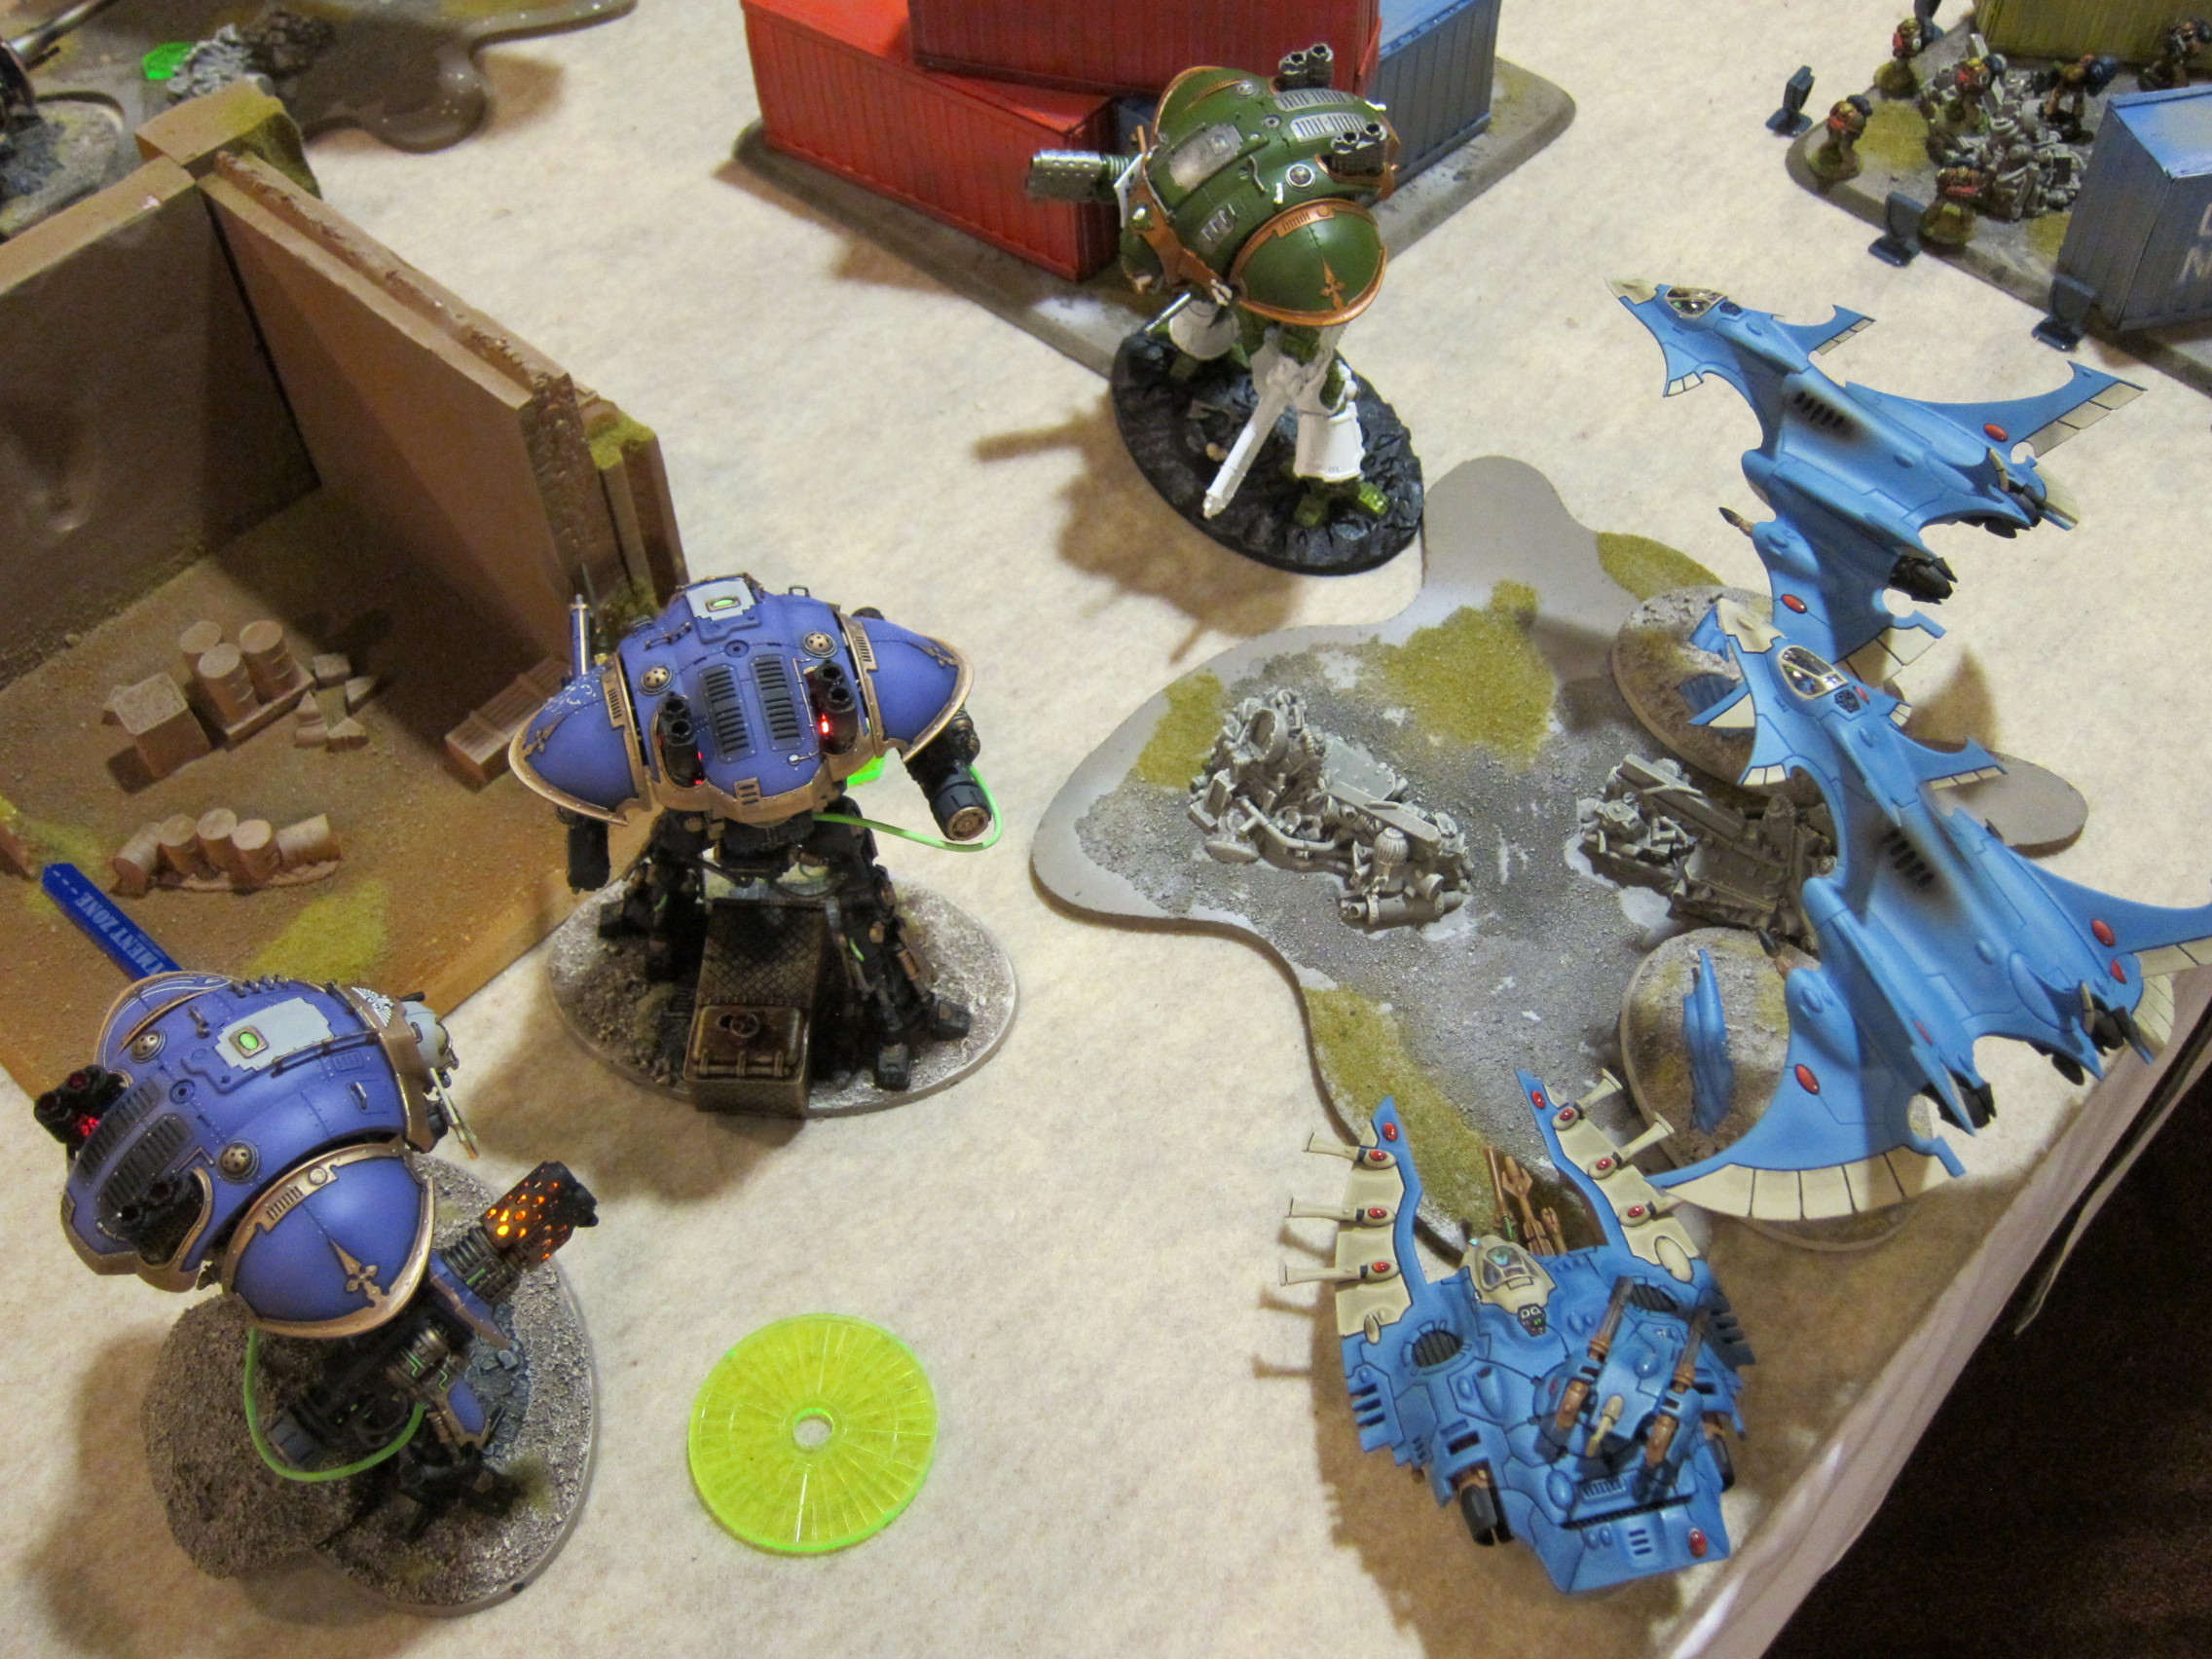
My lonely Knight is taken down yet again, this time by Joe Johnson’s gorgeous army of Knights+Eldar buddies.
To do so, the attackers need multiple units capable of hurting the Knight, and the mobility to get them into multiple arcs. Flyers and skimmers are a good option for this as they can’t be blocked as easily from getting into position by terrain and other units. To me, Crimson Hunters seem particularly ideal as the Knight can’t shoot back at them effectively at all, mitigating their AV10 weakness, and their Vector Dancer USR enables them to loiter around a battlefield longer and deliver shots on target much better than most flyers.
For the ground pounding Drop Pod set, hitting multiple arcs realistically means either multiple Pods or two combat squads coming out of a single Pod bearing roughly equal amounts of vehicle killing power, presumably melta. The combat squads are cheaper in points, take up less FOC slots, and in many cases are easier to deliver onto target. Multiple Pods though give flexibility if there for once isn’t a Knight or other single major target to pile up on, as well as potentially being able to constrain future movement of the target and create some cover for your own guys. Either way, the key thing is moving those guys into more than one arc on the drop.
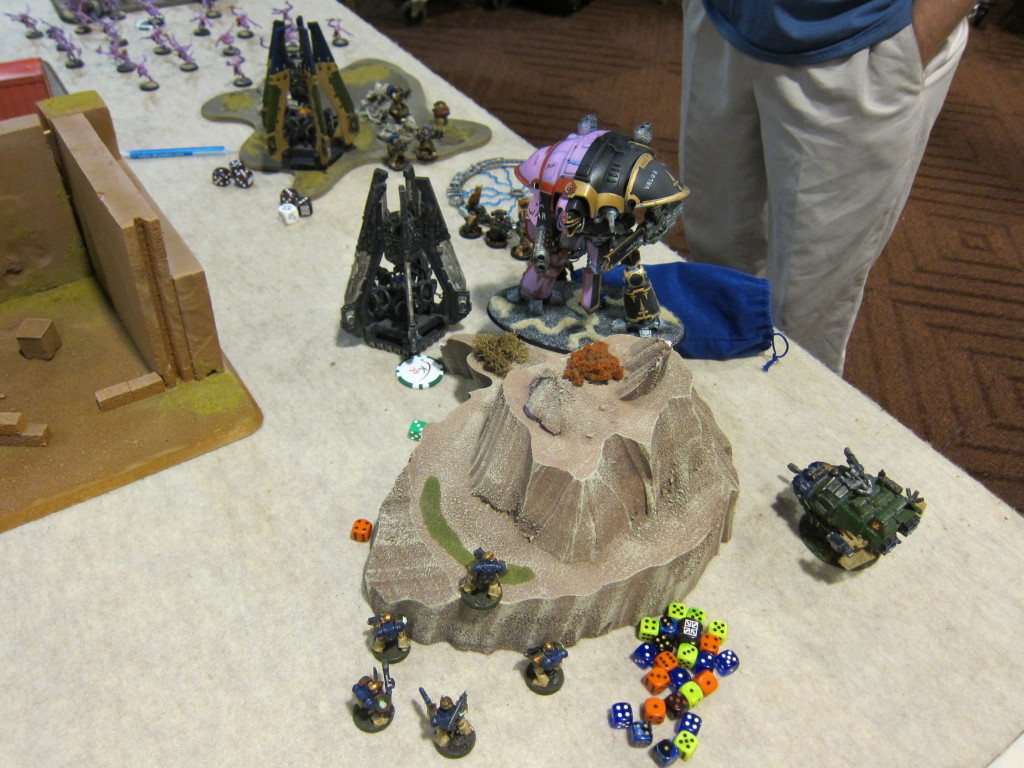
Kingbreakers Marines attacking from all angles.
Facing
Finally, to that note, facing is not a completely straightforward issue. The Imperial Knight has a fairly complex model & shape, and many get posed with the base, legs, and torso all at different angles, all of which can lead to different interpretations and intuitive takes on what is actually part of the hull, what is not, and how to determine facing angles.
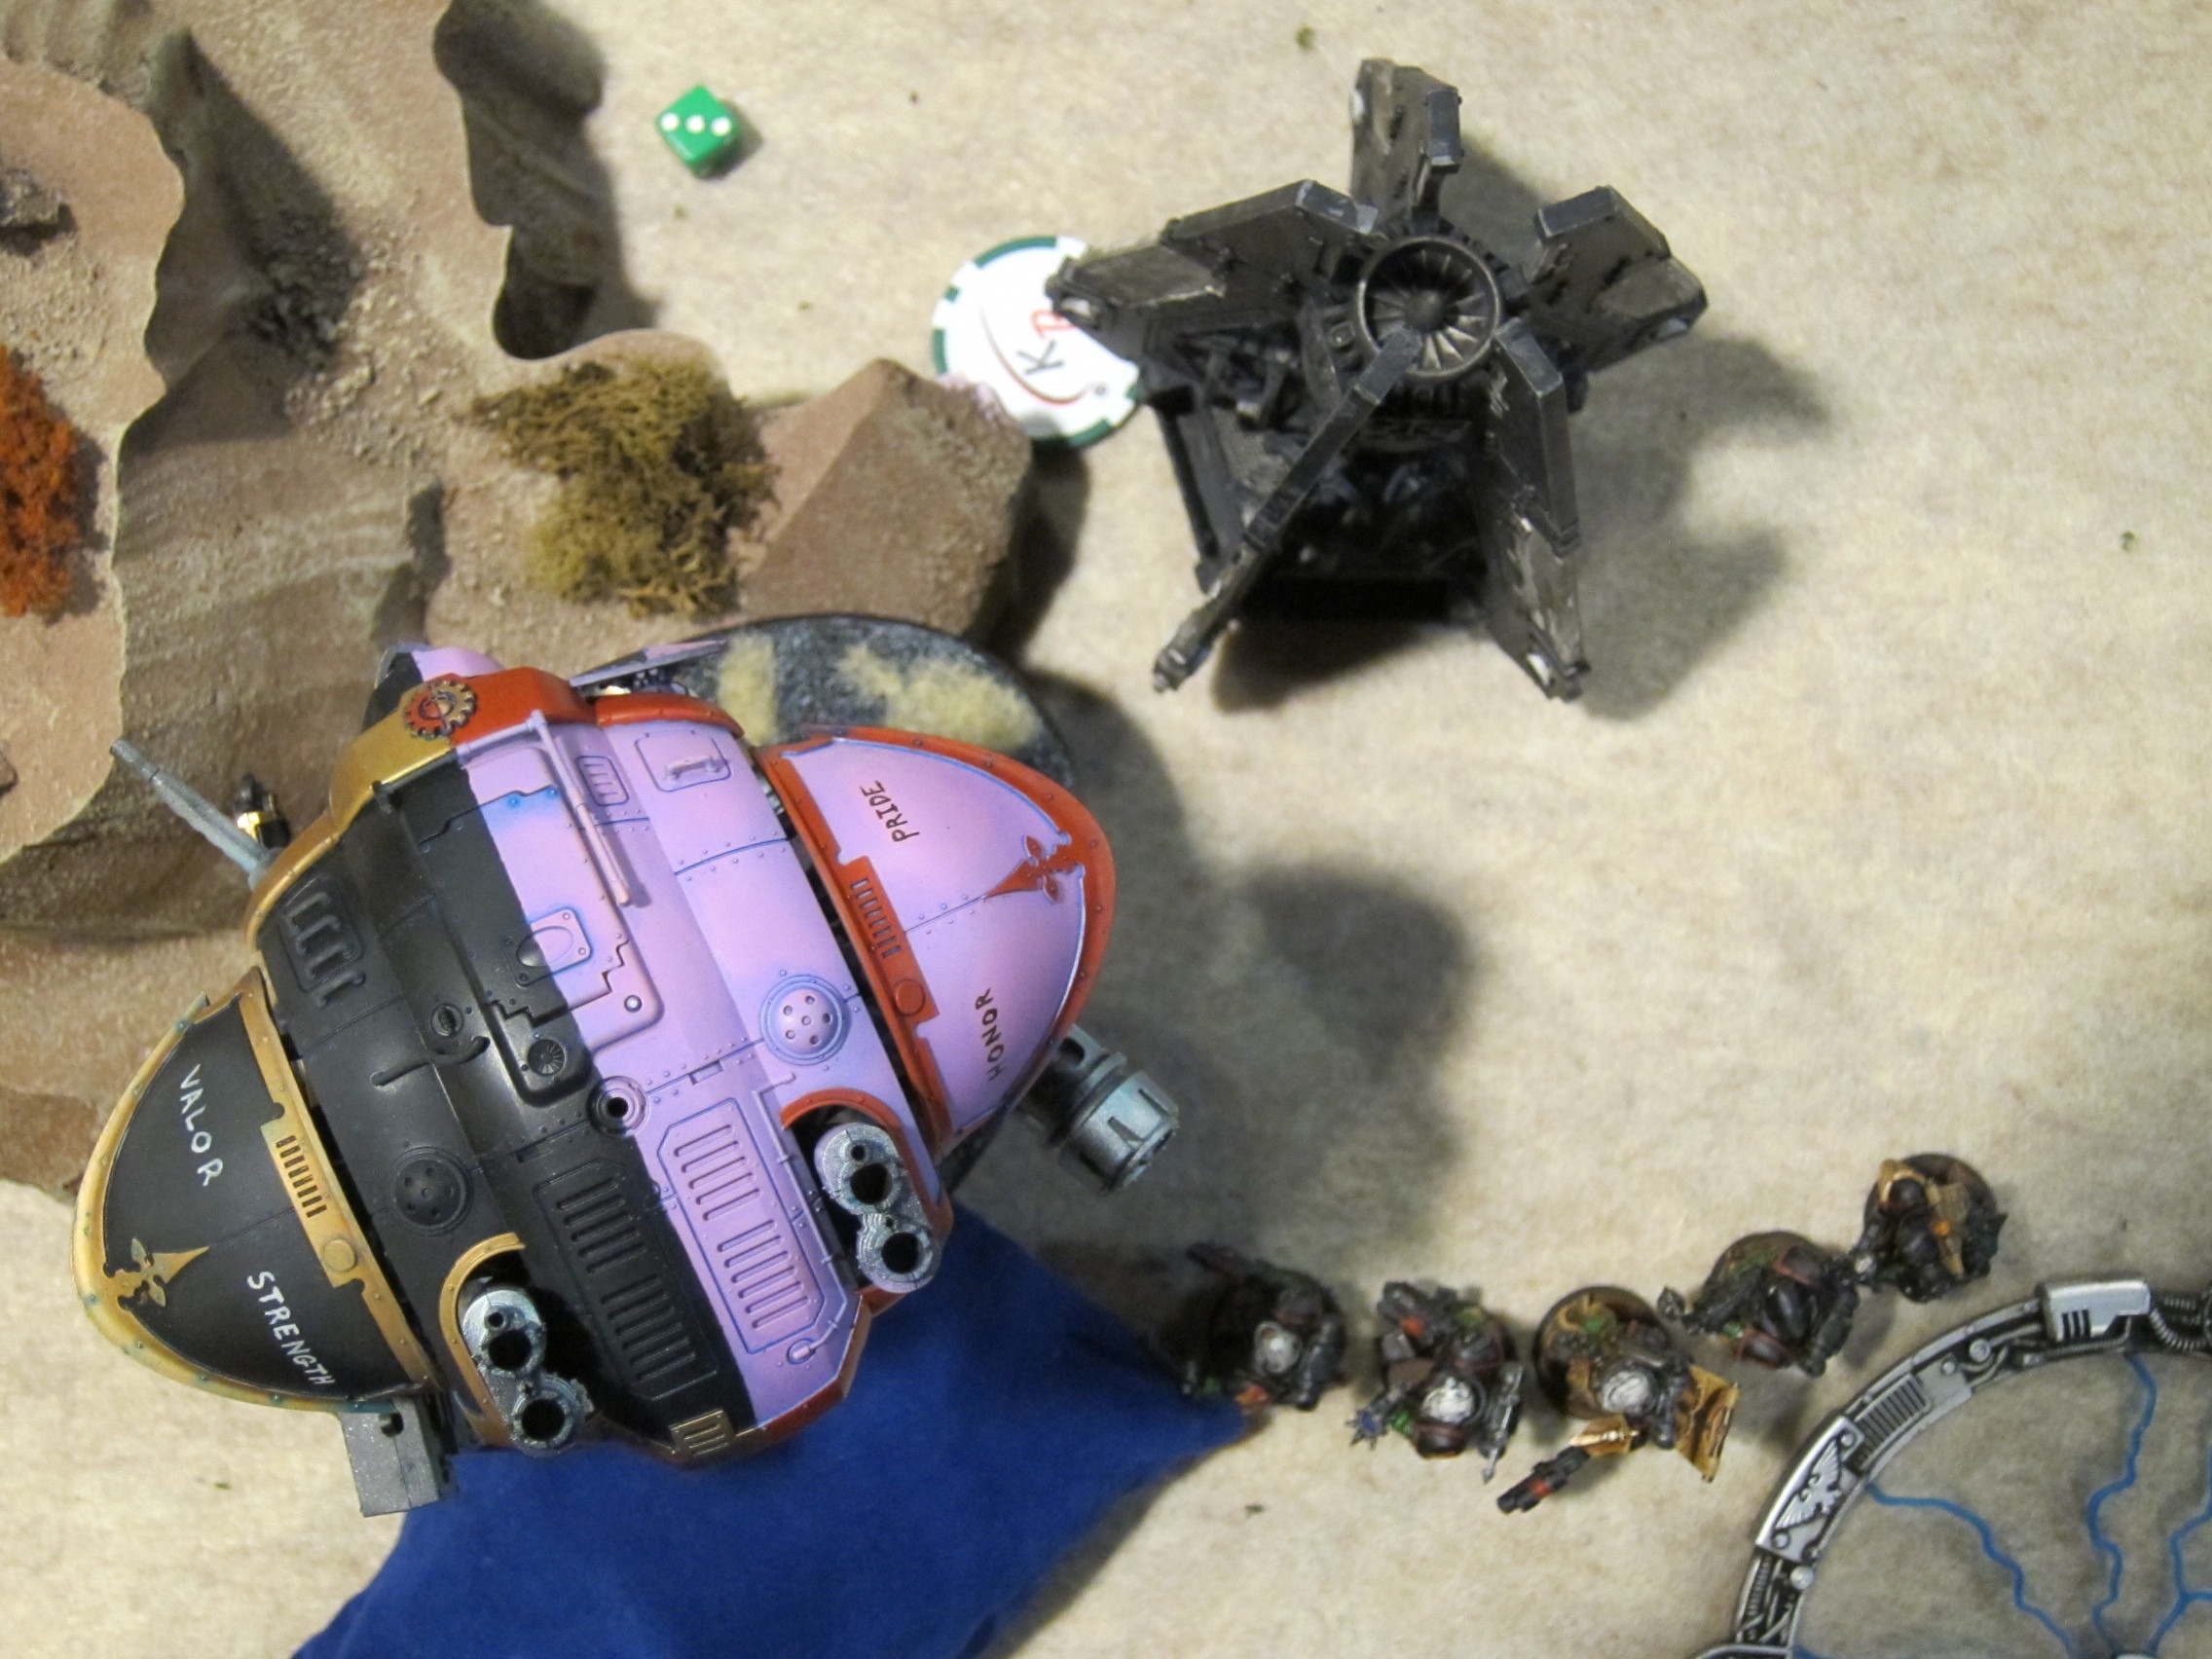
In the picture below, Sternguard with a couple combi-meltas have dropped from the skies to destroy the traitor Knight. They’ve disembarked as far as they can. I looked at that quickly and my intuitive read was that they were in the Knight’s rear facing. My opponent just as quickly thought they were on the side armor but wasn’t completely confident. It was kind of a big deal, I had two other melta shots coming in from the right side out of picture so I really wanted these guys on the rear armor and there was a good chance to do a lot of damage (Vulkan giving me re-rolls on to-hits for meltas). It wasn’t worth a big thing though and we could each see the other’s view so we just rolled for the couple on which he was in doubt to decide their quadrant; they wound up on the side armor and both units got ion shielded.
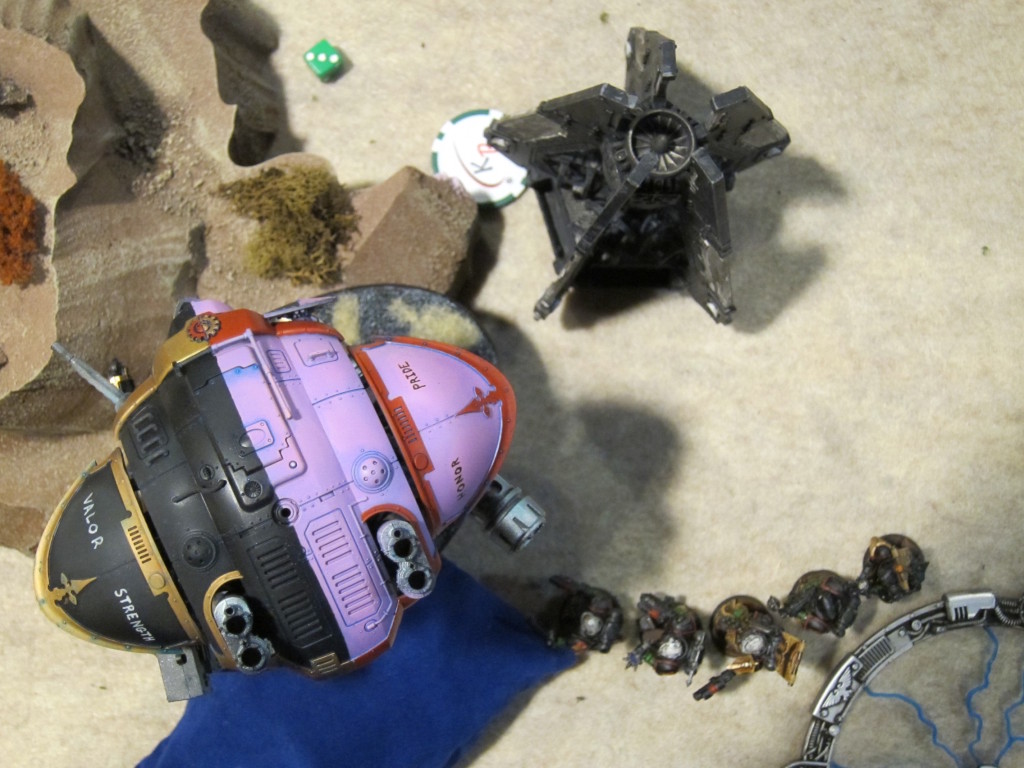
Combi-melta Sternguard disembark as hard as they can toward the rear armor of their target.
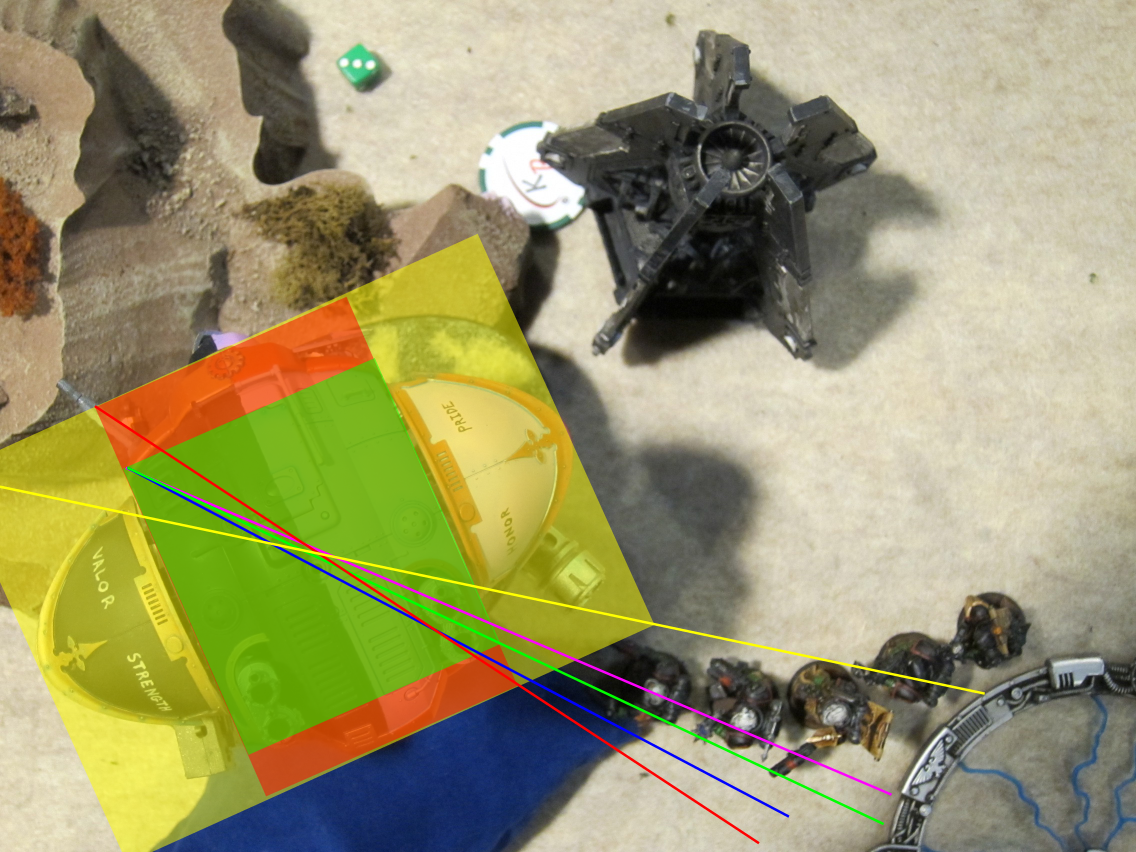
Looking at it more closely from that photo, I’d also now lean toward side armor but there’s definitely some gray area. In the annotated picture below, yellow is the hull bounding box and associated facing line if you include the Knight’s shoulders. Previously this was roughly my intuitive approximate take on facing for Knights. The pink line is the facing divider from the leftmost to the rightmost corners of just the main body. The green line goes from the leftmost corner of the main body to the angled corner of the main body behind the smoke stacks. I didn’t have time to ask, but assume my opponent’s interpretation was something like those two. The blue line goes from the leftmost to the bottommost point in that corner of the main body. Finally, the red is the bounding box and associated divider of the main body. There’s quite a difference among all those slight variations!
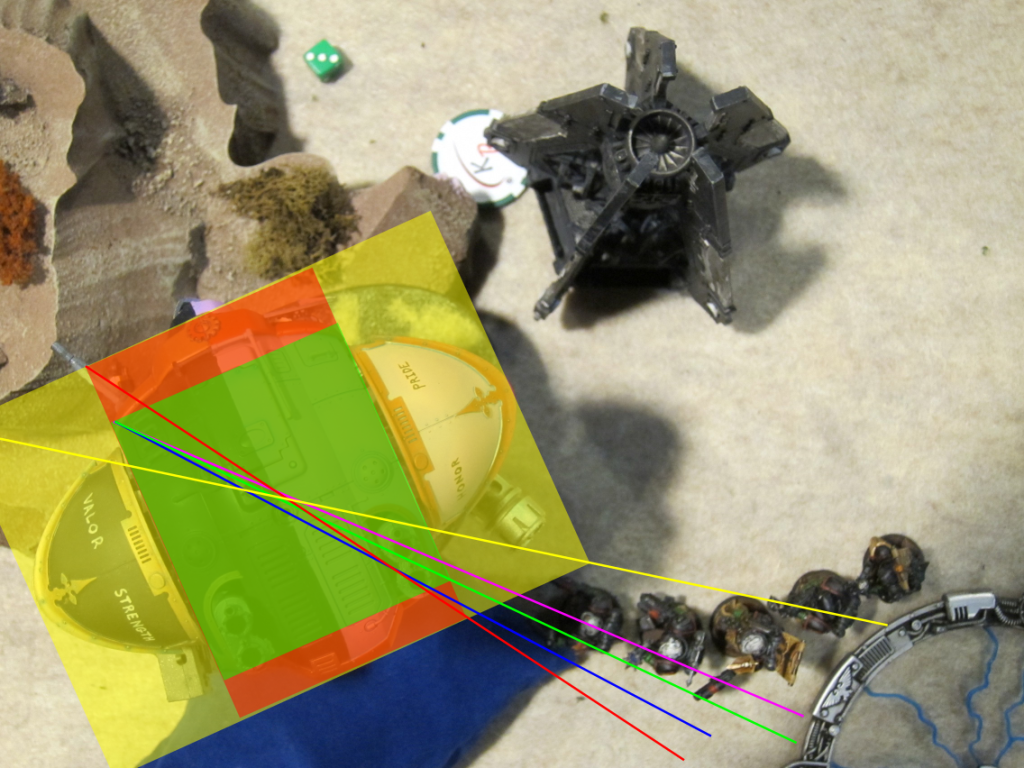
Various hull bounding boxes & extremal points and the dividing lines they entail for facing.
So, there’s a couple questions here: Do you use the bounding box for vehicle facing, or a specific point on the hull body? My impression is that almost everyone uses some sort of intuitive bounding box for rounded vehicles like Wave Serpents. With the boxy but not quite regular shape of the Knight’s main body though, a lot of people might be using a specific point on there. The follow-up is then, of course, are the shoulders considered part of the hull? What if someone has assembled their model without the shoulder covers? I was pretty close to doing that with mine just to get a different, more mechanical look. There’s probably a variety of opinions on including the shoulders. From my end, I’ll only say that everyone is more than happy to tag the sponson wings on my Predators as part of the hull when shooting at them, and ditto the shoulders of my Knight. I would guess though many Knight owners getting shot at would not consider the shoulder covers as part of the hull, and/or aren’t including them in determining facing, making the front and rear arcs much more narrow than they otherwise would be.
I don’t (yet) have a strongly held take on what should be the correct arc lines. More important though than the actual “correct” answers to those questions is nailing down with your opponent the answers that will be in play for a given match before beginning a game and finding yourselves with different interpretations at a clutch moment. From now on I’m definitely going to include them in my ever-growing list of topics I try to remember to discuss with new opponents before matches.
Conclusion
All in all, the Imperial Knight’s an interesting model/unit. It’s almost certainly under-costed in points but I can’t quite decide what point value I think it should be. In particular, it’s very robust but you can’t just throw it out there willy-nilly either. A large variety of units and attacks can make it pop quite quickly. Similarly, it can do a ton of damage in both shooting and assault, but is also prone to being tarpitted or held up in terrain and not actually delivering much. One thing’s for sure though, there’s bound to be a ton of them on tabletops for the foreseeable future, so please share your attack and defense ideas in the comments!
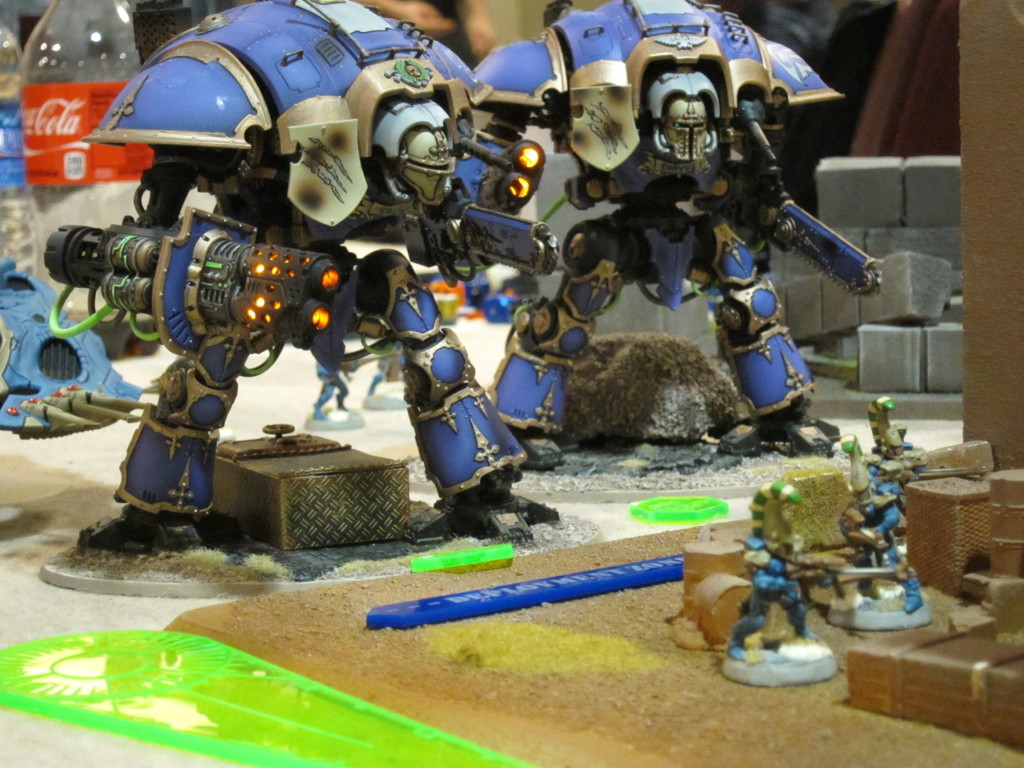
Nothing can stop us! No, seriously, nothing.