Berks Spring Assault

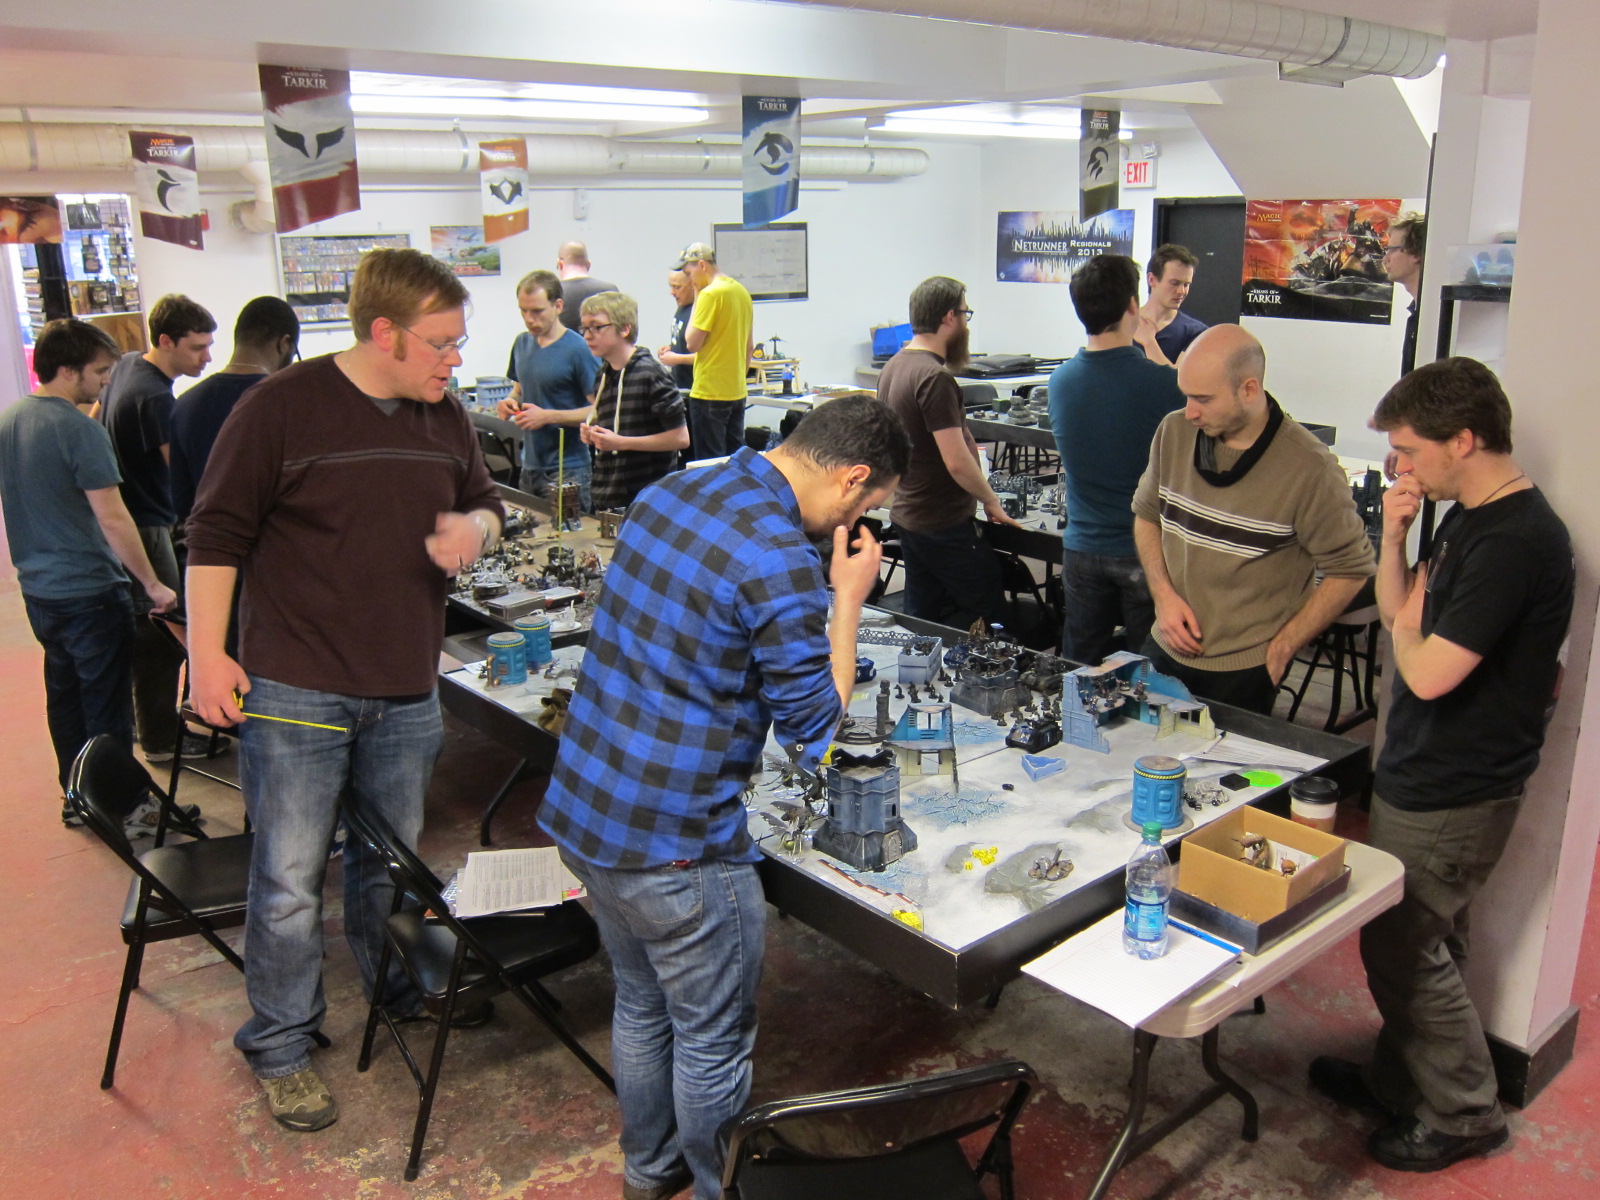
berks-paThis weekend I went out for the Berks 40k Spring Assault in the Classic track, a 1000 point casual-oriented tournament. Unfortunately several other PAGE and Redcap’s people bailed at the last minute, but Tom M, Colin K, and Steve S were also there. The Classic track had 40 players, and the 2500 point Unleashed track another 16, so together with a bunch of organizers, judges, and spectators, there was a sizable crowd. This was actually my first time going to the Spring Assault, and I was not disappointed. Despite a couple rough games personally and winning absolutely zero of the many many raffle drawings, it was as expected a really fun day.

A few more photos from my games and just a couple of armies on display are in the photo gallery. Unfortunately there was enough going on all day, and my games busy enough, that I didn’t manage to get nearly as many photos as I usually do, particularly from the surrounding games and armies.

IMG_0814

kingbreakers-iconArmy

I went with something atypical for me—no Drop Pods, no Sternguard, no Knight (not permitted in this format!), no fortification, just dudes in trucks and some skimmer supports:

  • Captain Angholan (Vulkan)
  • Squad Scolirus: Tactical x10 w/ Veteran Sgt, Powerfist, Flamer, Missile Launcher, Rhino
  • Squad Harbinger: Tactical x6 w/ Veteran Sgt, Combi-Melta, Meltabombs, Meltagun, Rhino
  • Squad Titus: Tactical x10 w/ Veteran Sgt, Chainsword, Meltabombs, Meltagun, Missile Launcher, Rhino
  • Scouts x5 w/ Camo Cloaks, Sniper Rifles
  • Landspeeder w/ Multi-Melta, Heavy Flamer
  • Landspeeder w/ Multi-Melta, Heavy Flamer

That is a pretty traditional and fluffy Space Marine list, but has some units of dubious performance in the modern day. Landspeeders, particularly of this kit-out, are not super strong at the moment, to a large extent simply due to not getting the Salamanders’ flame re-rolls. But their high mobility can be useful in these kind of small games to grab objectives and such and I love them, so I went with it. Vulkan on the other hand is generally a very good unit for a combat-oriented Space Marine, he’s just a lot of points to sink into a single T4 infantry model at 1000pts.

The Rhinos I took over Drop Pods because I expected terrain to be slightly lighter than what we generally run, so I wanted something for my dudes to bunker up in. With such few units I was also worried about my ability to cover any Maelstrom type mission with dudes on foot after Podding in.

All in all, to foreshadow a bit, I wasn’t too shocked to struggle in two games against newer toys, and was pleased to do well in the other half of my games.

Round 1

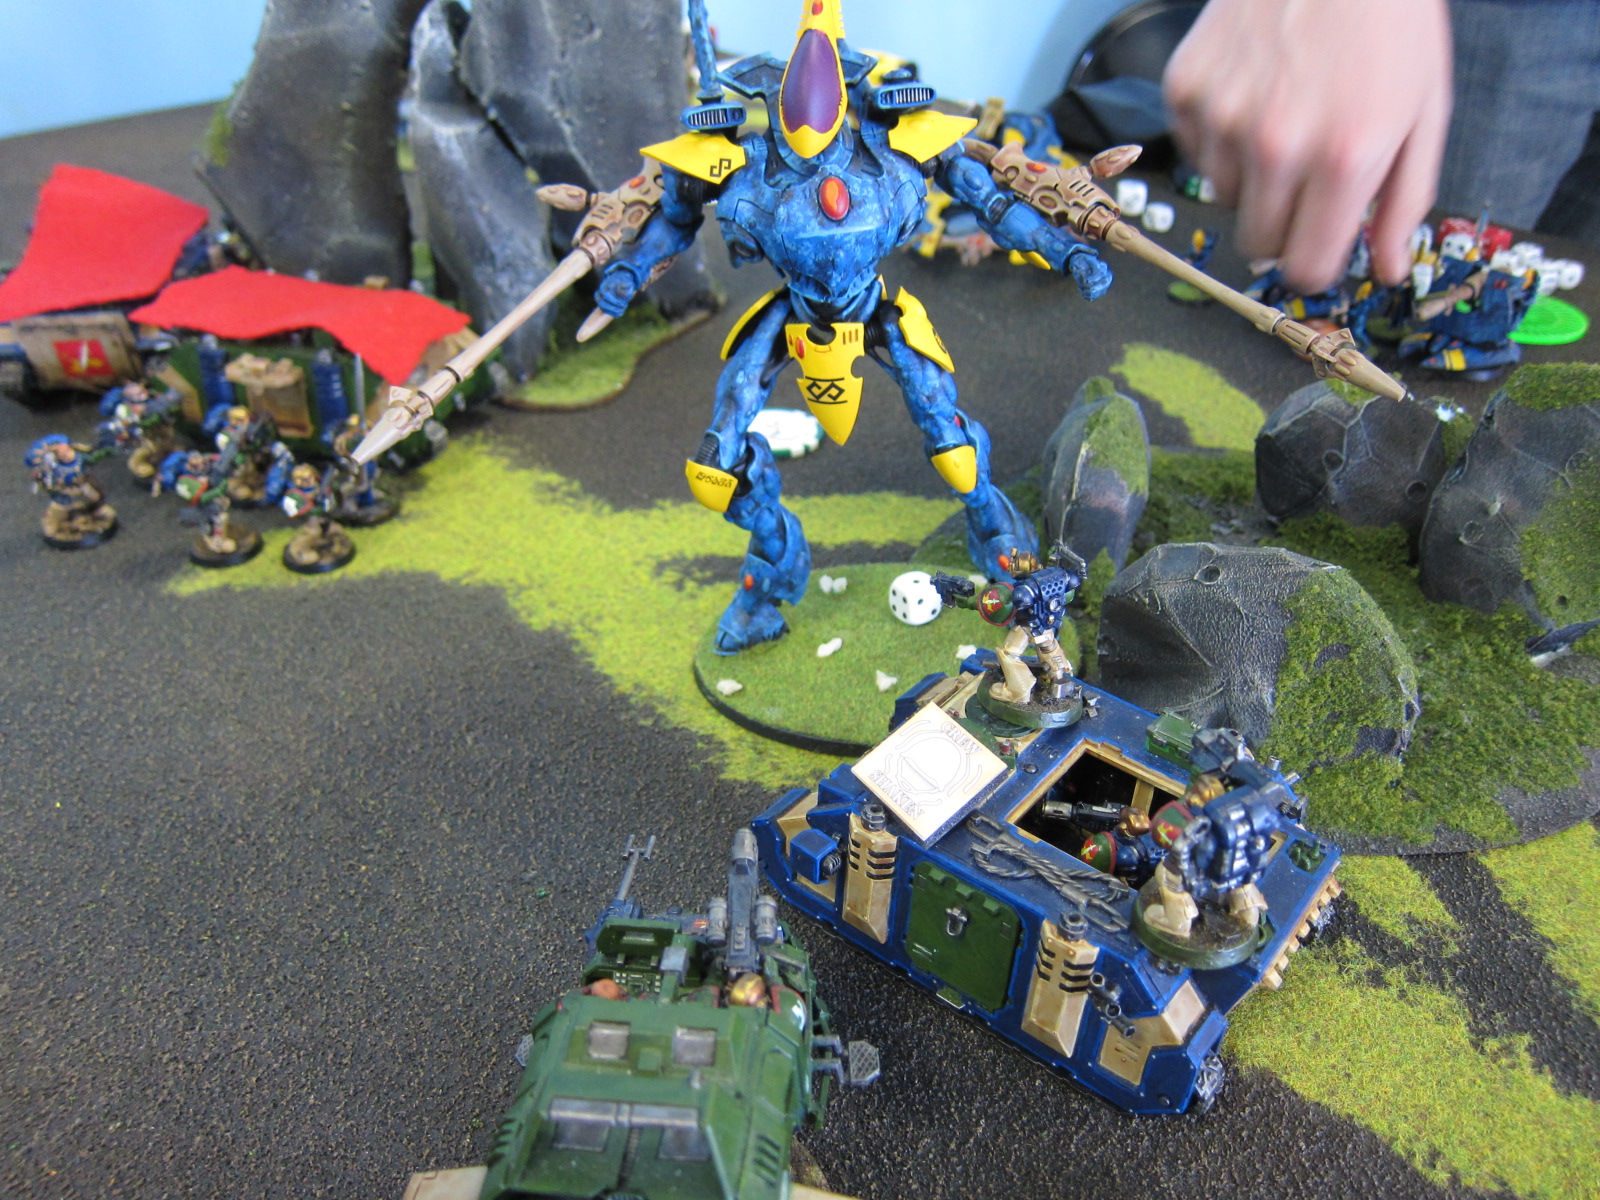
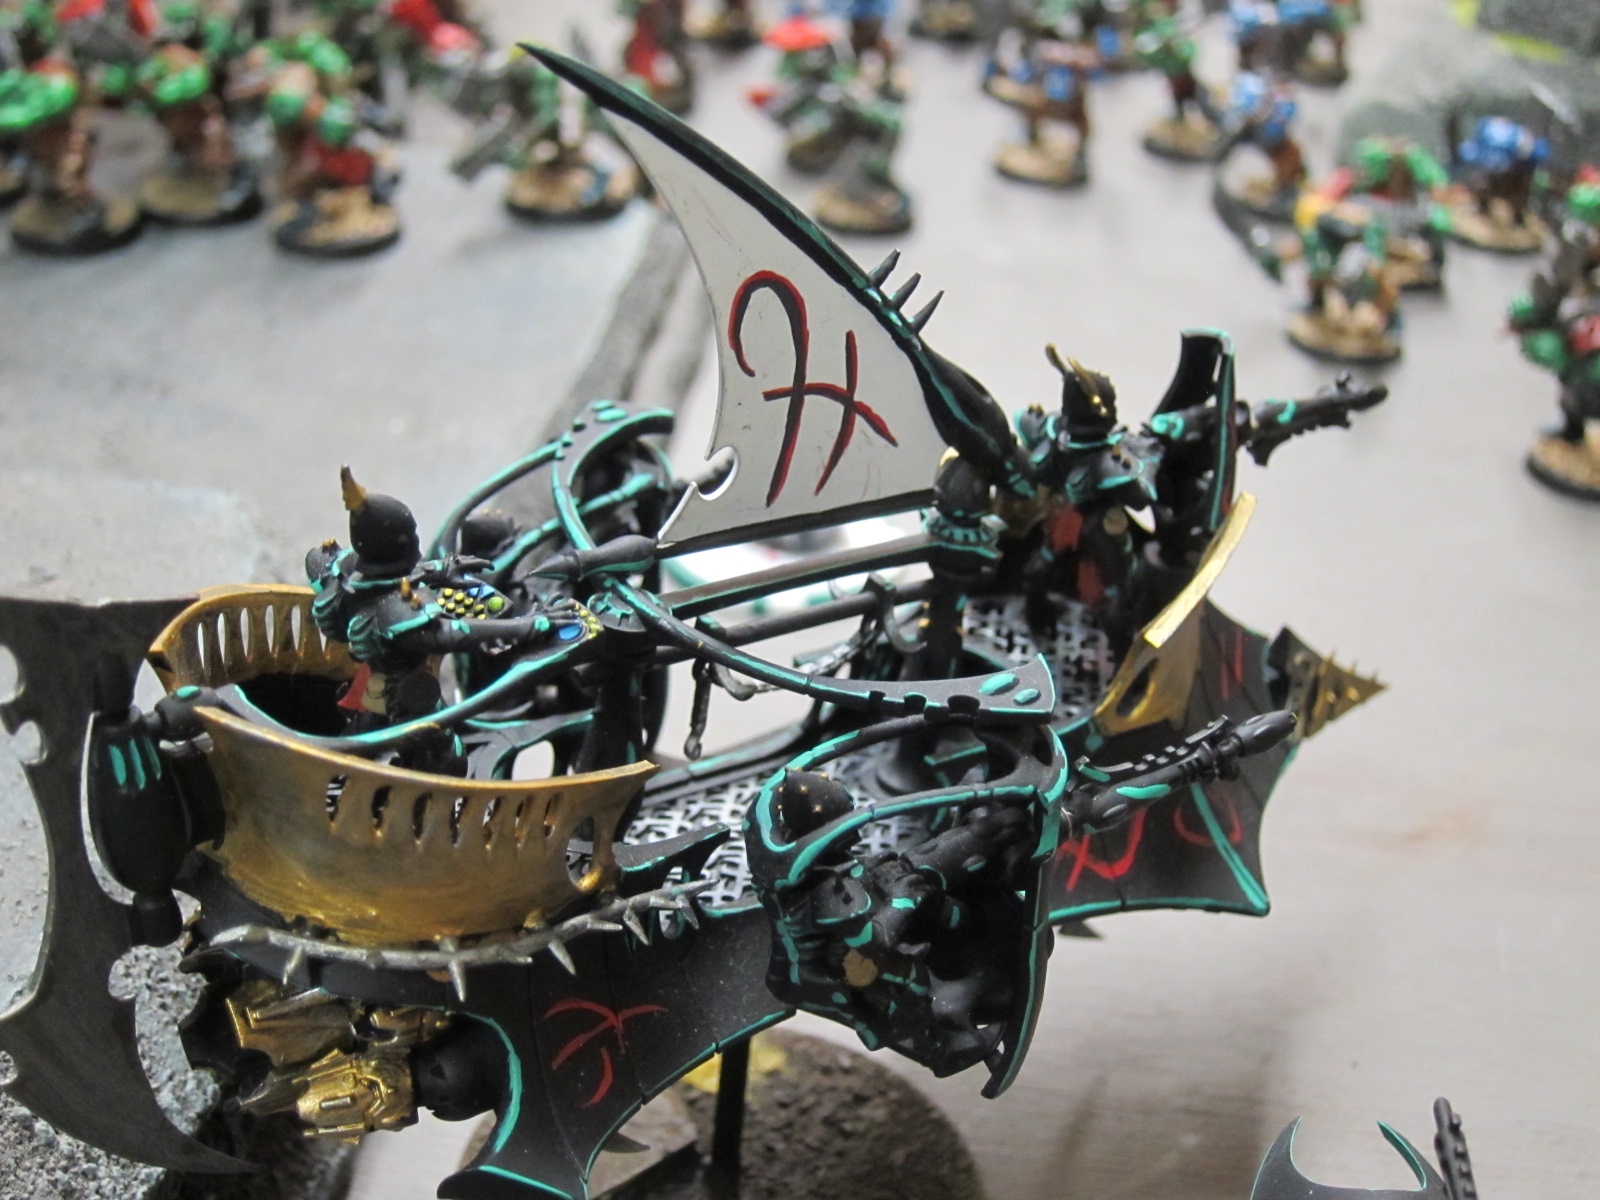
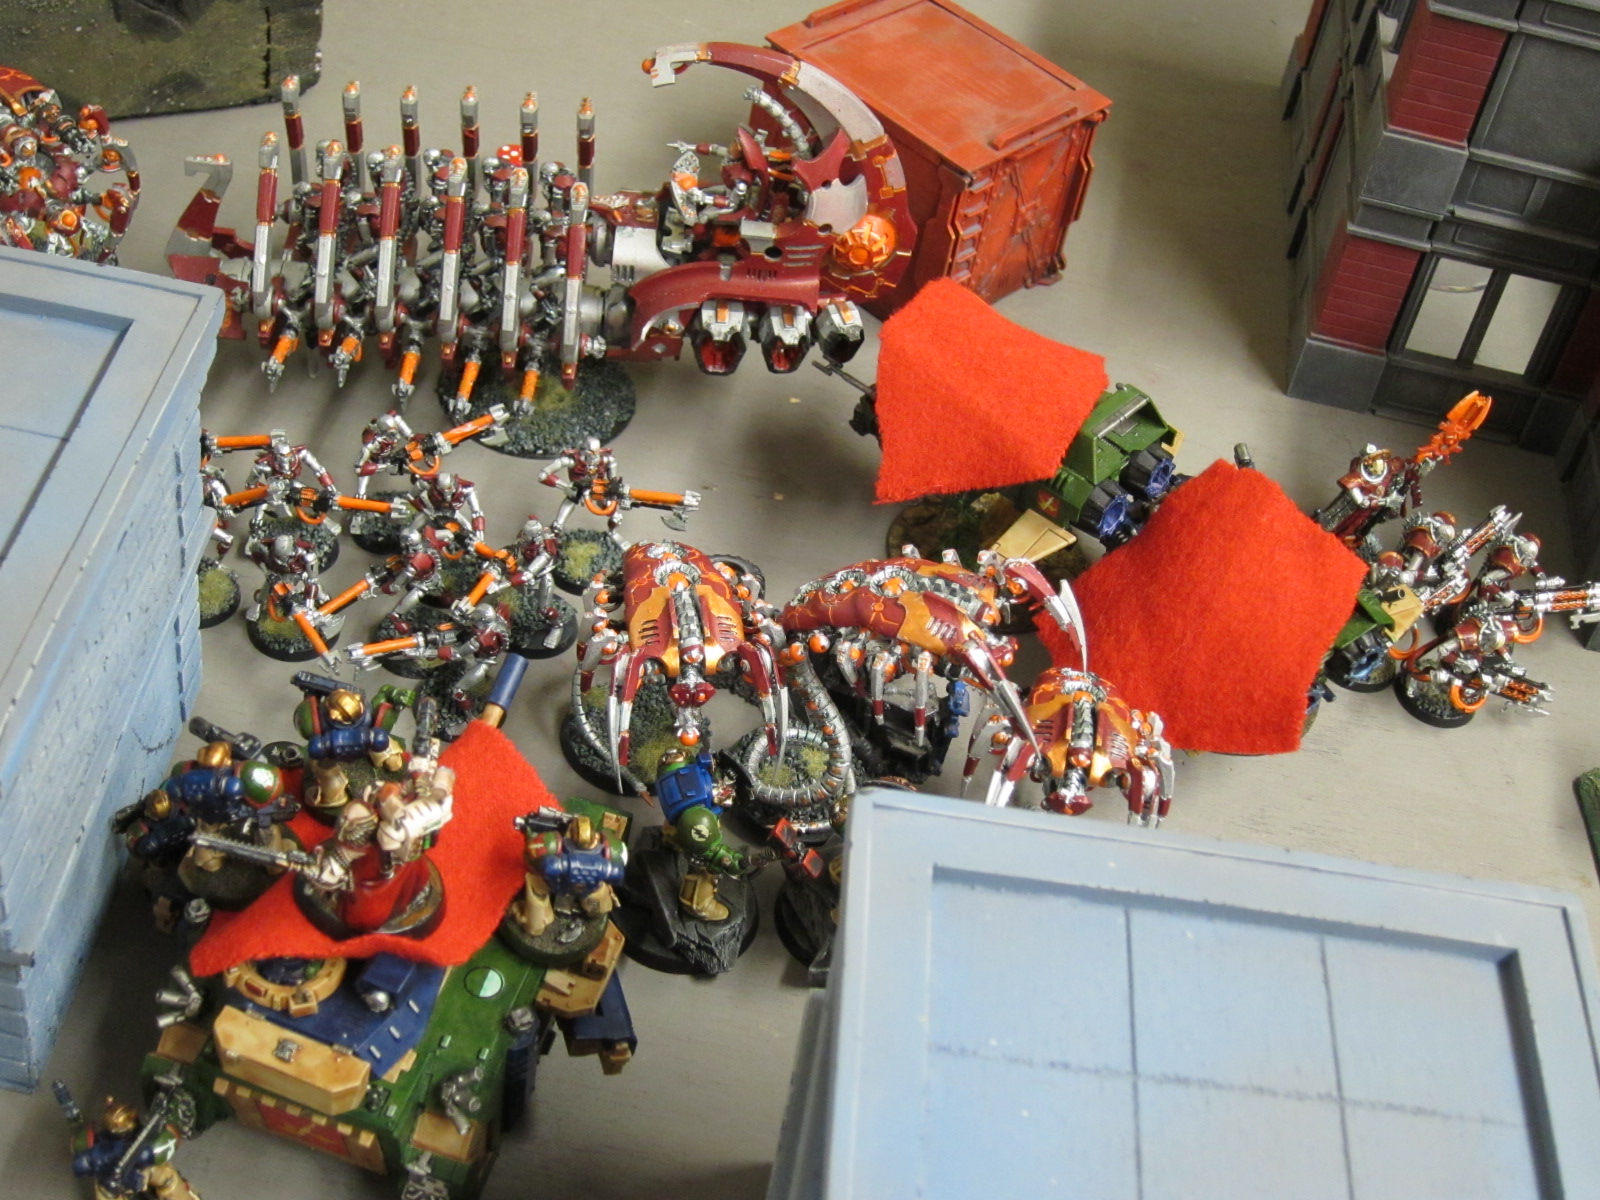
Dawn of War, Crusade with 4 objectives, against Mark V H’s Eldar. His list had a good mix of units, I actually think it was originally designed for Highlander format as nothing repeated. I think it really hurt me this game to not have my usual Drop Pods and Sternguard. With the Pods I could have taken the fight directly to the xenos, potentially slagging his exposed D-Cannon artillery, and the Sternguard could have put poison and melta on the Wraithknight. As it was though, those barrage S10 AP2 shots tagged anything I did manage to hide from the walker and a Wave Serpent, with a Nightwing Interceptor coming in later to clean up. The Kingbreakers did take down the Wraithknight Aevethon’s Lament, but it was a pyrrhic victory just before they were swept away.

IMG_0692-cropped

IMG_0696

Round 2

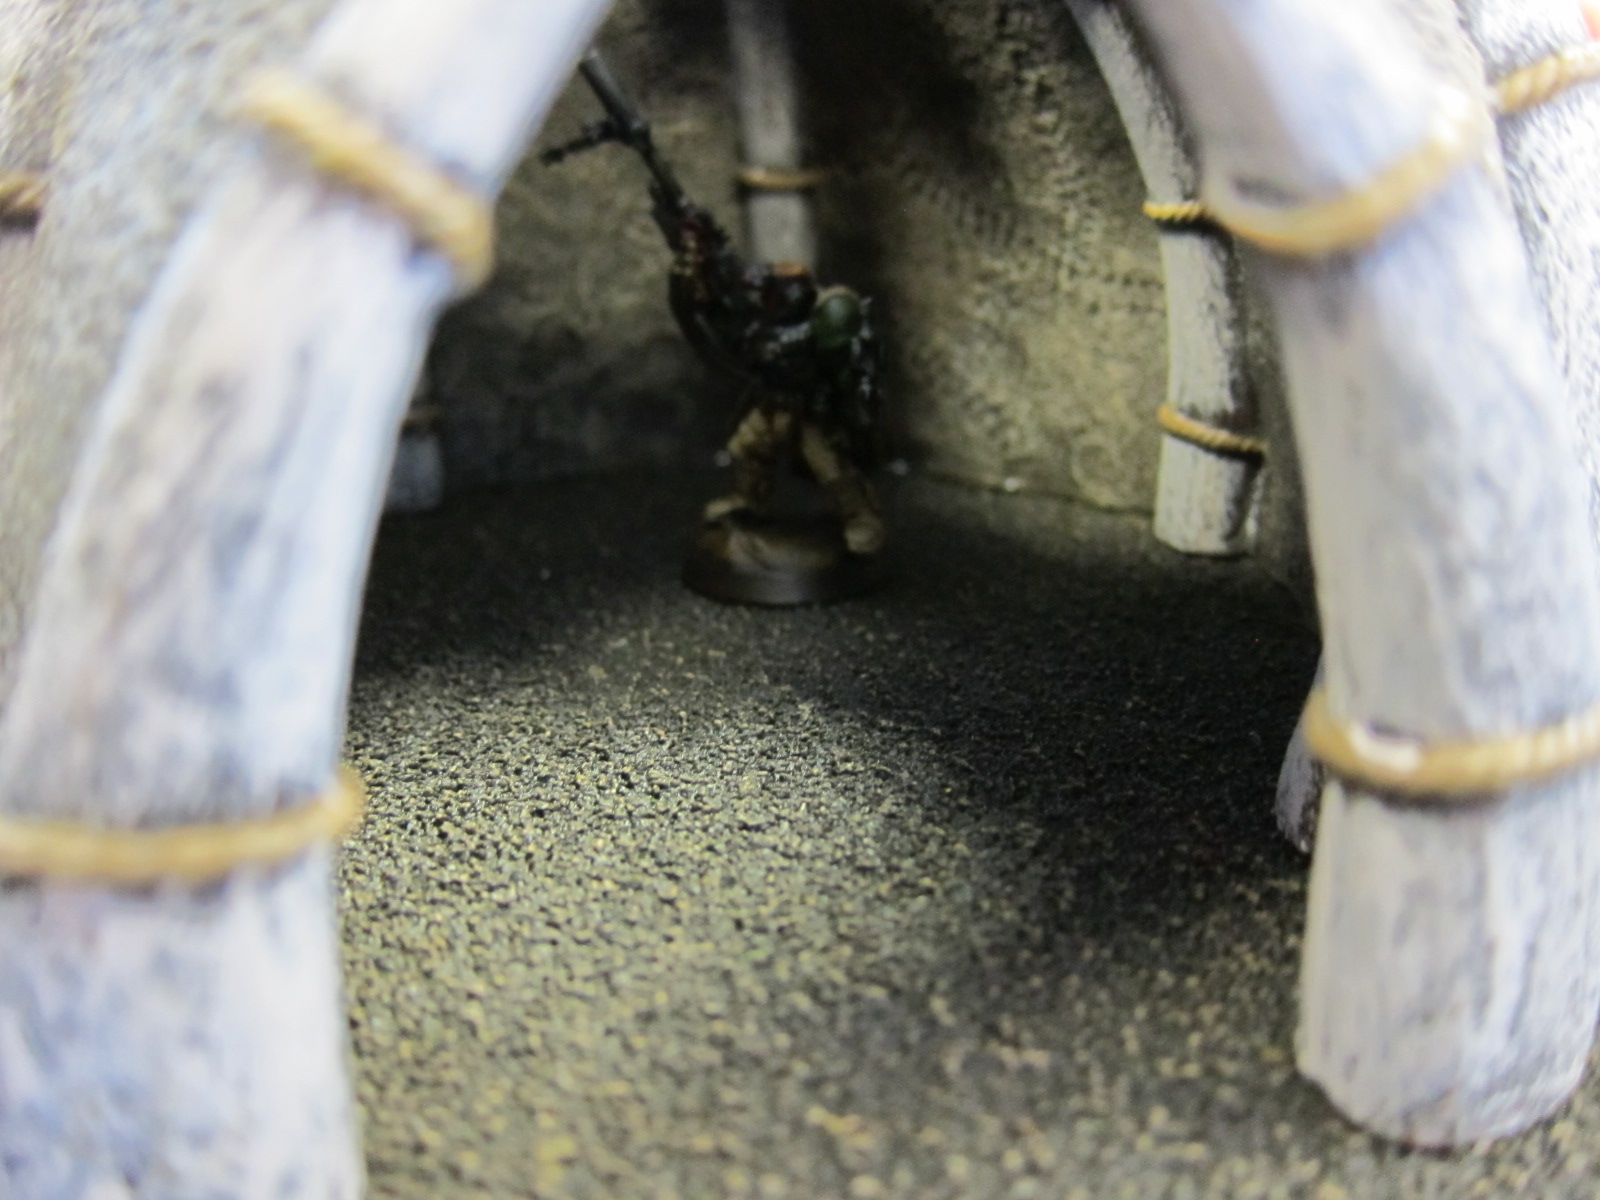
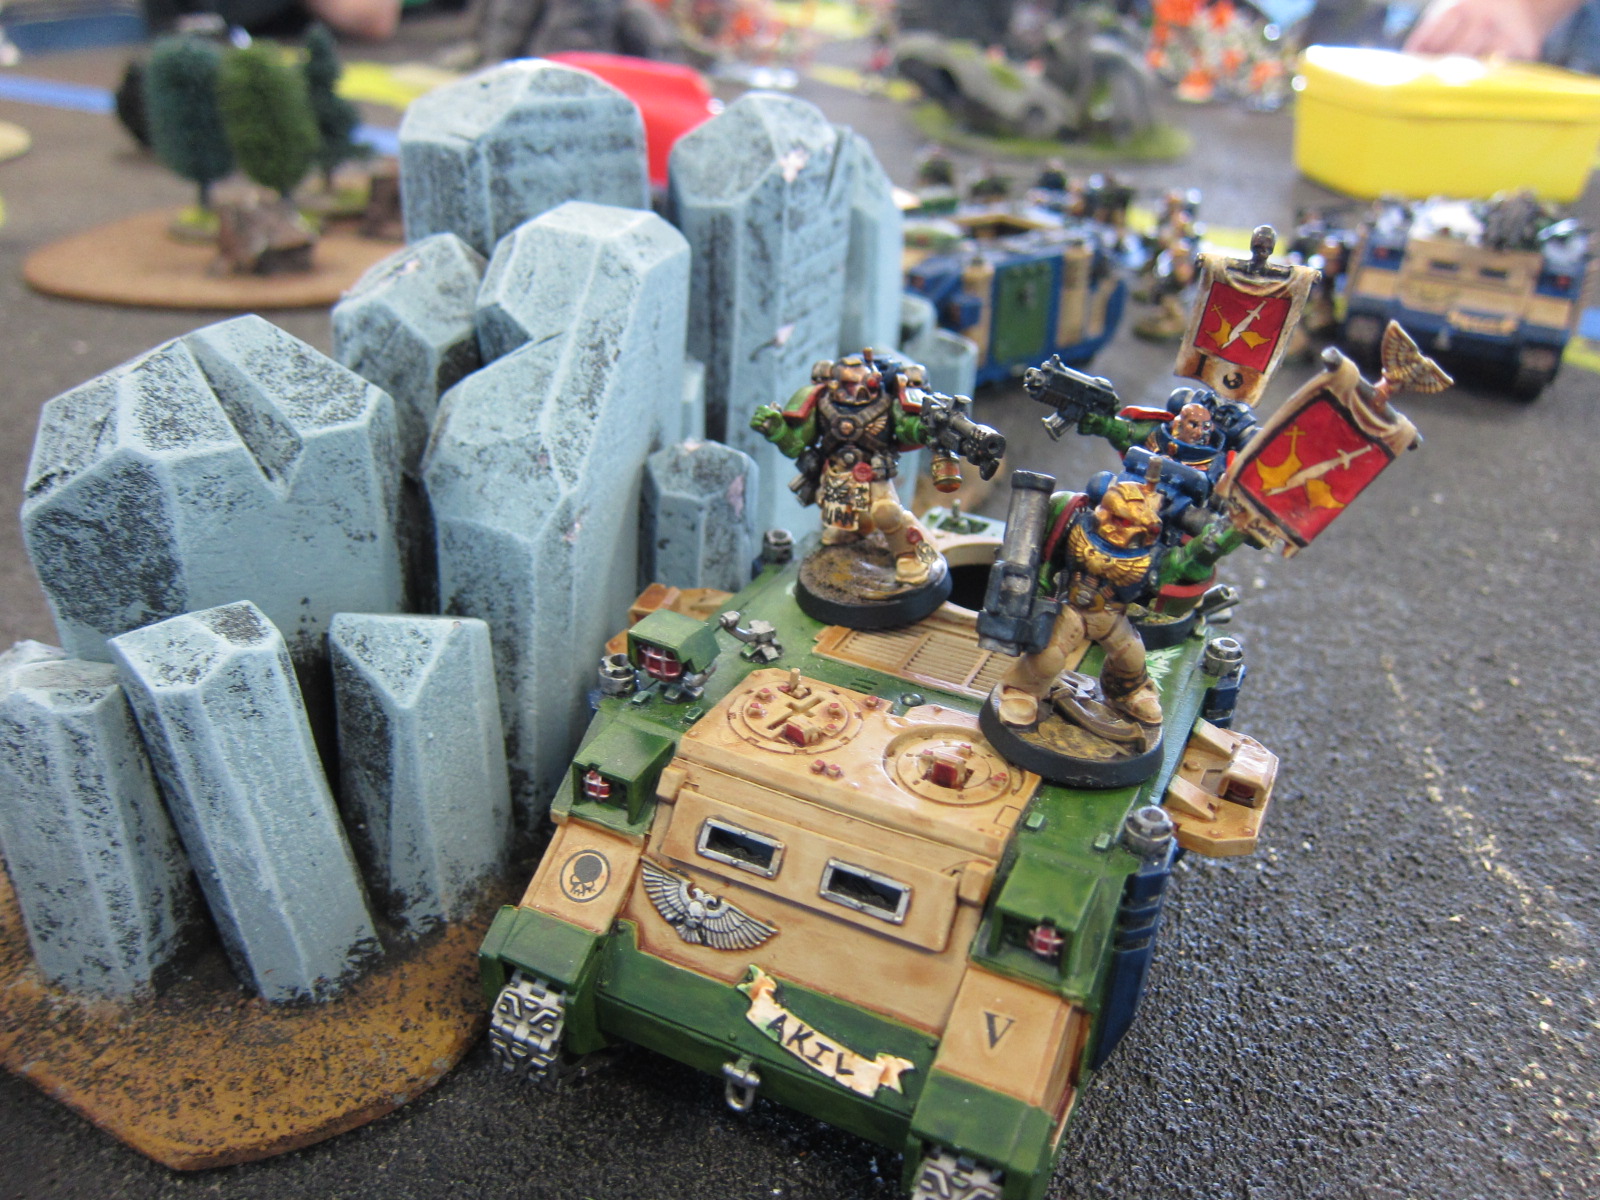
Vanguard Strike, Purge the Alien with old school Victory Points (1 point for each 100 pts totaled among completely destroyed units), against Louis J and his Iron Hands. This kind of mission is always tough for me, and this seemed like just a particularly bad matchup for it. His army was a bit light on units, so playing for objectives I think I would have been fine. But for kill points all my light vehicles and troops rushing across a fairly open field at him seemed like they’d be tasty targets for his large quantity of S6+ long range shooting before I could get any melta into play: Dudes with lascannons, two Razorbacks w/ twin-linked Lascannon sponsons, grav Bikers, a Contemptor, a Sicaran, and a Master of the Forge. My usual Sternguard and Drop Pods again would have been useful here, to melta-drop some opposing vehicles. So, I kinda went to left field and played for a draw by reserving almost everything and hoping to simply keep it from being killed. Scouts I buried completely out of LOS within a hut to keep me in the game. Landspeeders I put on the table but very carefully out of LOS and range to anything, as juicy targets to try and draw the Iron Hands forward.

IMG_0734-cropped

IMG_0744

In the end I brought the ‘Speeders out of hiding too early and they got slagged before doing anything meaningful. Partly that was do to poor targeting priority, sending them against the bikers to protect the Scouts rather than trying to trade fire with the Razorbacks. The other Kingbreakers that came on and went right into hiding did some damage after the enemy finally came forward enough to strike at meaningfully. It wasn’t enough though and I went down to a minor loss. Potentially this goofball strategy could have worked if I’d changed the order up a bit, deploying a Rhino and flying on the Landspeeders, and overall stuck to my guns and done nothing but waited for him to come to me piecemeal. It was really difficult for me to do all that sitting around though, even as Louis was a great sport and found it hilarious that basically nothing happened for three turns. Overall I wouldn’t do this strategy again, and was probably kitted out to fight toe-to-toe with this army anyway, but it just seemed like something different to try and maybe put him off kilter and engender a major mistake tipping the balance. That almost worked, when he finally broke and started bringing units forward, but then Louis realized what was about to happen and stepped them all back just a few meaningful inches before I could bring on a solid thrust at them.
IMG_0742

IMG_0753

Round 3

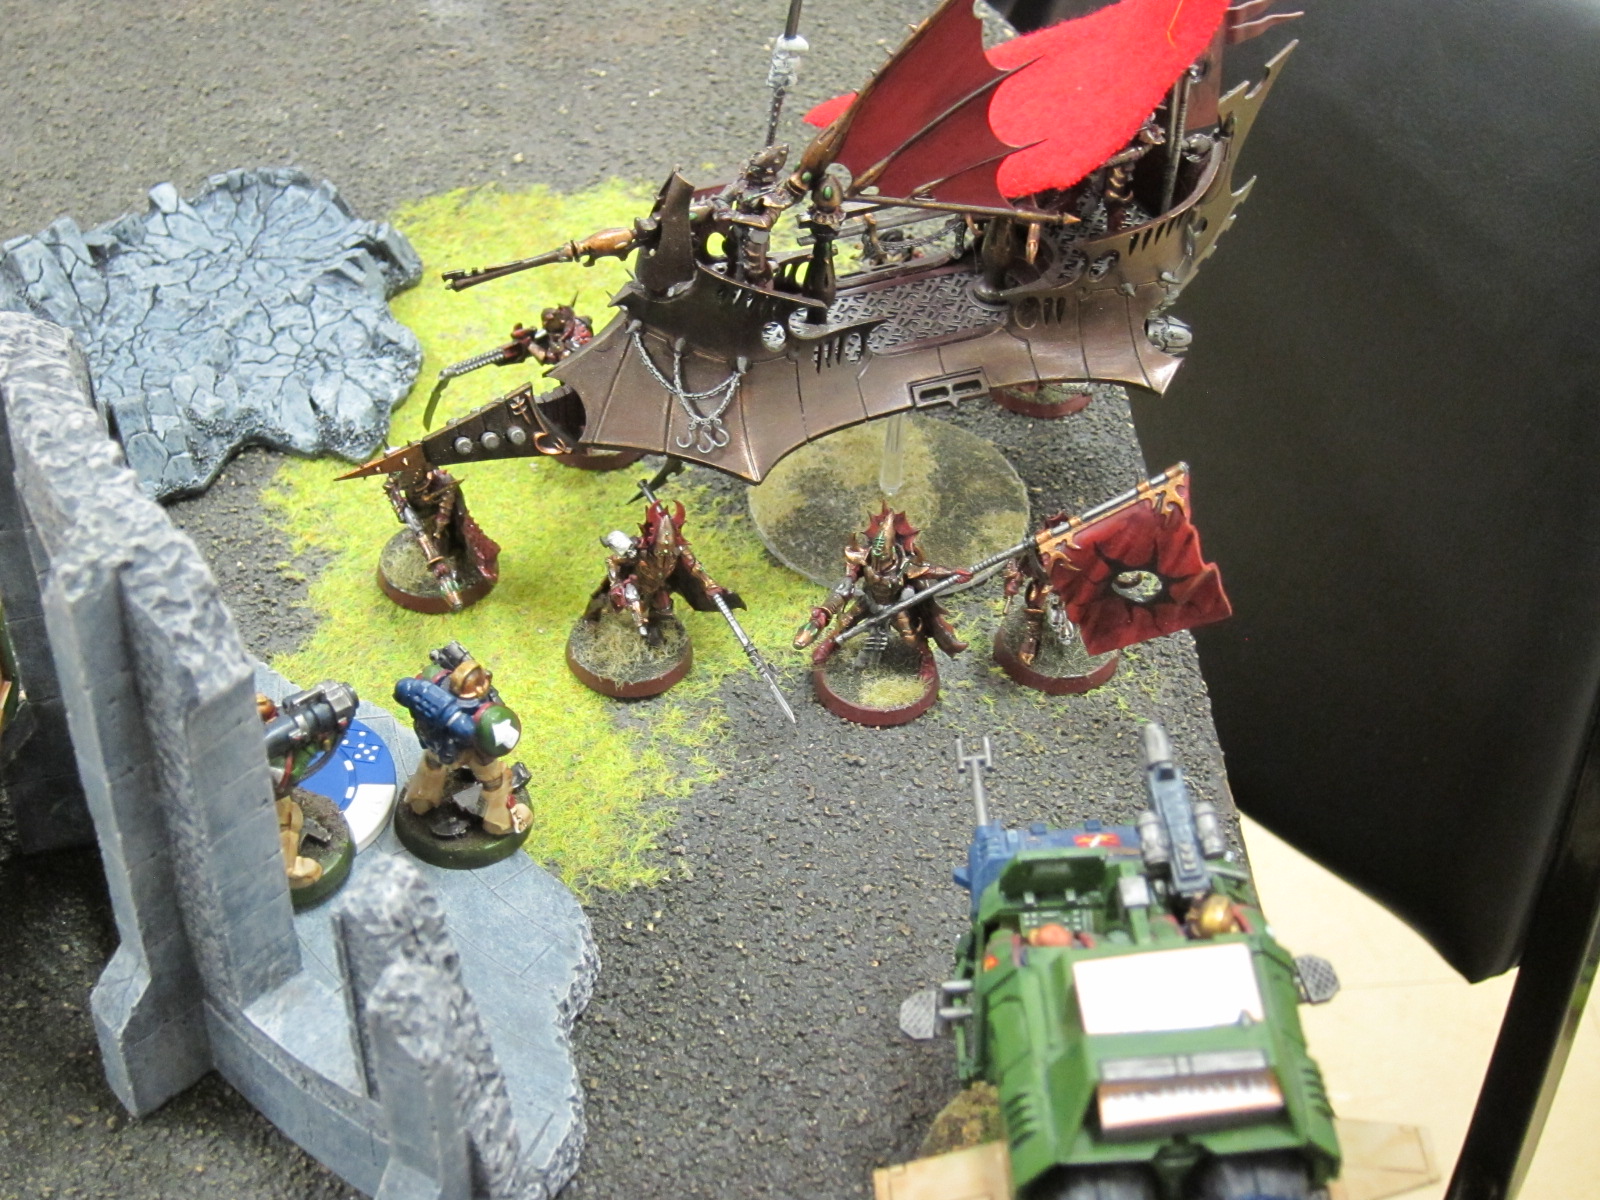
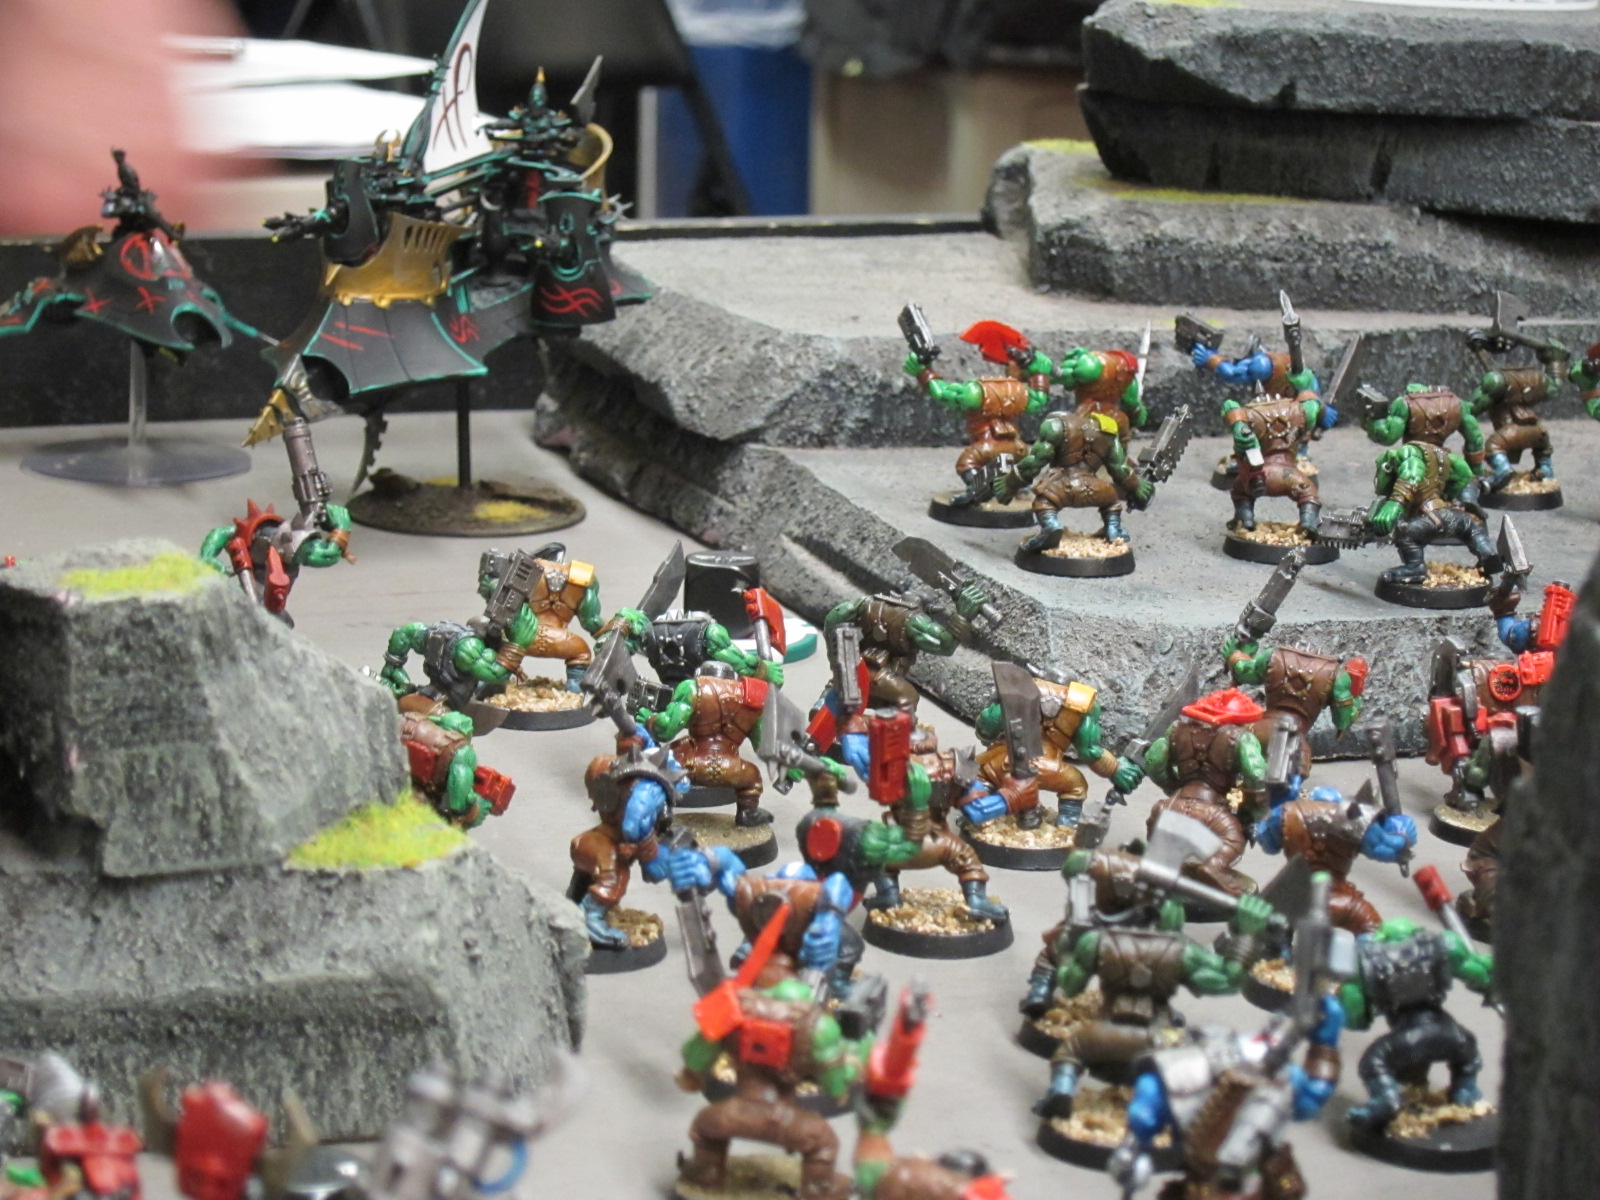
Dawn of War, a variant on the Relic with additional immovable objective markers, against Chris S and his Dark Eldar. The Kingbreakers swept this one fairly systematically. Scouts got sacrificed as a ploy to bring some troops forward, which then got burninated as the meltas and missile launchers took down the opposing Raiders one by one. Even the Razorwing flyer eventually took a fair amount of damage. The Rhinos in turn just churned up field until they were controlling all three objectives and the xenos tabled except for the jetfighter. Here I think the Dark Eldar mostly just couldn’t bring on enough of a concentrated force to really score some major damage before the relatively fragile units could be rolled up one by one.

IMG_0758-cropped

IMG_0761

IMG_0773

Round 4

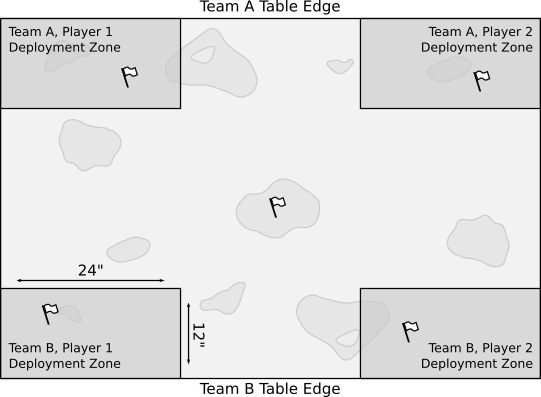
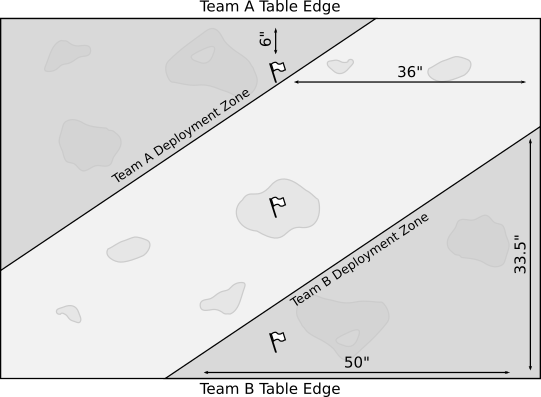
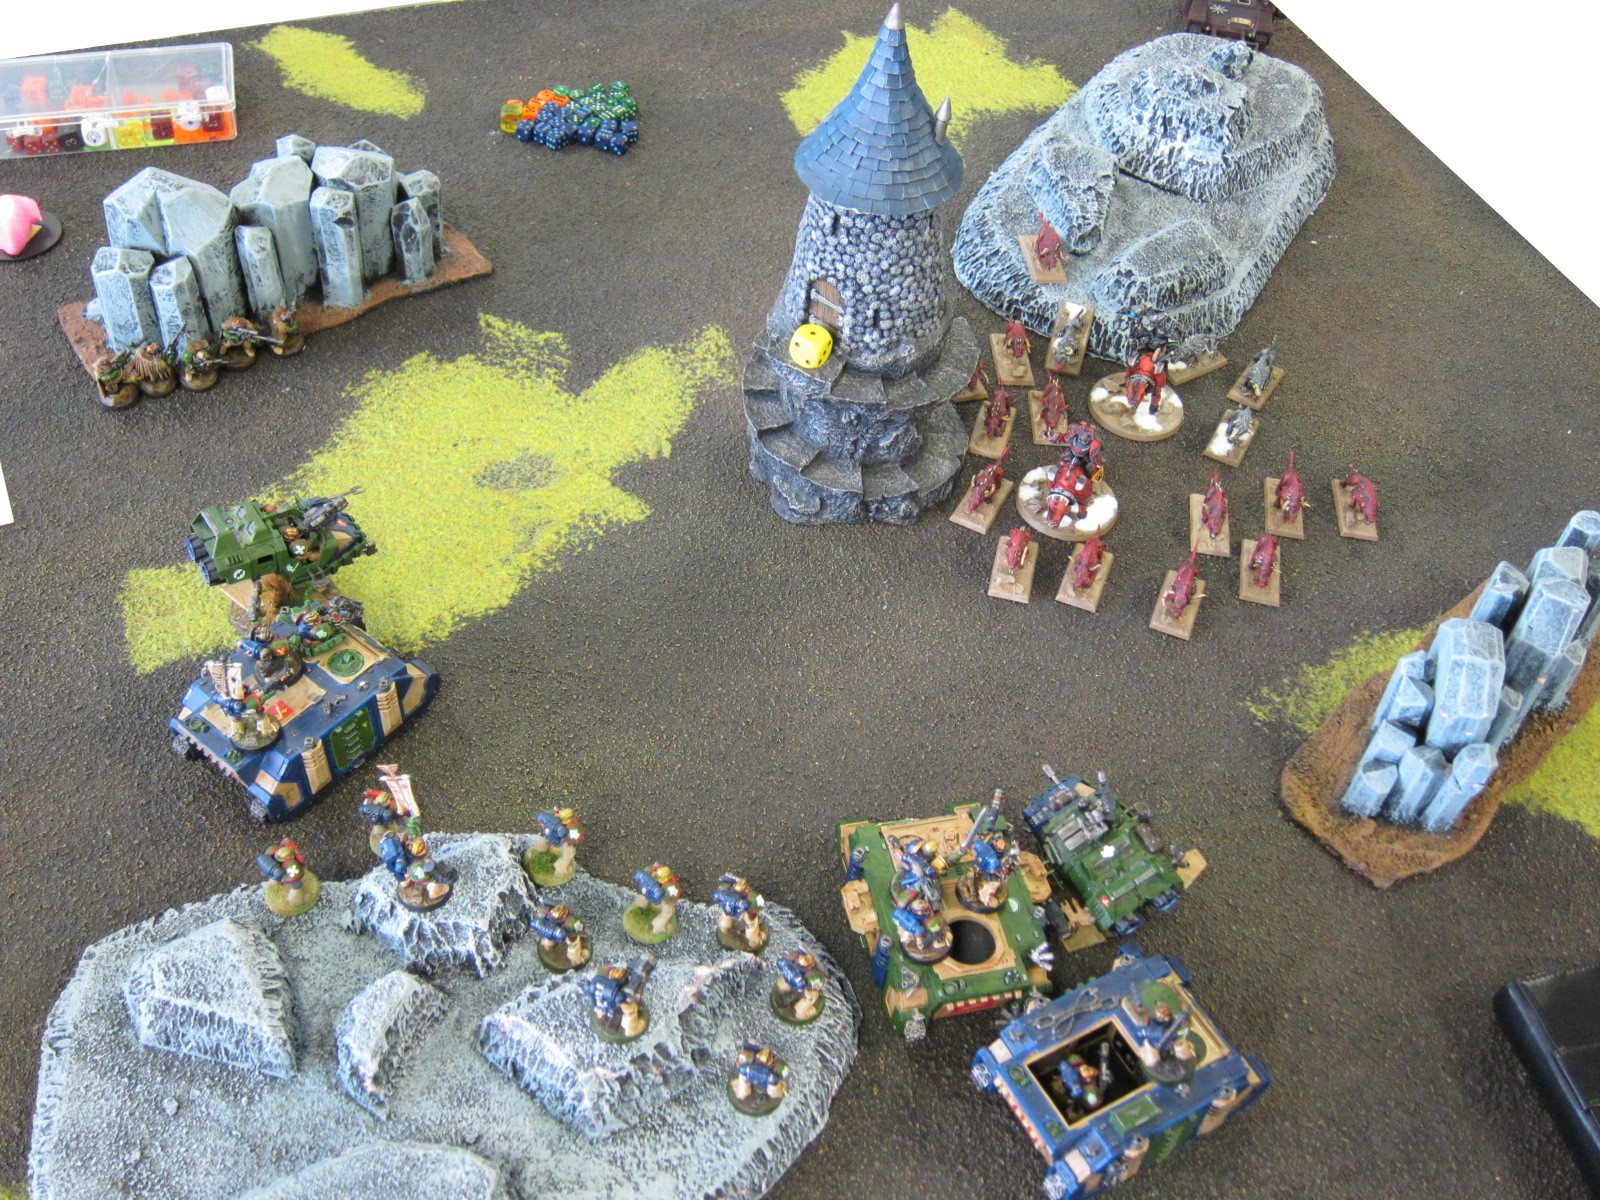
Old-school Spearhead setup, fighting to kill and control monstrous creature Peeps, against Steve S and his Space Wolves Chaos Marines. This deployment setup is funny, and one that I actually think about a lot in coming up with new arrangements for our events. Each army gets a table quadrant to deploy in, but must be at least 12″ from table center. The thing is that it doesn’t really preserve the 24″ boundary. The corners closest to center are a fair bit closer, so you’re open to Turn 1 charges if you deploy there, first player Turn 1 charges no longer being barred by the rules AFAIK. I totally forgot about this, deployed in the forward corners, and got immediately charged by Steve’s horde of Chaos dogs, cyber dogs, and Thunderhammer-wielding lord and henchman on Juggernauts.
IMG_0777-cropped IMG_0779

That was basically ok, because a Landspeeder and Rhino went *poof* and then the whole horde was ideally placed for the entire Kingbreakers army to drop flame, meltas, bolters, missiles, and the kitchen sink on it. Being kitted out with a fair bit of flame, including Salamanders’ re-rolling flame on the infantry, was decisive in tackling the dogs. Re-rolling meltas due to Vulkan, combined with several missile launchers, plucked wounds off the Juggernauts fairly rapidly. I also got very lucky on Steve’s Stormwolf flyer not coming in until Turn 4. Earlier on it would have shifted the game back in his favor quite a bit.

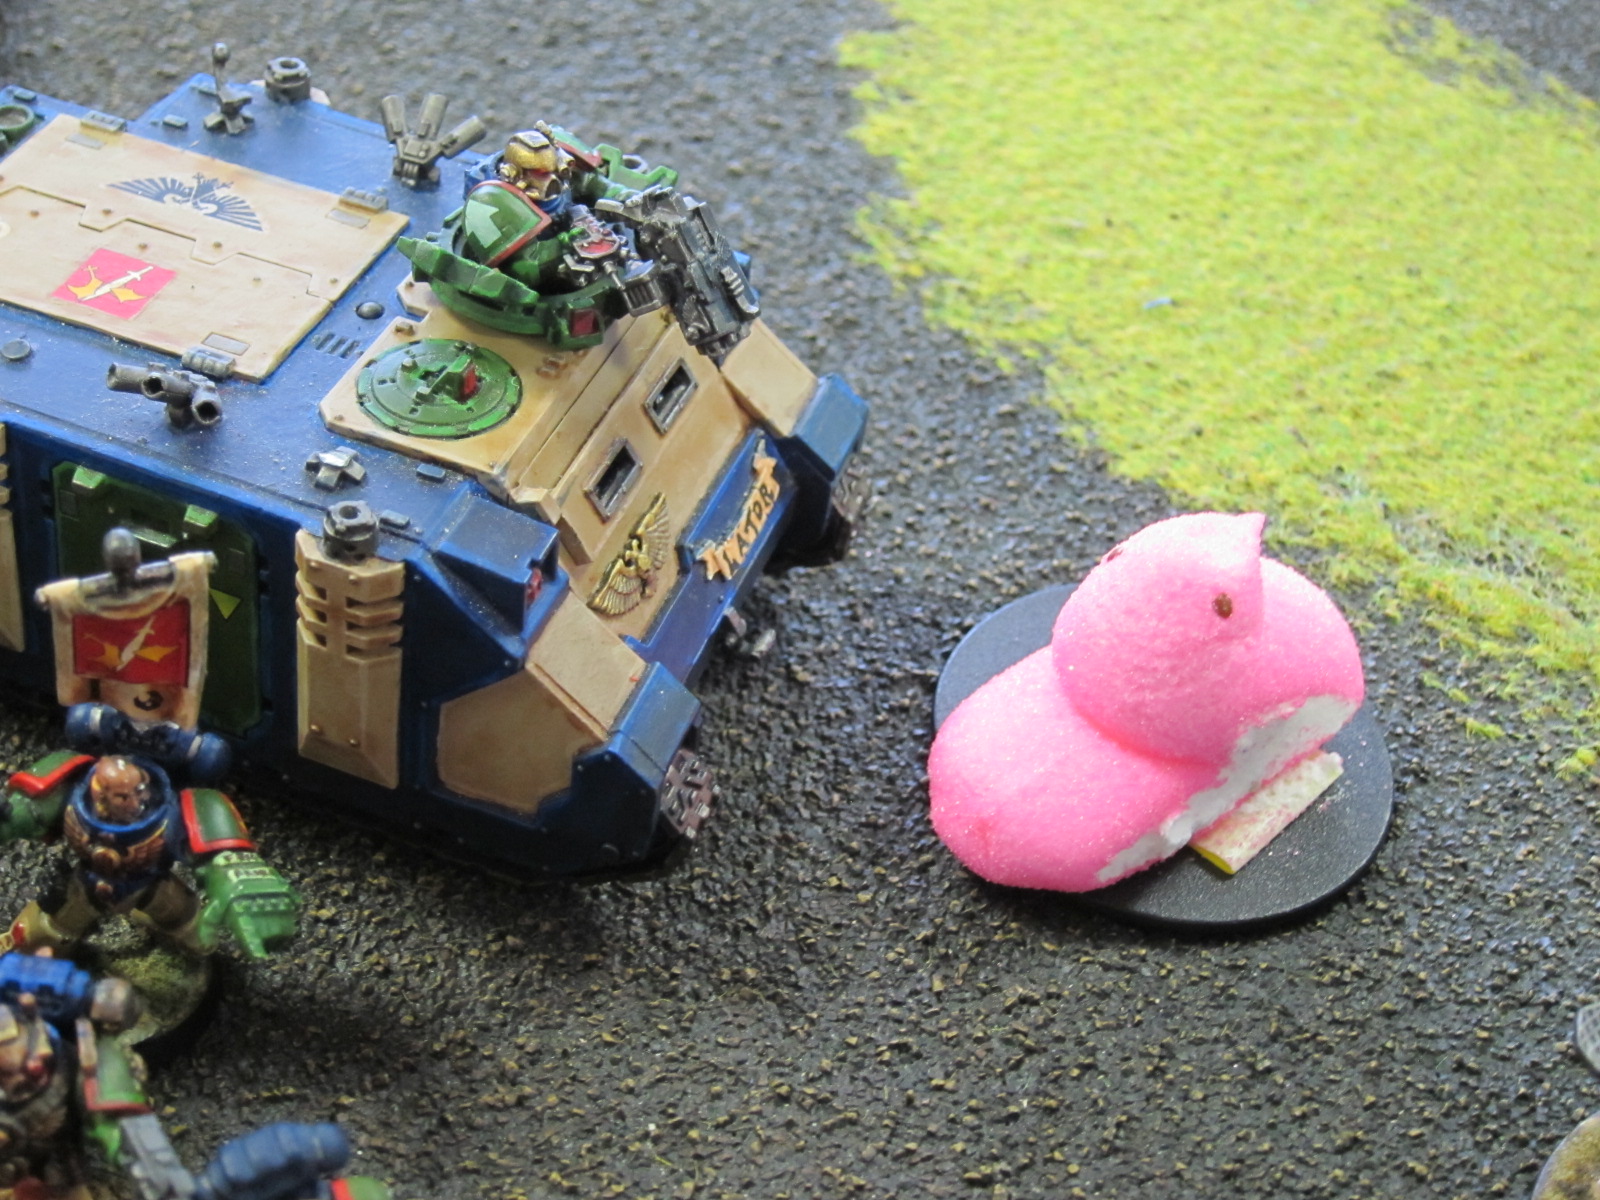
As things went though, very quickly only the lords and a couple straggler dogs were left standing. Then the sugary bio-morphs arrived…

IMG_0792

IMG_0793

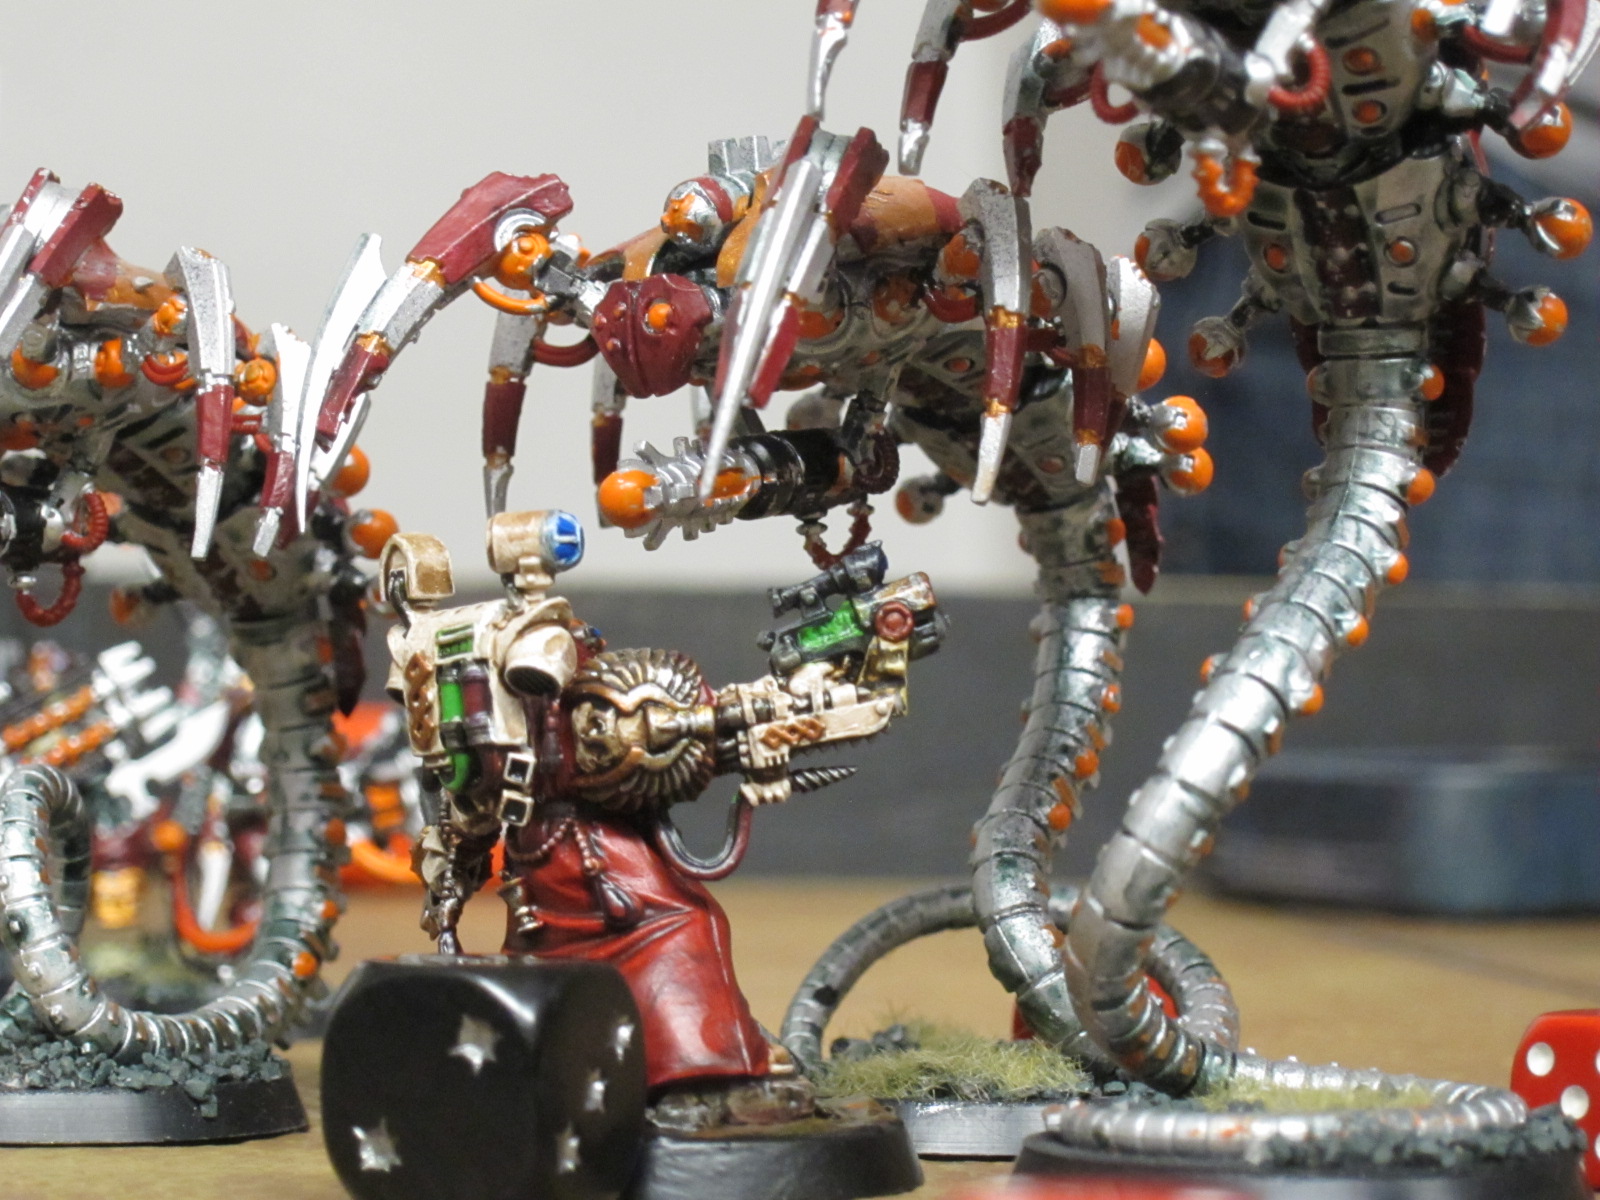
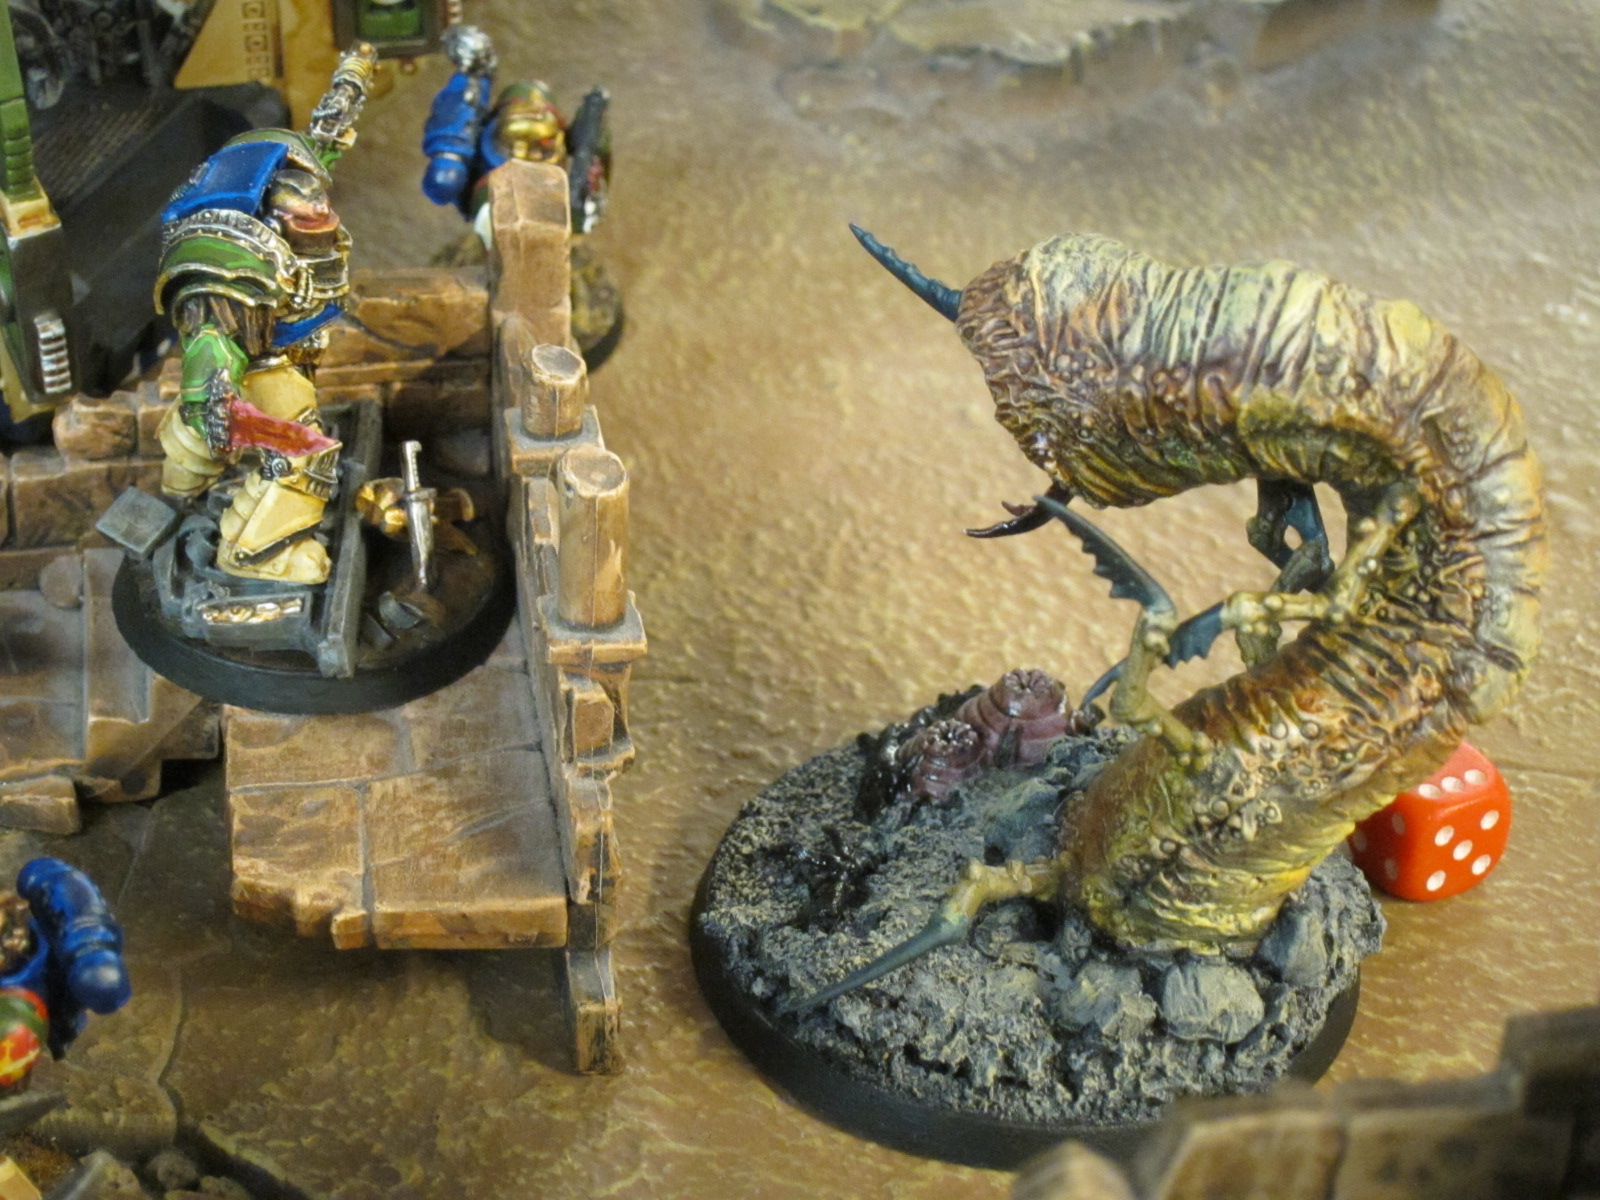
The Peeps came in via deep strike and wielded a WS4 BS2 S6 T6 W6 I2 A3 LD10 3+ Monstrous Creature, Eternal Warrior, Feel No Pain (5+) profile with Laser Eyes R18 S6 AP4 Assault 2. I brought mine in near my encampment so that it could fight the Juggernauts and then be easily claimed by my guys. Steve also dropped his Peep by my guys as he didn’t have much on the backfield except a Rhino charging at me, and hopefully it’d be able to do some damage on its own. Really though, the Peeps wound up being largely pushovers. Each of us wound up destroying the other’s Peep in close combat, Steve with his Juggernauts and me with powerfist wielding Sgt Scolirus. I was stoked because this kind of thing totally justifies my inefficient nostalgic dedication to powerfist sergeants.

IMG_0805

IMG_0810

After that there were a bunch of small combats. The lords got mopped up. Steve’s flyer arrived and together with the Rhino each delivered a handful of Chaos Marines into the battle, but by that point there were far too many Kingbreakers outnumbering them and they went down pretty easily. The Rhino managed to dash onto one of the dead Peep objectives to contest it, as we ran out of time before I could finish it off, move for Linebreaker, and so on to sweep up more points. But still the Kingbreakers had killed one Peep, held the other dead Peep, and had slain the Chaos warlord, for a doubled-points victory.

IMG_0818

Outcome

Final tally was that I got crushed by Eldar, took a minor loss to the Iron Hands, won a perfect game against Dark Eldar, and massacred Chaosy Space Wolves. So I lost two games I thought would be extremely difficult just based on armies (let alone players, Mark from Round 1 finished 7th overall), crushed a game I in some sense should indeed have won (newer player to this edition, with a difficult to play army), and wrapped up the day winning the game I wanted to win but could have gone either way (against Steve, a friend and good player who’s crushed me many times).

The scoring system is a little opaque, but my painting and sportsmanship must have boosted what on average seemed a middling amount of points per game, to put me 11th of 39 registered players in the final standings. Tom finished an impressive 8th, and Colin and Steve 17th and 18th for all of us to finish in the top half.

Conclusion

All in all, yet another excellent Berks tournament. Bonus points to Berks and Mike B for the best catered lunch I’ve seen at a 40k event, notably including tons of vegetarian options. I was super glad I went despite it being a crazy weekend—Friday I moved, just barely managing to keep my 40k stuff from being lost among all the unopened boxes, and Sunday I ran a small but intricate tournament. I’m definitely looking forward to next year’s Spring Assault already, and hopefully we’ll get more people to come out from Philly and enjoy such a great event.


berks-peepmonster

Escalation on Solypsus 9

banner

Yesterday concluded the map portion of our Solypsus 9 campaign! Fickle as they are foul, The Legions of Discord realized a losing battle when they saw one and quickly retreated from their beachhead gained last month. That left Spoilers and Order battling it out for control of the colony:

  • Forces of Order: Skitarii, Kingbreakers Space Marines, Sanguine Hunters Space Marines, and Grey Knights
  • Spoiler Horde: Tyranid, Dark Eldar, and two complements of Necrons

There are a few more photos in the gallery. Full results and missions are on the event webpage. Campaign mechanics are in the Solypsus 9 outline. Coming up next month is the conclusion of the series in an Apocalyptic mega-battle for the planet!

Master Apothecary Sauvon of the Kingbreakers singlehandedly holds back a flight of Necron Wraiths on their way to a key objective.

Master Apothecary Sauvon of the Kingbreakers singlehandedly holds back a flight of Necron Wraiths on their way to a key objective.

Solypsus 9

Apparently desperate for even the most meager source of biomass, months ago a Tyranid horde dropped on the small, forgotten, and largely barren Imperial outpost of Solypsus 9. Among the horde was a new Ork hybrid xenomorph assimilated in the course of earlier fighting throughout the sector. Caught off guard by this new threat and attack vector, Imperial forces rushing to defend the colony successfully shored up the major technical installations, reinforcing the Mine, Lab, Comms Tower, and Starport, but left the miserable population trapped within the Hab Blocks to be overrun and feasted upon.

Encouraged by this small blow to the Imperium, all manner of xenos then joined the fight, whether simply to revel in the bloodshed or for darker motivations. The significance of Solypsus 9 then shifted, as the Imperium continued reinforcing the planet rather than abandoning the fight or declaring it Exterminatus, while the Tyranid made good a new, purposeful assault on the Laboratory and knocked the defenders back to the Generator.

Intrigued by this deeper shading on the conflict, the Chaos gods finally sent their minions and champions to the conflict. Intense multi-faceted fighting between all three alliances splintered control for the colony, knocking the Spoilers out of all the major installations and the Legions of Discord securing a breachpoint on the planet among the Hab Blocks and Order regaining the Laboratory.

Finding nothing of interest to their unknowable minds, the major Discord forces were quickly redrawn by their overlords, but still the Order and Spoilers alliances battle on in an ever-escalating war for Solypsus 9…

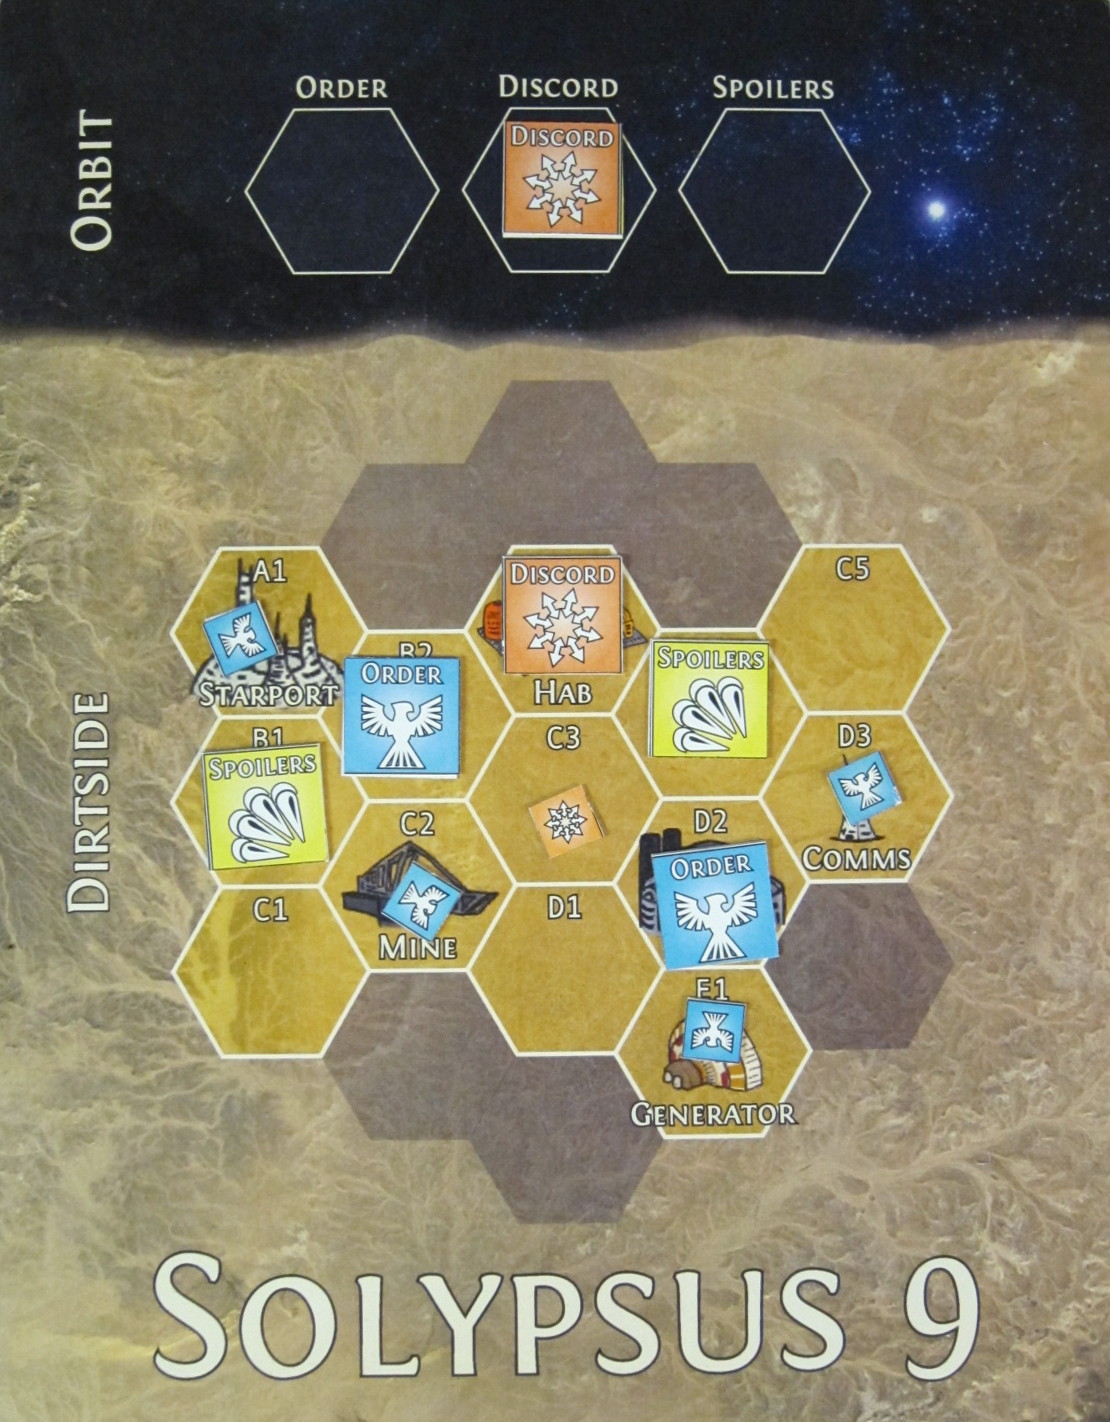
Final disposition of armies and territories after the third event.

Final disposition of armies and territories after the third event.

Battle

Fighting in the fourth phase of the campaign focused on the Mine and Lab:

  • First Round: Tyranid moved on the Mine from the desert and crushed the just-arrived Grey Knights to gain a defensible position. Kingbreakers counter-attacked in the desert, but were intercepted and soundly beaten by Necrons and mind-controlled Tau. Dark Eldar went to investigate why the Tyranid and Imperium have shown so much interest in the Lab, but were blocked by Skitarii and a Mechanicus reclamation team, their sudden appearance yet another sign of the colony’s hidden significance. Sanguine Hunters and Necrons both besieged the Hab Blocks, with the Blood Angels successors displacing Discord defenders as well as prevailing over the automatons.
  • Second Round: Tyranid violently tore through the Skitarii to regain the Laboratory. Sanguine Hunters attempted to reclaim the Mine, but were ensnared en route by Dark Eldar raiders. Necrons marched on the Starport and obliterated the defending Kingbreakers. Grey Knights and Necrons fought over the Comms Tower, but Order maintained control.
  • Third Round: Vengeful Kingbreakers counter-attacked the core of the Tyranid campaign at the Laboratory and regained the facility in a swirling maelstrom of ground-to-air combat. Grey Knights attacked the Mine but Dark Eldar raiders once again swept in to cut and shatter the thrust en route. Necrons decisively defended their hold on the Starport against the Sanguine Hunters. At the Comms Tower, heavily augmented Skitarii waged a chillingly brutal yet ultimately bloodless combat with the fully automated Necron and won the field.
Tyranid swarm over ground defenders far below.

Tyranid swarm over ground defenders far below.

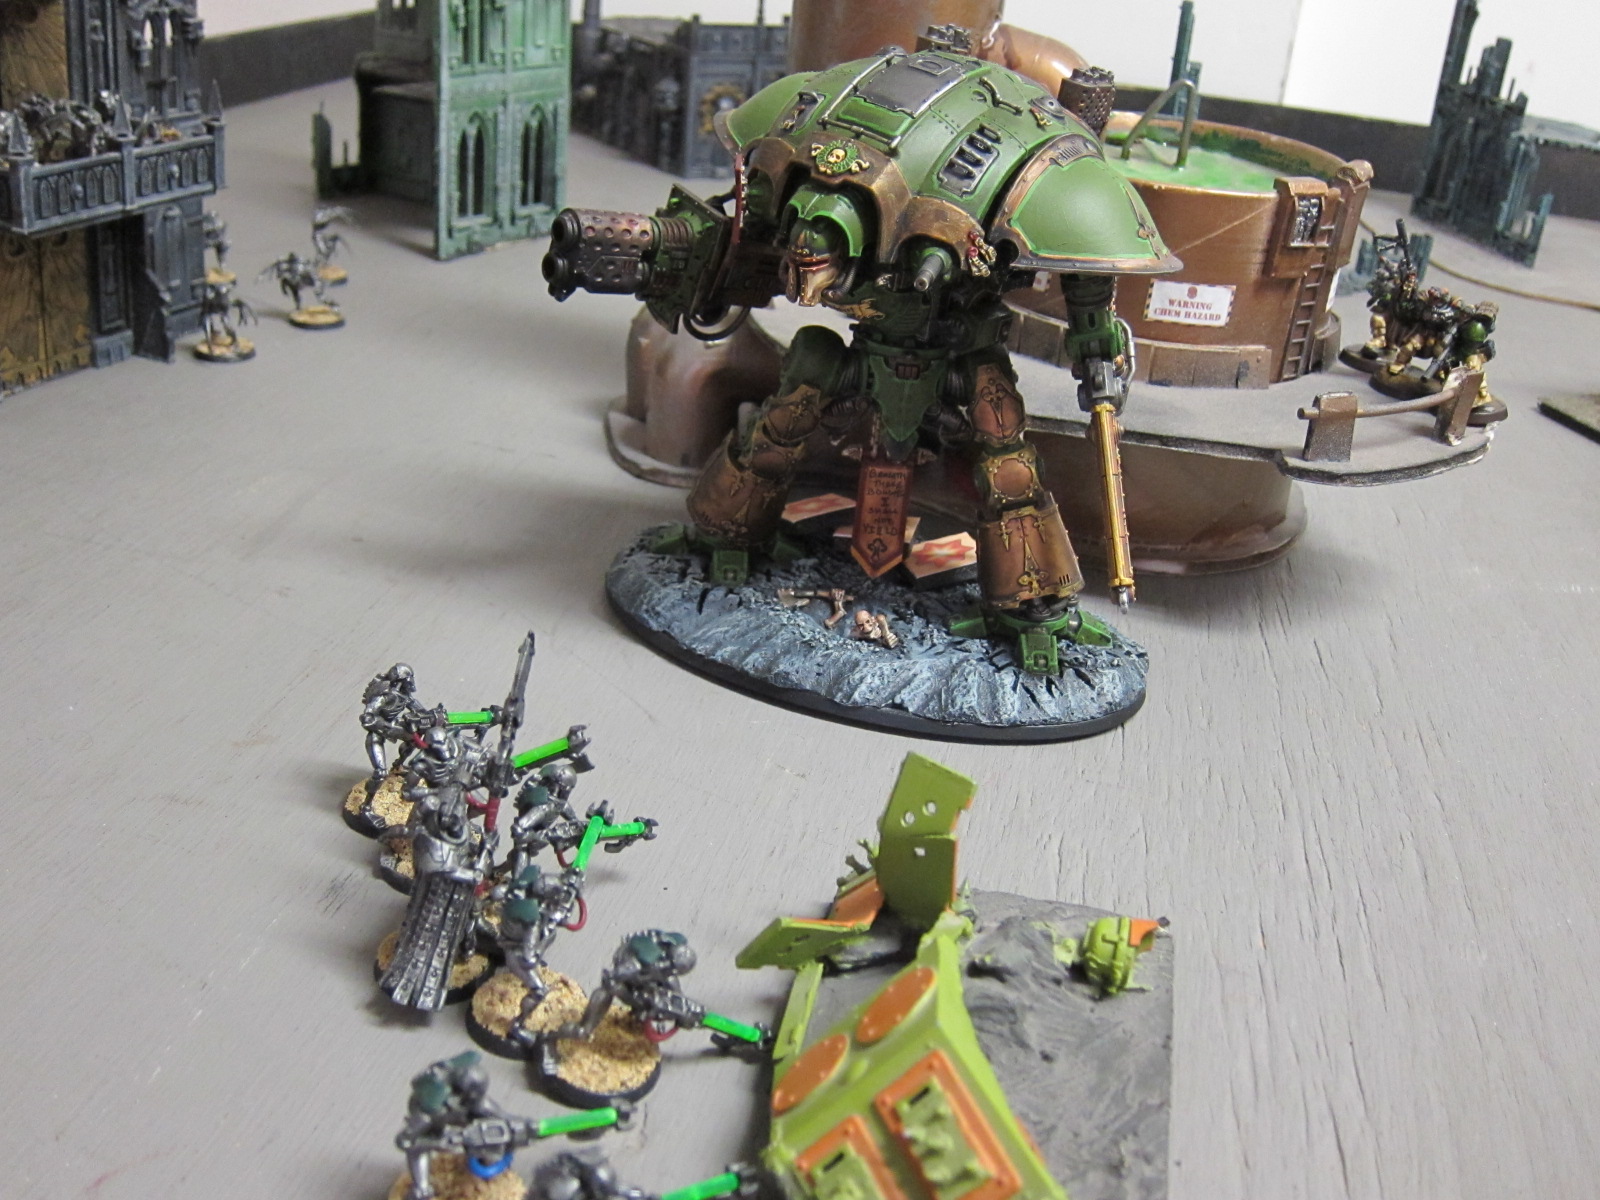
The Knight Errant Greenheart fights Necron among the colony's installations.

The Knight Errant Greenheart fights Necron among the colony’s installations.

Kingbreakers march to fight the Tyranid over ground already corrupted by Chaos' brief occupation.

Kingbreakers march to fight the Tyranid over ground already corrupted by Chaos’ brief occupation.

Outcome

Spoilers won the first round of the day significantly, more than doubled out Order in the second round, but lost significantly in the third round due to a couple Order players securing both massacres and their covert missions. The horde though still carried the day, 173 to 134, and closed the gap toward Order’s tally. That puts the total victory points earned at:

  • Order: 123 + 179 + 76 + 134 = 512 victory points
  • Spoilers: 110 + 140 + 66 + 173= 489 victory points
  • Discord: 114 victory points

Despite the Skitarii leadership’s strenuous and ominous exhortations for Order to make sure it has a way to get off the planet, the Spoilers took hold of the Starport in addition to the mine. Order regained the Laboratory and the remains of the Hab Blocks, and continues to hold the Comms Tower and Generator. Both alliances achieved their chosen strategic objective for the day: Spoilers for the Mine, and Order for the Laboratory. That puts the total campaign points earned at:

  • Order: 5 + 5 + 12 + 14= 36 campaign points
  • Spoilers: 1 + 4 + 0 + 9 = 14 campaign points
  • Discord: 6 campaign points

All told, Spoilers and Order have waged a closely fought tactical war, with just 23 victory points separating them. But Order has managed to largely defend and control the colony from the onslaught. They’ll be hard pressed to defend all those installations though when the world is thrown into Apocalypse!

Disposition of Solypsus 9 after the fourth event.

Disposition of Solypsus 9 after the fourth event.

Revelation Is At Hand

Next month our Solypsus 9 campaign will conclude with an epic mega-battle as the Apocalypse arrives and the alliances battle it out for final control of the colony’s installations. Stay tuned for details, as there will be a fair amount of coordinating beforehand to ensure a fun, strategic game for everybody.

kingbreakers-iconFirst Sergeant Scolirus subtly flexed the fingers of his powerfist impatiently as the Skitarii in front of him chittered away. He had no idea what it was trying to convey and didn’t much care for their heavily augmented kind, despite or perhaps because of the bionic reconstruction throughout the left half of his face. Moments from pushing it off and walking away though, he suddenly somehow understood the smallest part of the message.  The Mine. There was something important in the Mine? The Skitarii shook its head and blatted out its techna-lingua at an even more frantic pace. Finally Scolirus got the message.  Not something, but someone…

The hive mind comes to take what it wants...

The hive mind comes to take what it wants…

Alliances of Solypsus 9

banner

The third event of our Solypsus 9 campaign was yesterday. Eight teams comprising sixteen players total competed in the doubles format, each player fielding 1000 points. The Legions of Discord joined the battle, working to carve out a beachhead on the planet from the Spoiler Horde already invading and the Forces of Order defending:

  • Forces of Order: White Scars, two contingents of Imperial Guard, Adepta Sororitas, Kingbreakers Space Marines, and some surprisingly friendly Orks
  • Legions of Discord: Four contingents of Chaos Daemons, Chaos Marines, and Dark Eldar
  • Spoiler Horde: Tyranids, Dark Eldar, and two contingents of Necrons

More photos are in the gallery. Full results and missions are on the event webpage. Core campaign mechanics are in the Solypsus 9 outline.

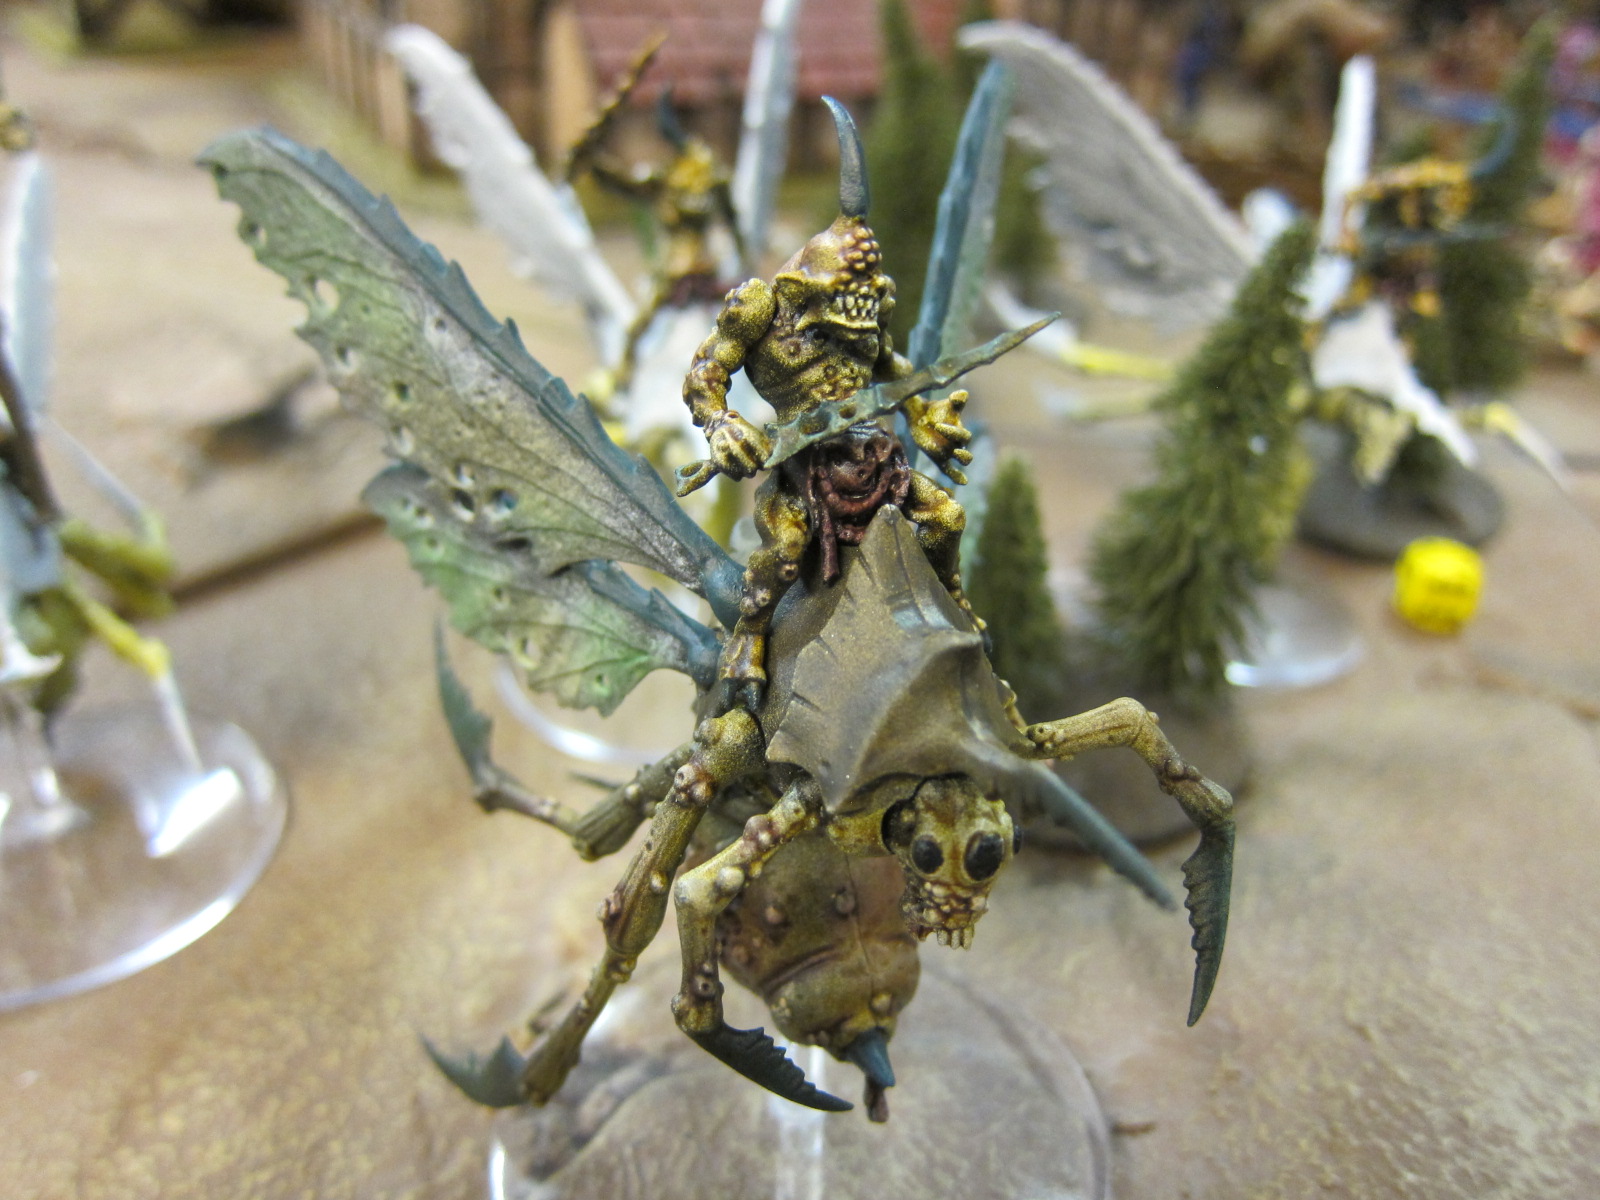
Chaos arrives, on the wings of plague!

Chaos arrives, on the wings of plague!

Solypsus 9

The last two months of fighting began with a Tyranid and Ork horde dropping on the forgotten Imperial outpost of Solypsus 9. The horde quickly overran the Hab Blocks, but Imperium armies successfully shored up the Mine, Lab, Comms Tower, and Starport. In subsequent fighting the Spoilers took the Laboratory but the displaced Order troops reestablished themselves at the Generator. No doubt delayed in The Warp, this month the Legions of Discord finally arrived, hungry for battle.

Battle

Fighting renewed focused around the Lab and Hab Blocks.

  • First Round: Dark Eldar and Necron Spoilers correctly anticipated the primary threat on the Laboratory, making a move against the center of the settlement just as Imperial Guard and Sororitas troops attacked from there. The Spoiler attack though was disrupted by Chaos Daemons and the remaining Necron and Tyranid defenders in the Lab overrun. Meanwhile, yet more Daemons also clawed out of The Warp into the heart of the Hab Blocks, overwhelming the defenders and terrorizing the populance.
  • Second Round: Chaos Daemons and Imperial Guard both moved on the Necrons and Tyranids regrouping on open ground, but the Order was soundly rebuffed even as the Spoilers were crushed. On the hunt for fresh victims to buff up their strength, Dark Eldar supported by Necrons also successfully raided the Hab Blocks.
  • Third Round: Fighting spilled out all over the settlement, with Daemons and Kingbreakers making attacks on open ground to scour fleeing troops. Dark Eldar were routed from the Hab Blocks in the closing moments by Chaos Marines working in tandem with other denizens of Commoragh to betray their kind.
Tyranid harry Sororitas forces.

Tyranid harry Sororitas forces.

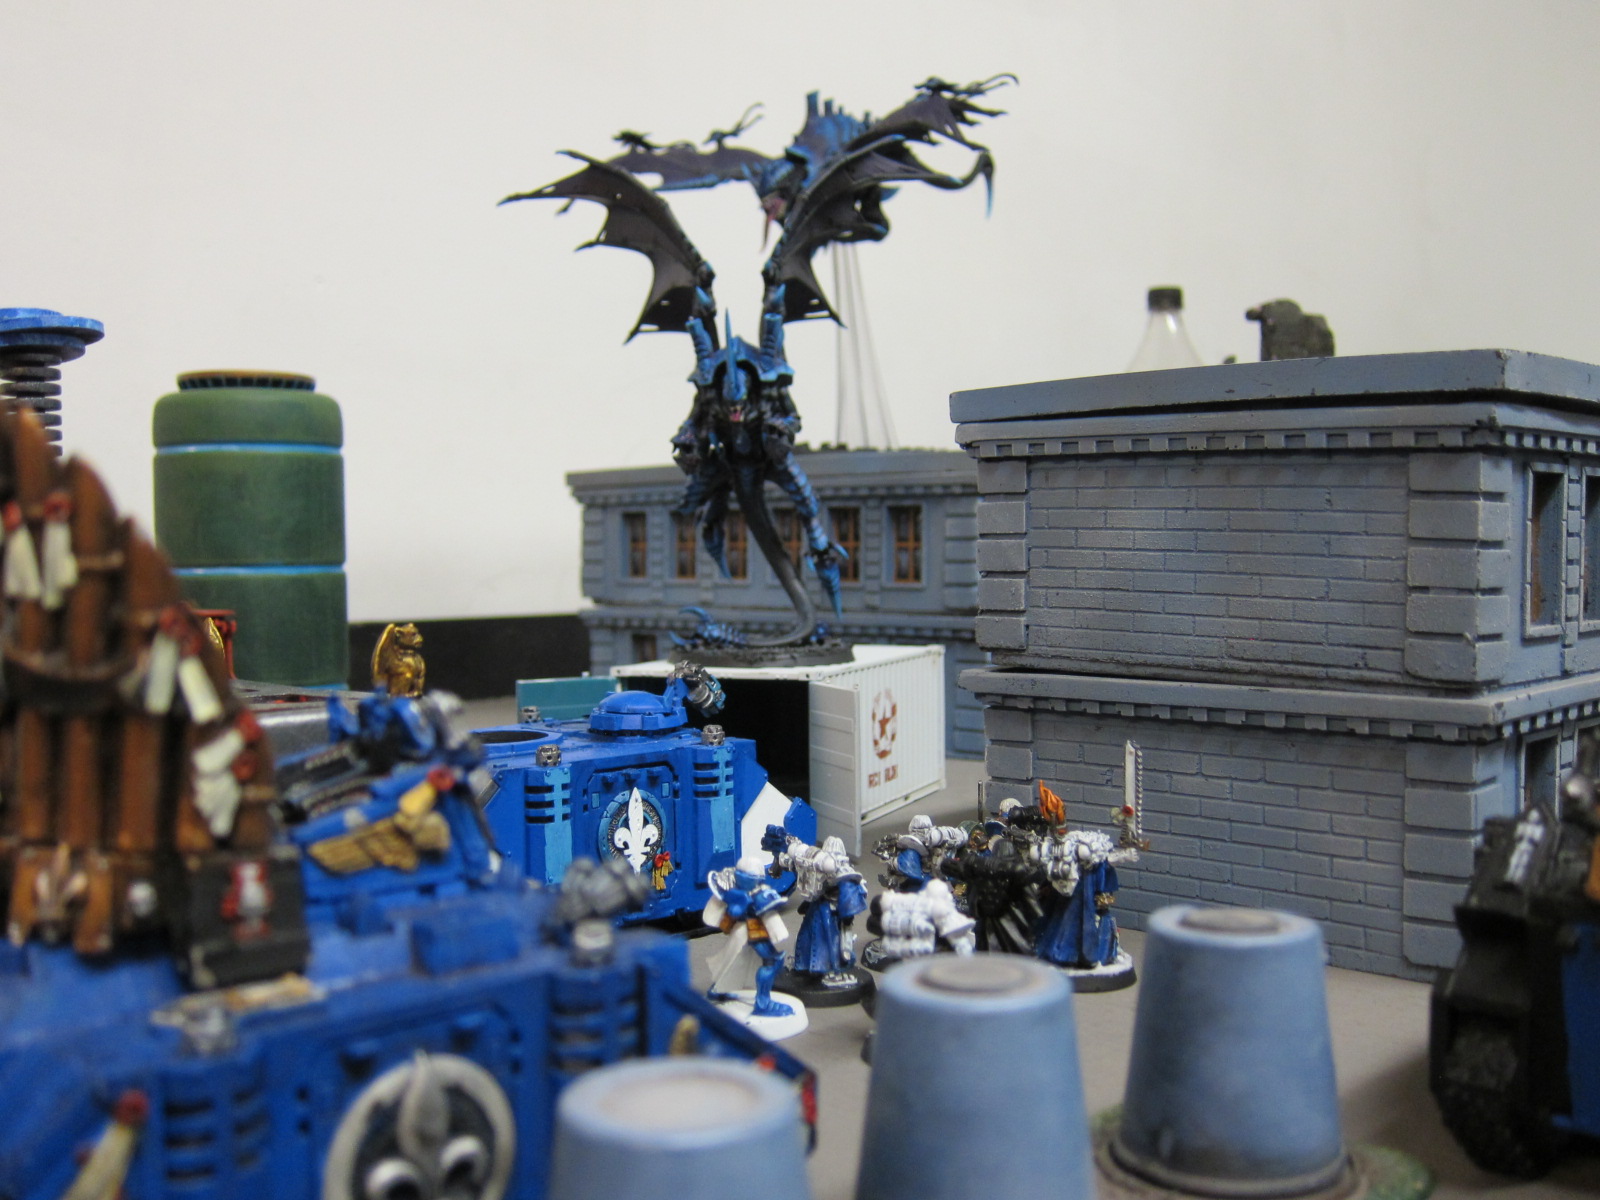
Dark Eldar swoop in from the skies.

Dark Eldar swoop in from the skies.

Captain Angholan faces off against the wormlord.

Captain Angholan faces off against the wormlord.

Outcome

Discord handily won each of the three rounds, for a total of 114 points versus Order’s 76 and Spoilers’ 66. Spoilers were routed from all the installations, with Discord taking up control of the Hab Blocks while Order regained the Lab while retaining the Mine, Starport, Generator, and Comms Tower. With both Discord and Spoilers targeting the Hab for control in this session but Discord winning out, the latter gained 6 campaign points in its first appearance. By gaining the Lab order achieved its target and, combined with the other installations, earned 12 campaign points. That puts the current standings at:

  • Order: 5 + 5 + 12 = 22 campaign points; 123 + 179 + 76 = 378 victory points
  • Spoilers: 1 + 4 + 0 = 5 campaign points; 110 + 140 + 66 = 316 victory points
  • Discord: 6 campaign points; 114 victory points

It was very clear very early on that all of the games would be extremely pressed for time in the doubles format, so I left out some of the narrative campaign elements originally planned. They’ll just have to make an appearance in next month’s finale.

Final disposition of armies and territories after the third event.

Final disposition of armies and territories after the third event.

Kingbreakers

An Ork player did not have a partner, so I wound up playing two matches with him and then a third on my own after he left.

Round 1: The opening deployment setup split up each team, and already not having a ton of obvious synergy with the Ork Green Tide we basically wound up playing two separate games on opposite flanks of the table. Facing oncoming Chaos Marines, I managed to sacrifice a Rhino and some Marines to draw their beast pack into combat with my Terminators. Otherwise I was concerned that the beasts would literally just run around them, the Kingbreakers never being able to tag them before they could swoop around to my home objectives. Unfortunately though the Terminators all failed their 2+/3++ saves and were swept off the field en masse. That left nothing with a realistic chance of stopping the Juggernaut lord from sweeping through all of my rear infantry. The Orks meanwhile were largely contained by opposing Dark Eldar, and the whole thing went down to a loss.

Split deployment zone setup for round 1.

Split deployment zone setup for round 1.

Round 2: Next, the opposing Dark Eldar + Necron team did a good job on mutual target priority and support in this Maelstrom battle. They wound up fighting as a real combined force, first primarily whittling away the Kingbreakers and then shifting focus to the Orks, still operating largely as distinct armies. In the early going though we established control over most of the board and leapt ahead. At one point we drew the Commander tactical objective (1 VP per objective) and were easily able to claim a whopping 5 of 6 objectives that turn. Several other objectives cards were also easy pickings. After that though the Kingbreakers were spread all over and picked apart, while the Ork blob couldn’t effectively claim new tactical objectives. The Spoilers slowly clawed their way back from a substantial deficit and eventually won by a few points.

The mob swarms through the rocks.

The mob swarms through the rocks.

In the first two rounds we were a bit disadvantaged as it just wasn’t clear how my Marines could work well with the Ork mob. With over 100 Orks crammed into 1000 points, they simply filled an entire sector of the board. Mixing the armies together evenly or putting the mob forward would have limited the more mobile Kingbreakers from moving about or engaging in longer range shooting. Conversely, putting the mob on rear defense would have forced the Kingbreakers’ defensive units into an awkward role. So, we wound up essentially splitting the board into two flanks.

That would be fine as such a mass of Orks could hold down an entire side, but they were grouped up into a Green Tide formation, making the vast majority of the army a single unit. That made them near impossible to dislodge, but rendered that huge points percentage only able to hold a single objective. Combined with being on foot, the blob just wasn’t able to effectively hold down all the objectives on its side, particularly in the more dynamic Maelstrom mission. We spent as much time trying to figure out how to move the other units of Gretchin and so forth through our own troops to actually claim objectives as we did working out offensive tactics.

Overall then, we had an awkward mix. Kingbreakers could take objectives easily, but needed support from a longer lasting force. Orks were longer lasting, but couldn’t really move to support or take objectives themselves.

Necrons and Kingbreakers pile in.

Necrons and Kingbreakers pile in.

Round 3: The final round was an old school matchup of 2000 points of Kingbreakers versus Chaos Daemons. I gave myself little odds of winning on the primary objective of annihilation, so from the start I focused on the secondary objective of holding markers. In addition, given that every match had been pressed on time and the opposing Chaos army particularly slow-playing with all its spells, Warp Storms, and other trickery, I strongly assumed the game would make it at most to Turn 4. This was born out when we only made it through Turn 3 and my army had taken heavy losses but few units been broken, while also claiming two of the markers and Linebreaker as well as First Blood. That eked out a win and nothing substantial would have changed in a turn, but a full five or six turn game would have swung hard the other way as units were wiped and markers forfeited.

Key here was that I had exactly what I needed to quickly grab the three secondary objectives and start off having to be dislodged, rather than fighting my way in: A bunker to put on home base, tanks to roll onto the midfield, and Drop Pods to go after the opposing marker. In general Marines can also just take a fair bit of abuse before they crumple. Terminators did a good job tying up several incoming units long enough that they had no chance to slaughter my squishier rear units. Captain Angholan (Vulkan) , Master Sauvon (Harath Shen), and Squad Scolirus similarly hung tough to draw out combat with both a Greater Daemon and a Soulgrinder in order to claim the far objective. Meanwhile, the other units did their best to not die and to make what contributions they could, like Sternguard in a single volley taking down a Nurgle Beast skulking about on the far flanks, for First Blood.

Placement of the three secondary markers.

Placement of the three secondary markers.

Finale

Next month will be the conclusion of our Solypsus 9 campaign. We’ll be running a 1000 -> 1500 -> 1850 point escalation format, with each list having to contain the previous list, as the armies and alliances hurtle into the endgame for control of the planet. Don’t miss out!

In the second round.

In the second round.