Stretch Stubby

Upon returning from being on the West Coast for July, Alice & I hustled a bit to get a new rocket of hers ready for the August PARA launch just a few days later:

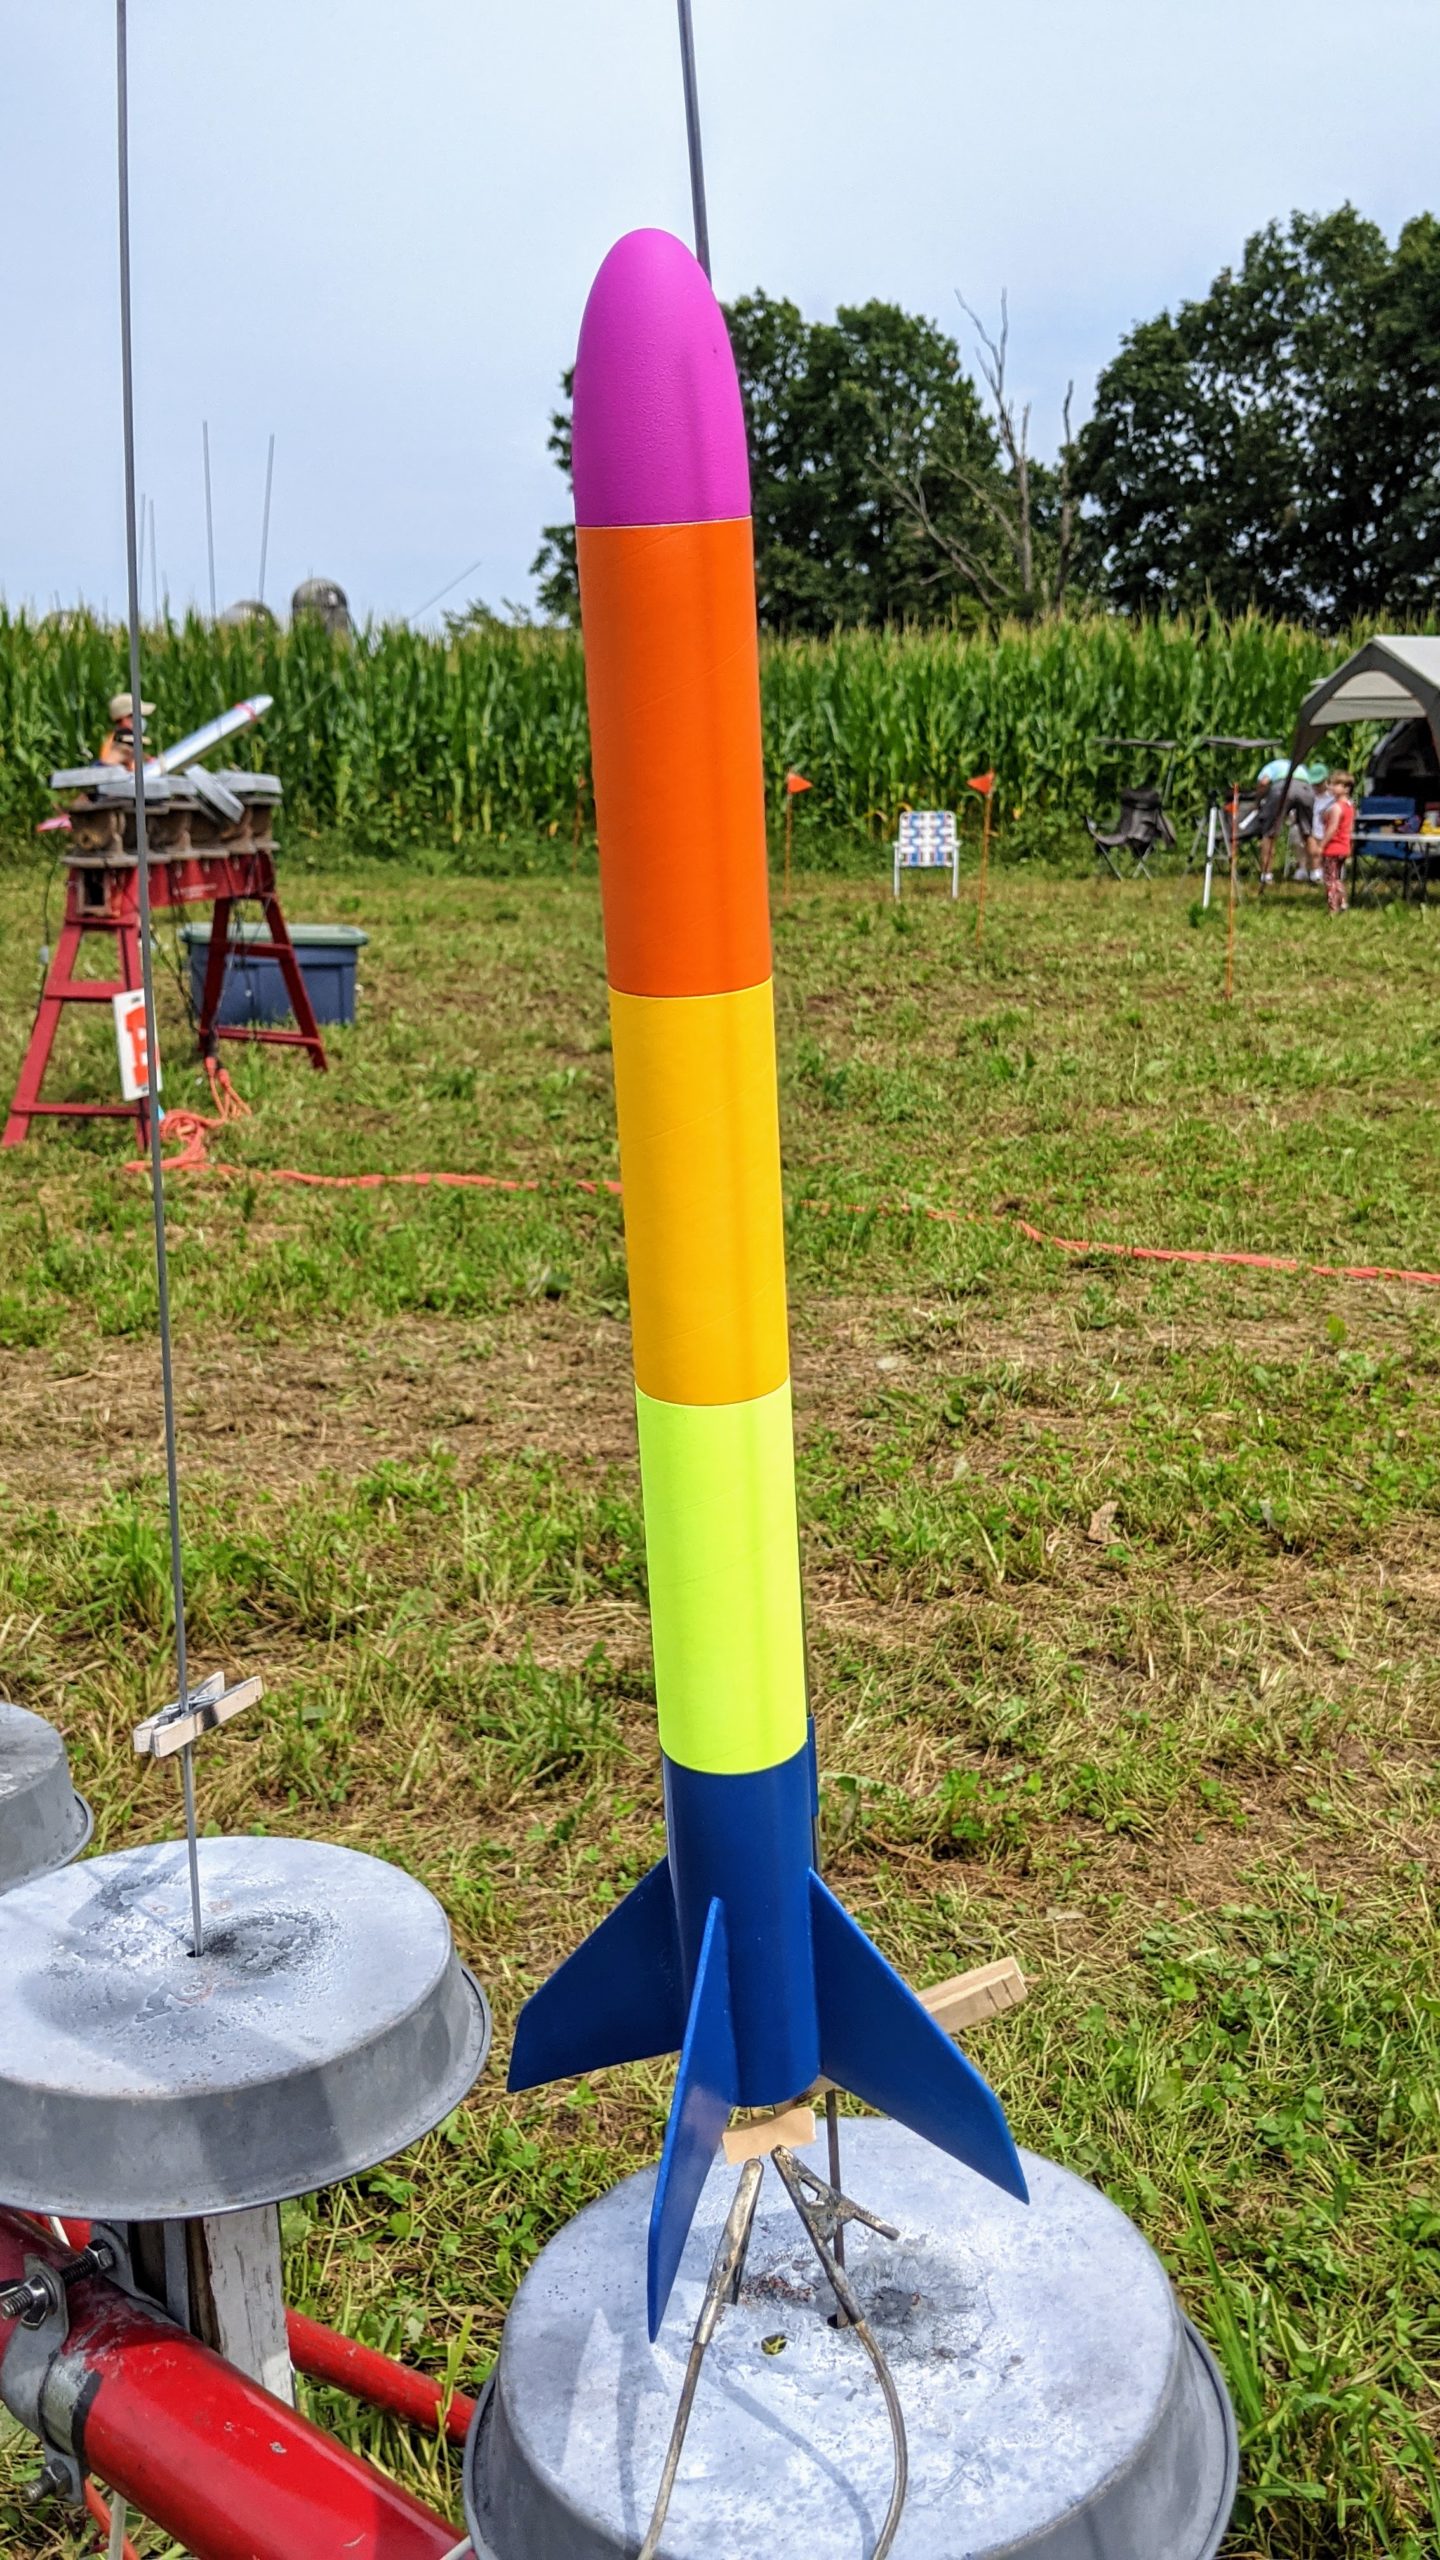
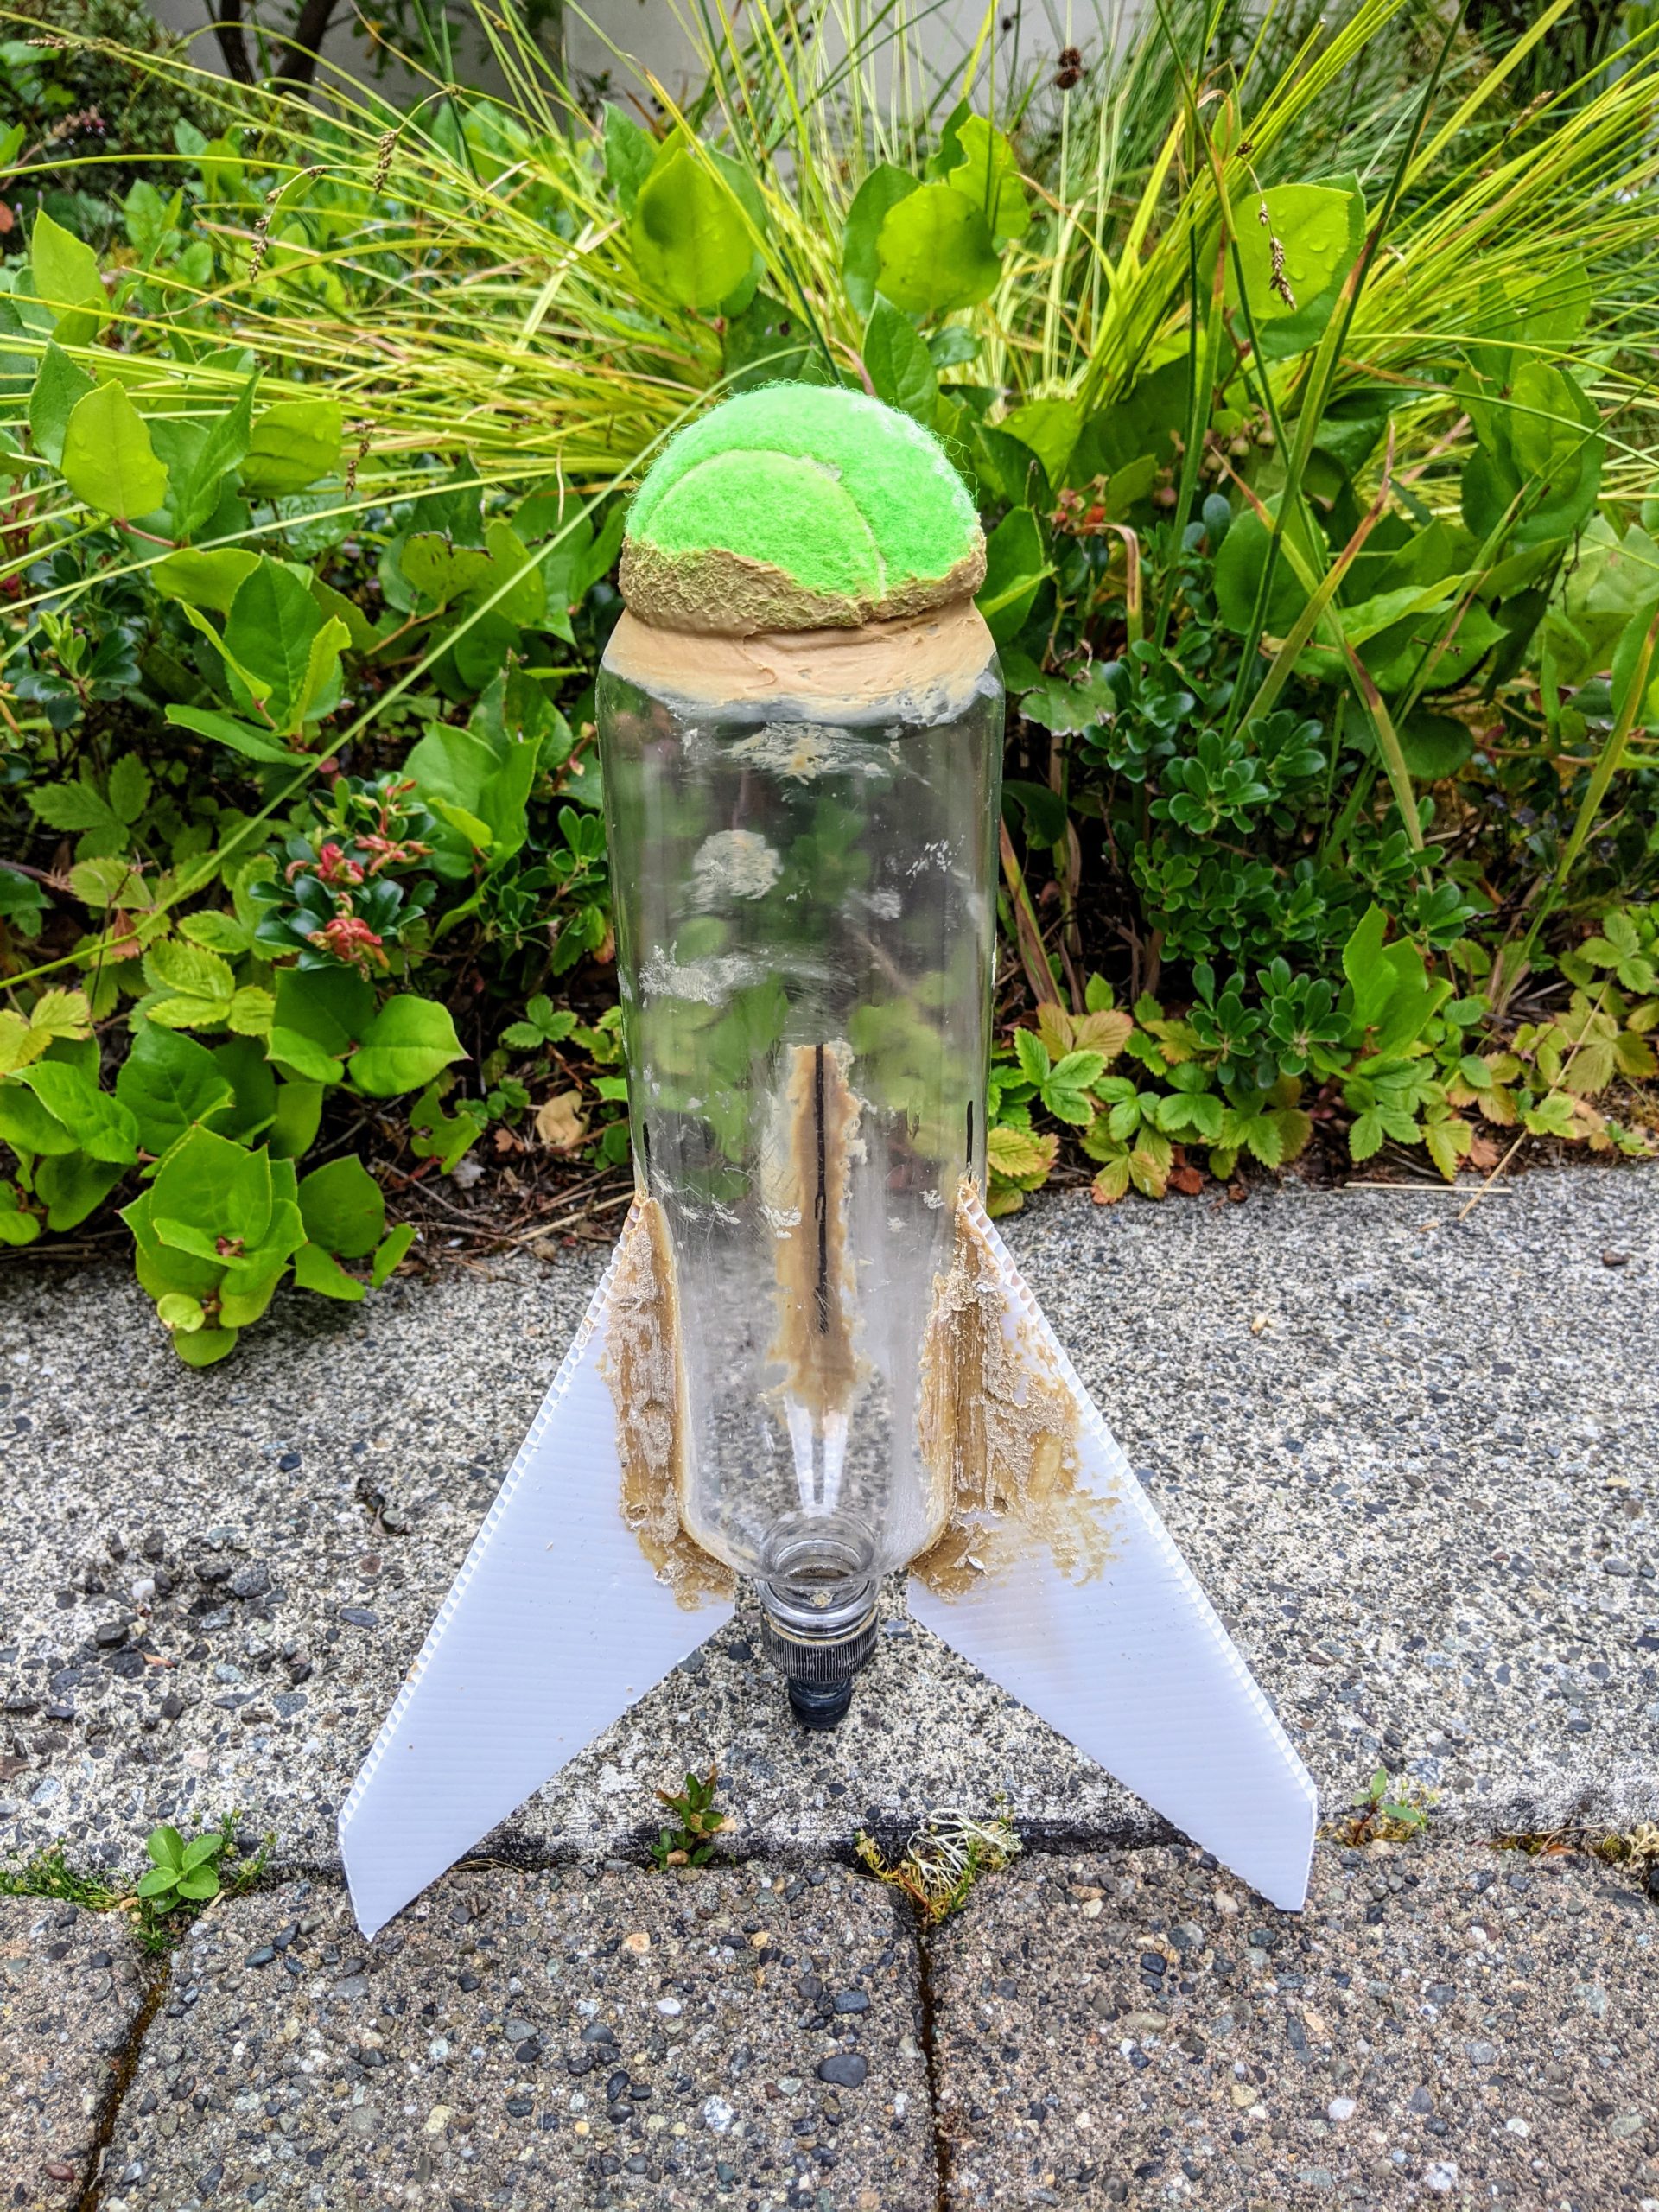
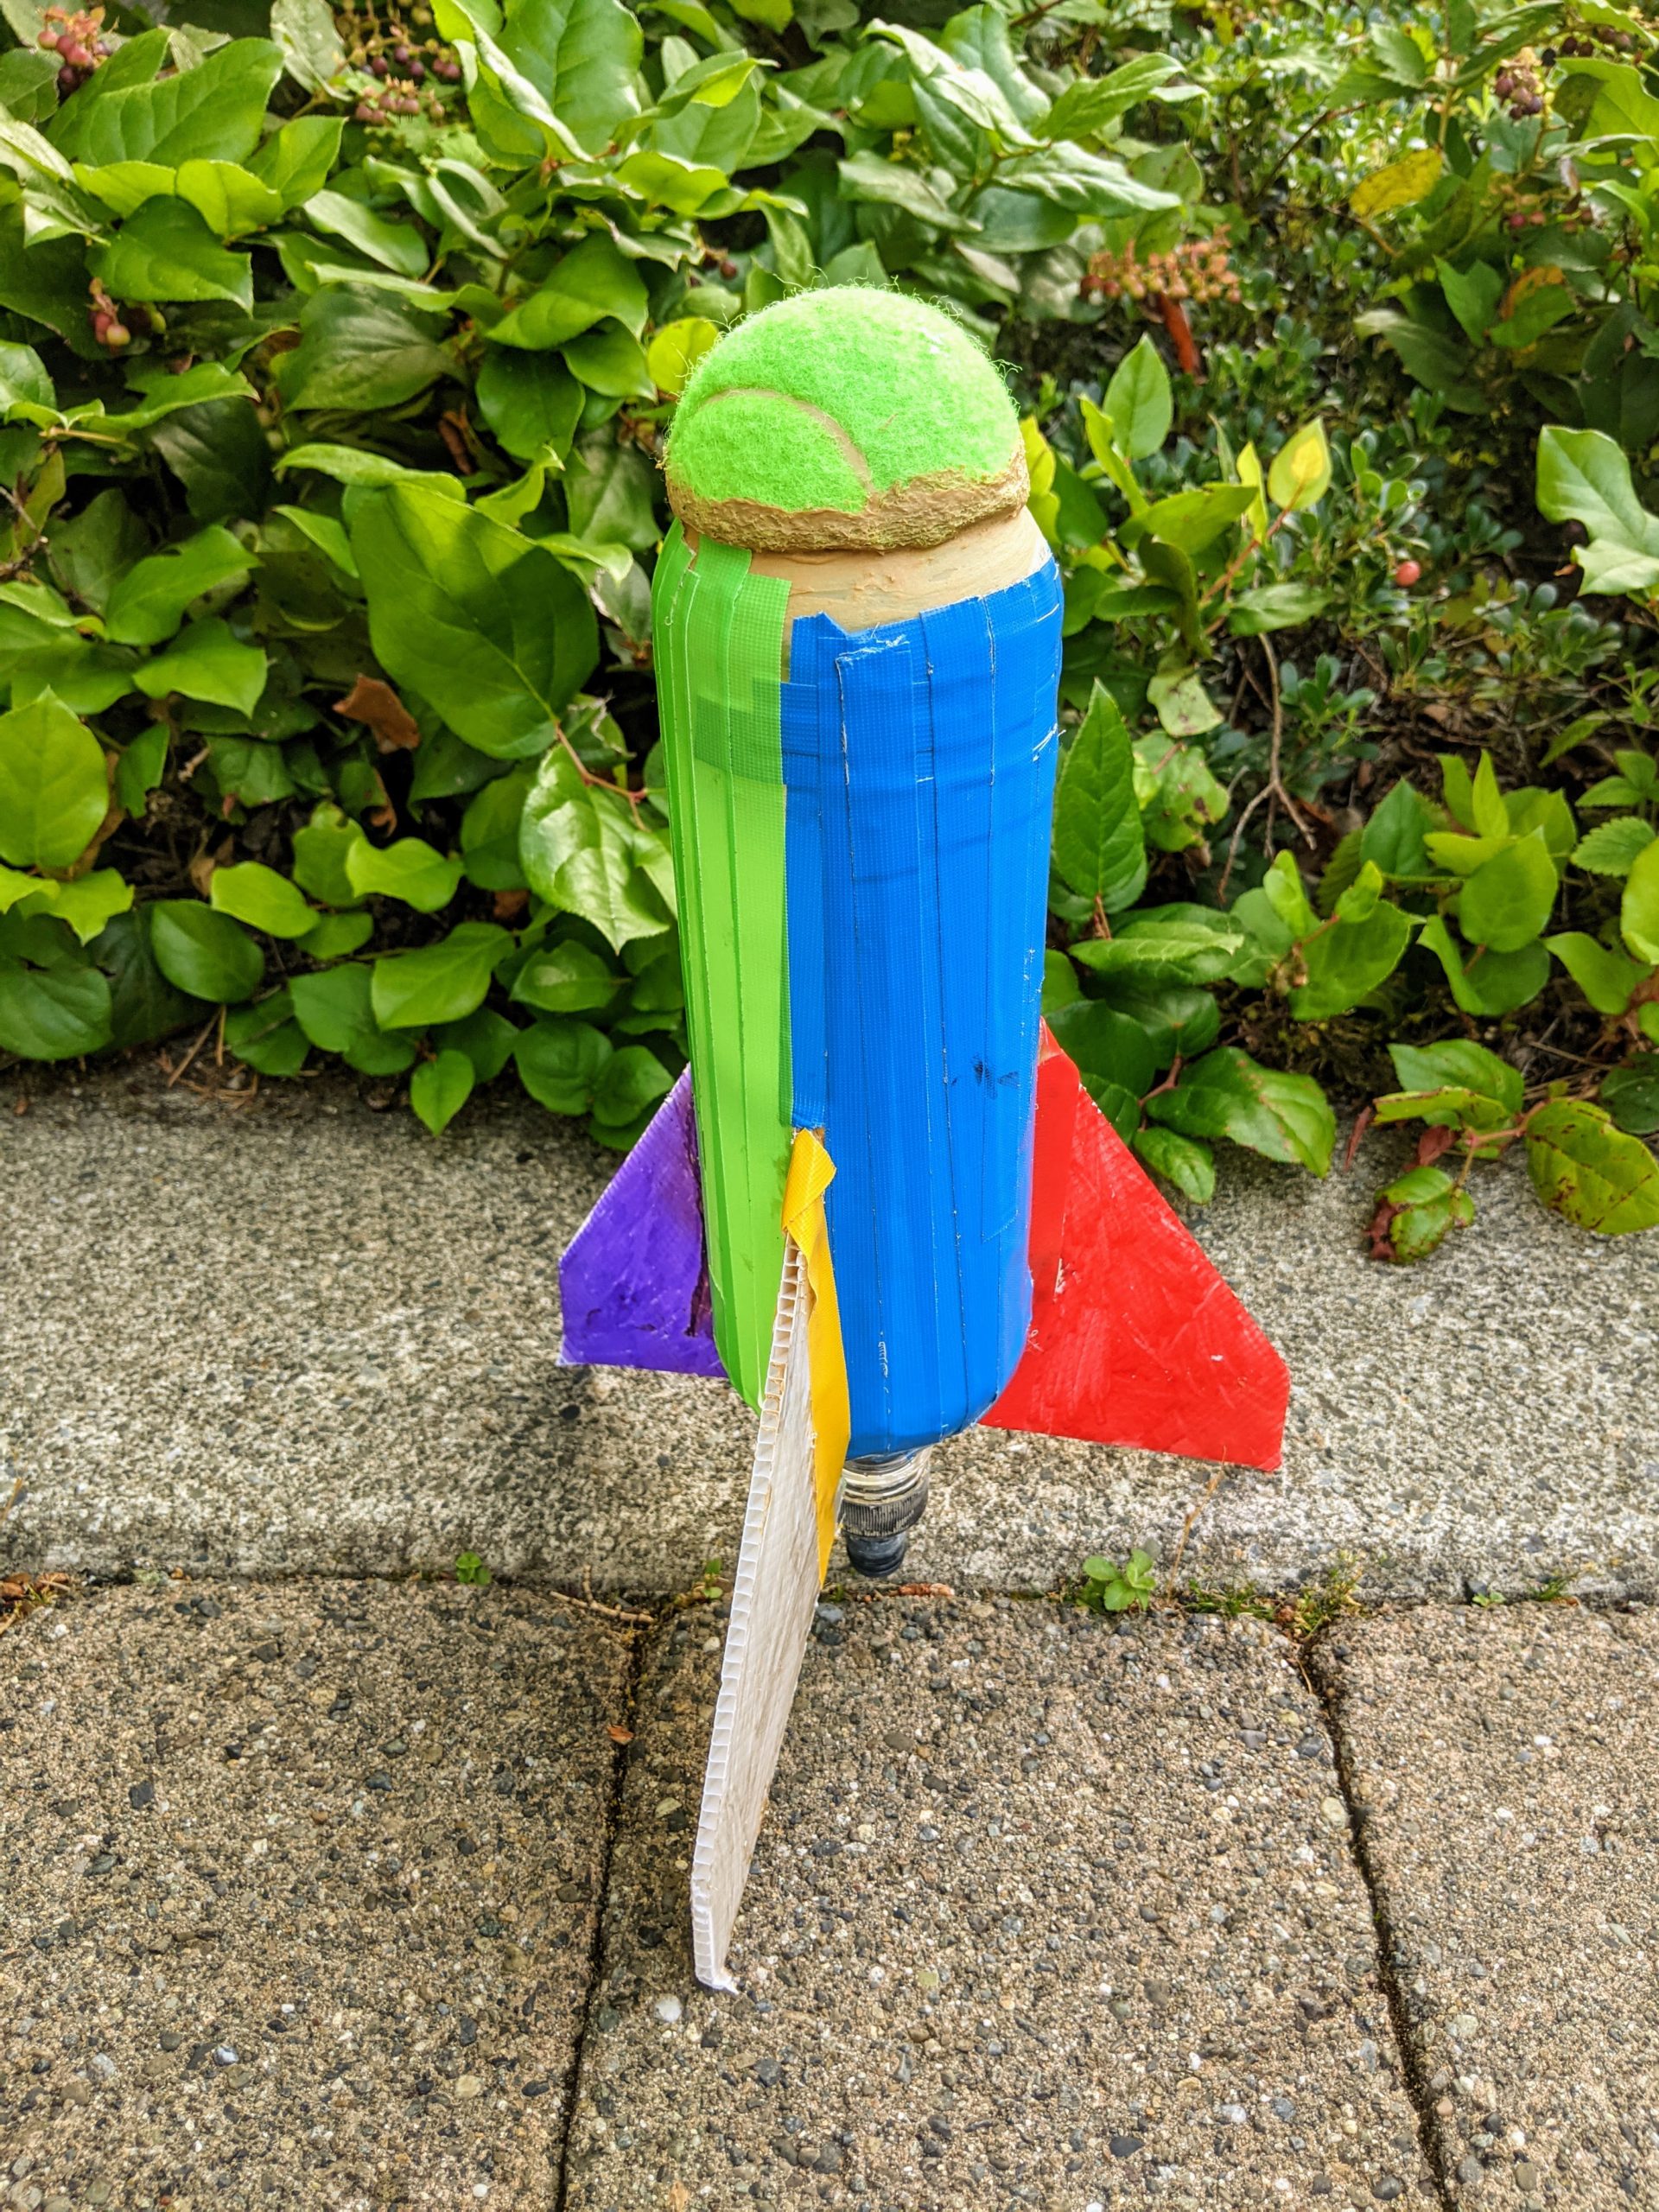
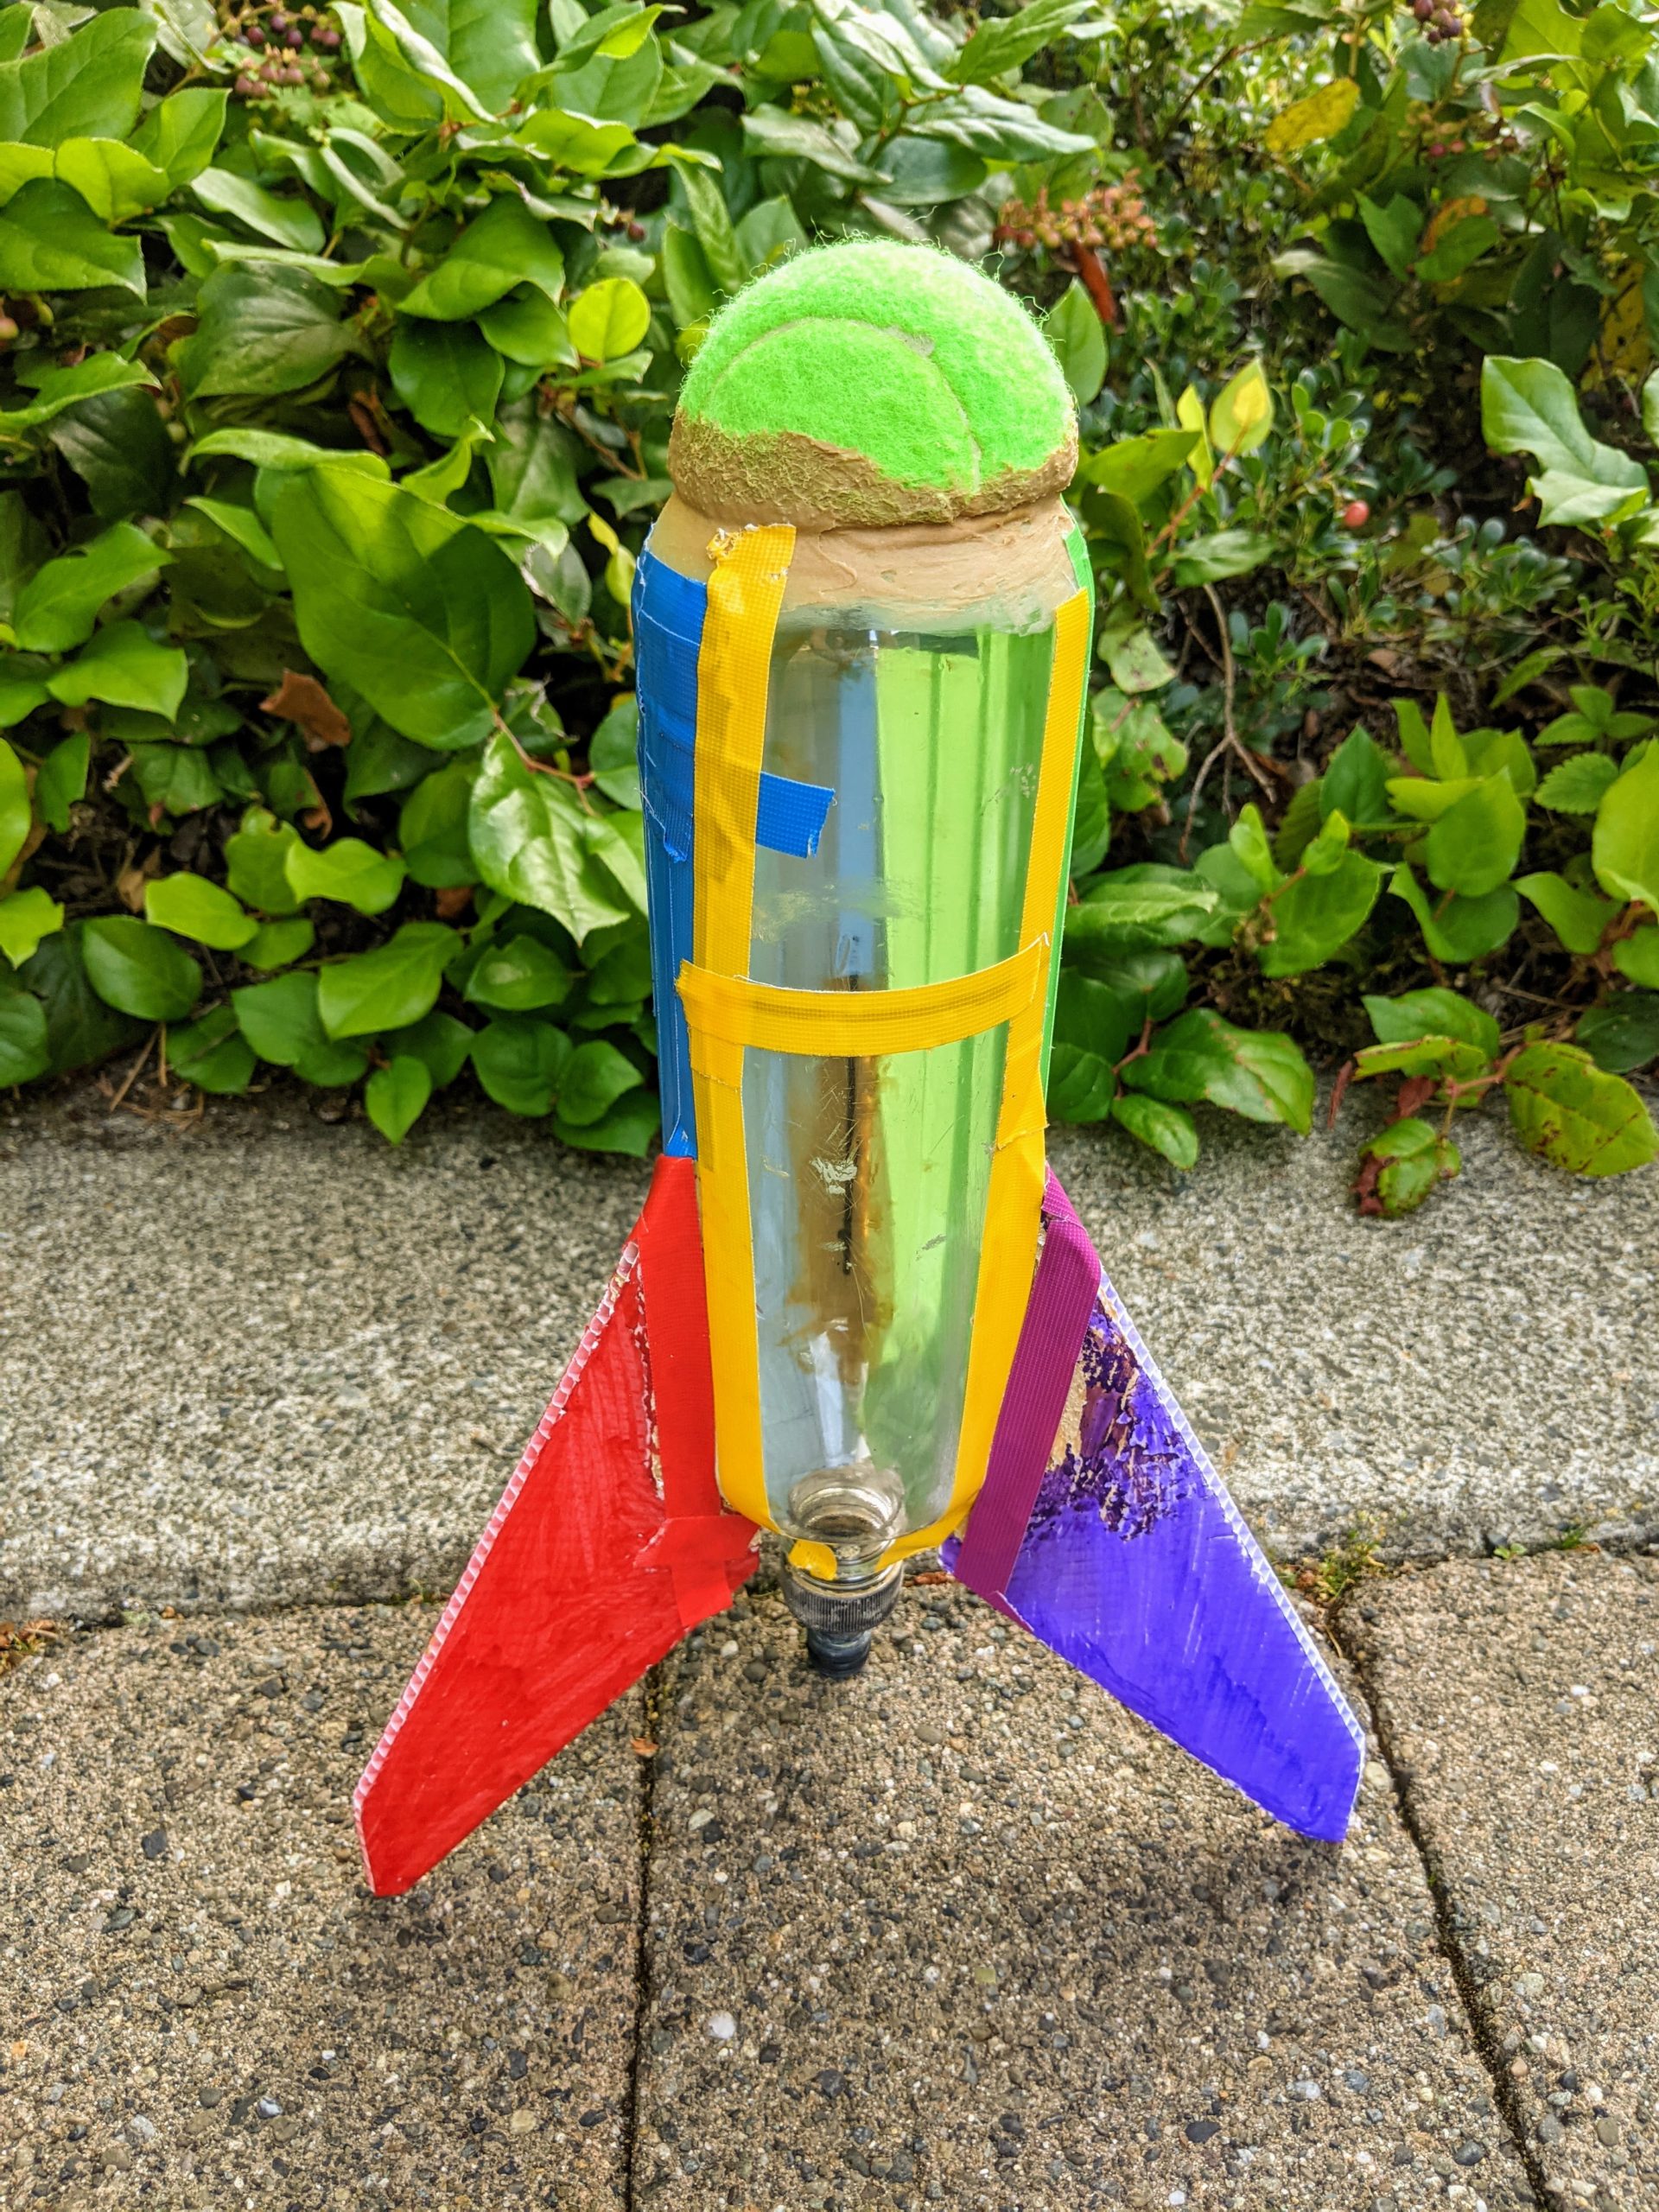
Alice’s ASP Stretch Stubby.

It’s a Stretch Stubby kit from ASP that we received as a surprise gift in an order from a Fourth-of-July sale. It’s one member of a family of “Stubby” rockets from ASP, the other, shorter, ones being actually stubby. We were immediately intrigued to see that the rocket’s made up of several sections of tube, not one. That meant we could convert the kit just a bit so that it can be prepped and launched with any combination and ordering of the sections. Seeing how easy it’d be, I was actually a bit surprised the kit wasn’t designed explicitly to do so. In any event, having distinct sections like that would make it really easy for Alice to paint them in different colors. She was also very interested in being able to change the configuration before each flight. So she got to work on a sketch of her desired paint scheme and I made up a simulation model to evaluate the stability of different length configurations.

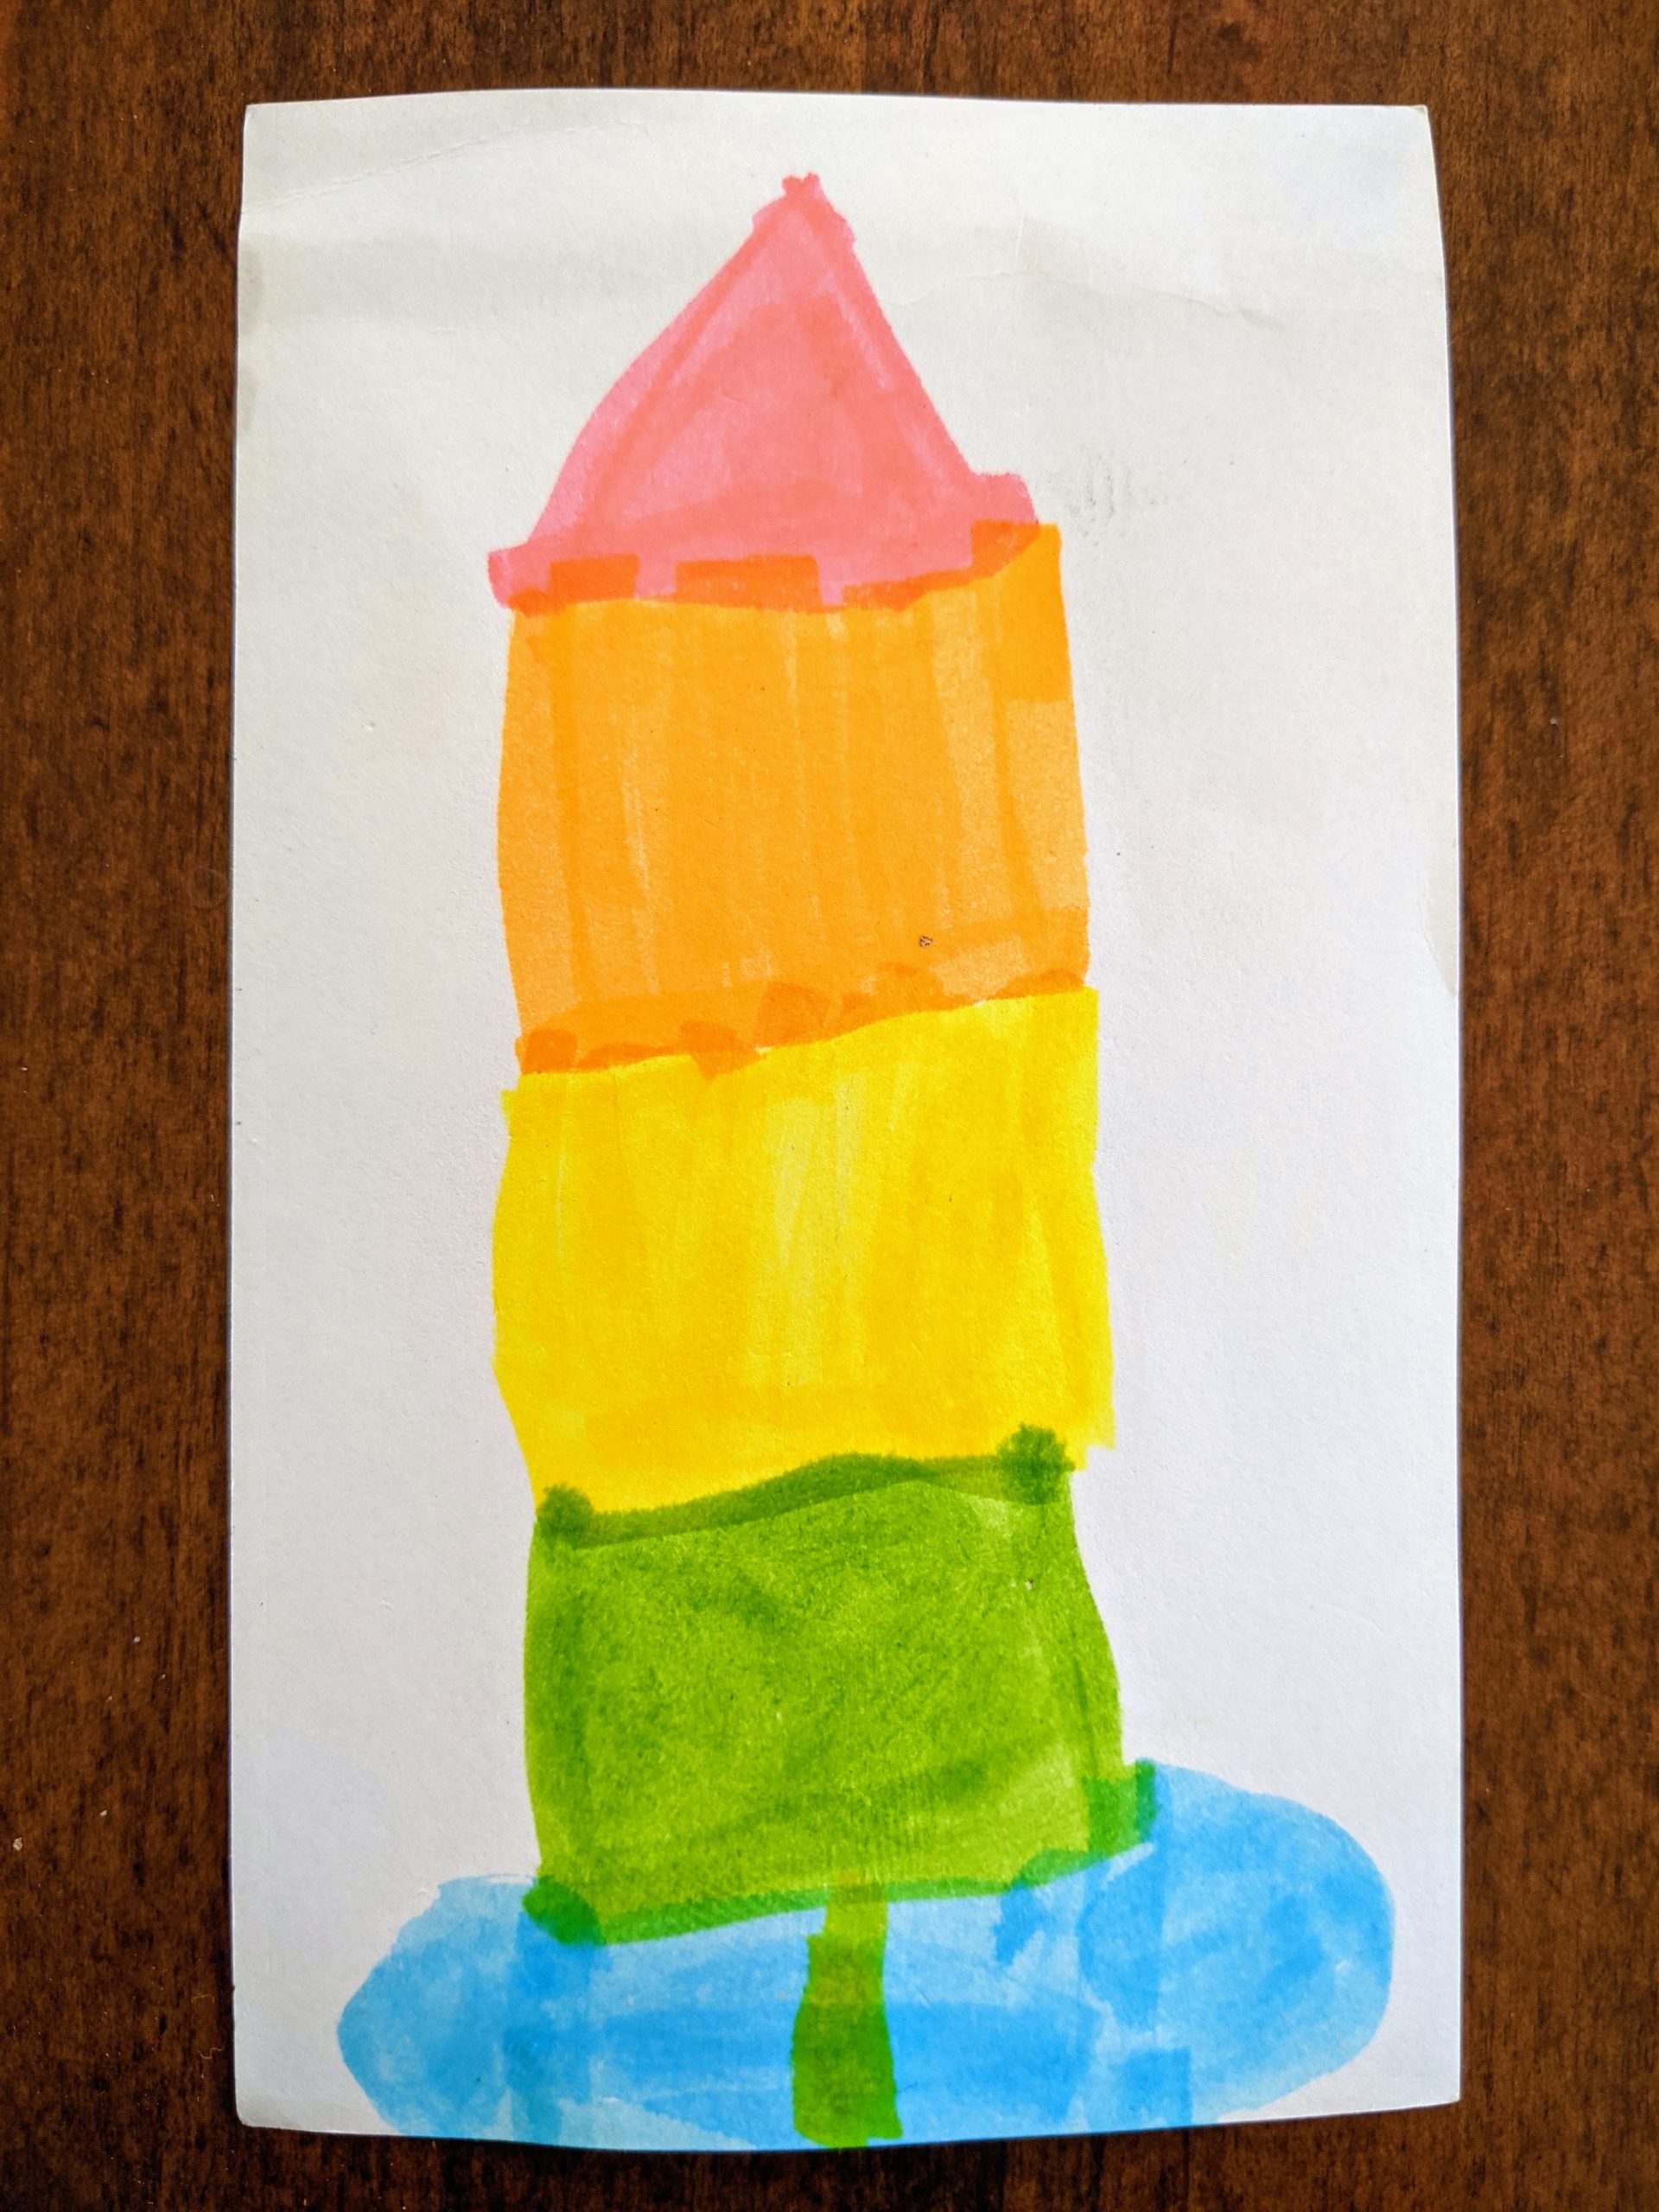
Alice’s design sketch.

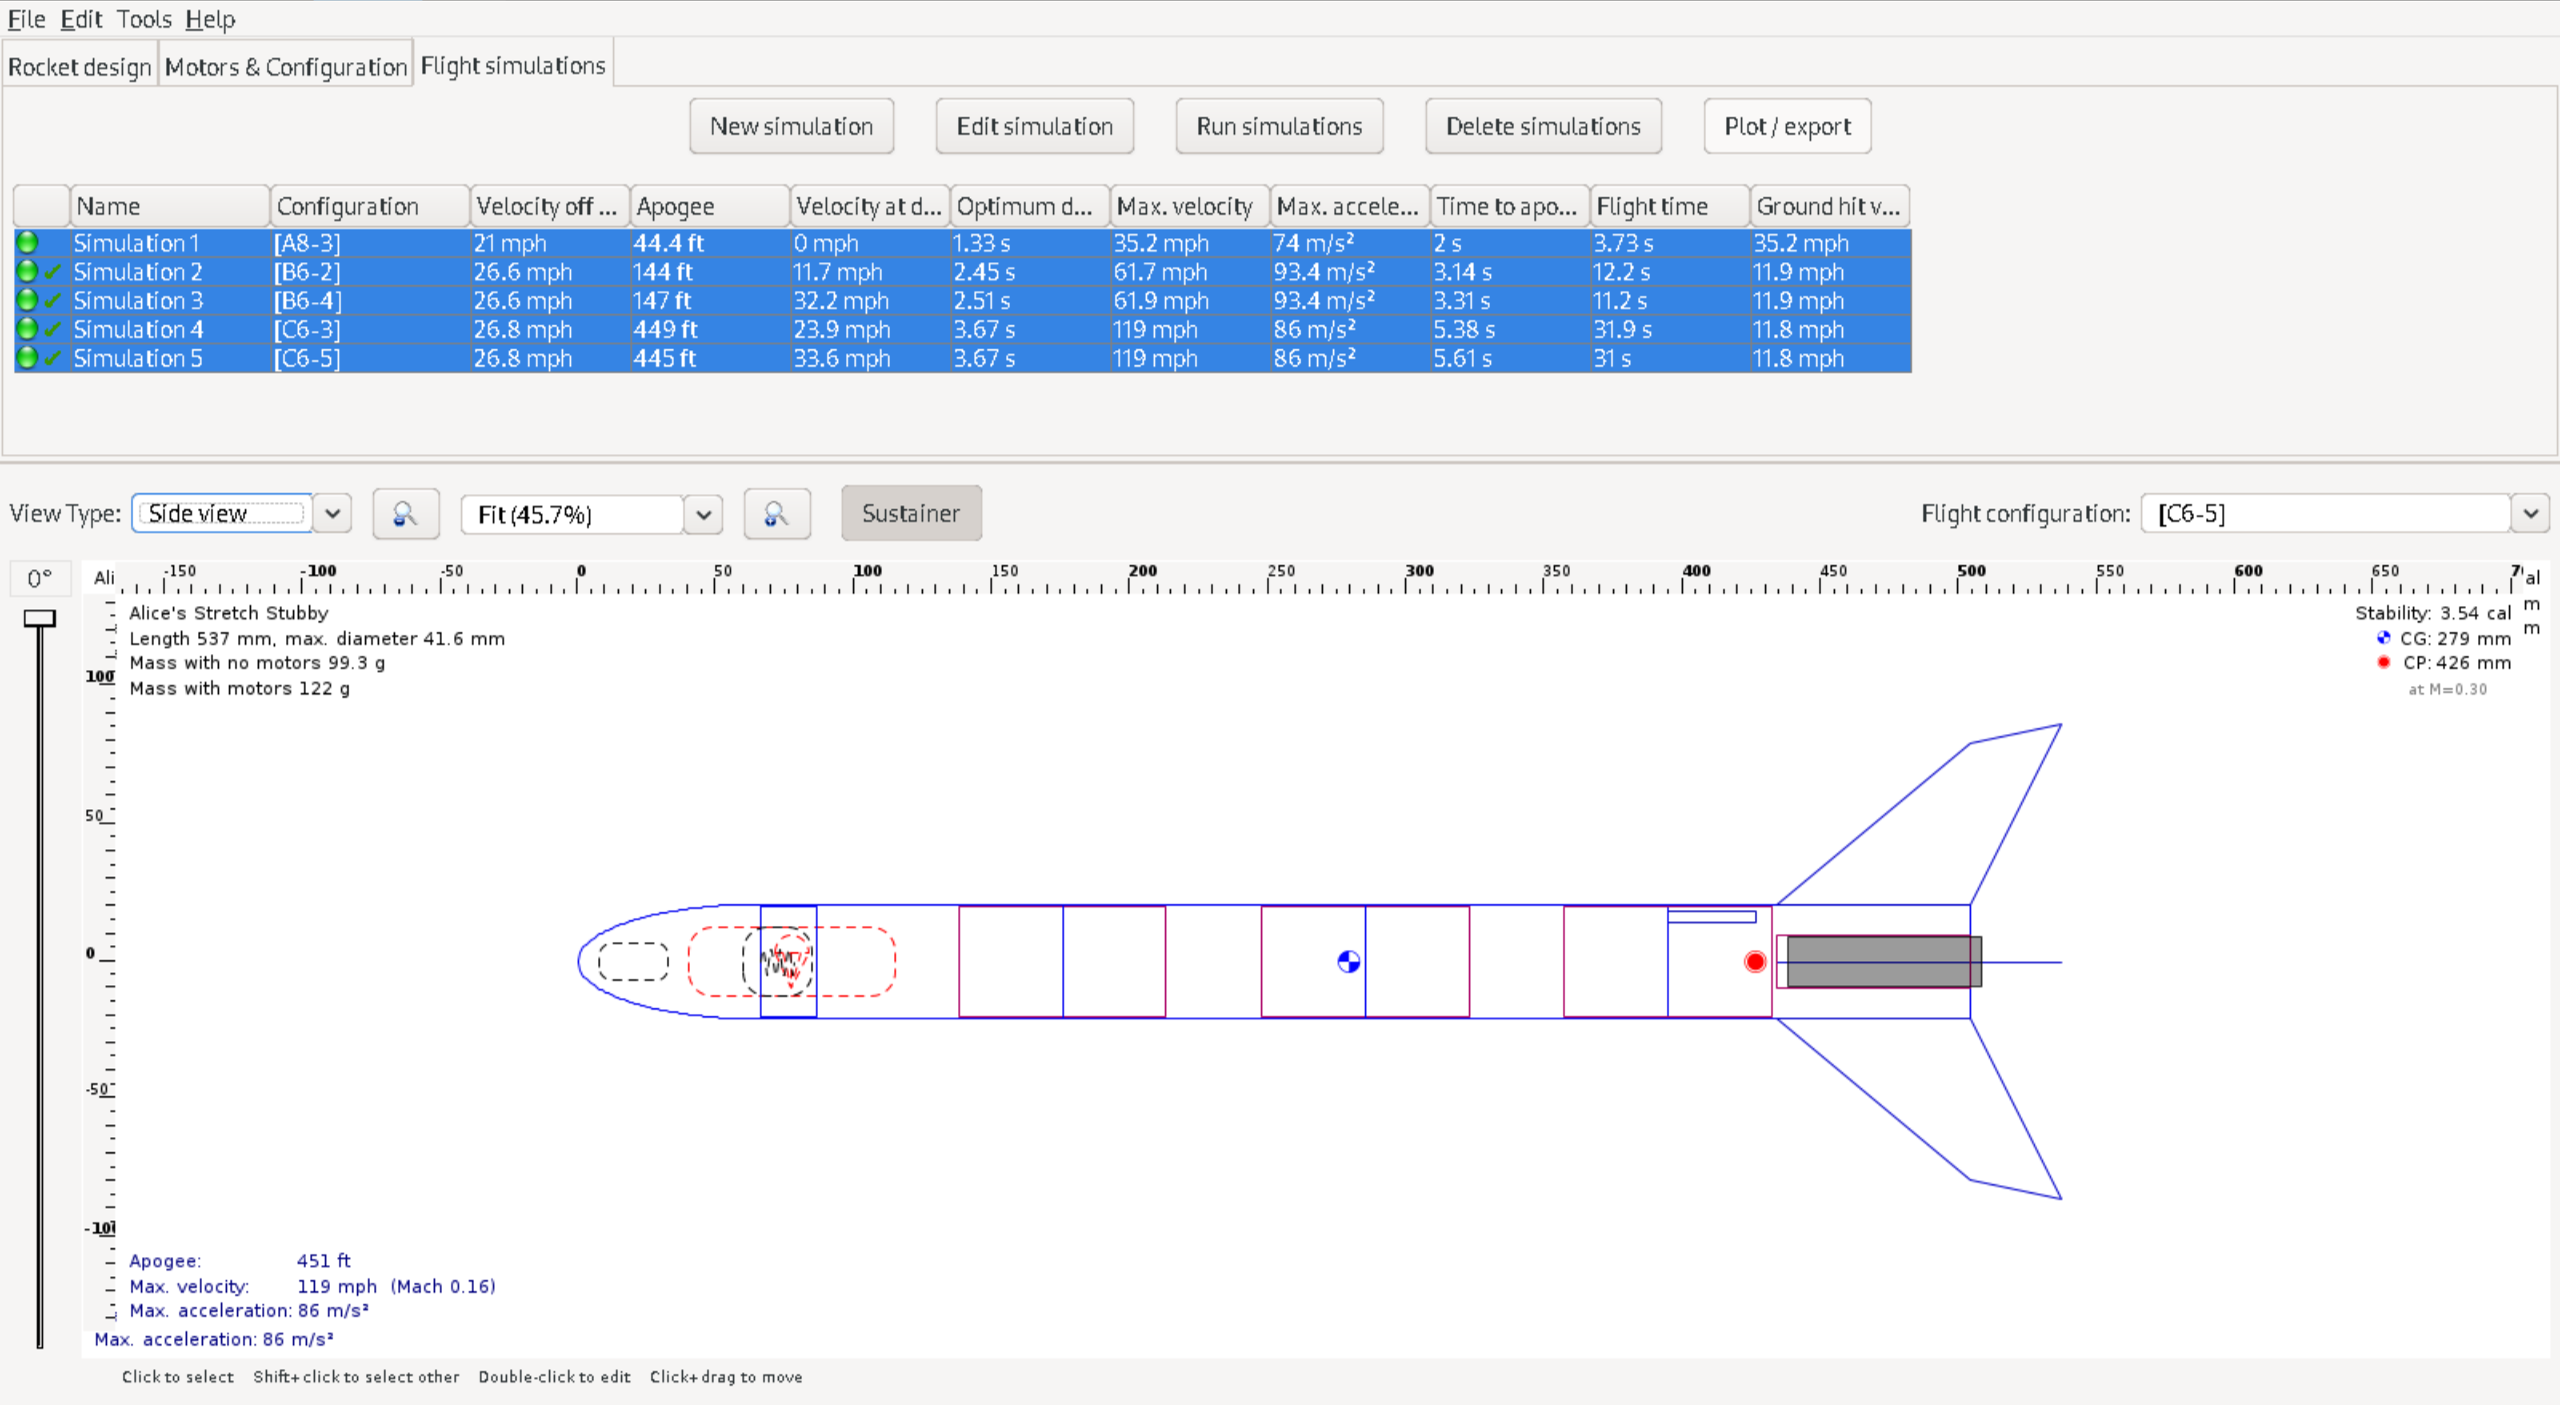
Simulation in OpenRocket of full 4-segment Stretch Stubby.

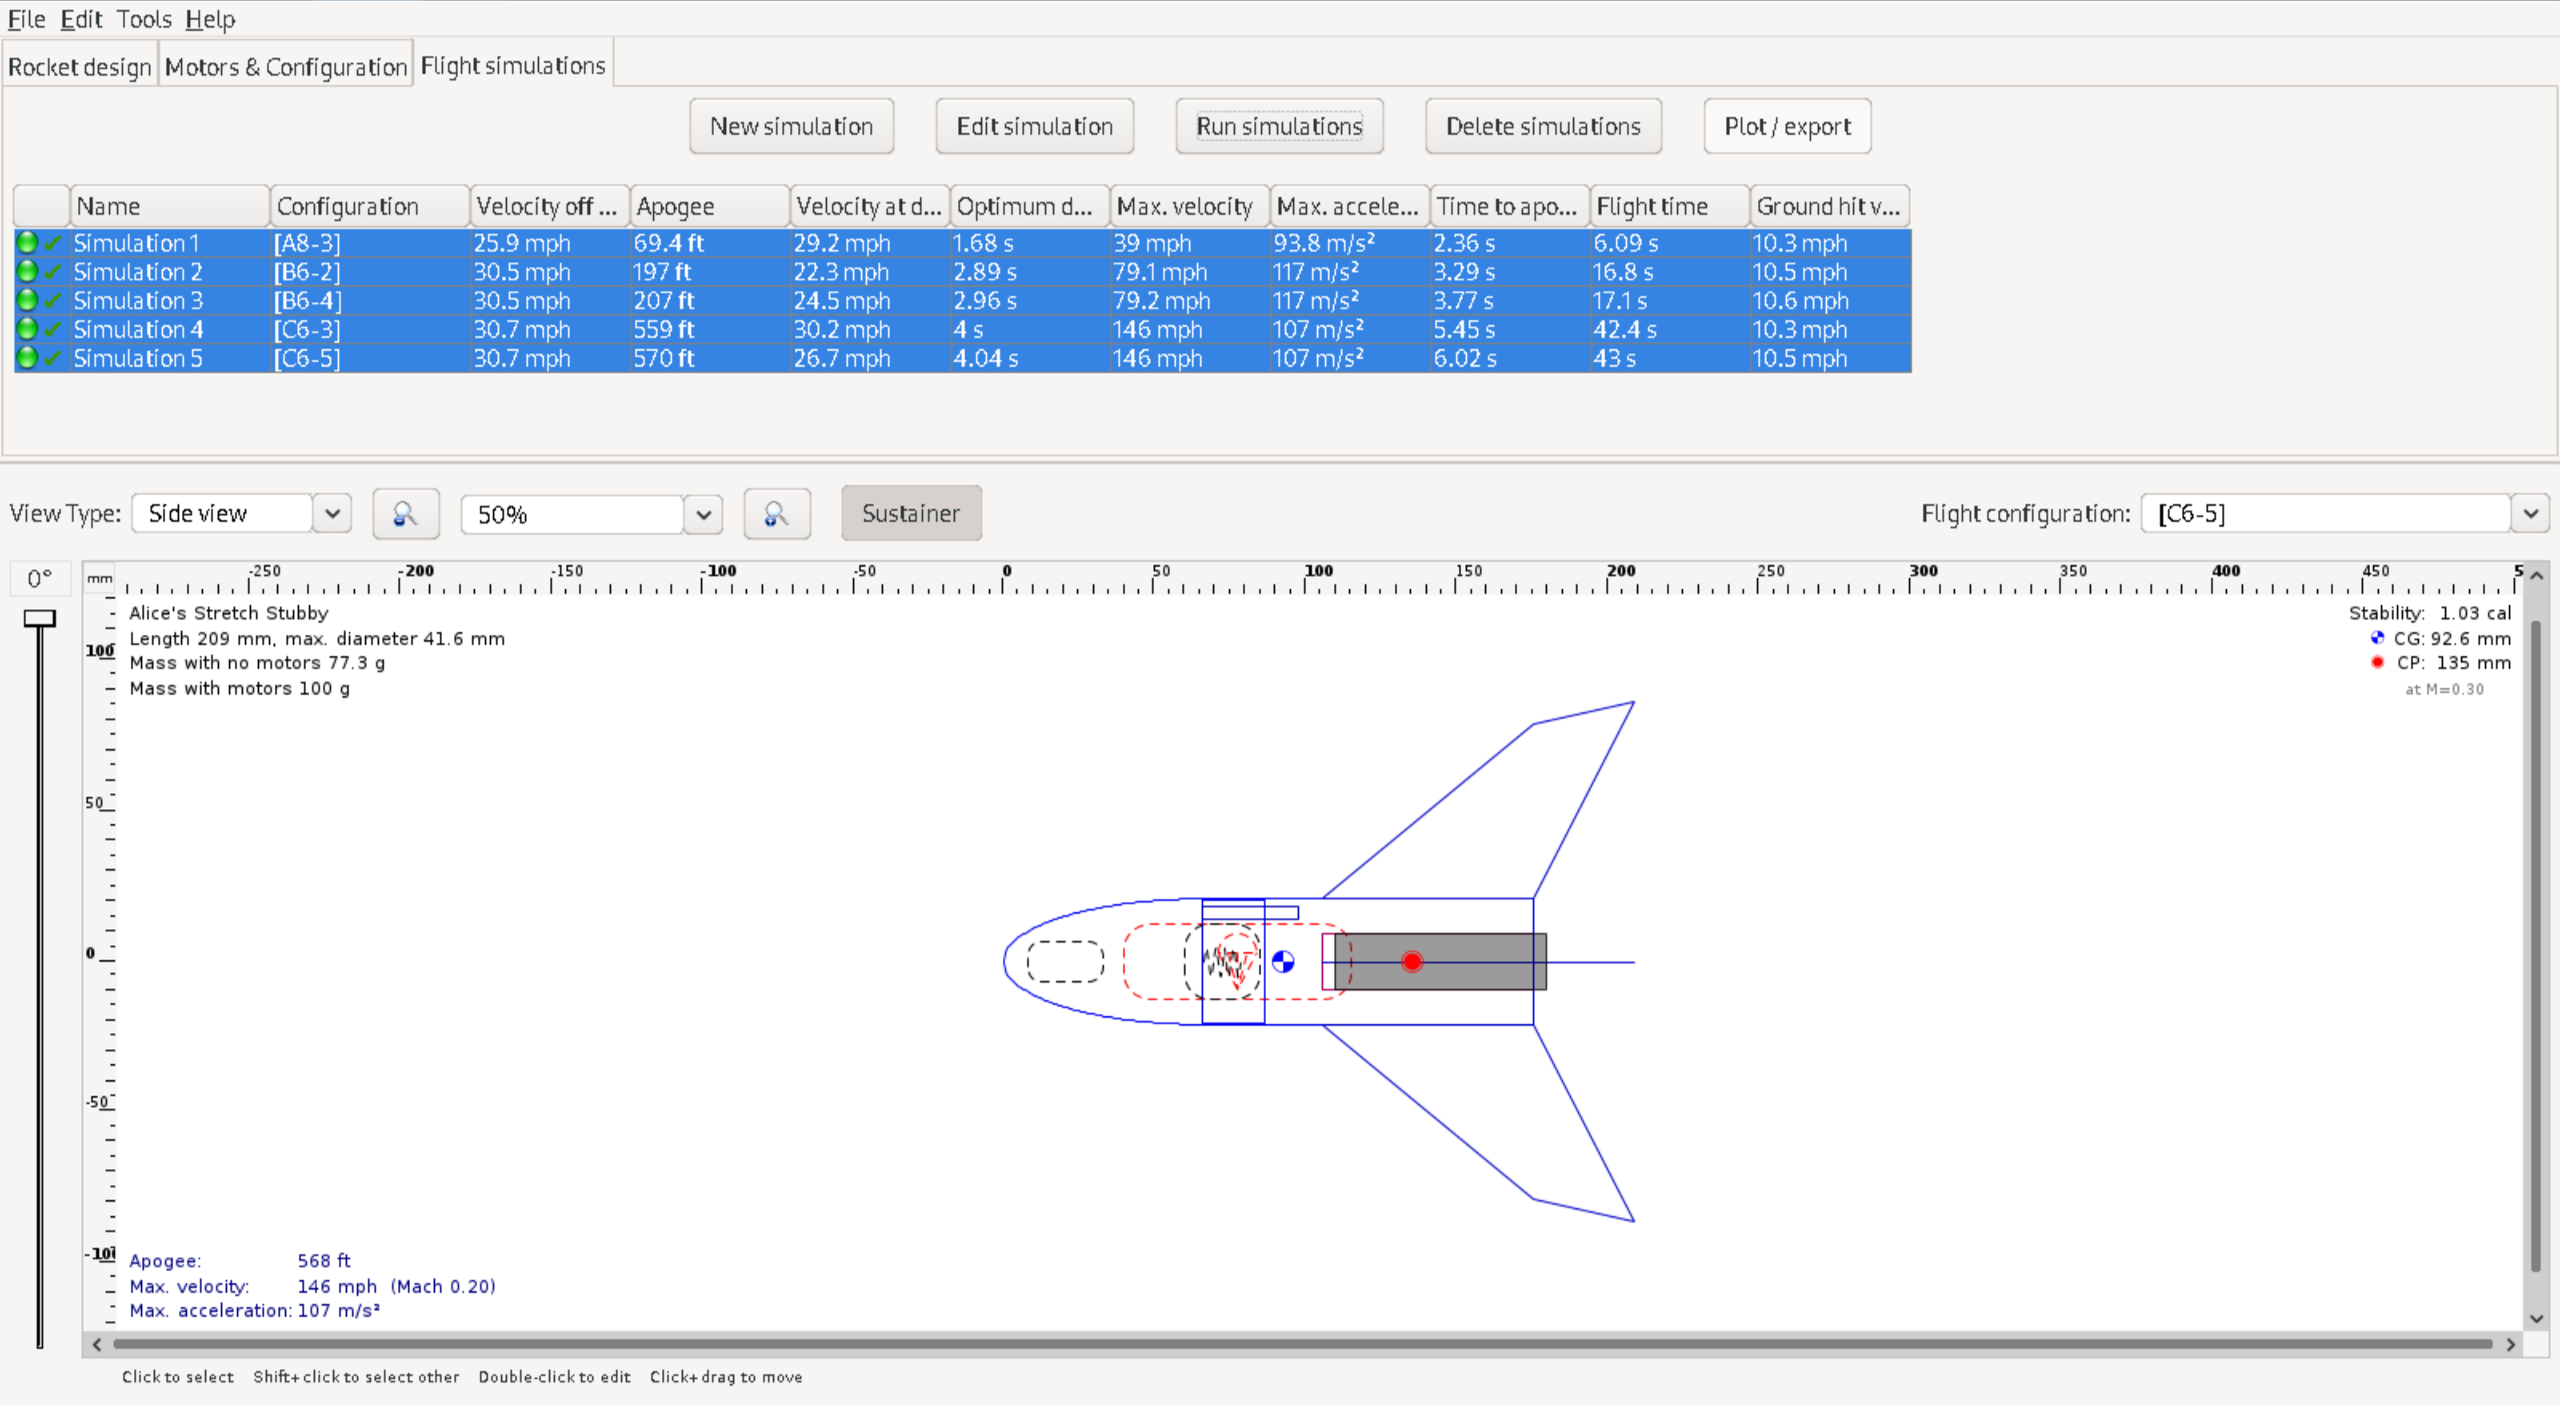
Simulation in OpenRocket of minimal 1-segment Stretch Stubby.

Design & Construction

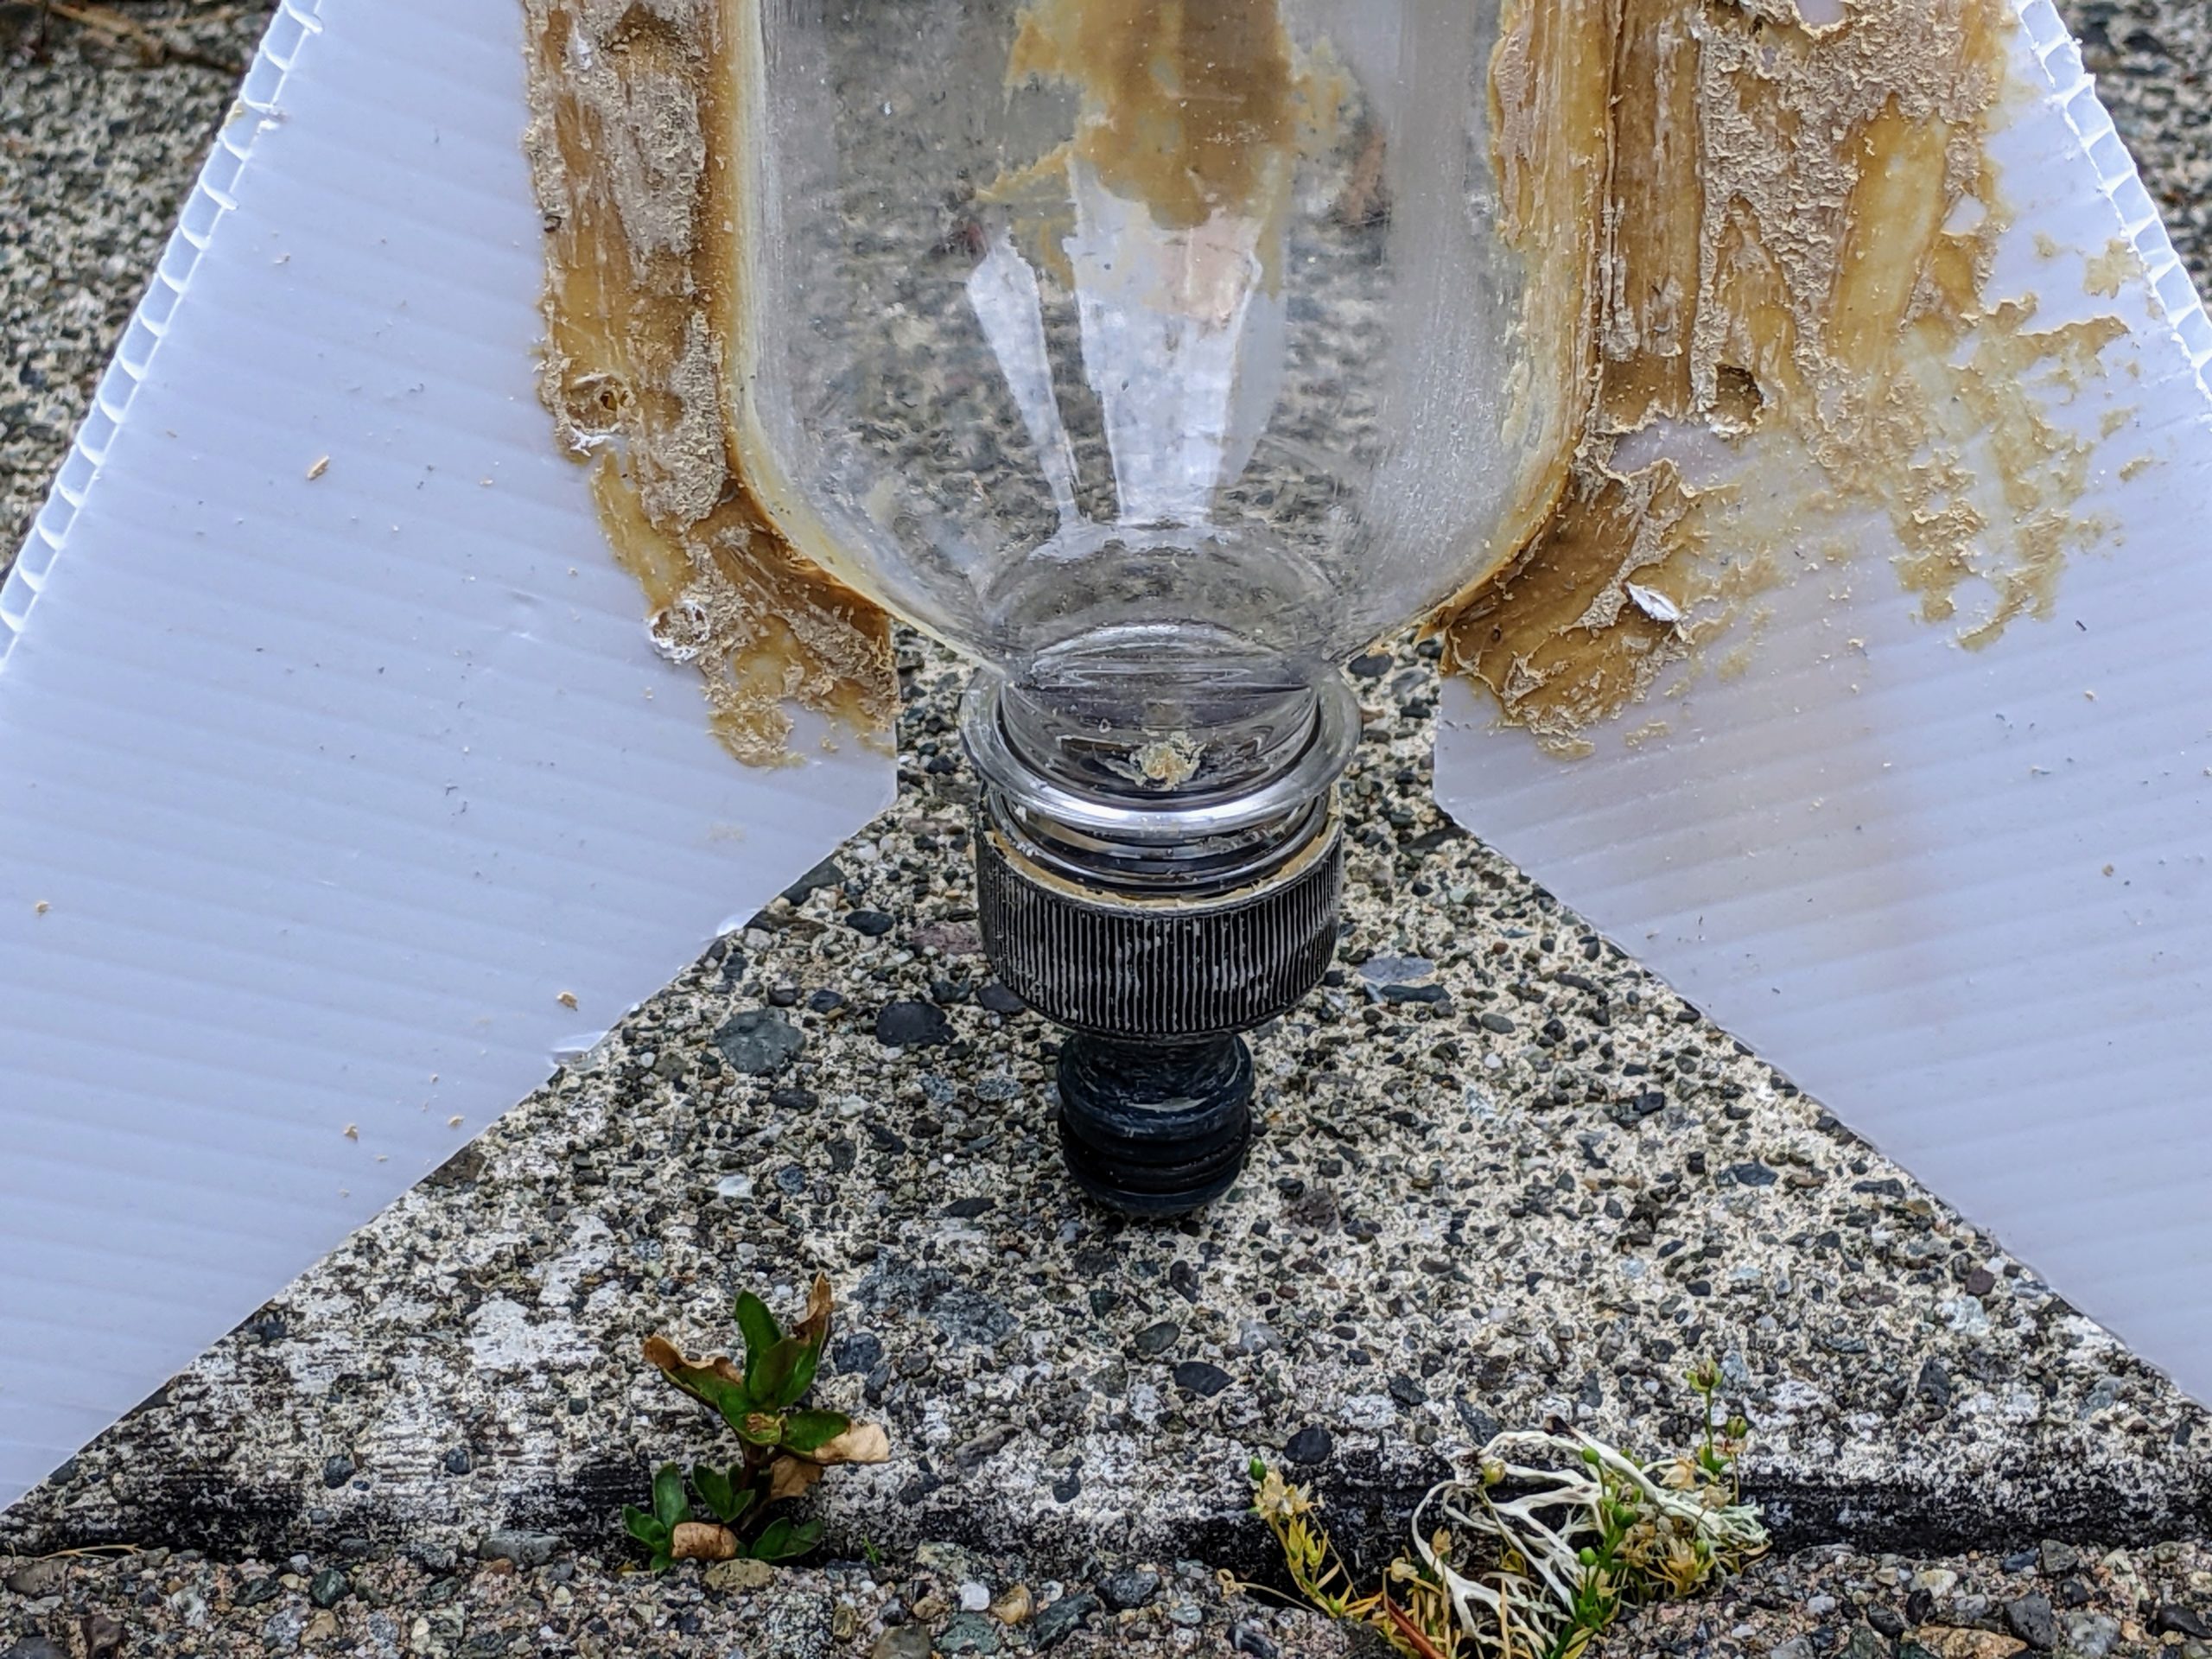
It turned out all of the configurations were projected to be stable without modification except for flying with solely the tail and nosecone. To add just a little challenge, shifting the center of gravity far enough ahead of the center of pressure in that minimal setup would require a lot of weight if added at the base of the nosecone—the weight would be practically right at the center of pressure given the minimal body length. The ballast had to go at the very tip of the nosecone, and ideally only in this configuration. So I swapped the gorgeous BT-60 MS balsa nosecone from the kit with a plastic one I had laying around. I cut the shoulder open and made a 3D printed screw-in compartment that could be epoxied into the tip. With more time I would have designed & printed a whole nosecone with an integral compartment, but we were on a tight schedule. That compartment provides a place to firmly secure varying weights right at the farthest forward point of the rocket. It also holds the weight in a fixed position rather than swinging about if it was just clipped to the line. The hollow nosecone also let the parachute be packed inside, shifting that weight forward as well. The compartment’s plug additionally serves as the tie down anchor for the shock cord. After unscrewing it and unhooking the parachute’s snap swivel attachment, the line passes easily through the tube sections for swapping them in and out.

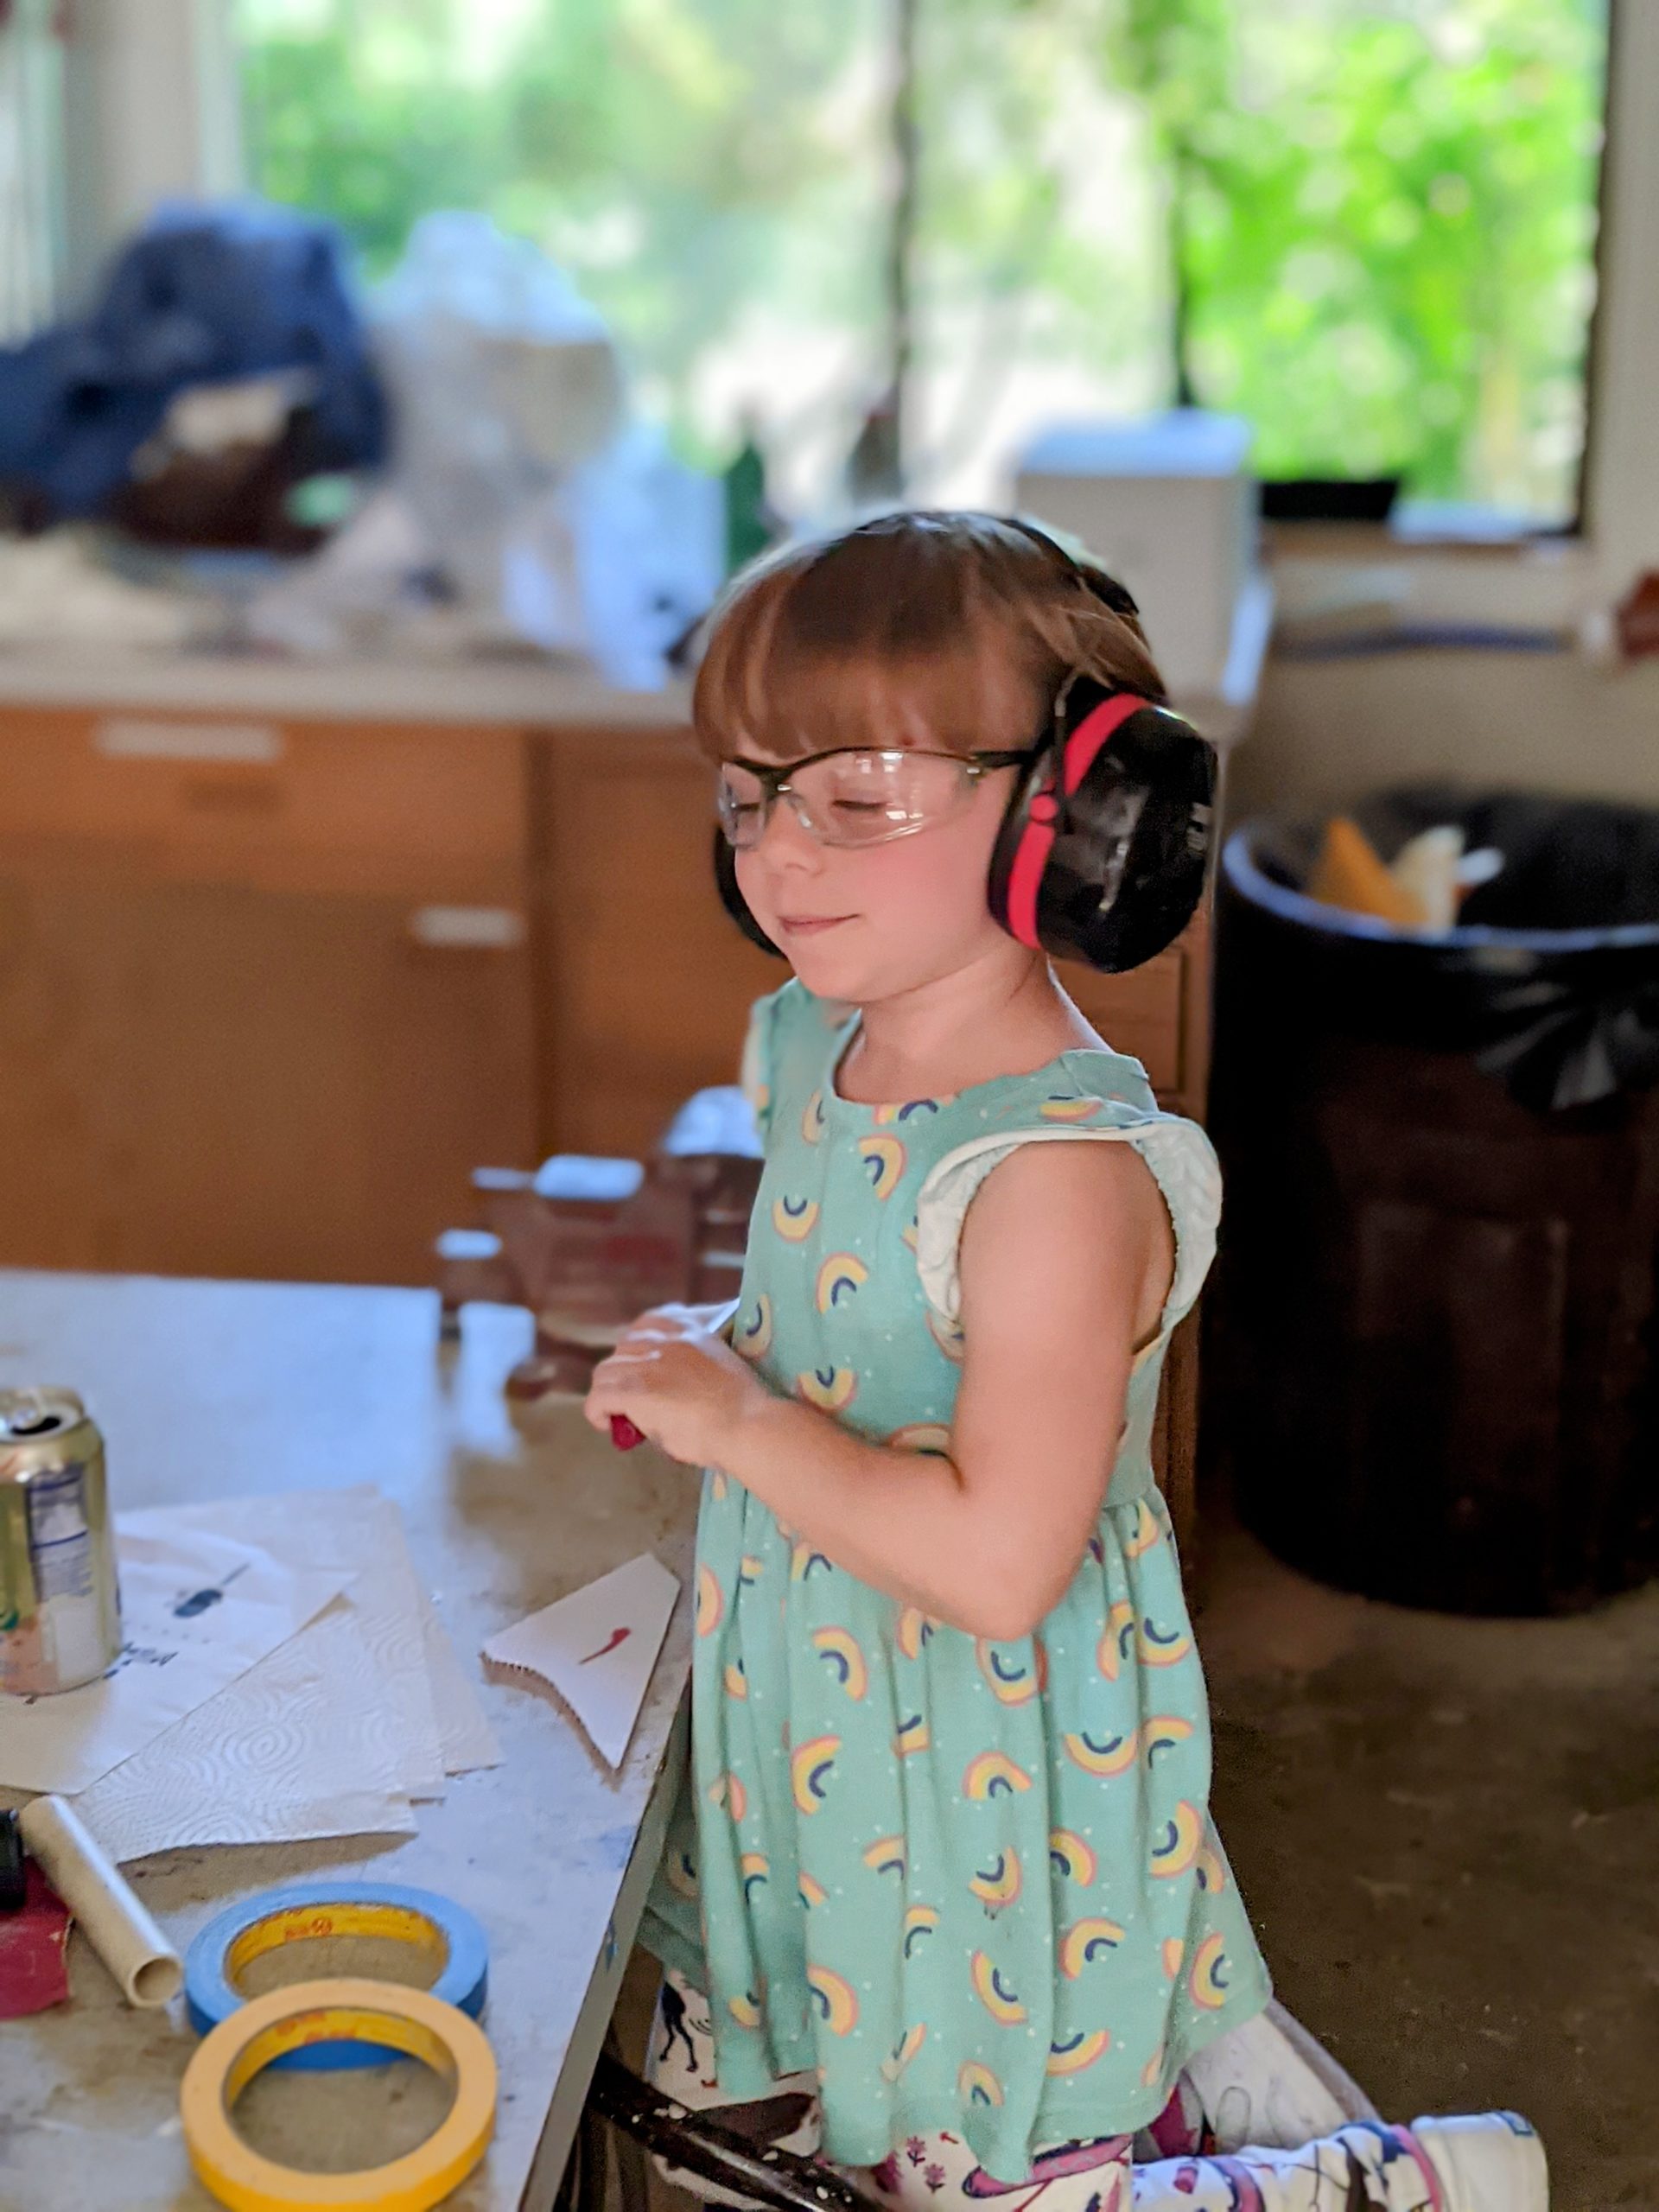
After assembling the rocket together, Alice painted it precisely to her previously devised specifications. Her spray painting has improved quite visibly the past few months. Size and weight of the cans is still a challenge, even with a pistol grip attachment, but she’s gotten vastly better at not spraying the paint on too thickly in one go. This time she did though thoroughly entertain herself by “accidentally” heavily spray painting my hand purple while I was holding the nosecone for her. Periodically for days afterward she would randomly stop amid some other activity and ask “Daddy, why’s your hand purple??” and cackle wildly.

In the end, having constructed, finished, and weighed everything to update the simulation with real numbers, a 20g fishing weight tucked into the compartment was projected to make the minimal configuration satisfactorily stable.

Gluing the tube couplers into the body sections.

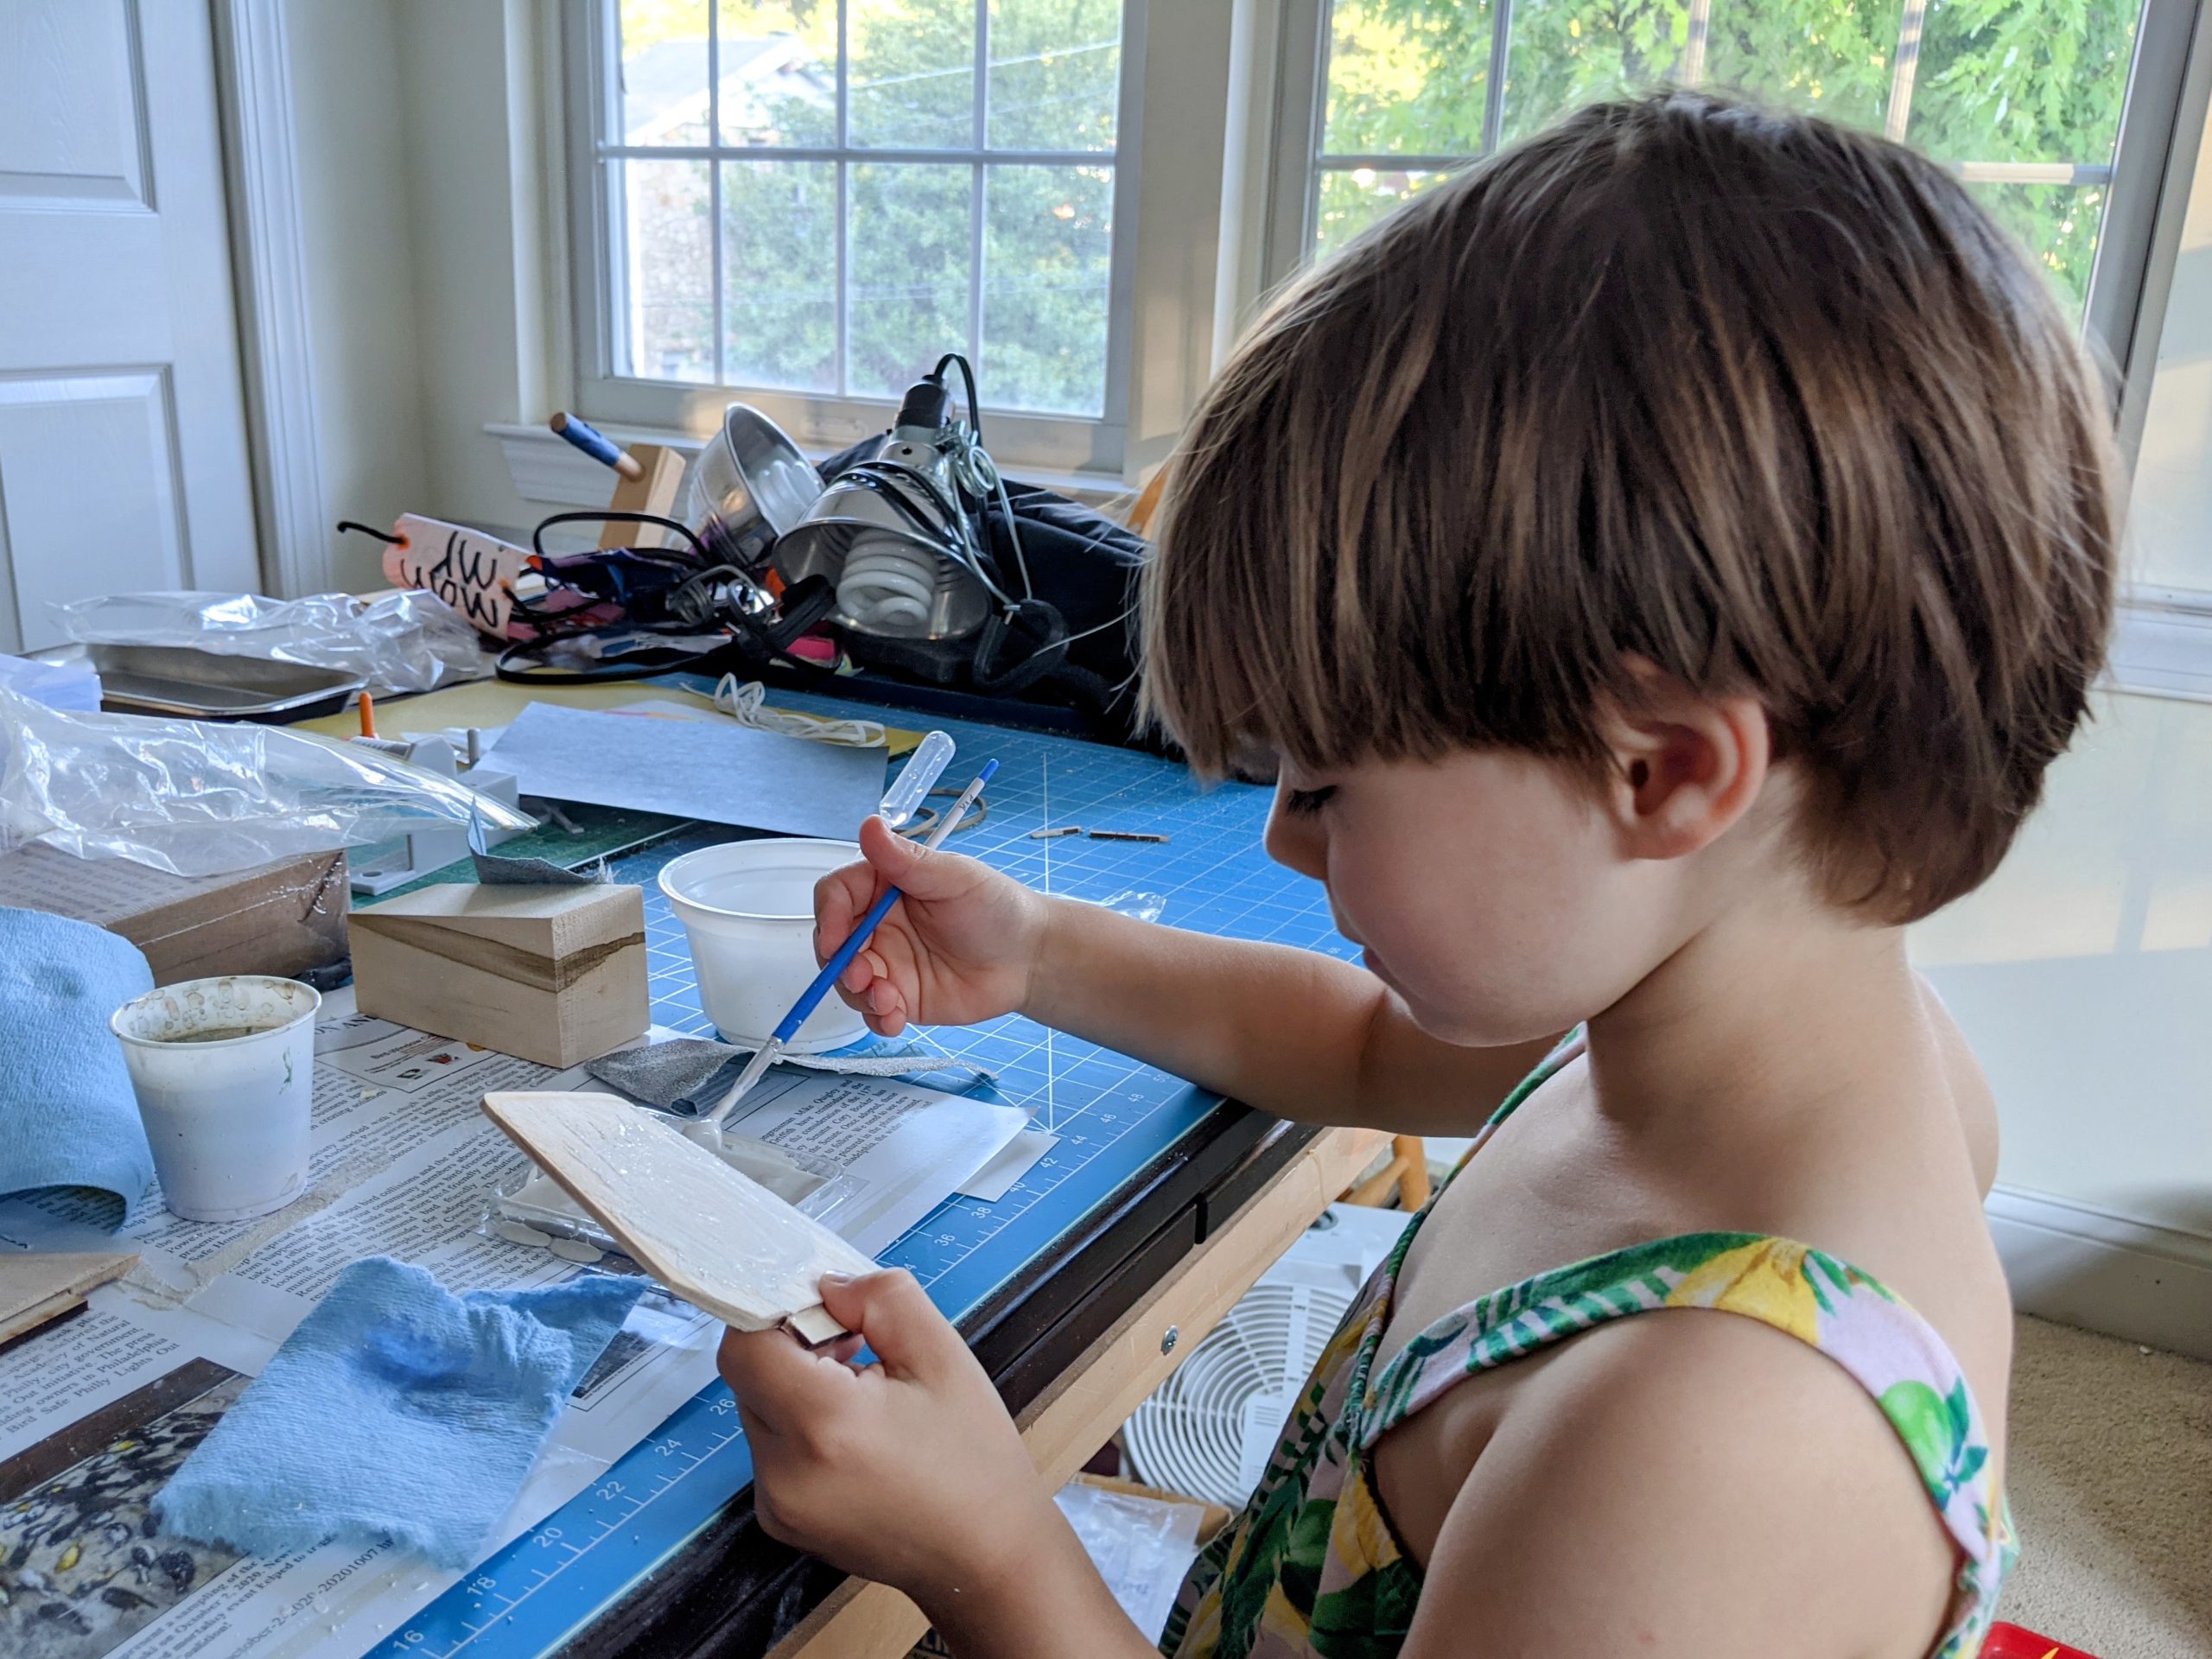
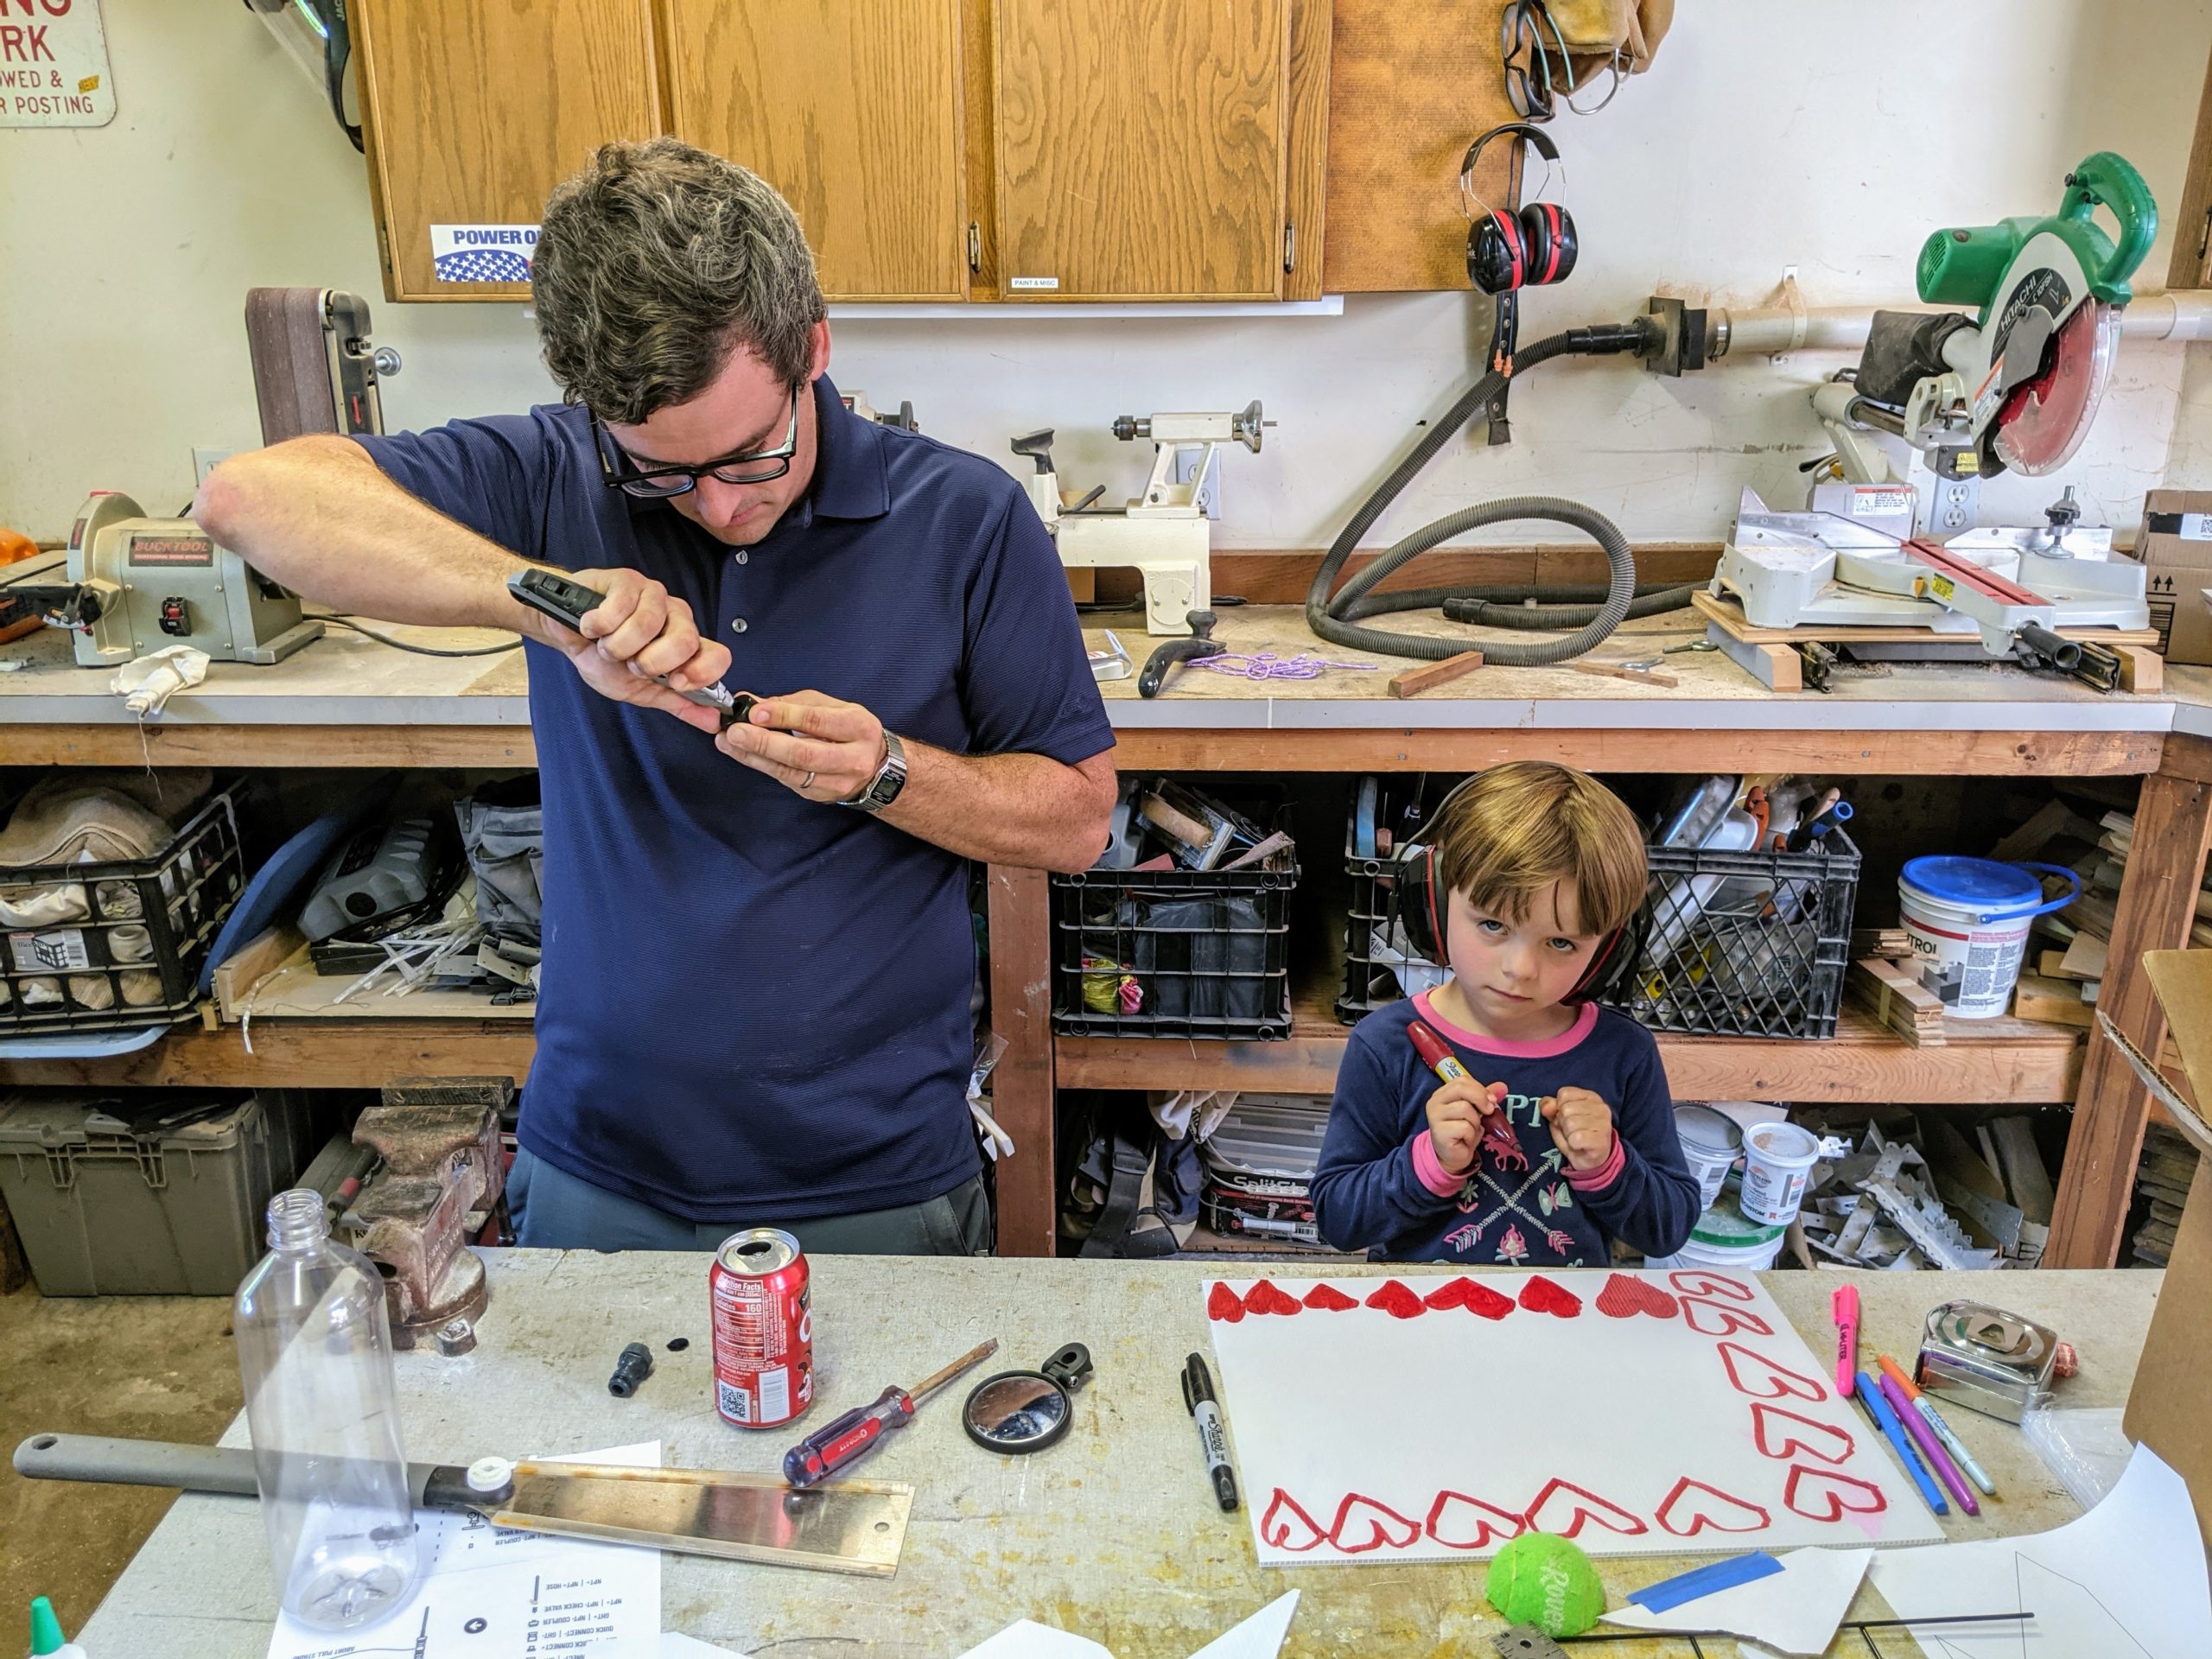
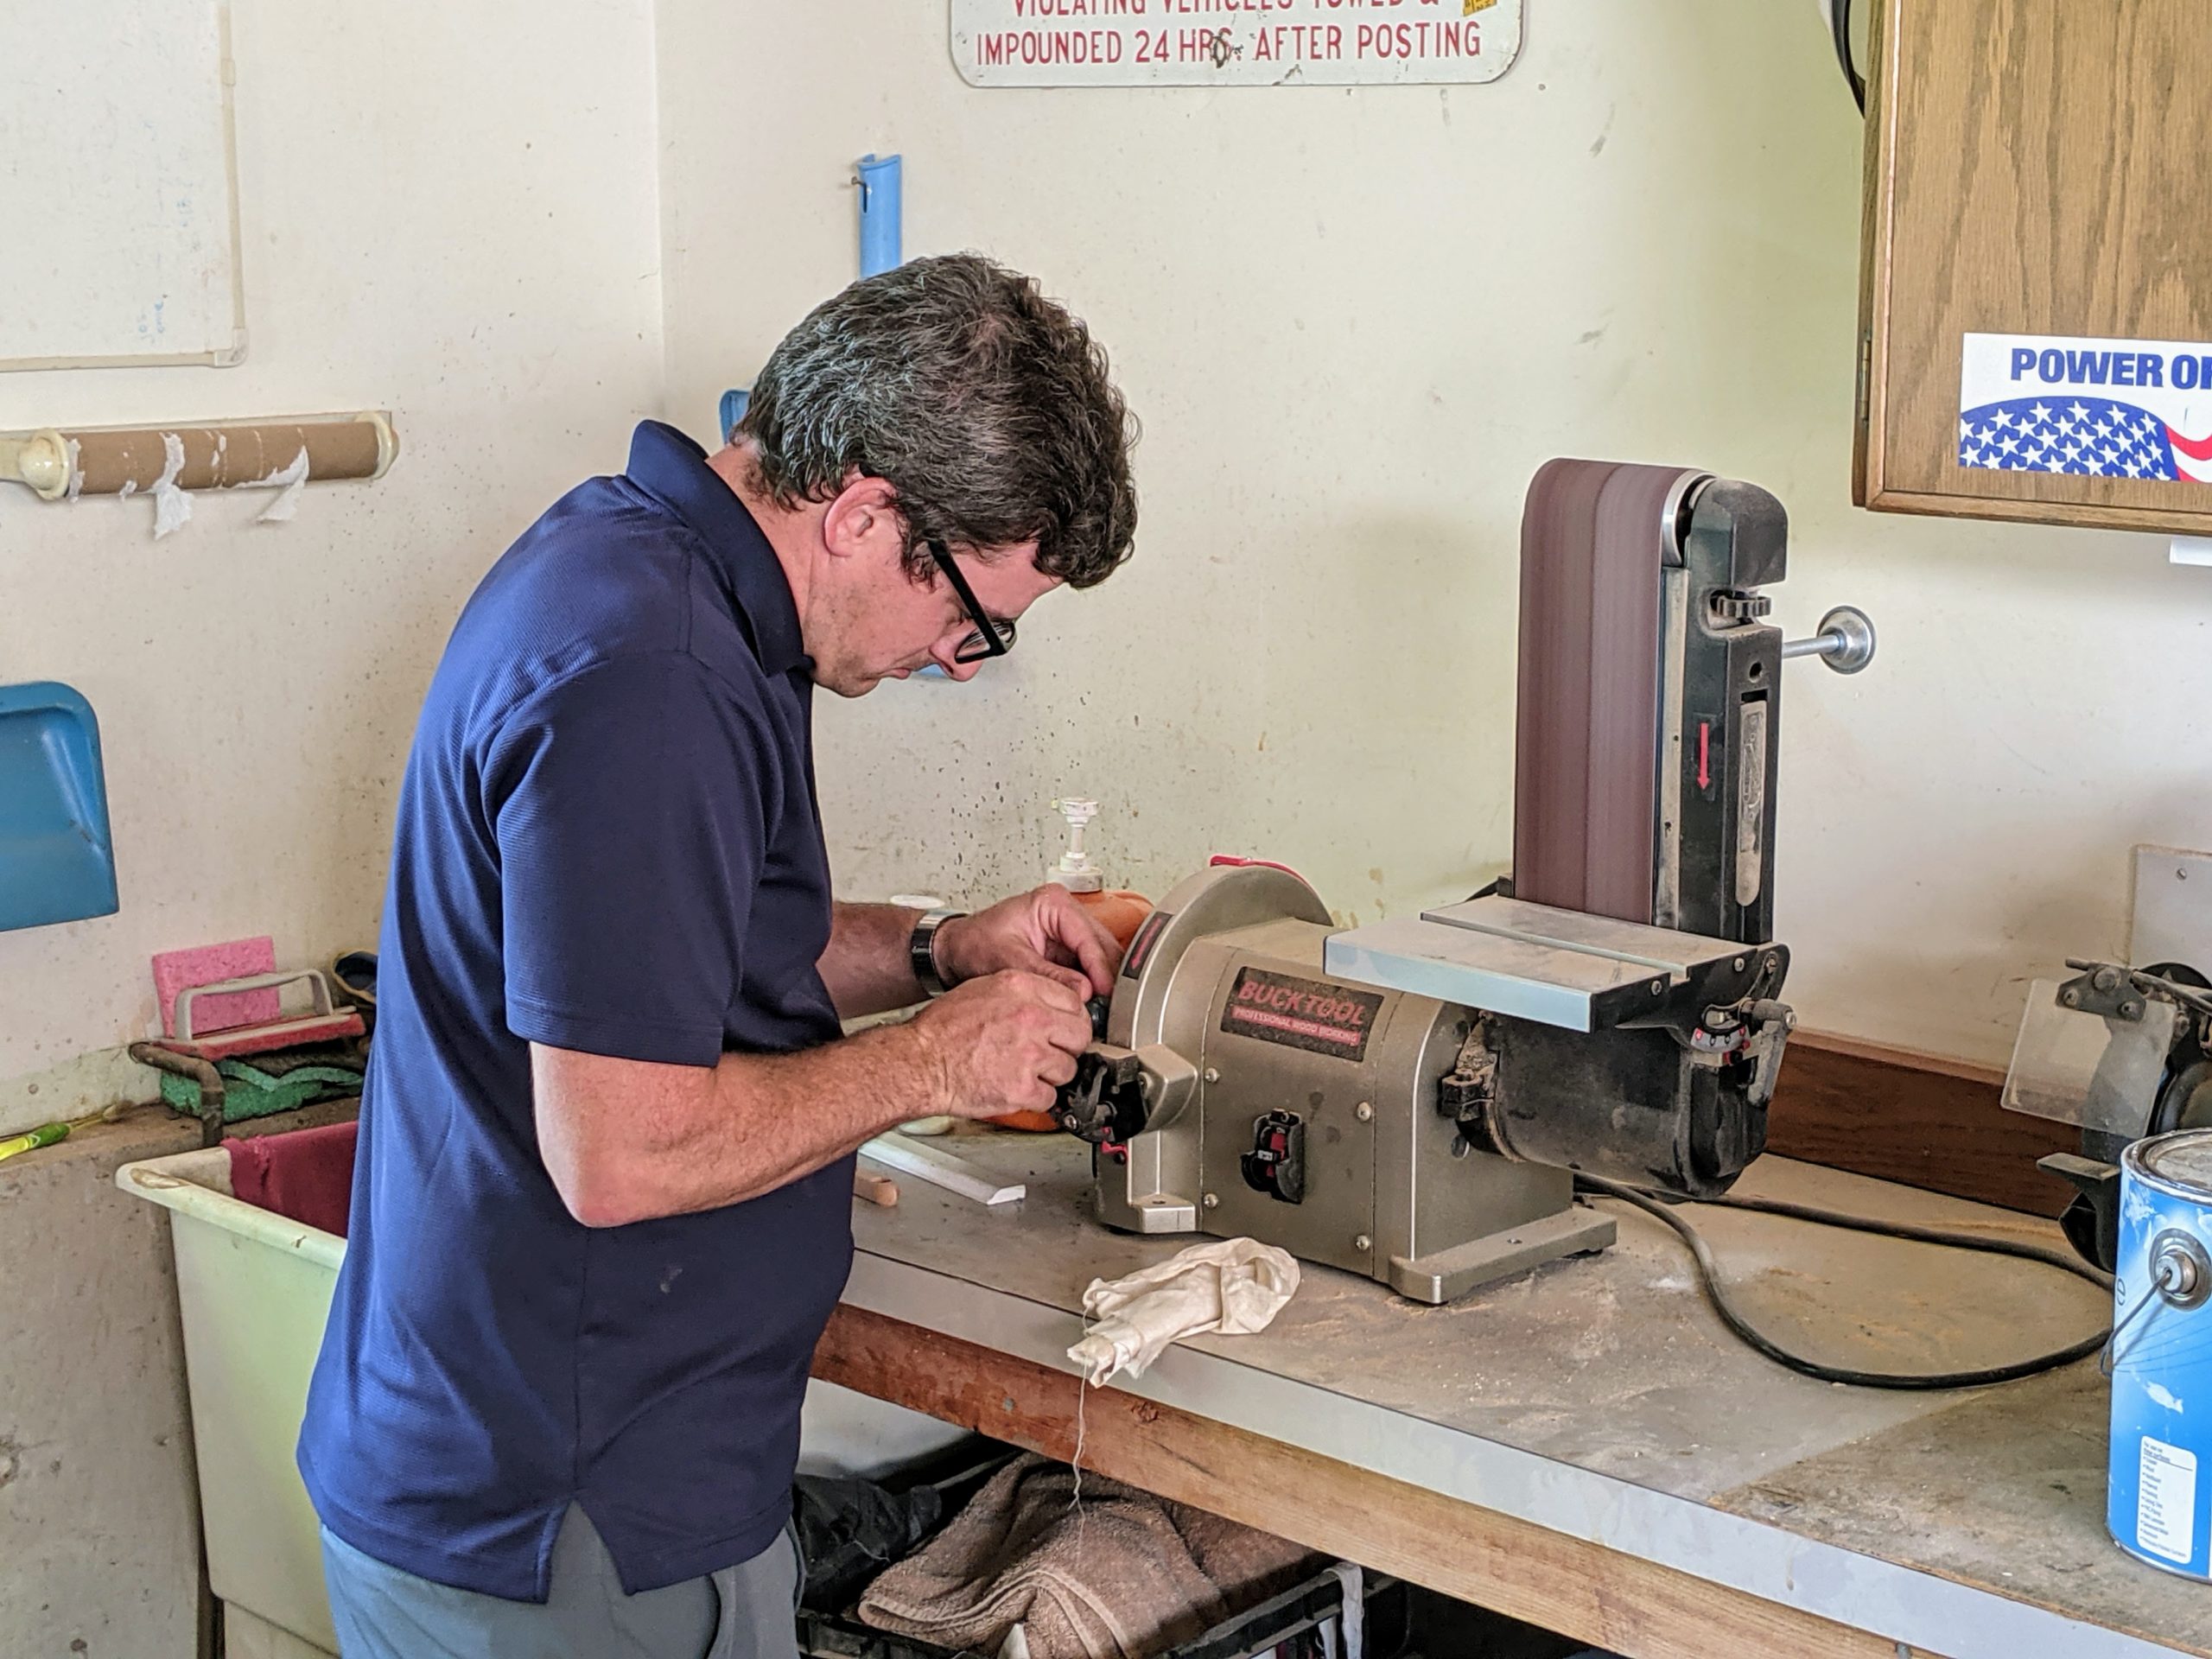
Covering a fin with sandable wood sealer so they can be smoothed out (full disclosure, this is a fin for another rocket we did a little work on at the same time but haven’t finished yet).

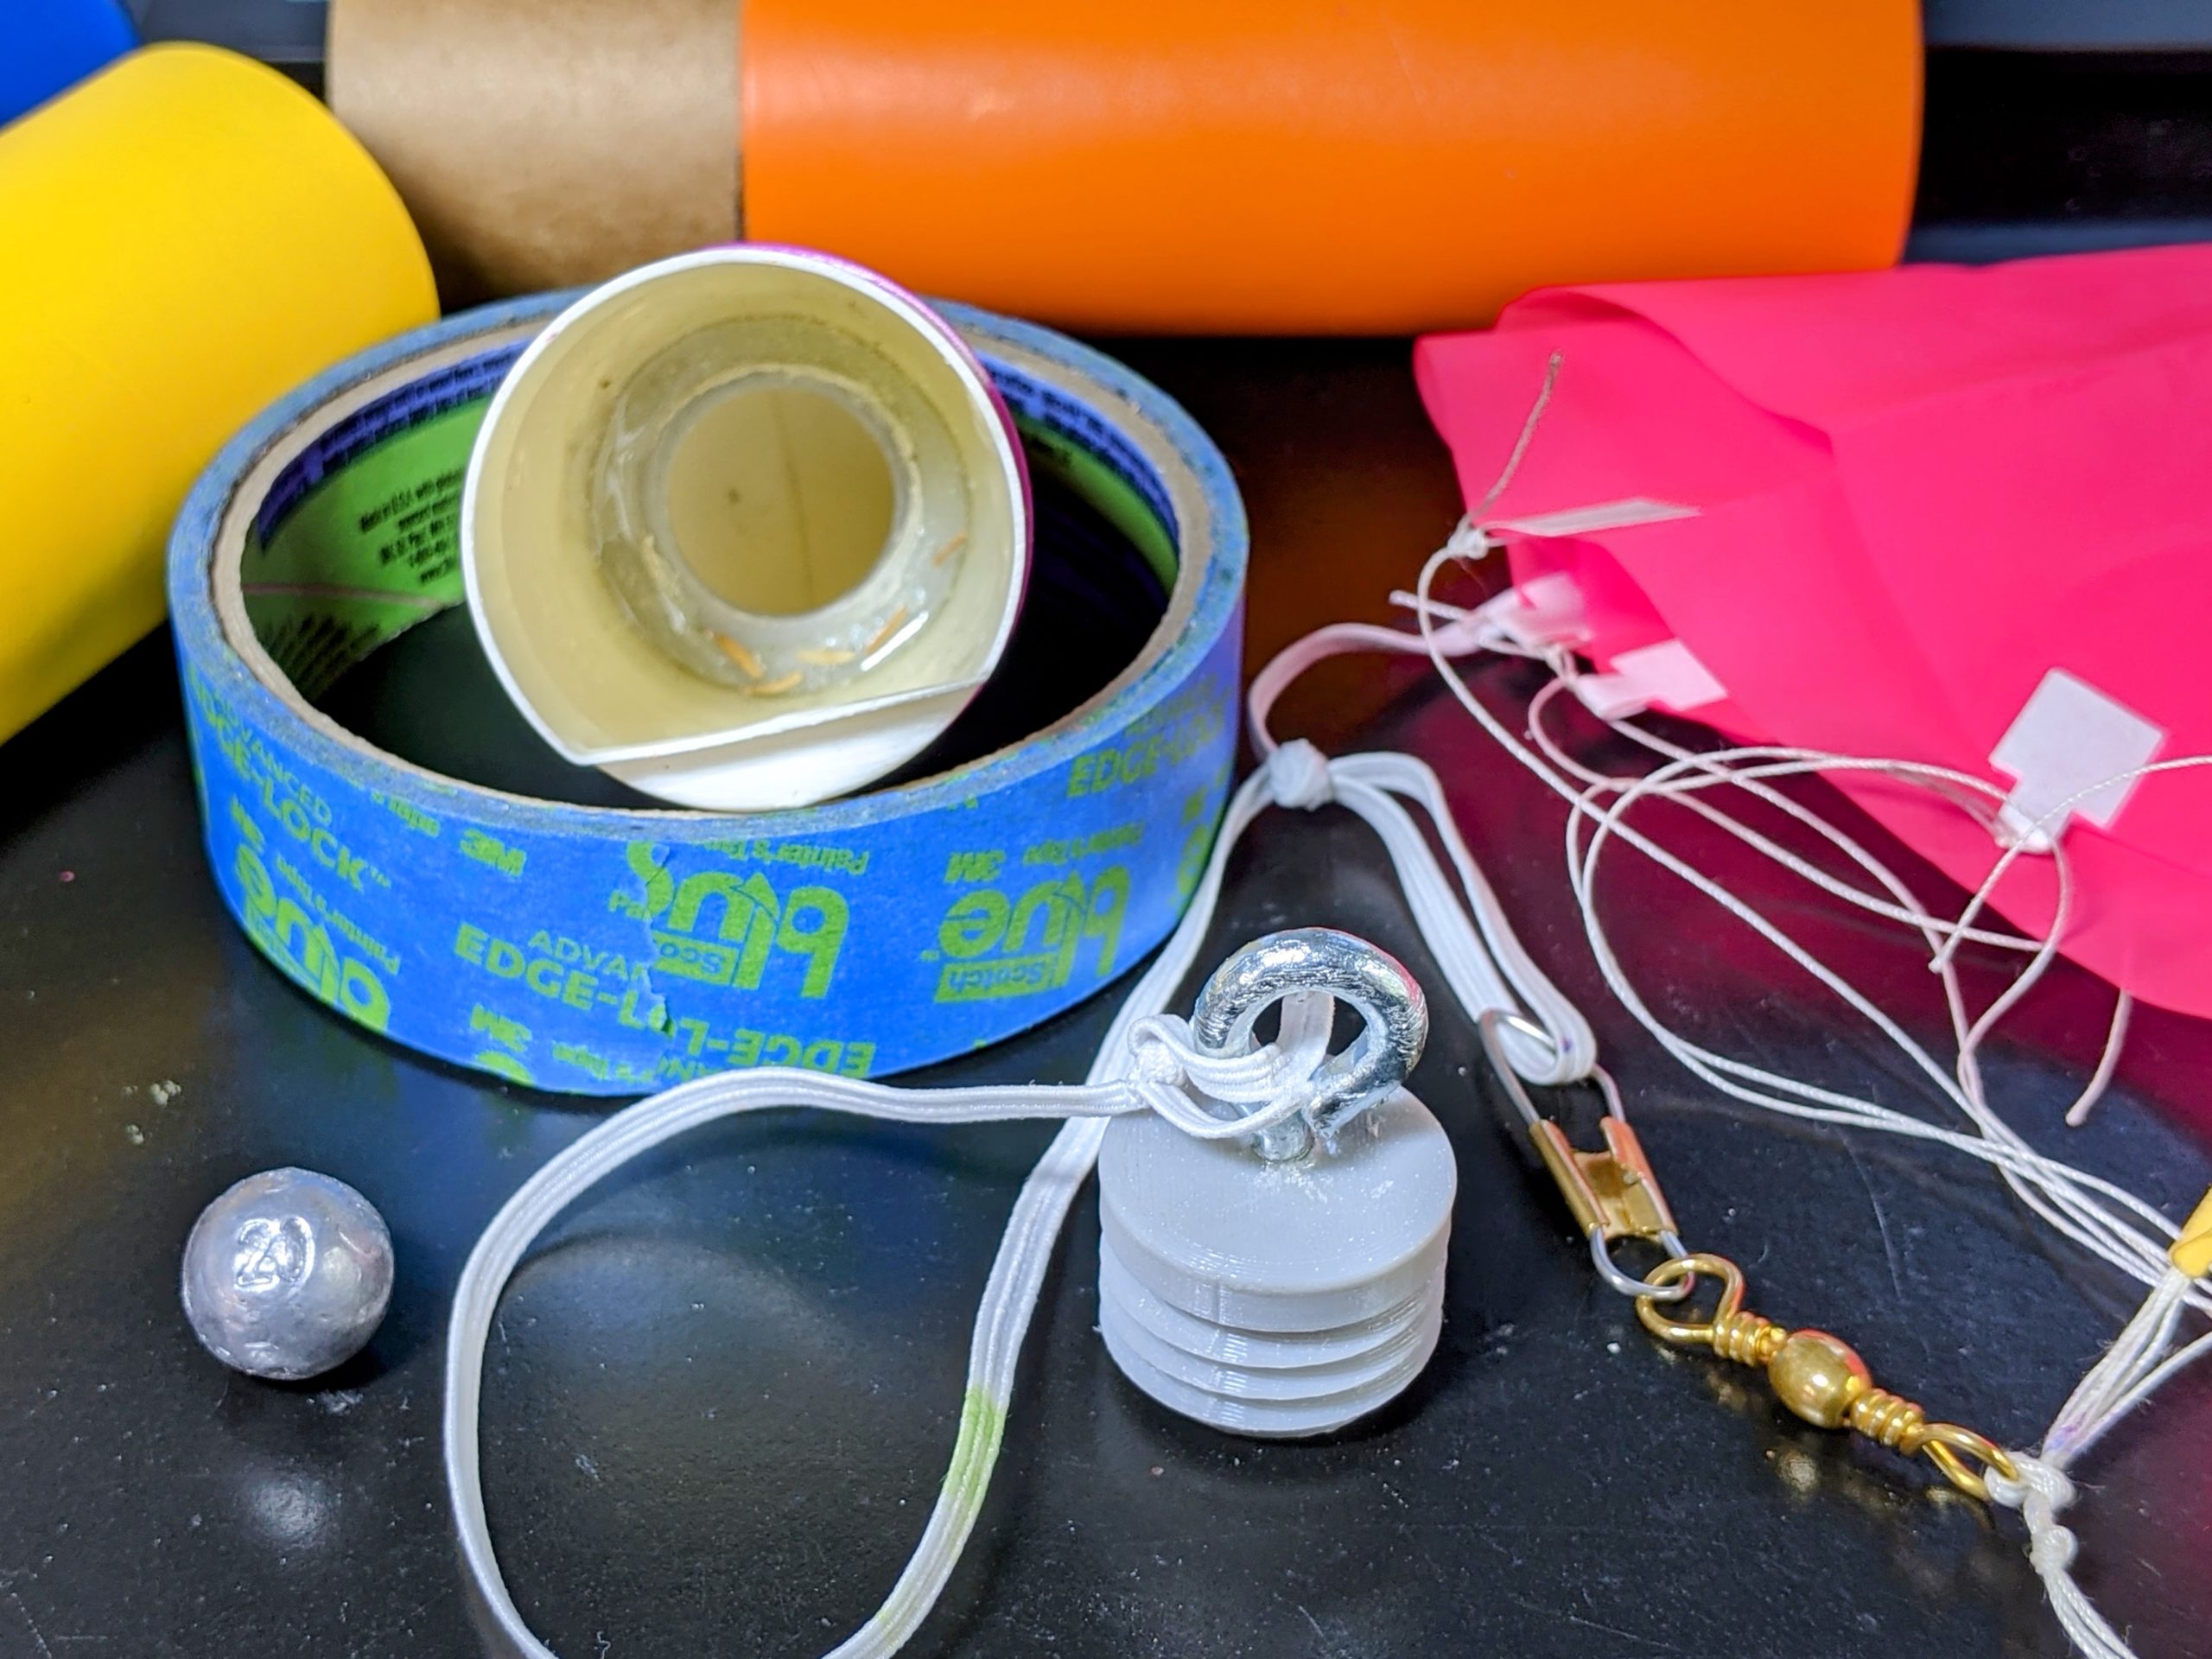
Nosecone ballast compartment, screw-in plug & shock cord mount, and parachute swivel snap.

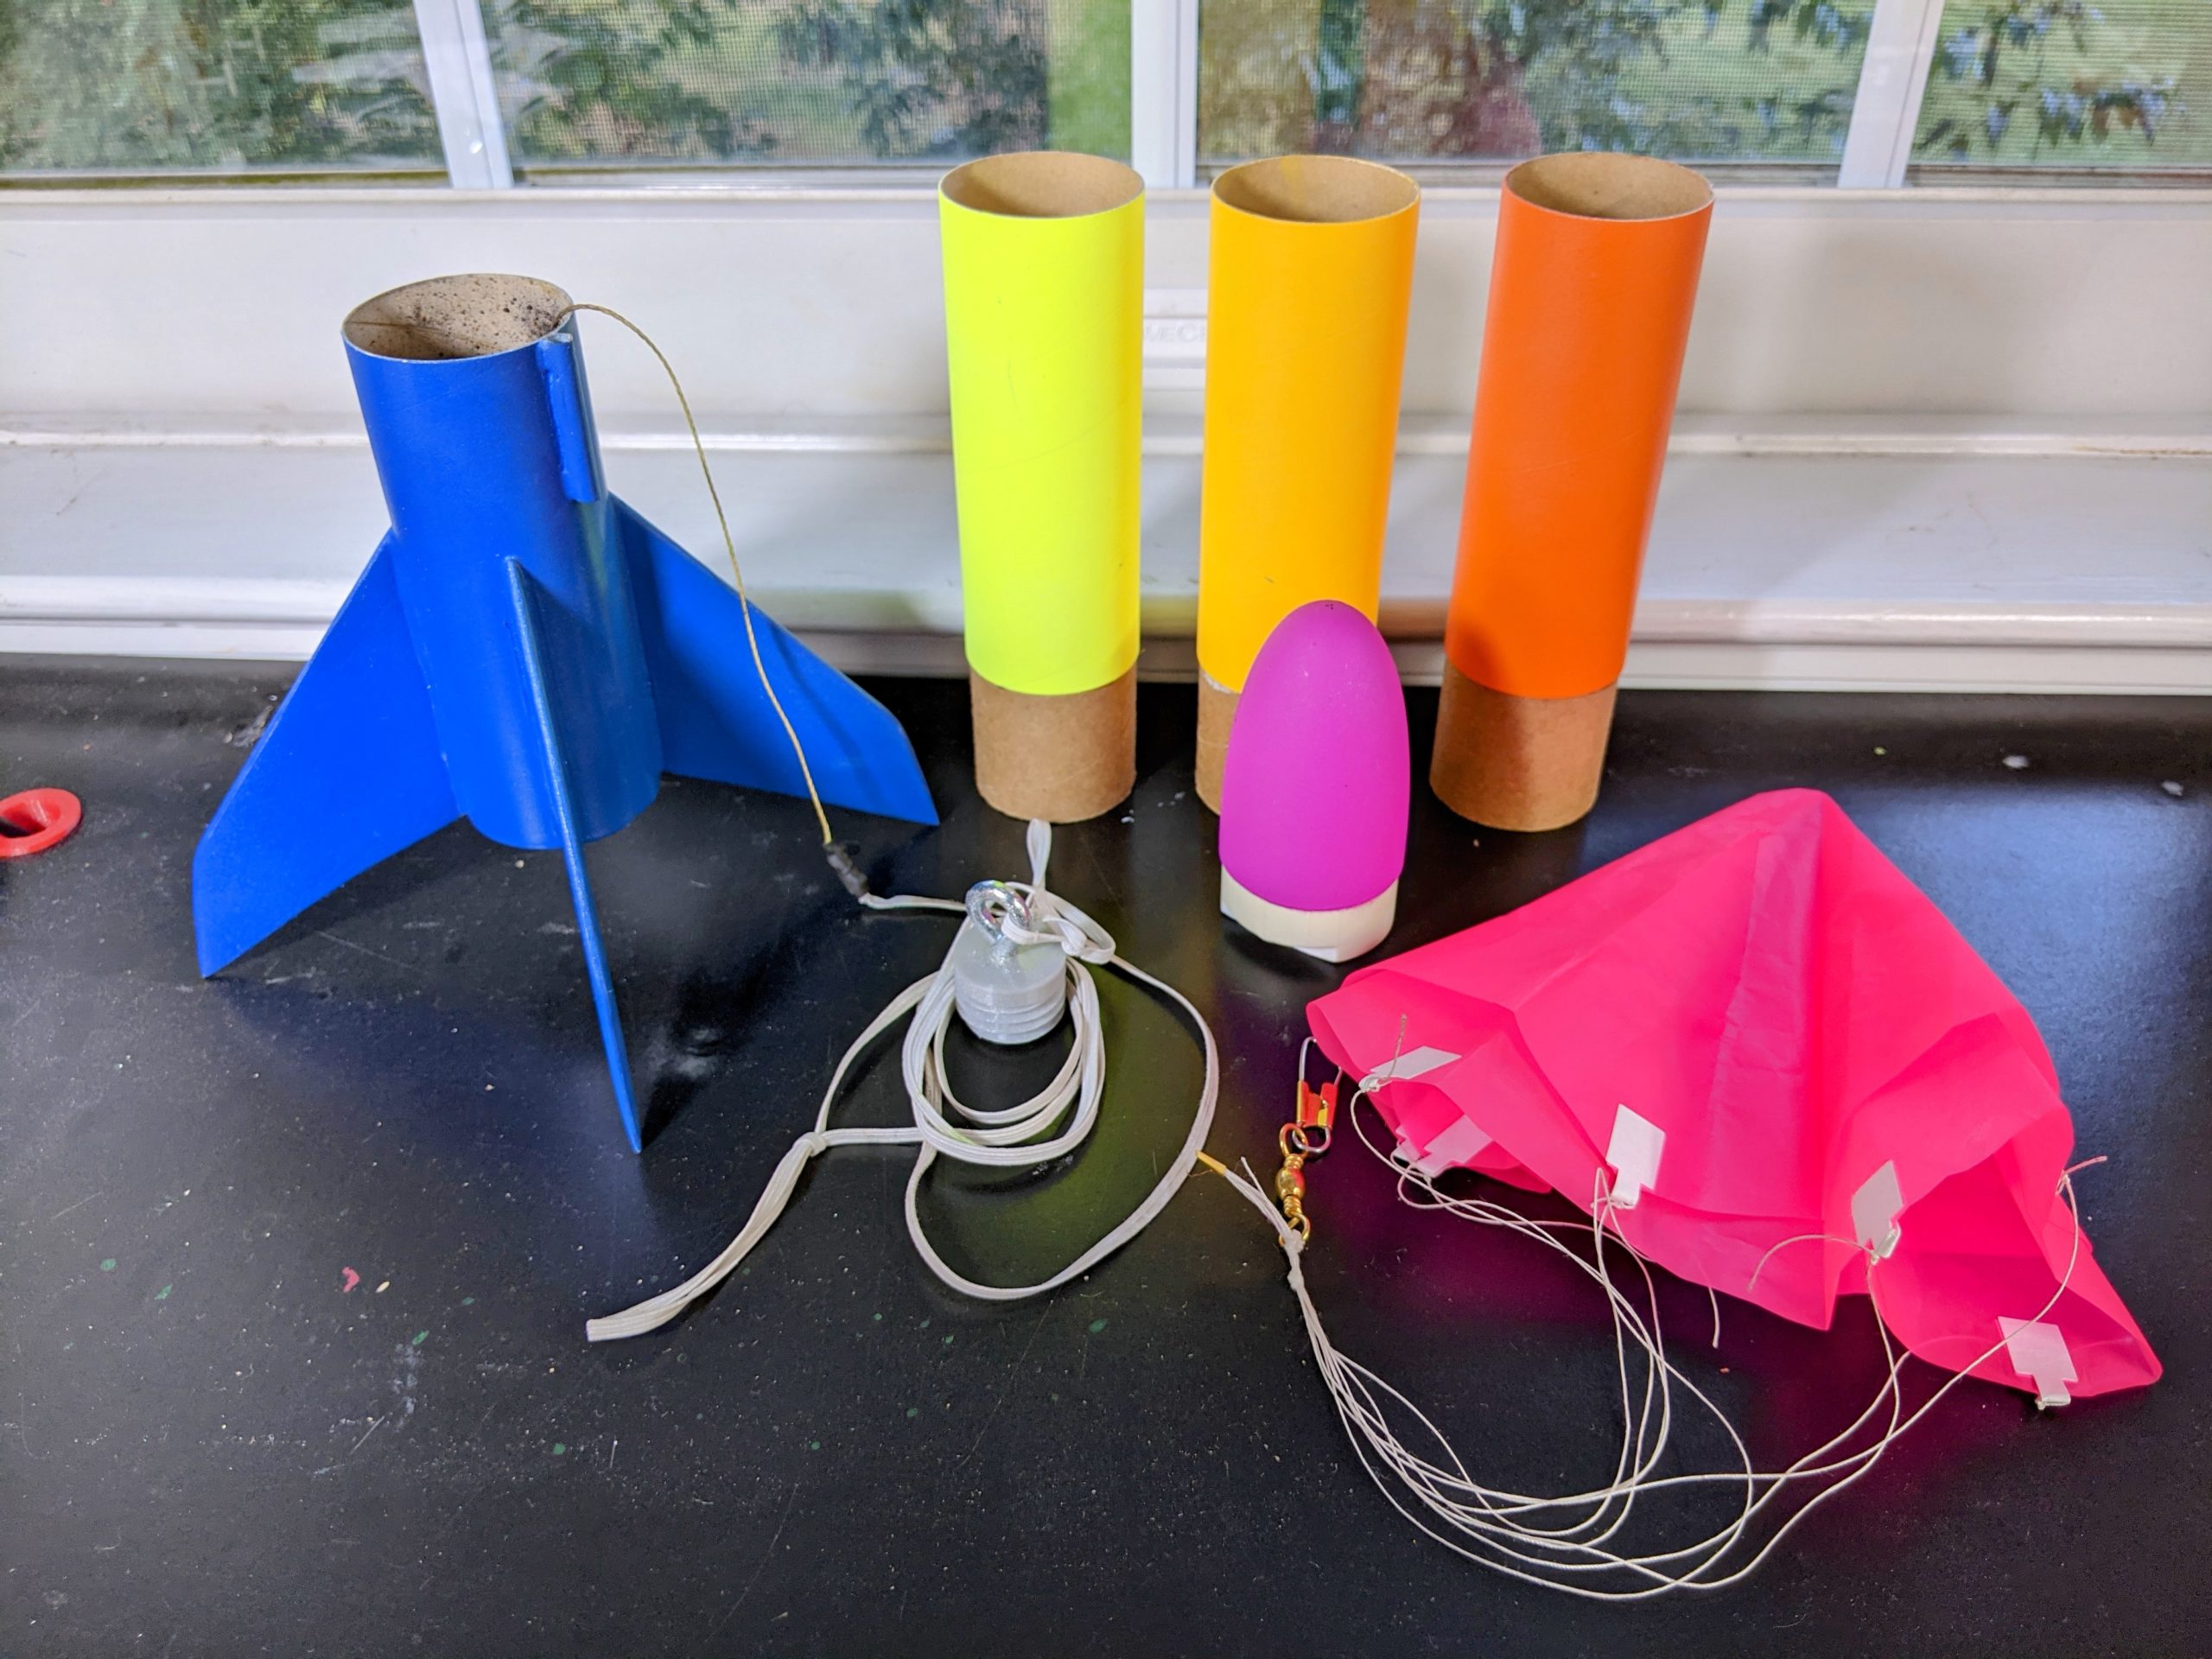
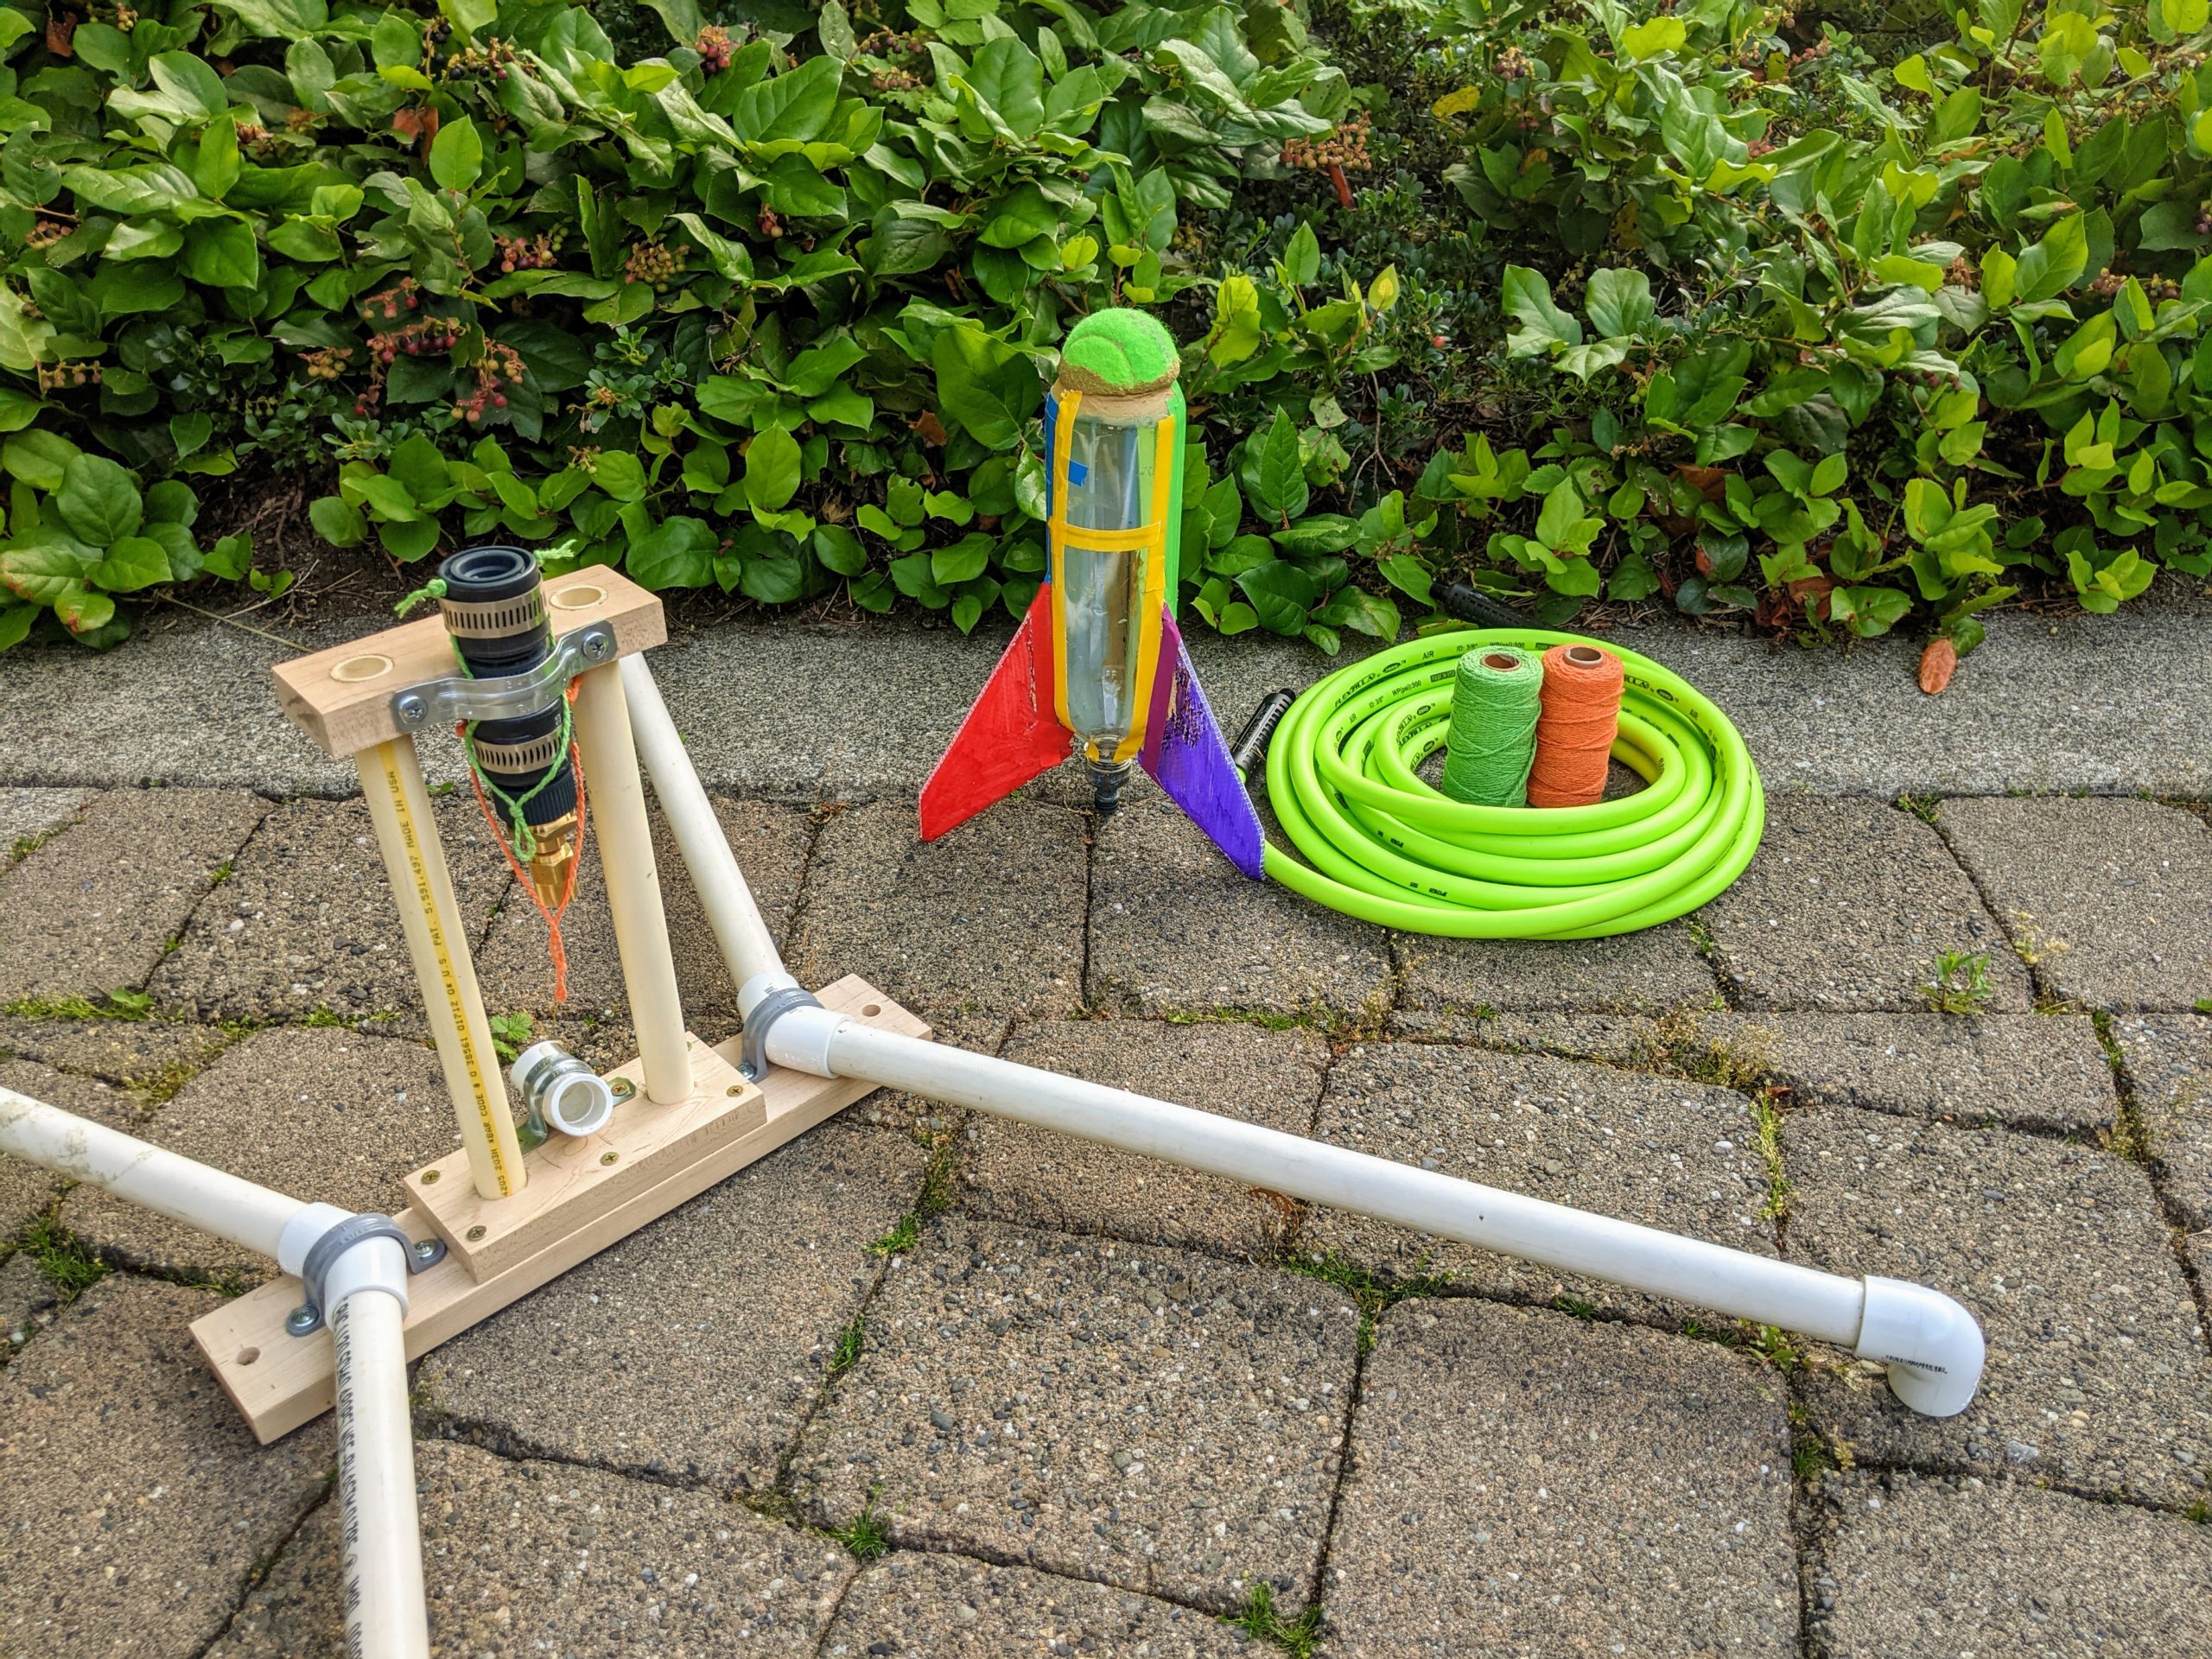
The disassembled assembled rocket.

First Launch

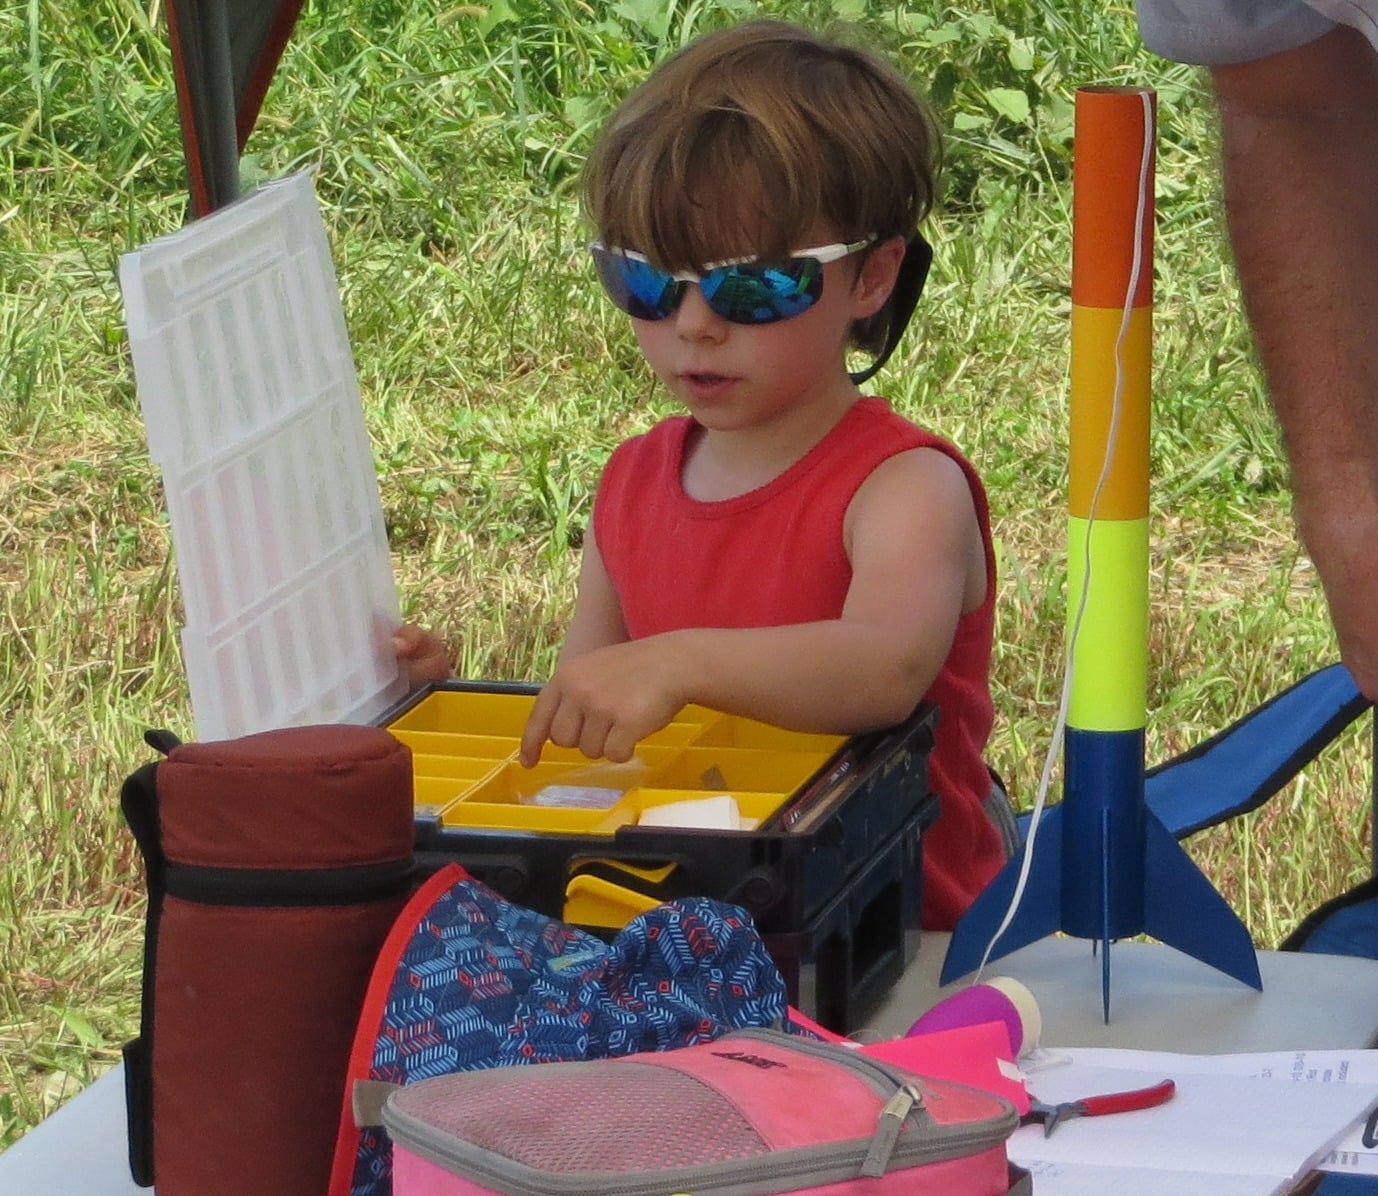
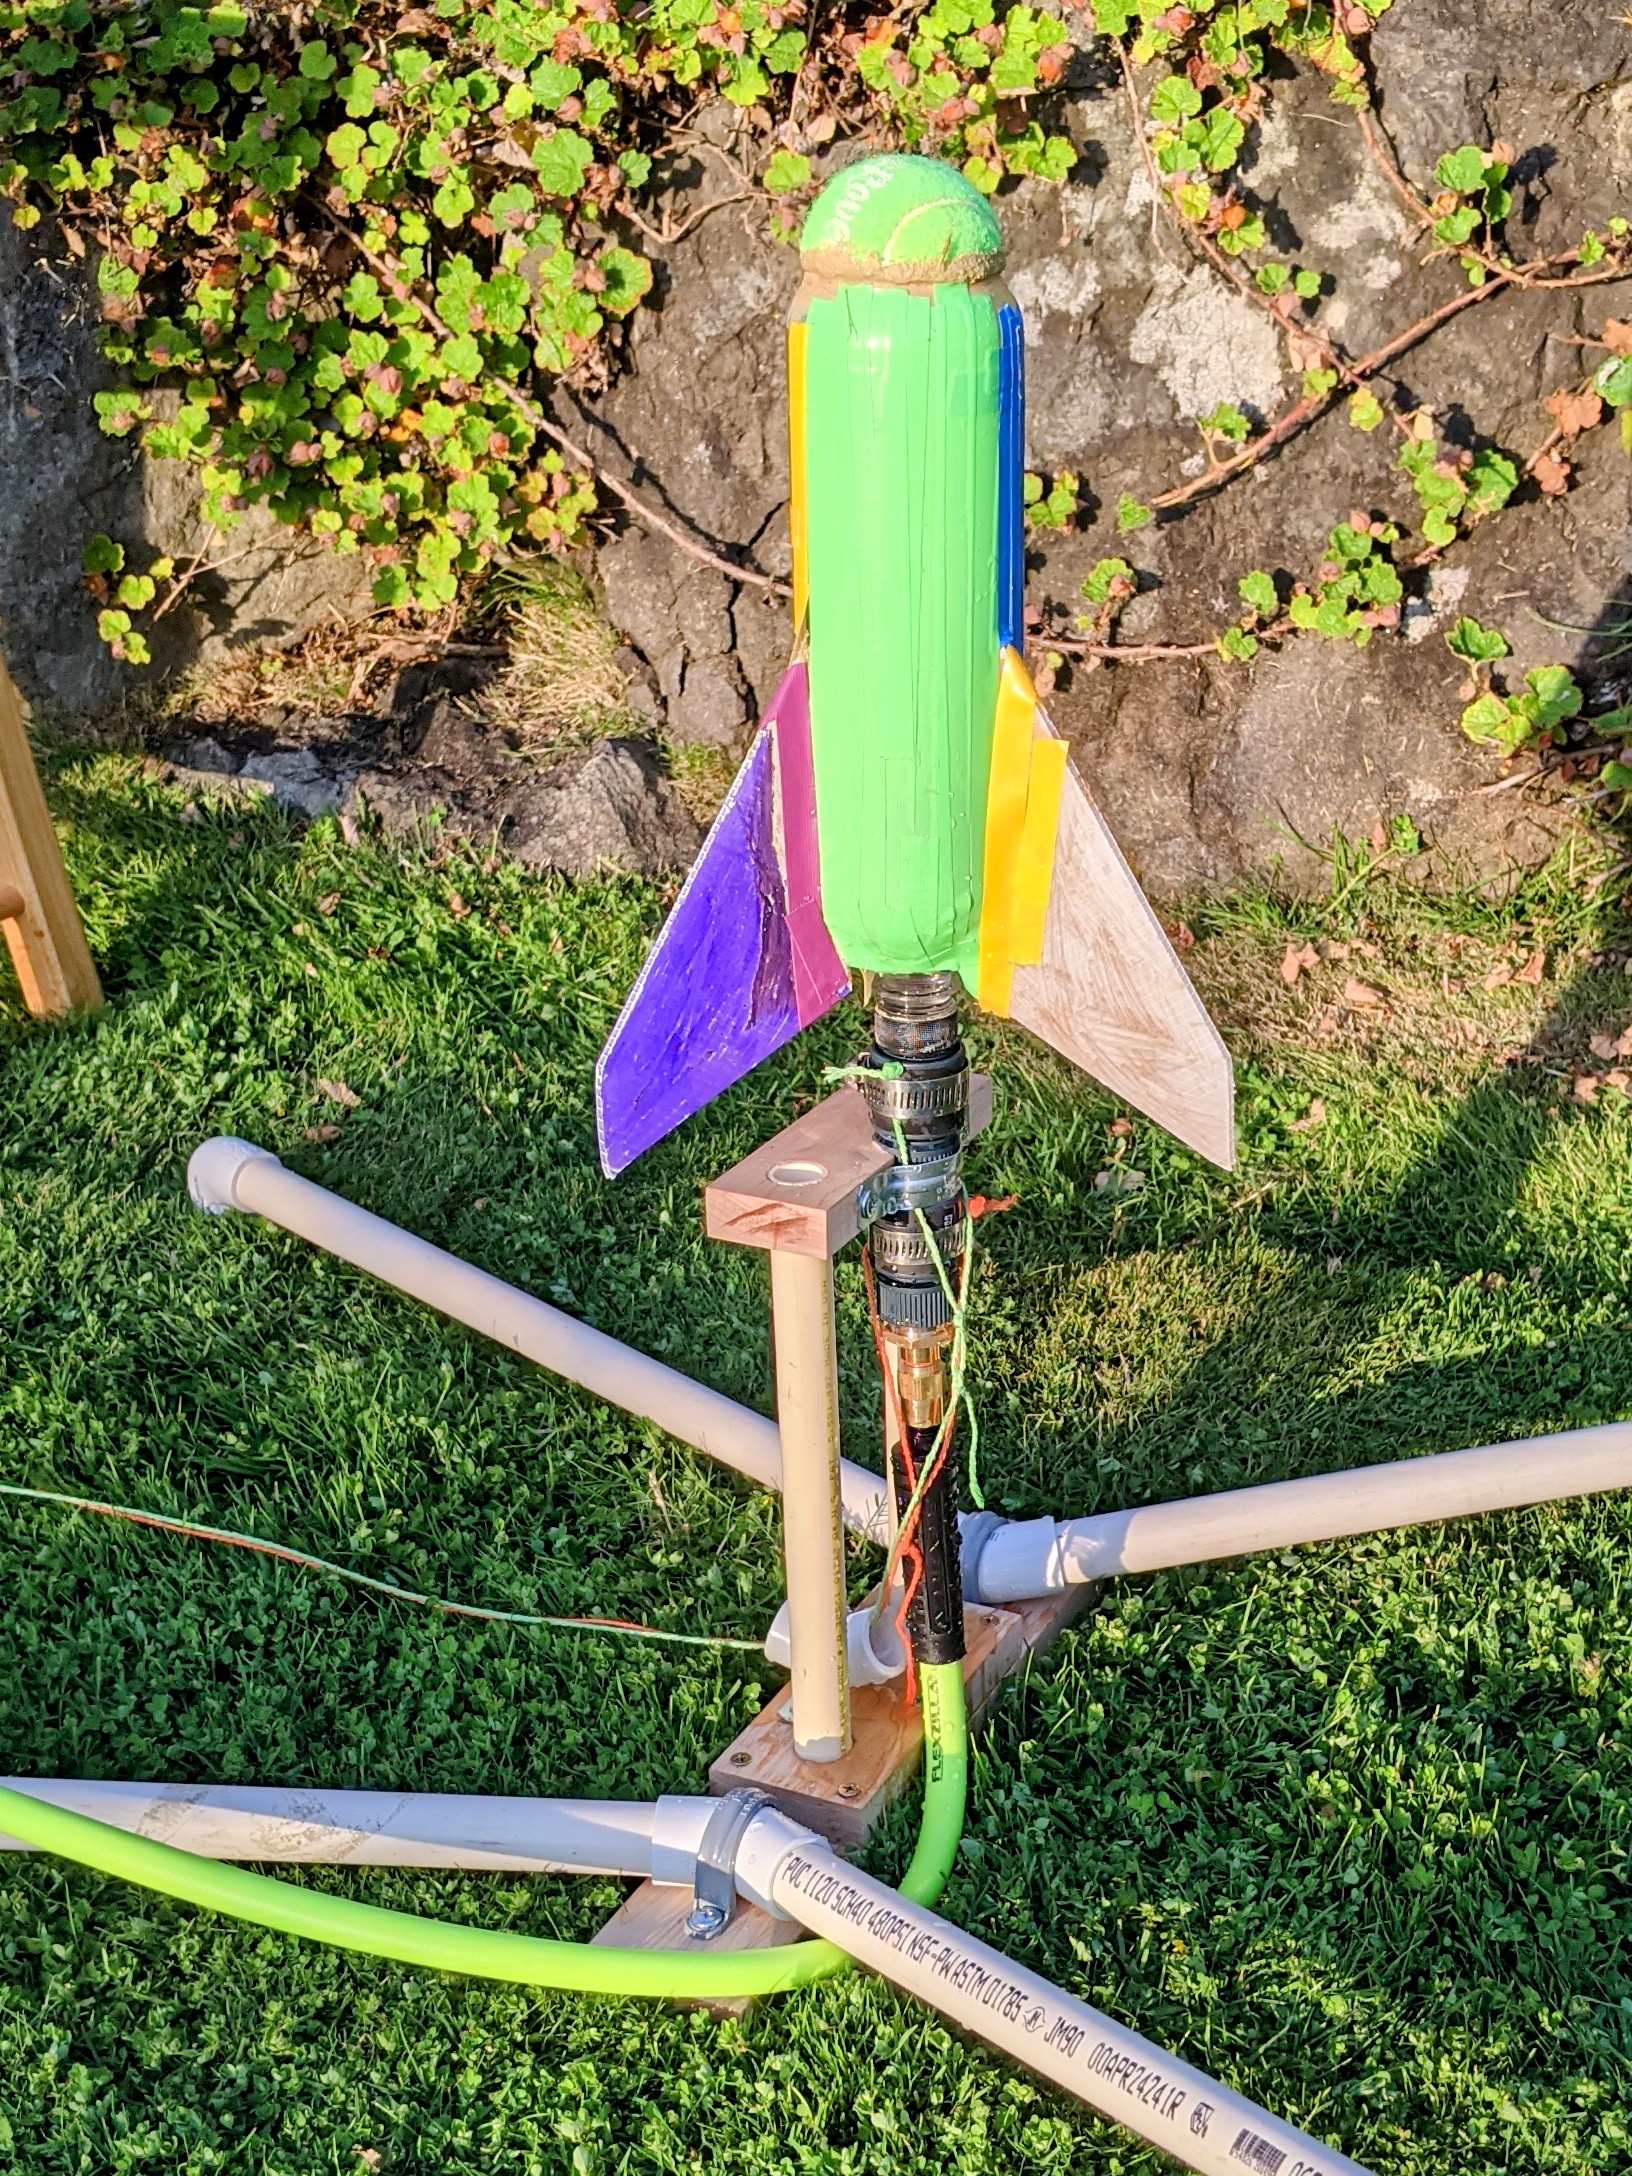
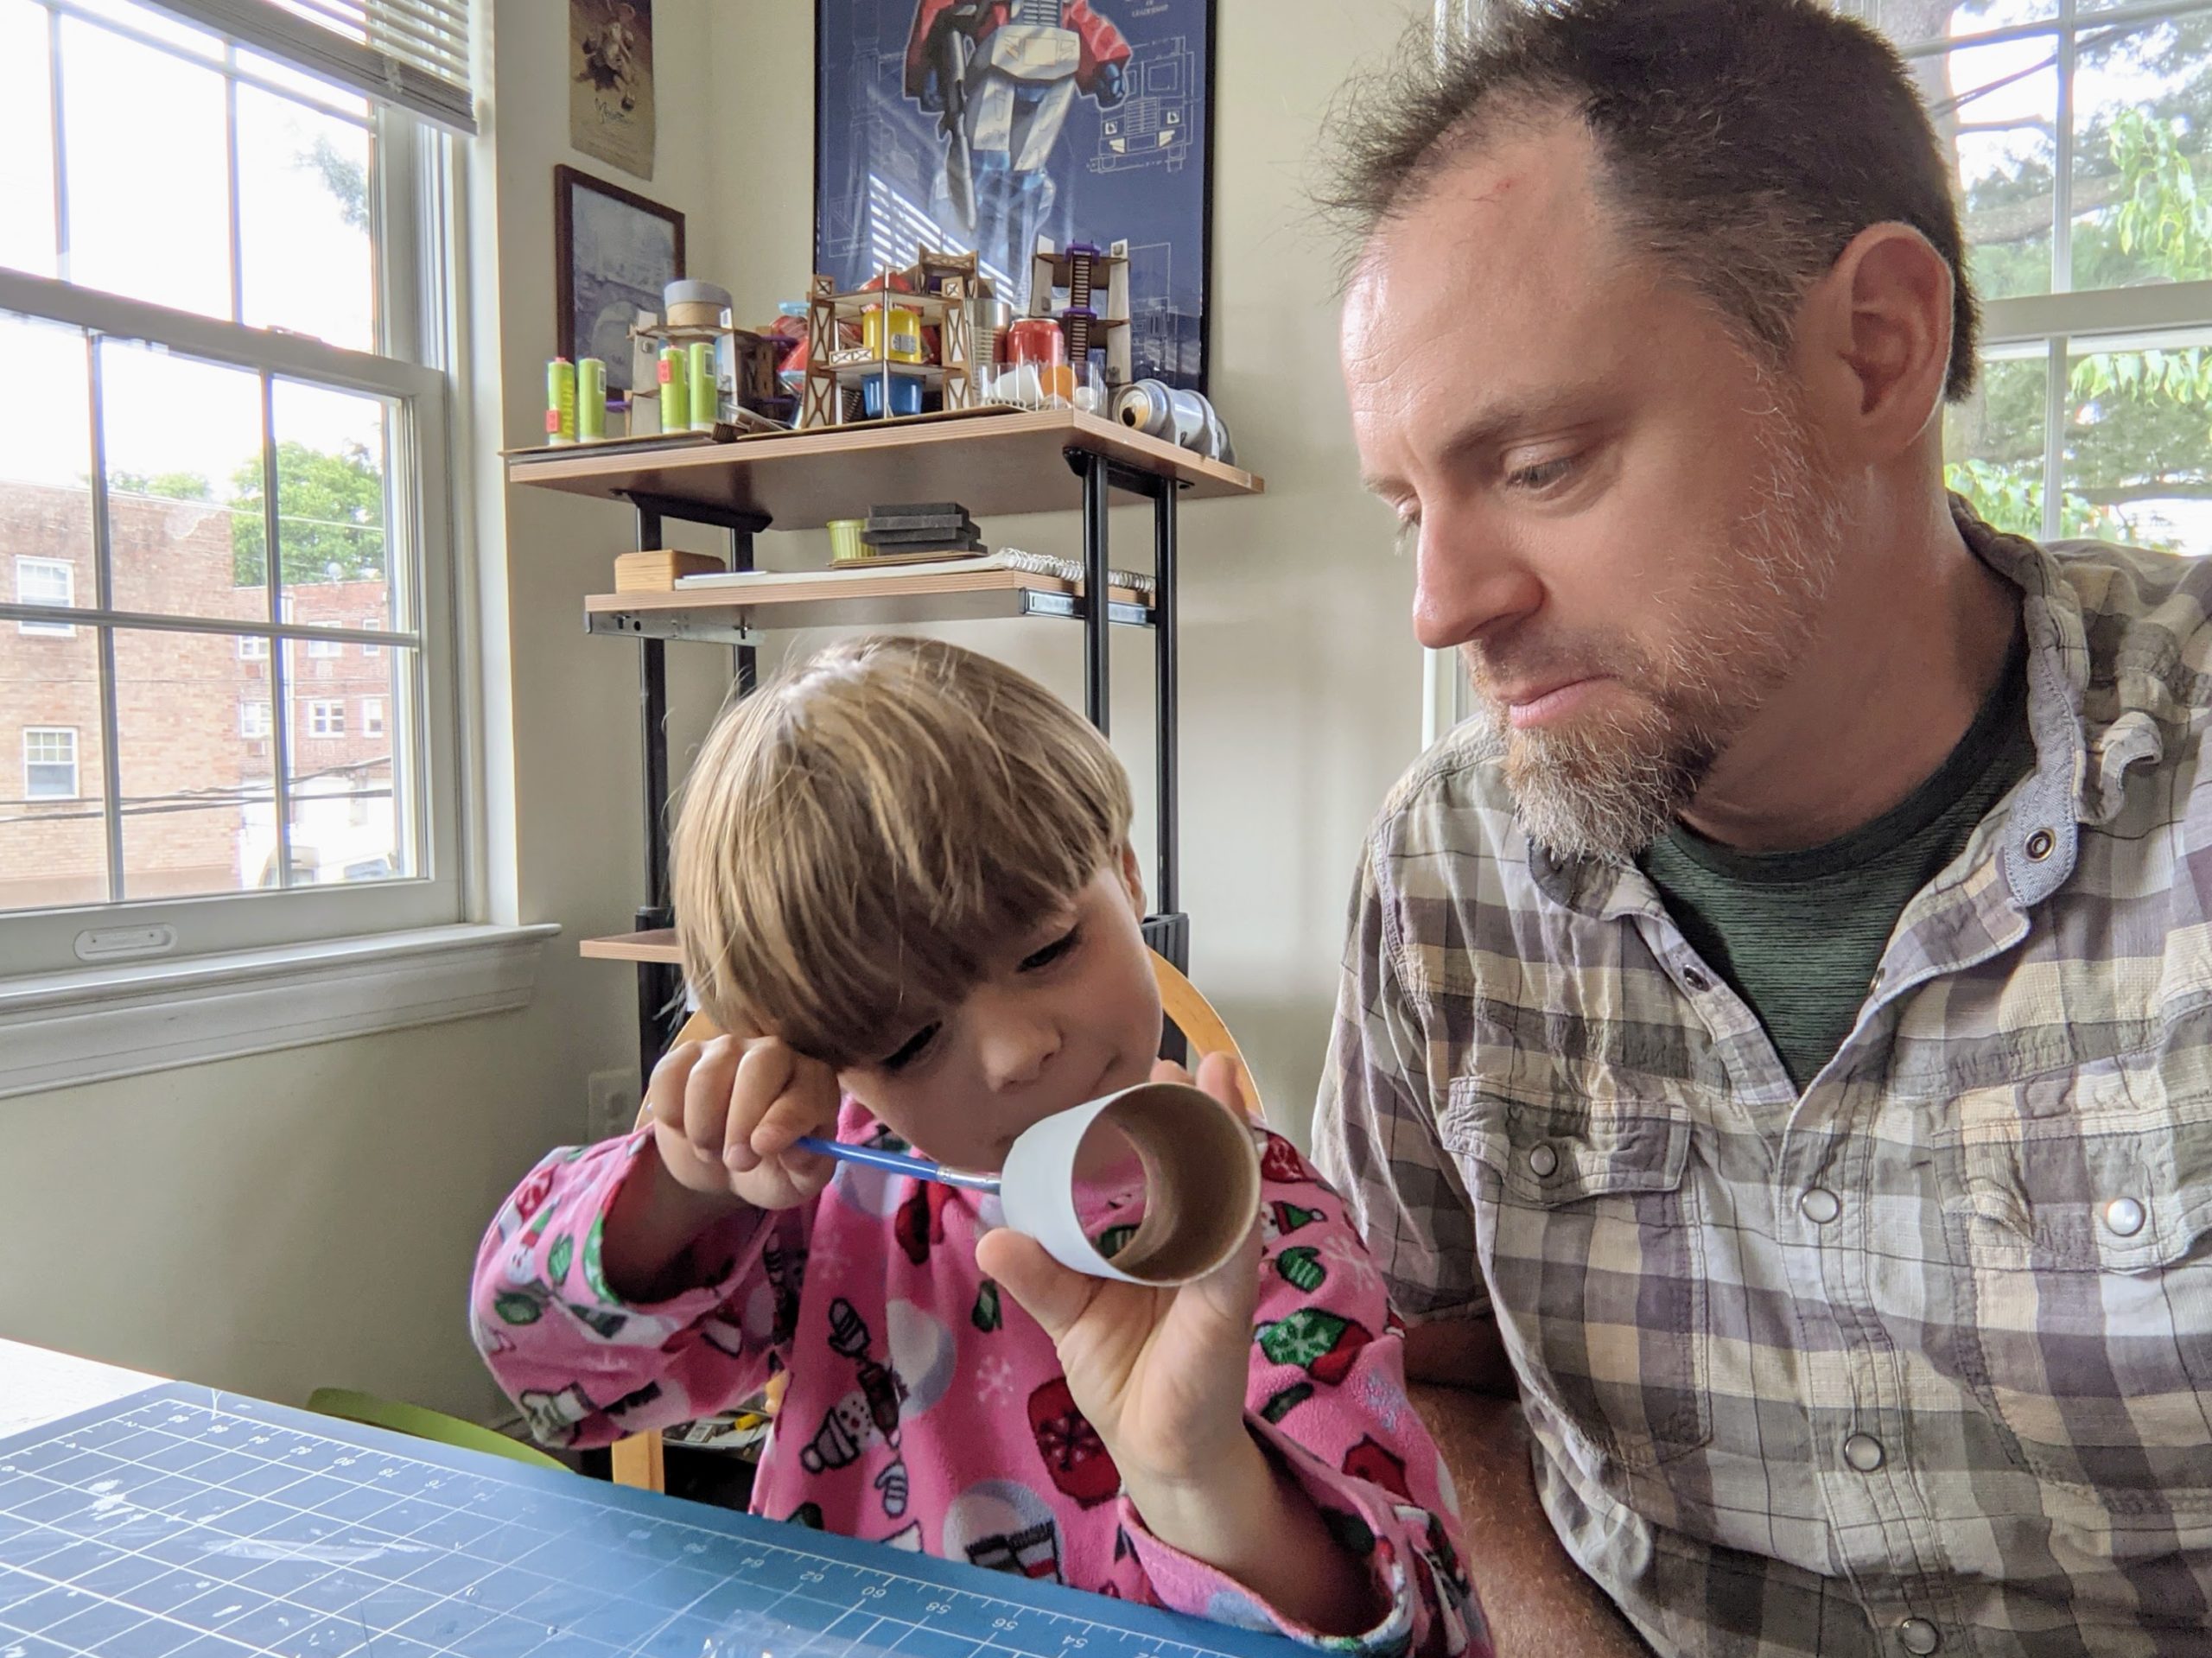
Alice prepping her rocket. (photo by Mike S)

Notes on motors and configurations for prepping the rocket at the field.

Our first launch of the completed-just-in-time rocket was pretty successful. However, after that one just-slightly-creepy retrieval from deep in the corn, and rightly afraid of losing the rocket forever amid the field of 7+ foot tall stalks, Alice decided to call the day a success without trying out all configurations of the rocket. She says we’ll do that once the harvest is done…

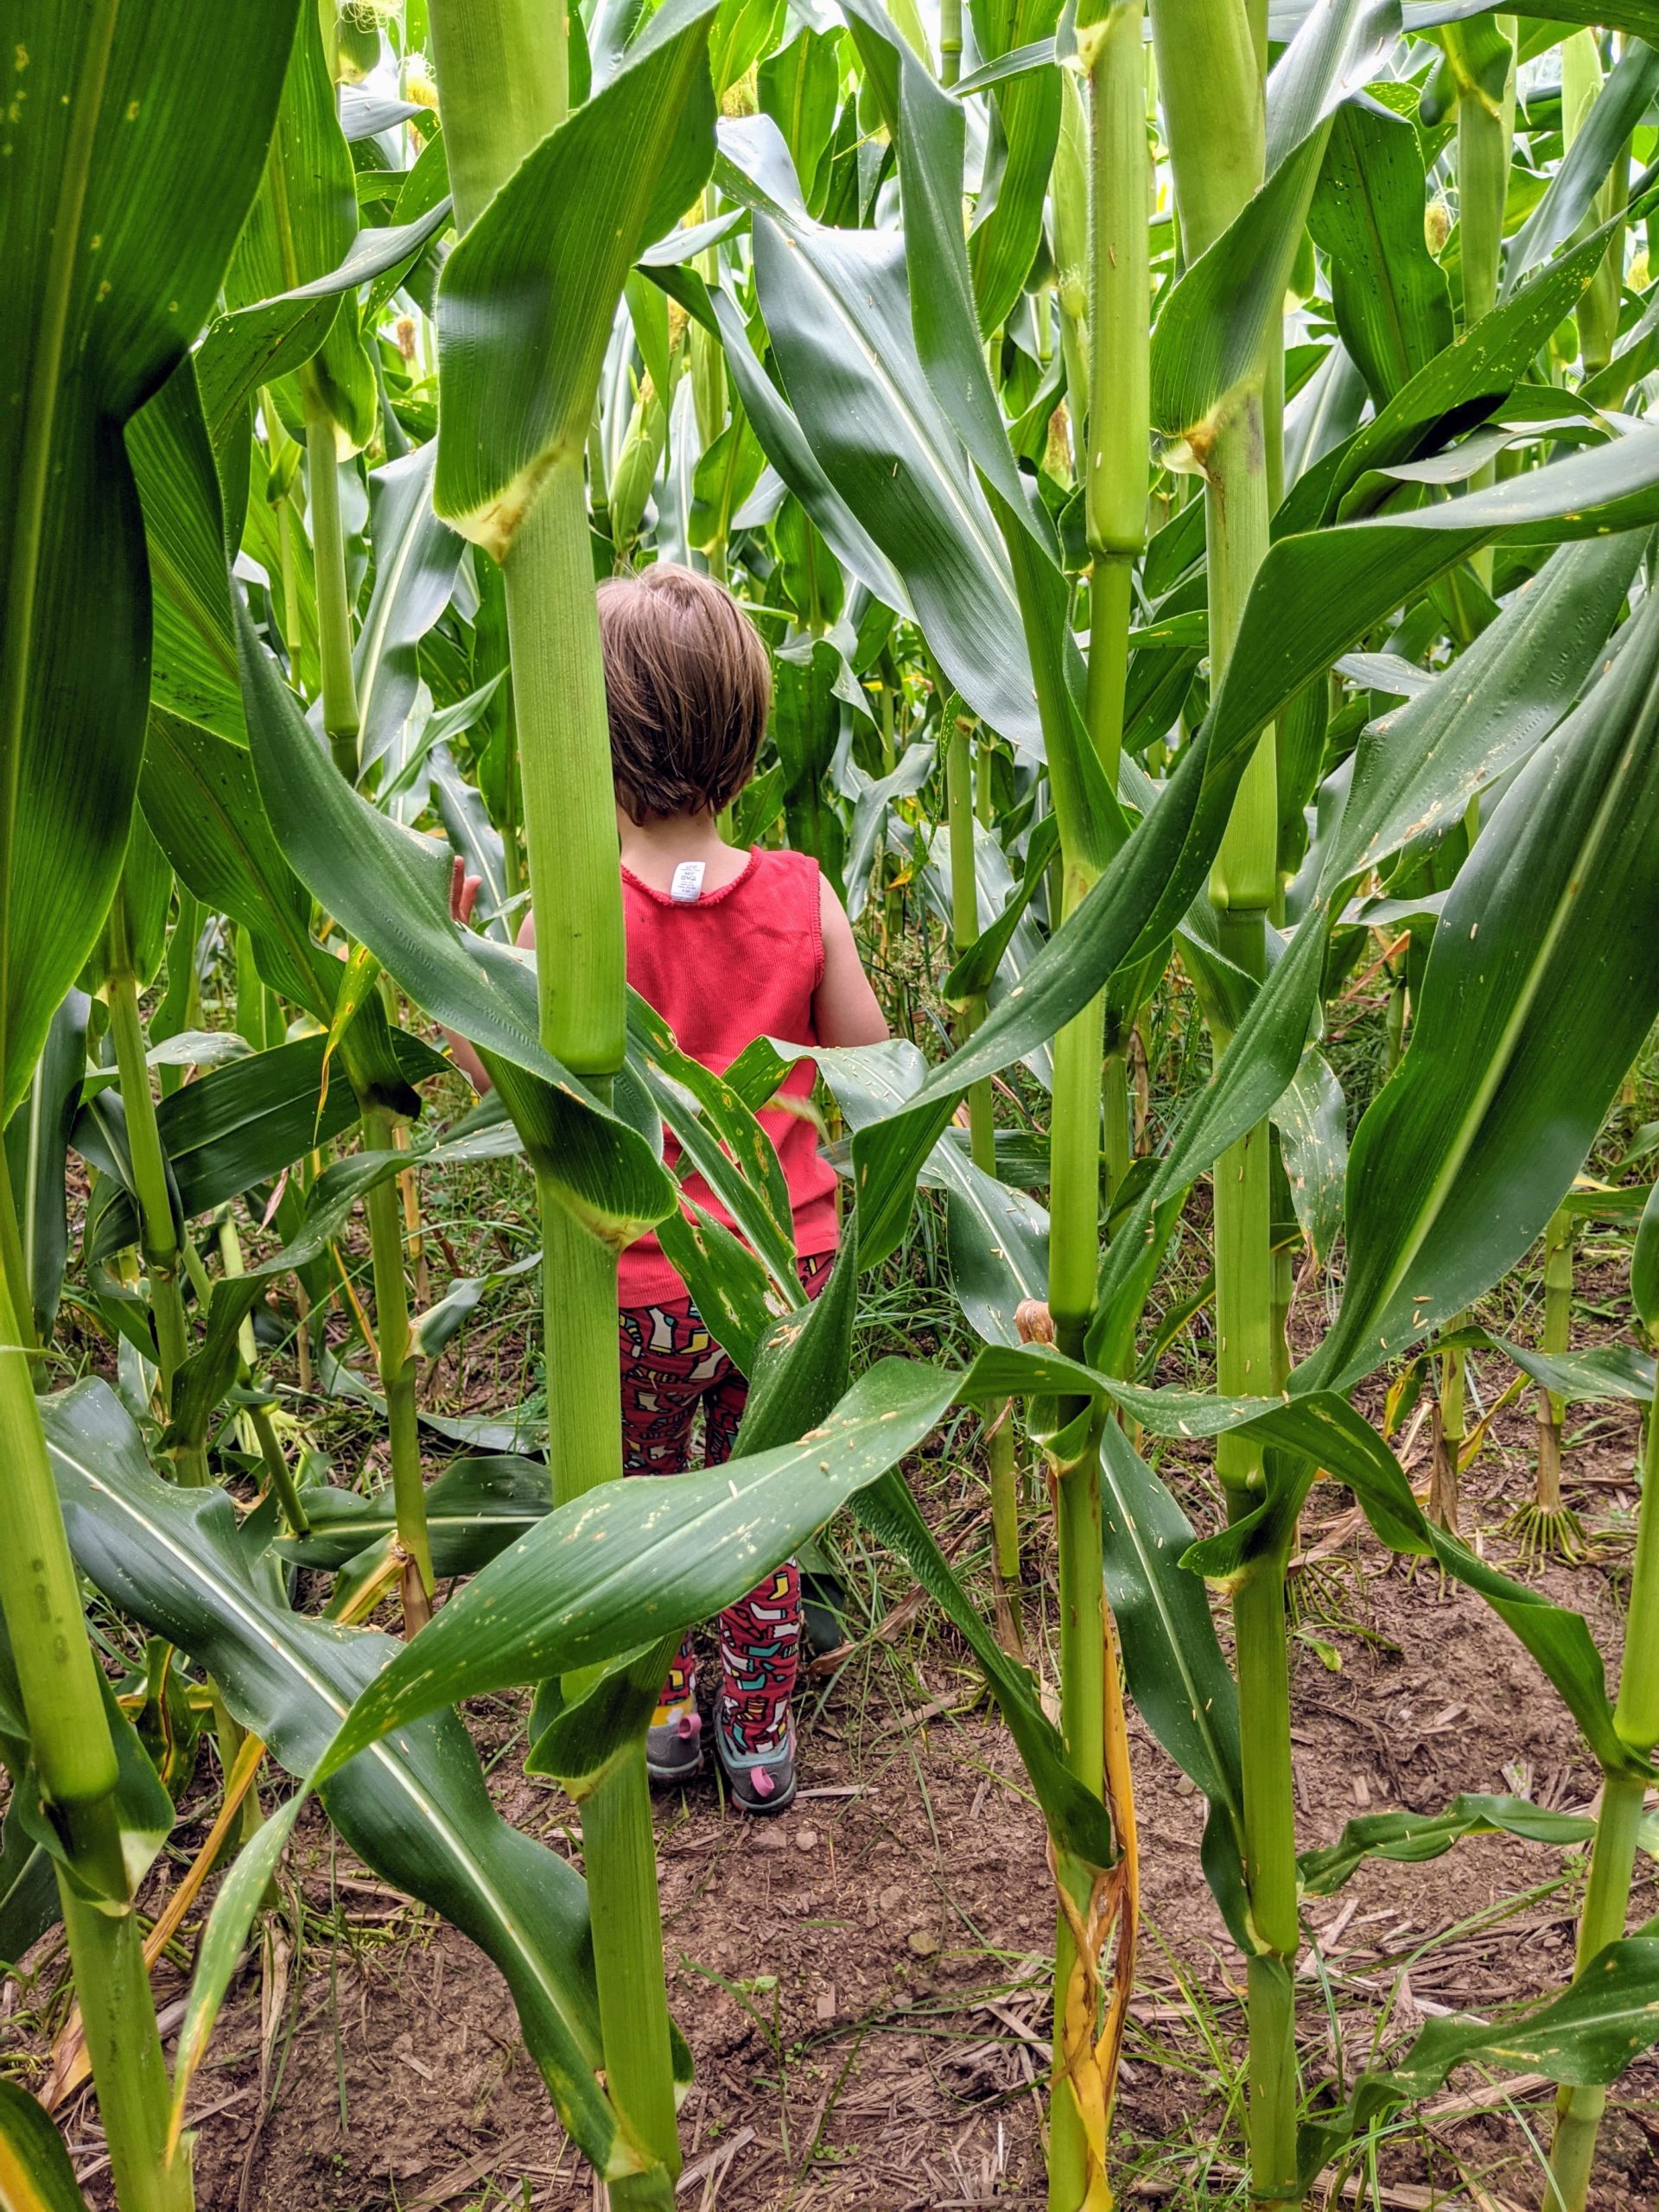
Alice wading into the corn on a retrieval mission.

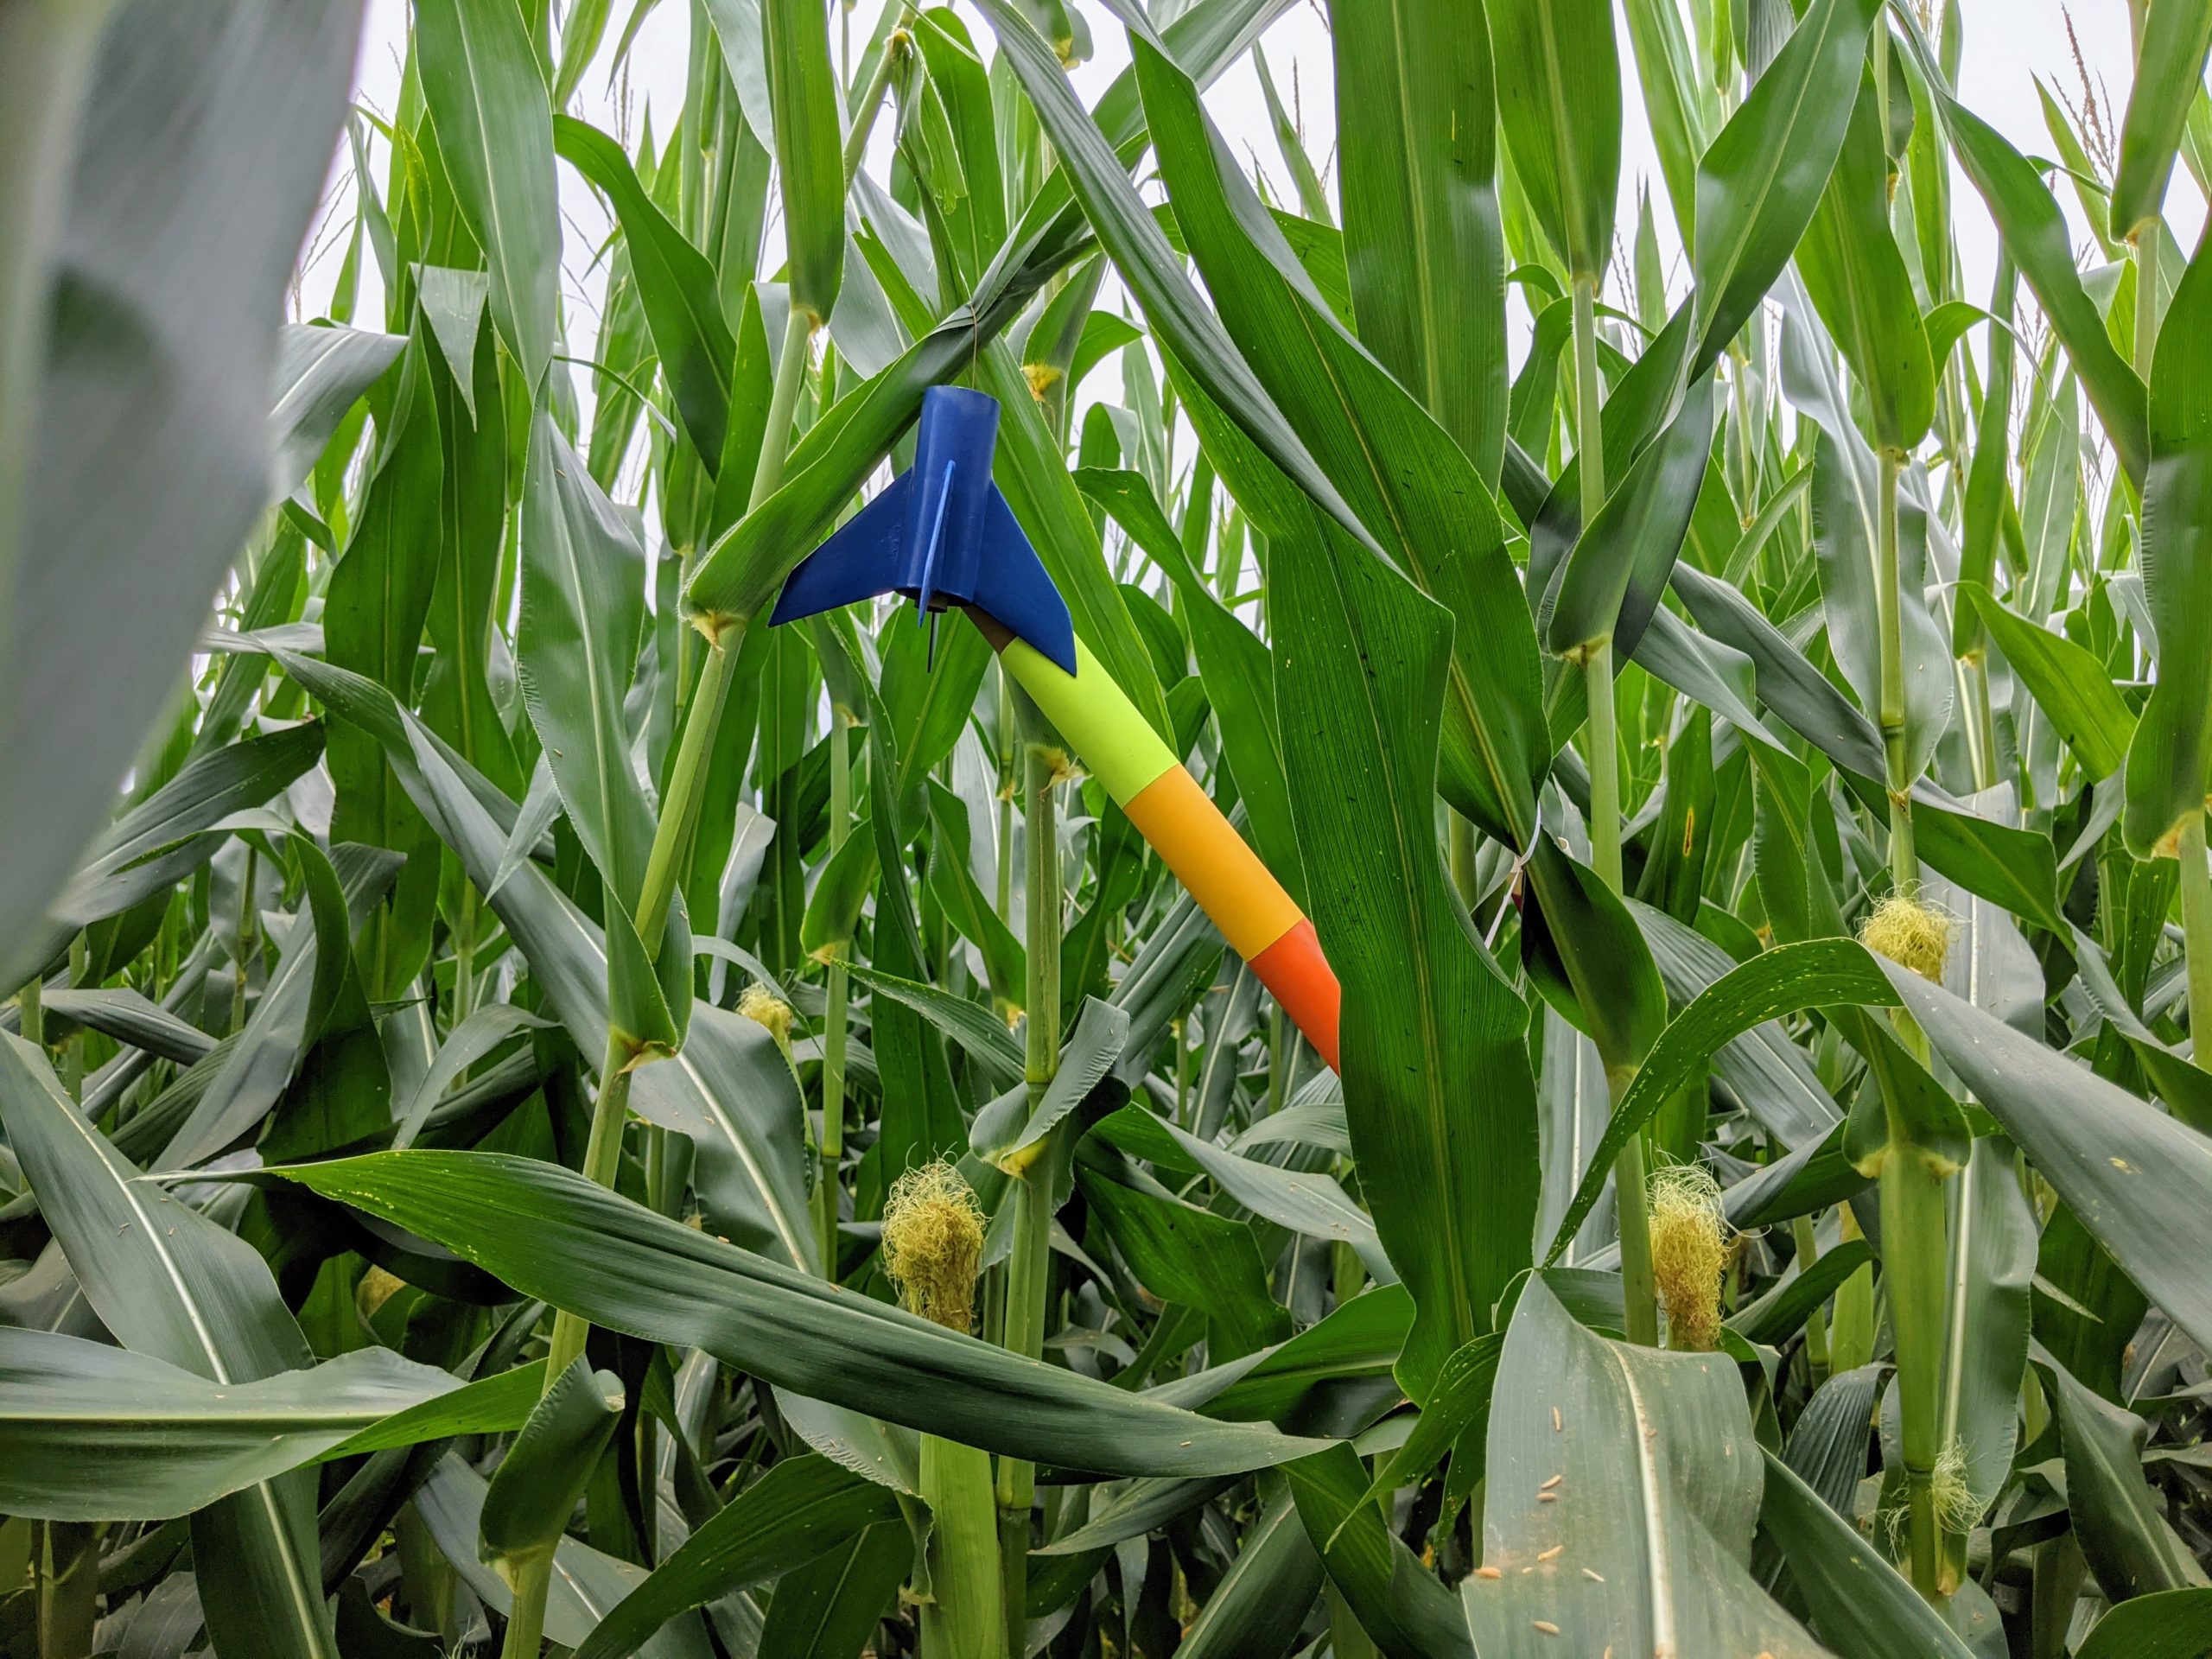
Stretch Stubby, I presume?

Museum of Flight

One event Alice & I planned well in advance for our current trip west was a visit to the Museum of Flight. Technically just outside Seattle, it’s adjacent to Boeing Field and actually incorporates some of Boeing’s original factory. It did not disappoint, and we didn’t even make it through all the buildings.

Among tons of great stuff, the museum has a lot of hobby rockets. There’s a whole corner focused on them, at least one other dedicated display case, and several other models included here and there. You might think they’d be kind of goofy alongside the “real” rockets and planes, but they’re actually really neat and fit in well. Alice was very excited, and told her grandpop all about how Ken’s rocket blew up “so we had to duck!” and Mike’s rocket sailed over the farmhouse and “A COW STEPPED ON TANYA’S ROCKET!!” and many other stories from PARA launches.

Anyway, if you find yourself in this area, I recommend a visit. I put the Museum of Flight here on par with the National Air & Space Museum in DC (especially if you consider just the latter’s museum on the mall and not its Udvar-Hazy annex, whose display of Space Shuttle Discovery puts it over the top, it’s simply an amazing craft to behold). Plan for a full day, the Museum of Flight is a whole campus with half a dozen or so big buildings, all filled with great artifacts.

A display of some of the first commercial model rockets.

An early Estes Astron Mark. Check out the identifier on the fin: NAR member #2, G Harry Stine.

The Fusillade, the museum’s display of a number of rockets collected at a NARAM and from clubs around the country.

Alice declared right away that “Andy would really really like these big ones!”
The colorful tall rocket in the center is the Aeropac, first hobby rocket to cross 100,000 feet.

FAI scale world champion from 1997.
It’s incredible. The physical detail is one thing, the fact that it flies and breaks up appropriately into the several stages is another. But what really struck me is the graphic work. The other elements I could see sinking a ton of time into and approximating the results. But I couldn’t even tell how they did the graphics, they were so crisp and smooth.

“AAAAAHHH, it’s too loud!”
So, ok, we’re maybe not ready yet to move on from model rockets to commanding an Apollo launch…

Water Rocket

Out on the west coast to visit her maternal grandparents for a bit, Alice and I had to put out some extra effort to get in at least one rocket launch this month. With help from Uncle Brian and Grandpop we built a water rocket and launcher, got in a couple more-or-less successful flights, and learned a lot to put toward second generation designs.

Looks like a rocket!

Design

The launch mechanism we settled on is made from garden hose quick releases, a “Gardena style” water rocket launcher. AirCommand, RaketFued, and US Water Rockets each have useful writeups on building these. The positive side of the quick release is attached to the rocket, doing double duty as both catch and nozzle. You fill the rocket about 1/3 full of water, plug it into the negative side of the quick release, and then pump air through that to pressurize the rocket. Pulling a string attached to the quick release collar frees the catch and lets the rocket launch. Our design incorporates two quick releases to provide an abort string as well, in case we need to dump pressure without launching the rocket. This style launcher also needs a check valve or water trap so water can’t flow back to the pump or compressor. You could use a regular garden hose to run the air supply, but we used an actual air hose because it was smaller diameter—less to fill if using a hand pump—and actually cheaper.

THE PLAN.

Uncle Brian cutting a garden hose quick release to fit into the throat of the bottle while Alice draws a sign for the family July 4 party.

Grinding down that nozzle to perfection.

Lining up a drill hole in the launcher base. (Alice took this picture)

Alice rightfully supervising my use of power tools in building the launch tower. To be clear, because she was hassling me about it, in the previous picture I’m just lining things up; I put on safety glasses before actually drilling.

Between the PET material and the flexibility, it’s surprisingly difficult to glue things to soda bottles. Epoxies don’t usually work well. We used liquid nails here, which is somewhat of a mess to work with and tends to produce a less-than-beautiful result, but was functional enough. Fins were made out of coroplast, the corrugated plastic which lawn signs are made out of. A substantial lump of kids’ modeling clay went under the tennis ball nosecone to bring the center of gravity forward, hopefully ahead of the center of pressure—which I did not compute or measure; YOLO!

The assembled rocket.

Nozzle assembly.

Nosecone with substantial ballast weight.

Alice handled the most important part of the rocket construction herself: Decoration and finishing. The fins were colored with permanent markers. We used narrow colored duct tape on the body in order to have adhesion to the PET bottle and keep the whole rocket waterproof. Compared to our usual micro-rockets that come in around 3–5g, this rocket is quite the beast, very hefty at something like two orders of magnitude more mass than that, so I figured “Tape away, kid!”

Alice’s very exciting color scheme.

See-through panel and fill line to watch how much water we’re putting in.

The assembled launcher and rocket.

Ready for go-time!

First Flight

The debut launch was more entertaining than successful. But at least our little crowd of family spectators had also waved over the neighbors and their kids so everybody could watch the first trial of the completely untested system…

It turned out there was a leak in the air supply connection to the tower, so the rocket didn’t fully pressurize. Probably in part because of that it then also didn’t cleanly release on the first tug of the launch cord either so it lost even more pressure. However, it did still have enough energy on the second pull to at least demonstrate reasonable basic soundness of the system with a short hop.


Second Flight

After some field modifications and tightening various joints in the launcher stack, on the second attempt we got a solid release and good flight… arcing directly toward a tree. After an extensive all-hands search and consulting some providential video evidence which we did not at first realize we had captured, the rocket was located buried deep into the very top section of the tree.


Fortunately our crack team of retrieval experts managed to knock it down with a pole and then scuttle inside the heavy ground cover to grab the rocket, fully intact.

You can go 3000 miles away and you can completely change your engine type, but you’re still gonna need a big ole pole in yer rocket kit…

Another rocket retrieved by our rocket retrieval pro!

Final Flight

On the third and final flight we increased the pressure just a bit more, targeting 100psi. Unfortunately the nozzle on the rocket broke right as we were about to start recording video, releasing the rocket unexpectedly. From there though it had an exceptional flight, nearly straight up to some good height and then straight back down… nose first, at high speed, whistling loudly like a V2 while the launch team and spectators all scurried for cover. Fortunately it didn’t hit anyone, and, obviously even more importantly, neither did it hit the solar panels on the house…

It did though lawn dart into the grass hard enough to displace a noticeable crater and break off the nosecone. So back to the workshop everything went for repairs and improvements after a reasonably successful set of first flights.

Thoughts

I chose this quick release style launcher because at the moment, away from my own workshop, I didn’t want to build something like a Clark cable tie release. That was probably the right call for a first launcher. This style is pretty much plug & play. Toying with the quick releases when they originally came I was worried they required too much force to release, but they wore in rapidly and developed a smooth enough action.

However, with how far away you want to get from the launcher, enough force is involved, and with enough leverage and potential cut points involved, that the pull strings must be chosen with some care. The twine I chose broke in several places. That’s not necessarily the worst thing ever, better that than force through some blockage. But they’ll be the first thing upgraded when we get to revisions.

With more time and access to my more hobby-oriented tools and collections of bits & materials I would probably do the fins differently. Gluing to the bottle is problematic and messy enough that I would consider shrouding or bracketing all around it to create a cleaner mount for the fins. Another alternative is 3D printing a bracket or fin can that screws onto the bottle. Some investigation of other adhesive options is also in order. I was pleasantly surprised though at how straight the rocket flew. Between the ad hoc, arbitrary design of the fins, the largely unknown mass distribution and consequent unknown relationship between the centers of gravity and pressure, and not constructing guide rods for the launcher, I was expecting it to be a lot more squirrelly.

Segueing from the mass distribution though, even without the nose weight, a rocket like this is deceptively heavy and could go surprisingly high. Include the nose weight and it’s a kinetic bomb. That’d be one thing in a wide open field, but with any kind of structure, vehicles, etc. even remotely nearby, some serious thoughts about a parachute deployment mechanism are in order.

All in all though this design worked out well for a first shot. There was a bit of frustration to the launches as we got the kinks worked out and various bits broke. But we couldn’t actually have expected much better for our initial water rocket attempt.

Onward and upward!

Our rocket and launcher construction schematic.