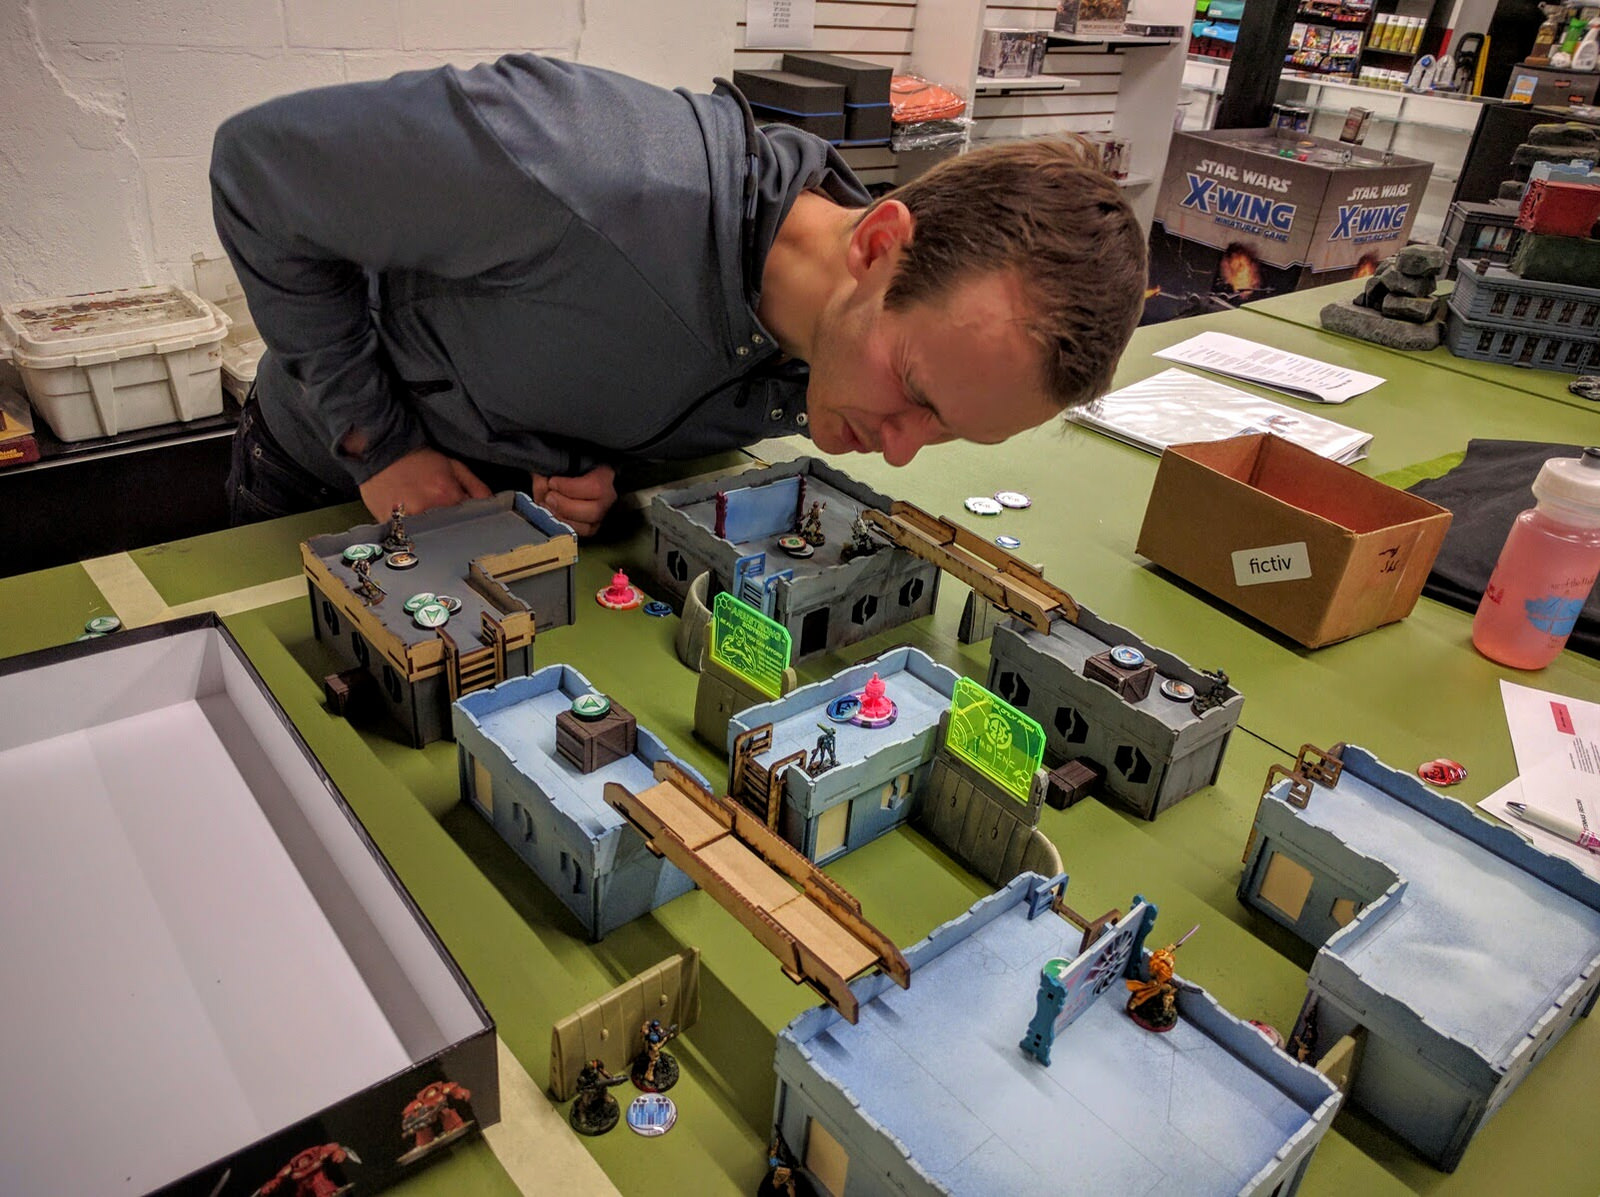
![]() Yesterday I entered my first Infinity event. My home shop, Redcap’s Corner, hosted a beginner’s tournament using the unofficial RECON missions. This was a great driver to actually start playing. I’ve had a few models for two years now but other than a tutorial by my buddy Steve this summer and another by Alex this Thursday, I’d never gotten them on the table. Only four players showed up, but it was an excellent day of gaming. I’ve totally got it now: Though almost overwhelmingly complex to get started, and I think unnecessarily convoluted in rules presentation as well as jarringly inconsistent here and there in some details and mechanics, Infinity is an incredible game with a ton of strategy and narrative.
Yesterday I entered my first Infinity event. My home shop, Redcap’s Corner, hosted a beginner’s tournament using the unofficial RECON missions. This was a great driver to actually start playing. I’ve had a few models for two years now but other than a tutorial by my buddy Steve this summer and another by Alex this Thursday, I’d never gotten them on the table. Only four players showed up, but it was an excellent day of gaming. I’ve totally got it now: Though almost overwhelmingly complex to get started, and I think unnecessarily convoluted in rules presentation as well as jarringly inconsistent here and there in some details and mechanics, Infinity is an incredible game with a ton of strategy and narrative.
Though just beginner games, interesting things happened throughout, so this is a battle report for the day. There are a few more photos in my Flickr gallery.
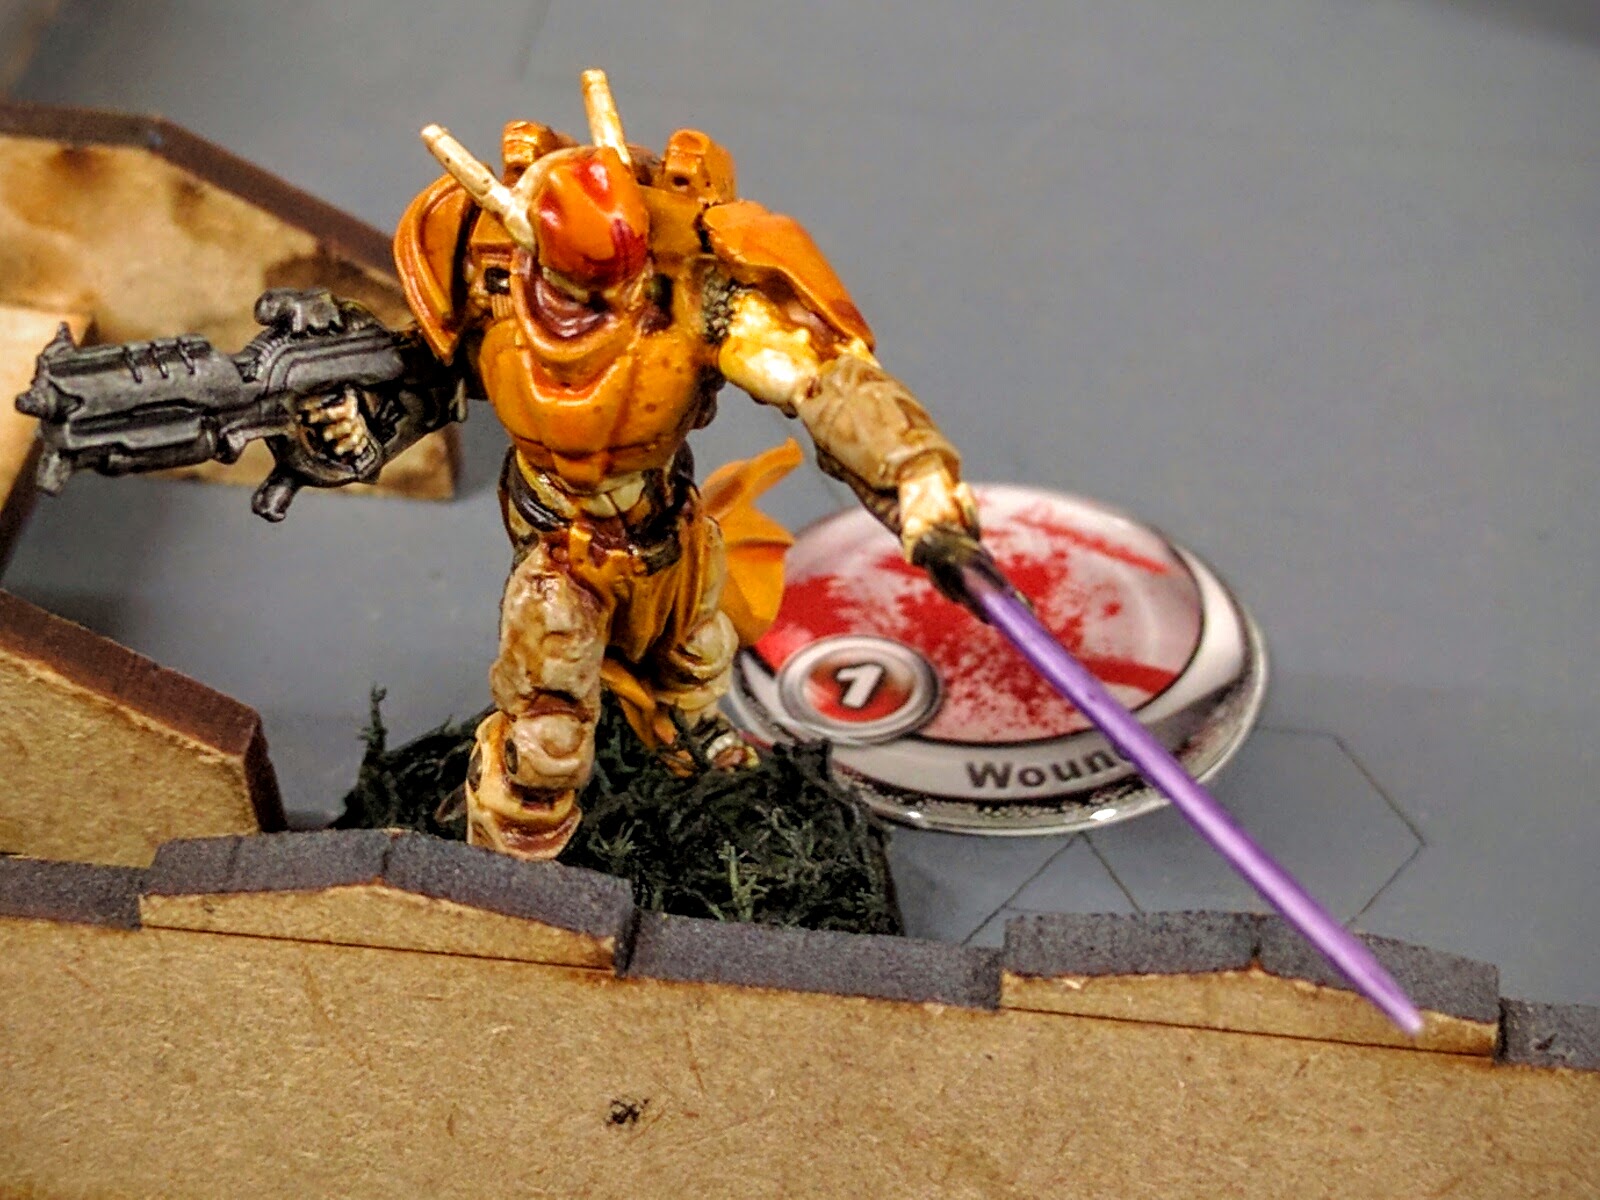
Wounded but undaunted, my Father Knight leads the charge.
Army
RECON is basically half size games. Lists are 150 points, with a single combat group and fireteam permitted, along with some other restrictions. The table is cut down to 2’x3′ and the ITS mission scenarios reduced to match, with all specialists (forward observers, medics, and hackers) able to activate all objectives.
I fight for the PanOceania technological hyperpower, specifically its Military Orders sectorial army. Sadly I chose that sectorial because it looks awesome. Coming from 40k as a Space Marine commander doggedly serving the gothic emperor, I have a special appreciation for religious nut jobs running around in power armor with swords while everybody else is packing oversized rifles, orbital bombardments, and so on. Only after I had a handful of models painted did I come to know that universal consensus is that the faction is really hard to play competitively, and certainly one of the hardest to start with… Most critically, the models are so expensive in game points and you field so few that you just can’t afford to make mistakes. As the kids say: Womp womp.
In any event, I brought the following army list:
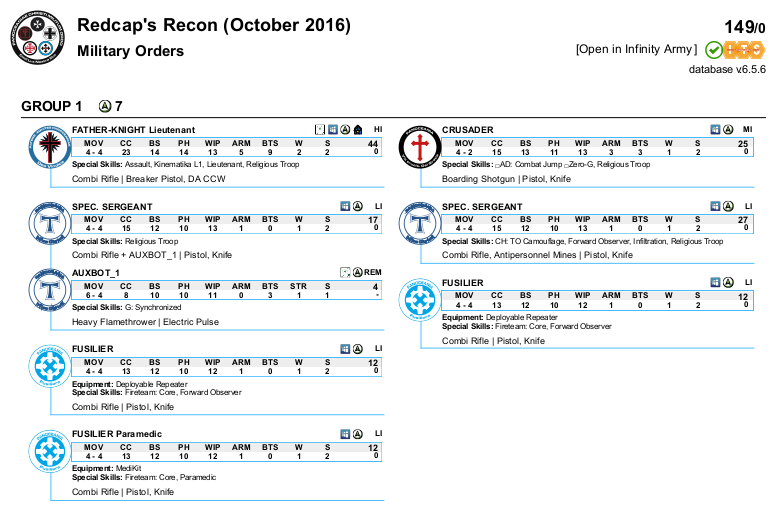
I lead off choosing a Father Knight just because the physical sculptures are amazing. I really wanted to field both of mine (blister + Icestorm variant), but putting 2/3 of my points into two models seemed excessively foolish. However, I do think the unit is solid. It’s weird that a strong close combat fighter doesn’t have a Martial Arts skill, but they’re tough models with 2 wounds, 5 armor, and 9 bio-technological shield.
The Fusiliers are my cheapest options for the specialists needed to claim the scenario objectives. I didn’t field a hacker mostly to conserve points and a little bit to minimize the game mechanics involved in my squad. Taking the maximum of three permitted by the sectorial also got me to 7 models (plus the AUXBOT) generating 7 regular orders, which felt viable at 150 points. Anything less I felt was very risky in terms of actually being able to do anything, even before casualties started.
The Spec Sergeant with Auxiliary Bot essentially filled out points I had remaining. The bot wields a heavy flamethrower, which pulls at my heartstrings as a Salamanders-rules 40k player. But it’s also half again faster than standard infantry, which I thought might be handy for a late move on an HVT or similar action.
The last two models were my main strategic army choices. The Crusader has Airborne Deployment L4. The Spec Sergeant Forward Observer has Infiltration and TO Camo. Both give me a way to deploy upfield, obviating spending precious orders just moving models forward. With its boarding shotgun, the Crusader can hopefully run amok in my opponent’s backfield and take out weak order generating cheerleaders, reducing their army’s ability to act. Meanwhile, the Spec Sergeant hides in perfect camouflage until the moment comes to break for an objective it can activate as an FO specialist.
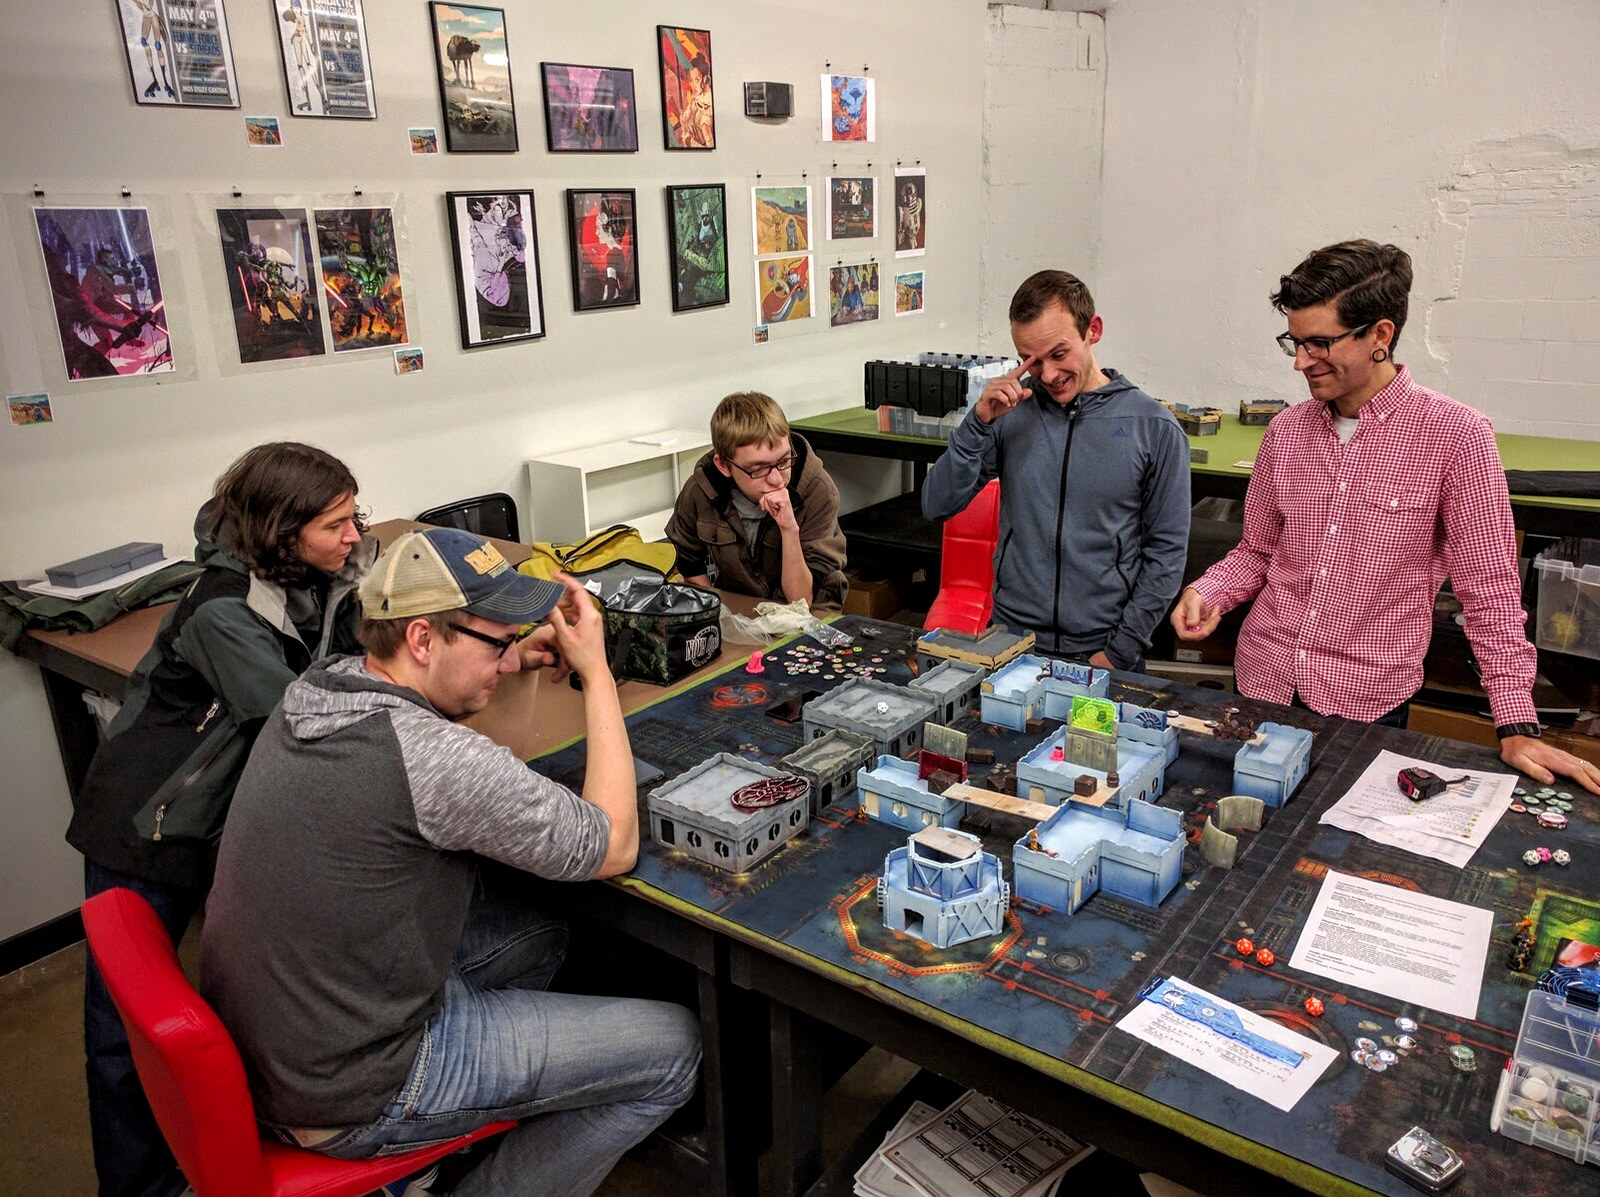
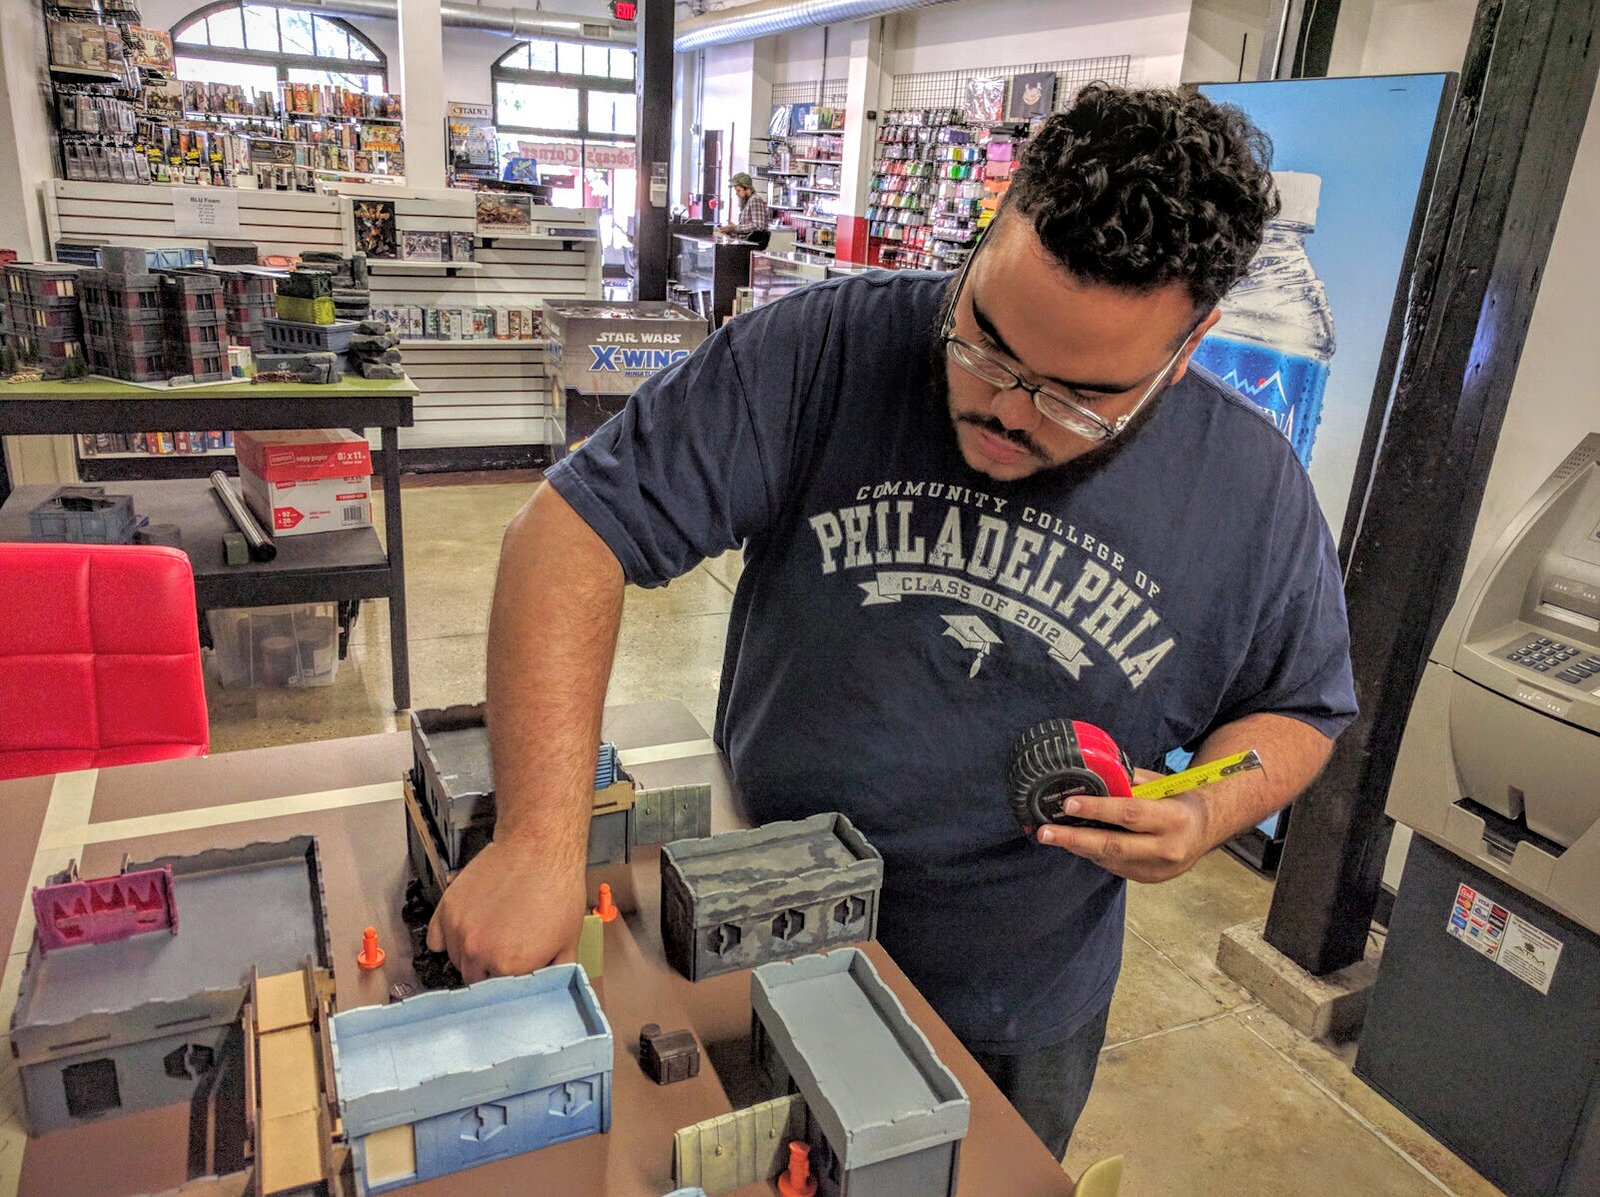
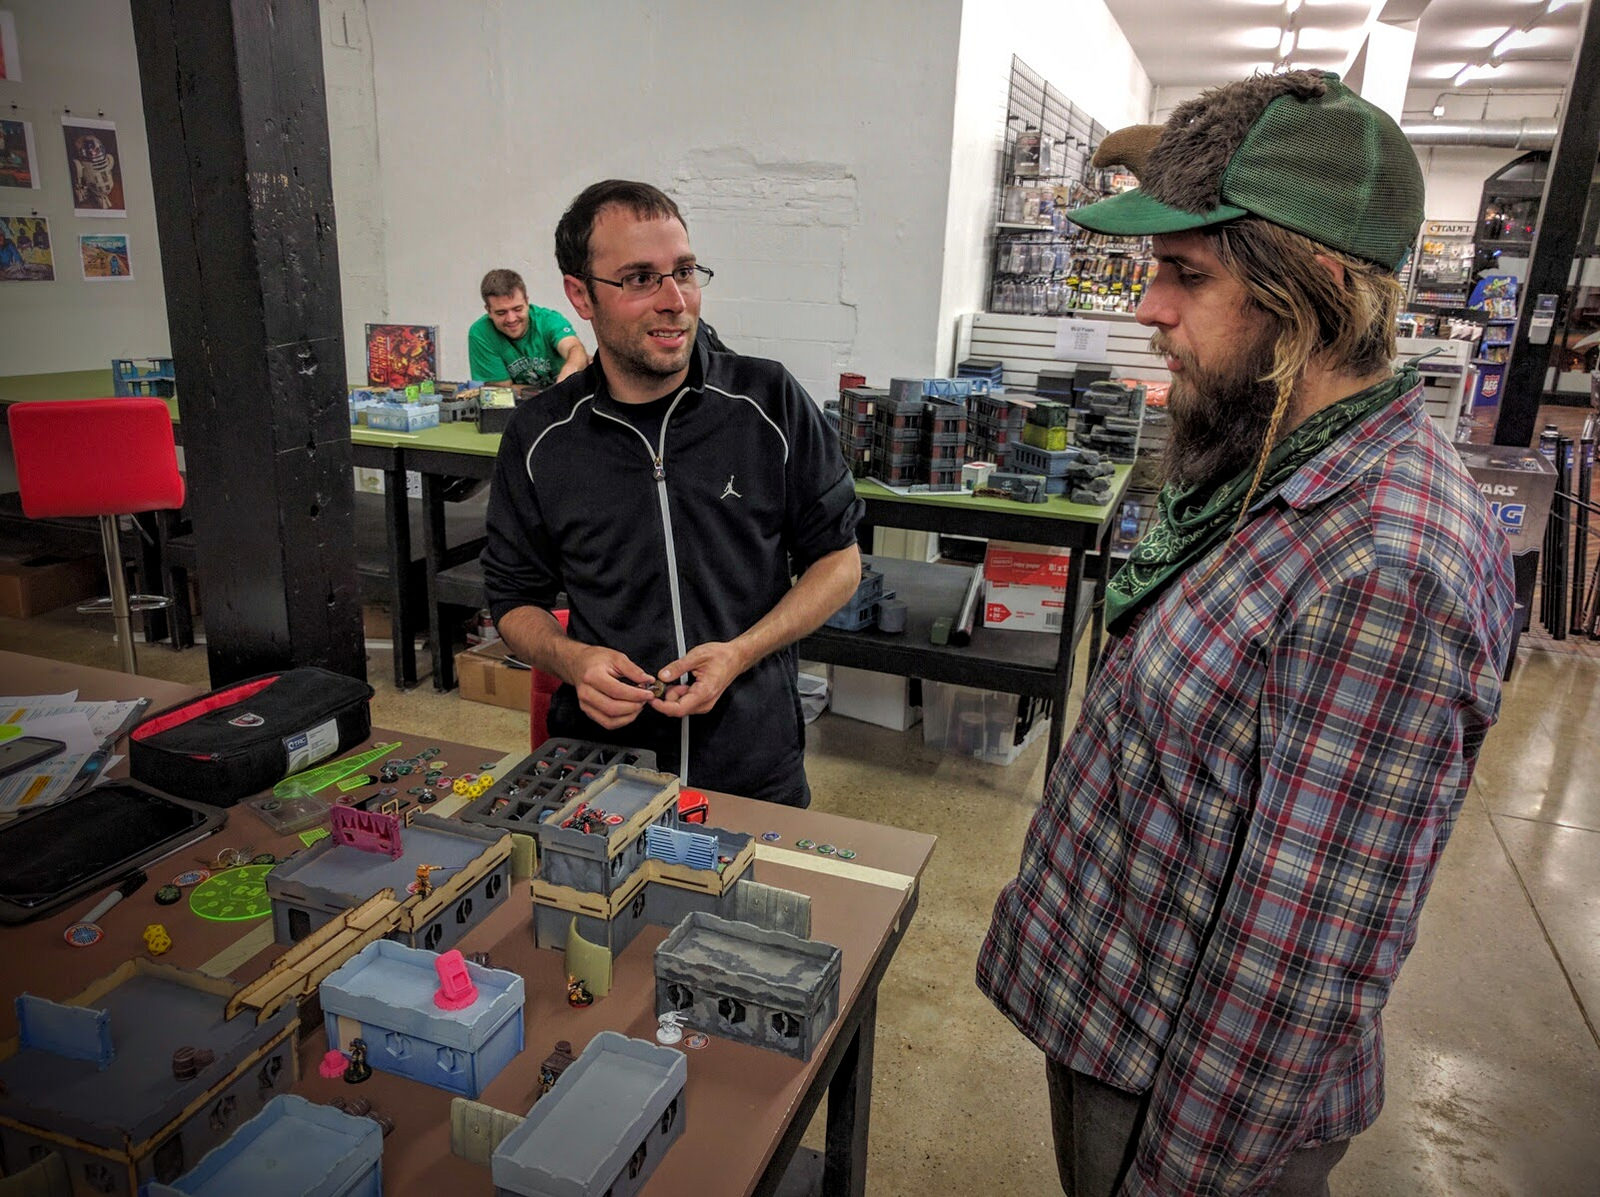
Everybody watching Thursday’s tutorial game lead by Alex.
Round 1
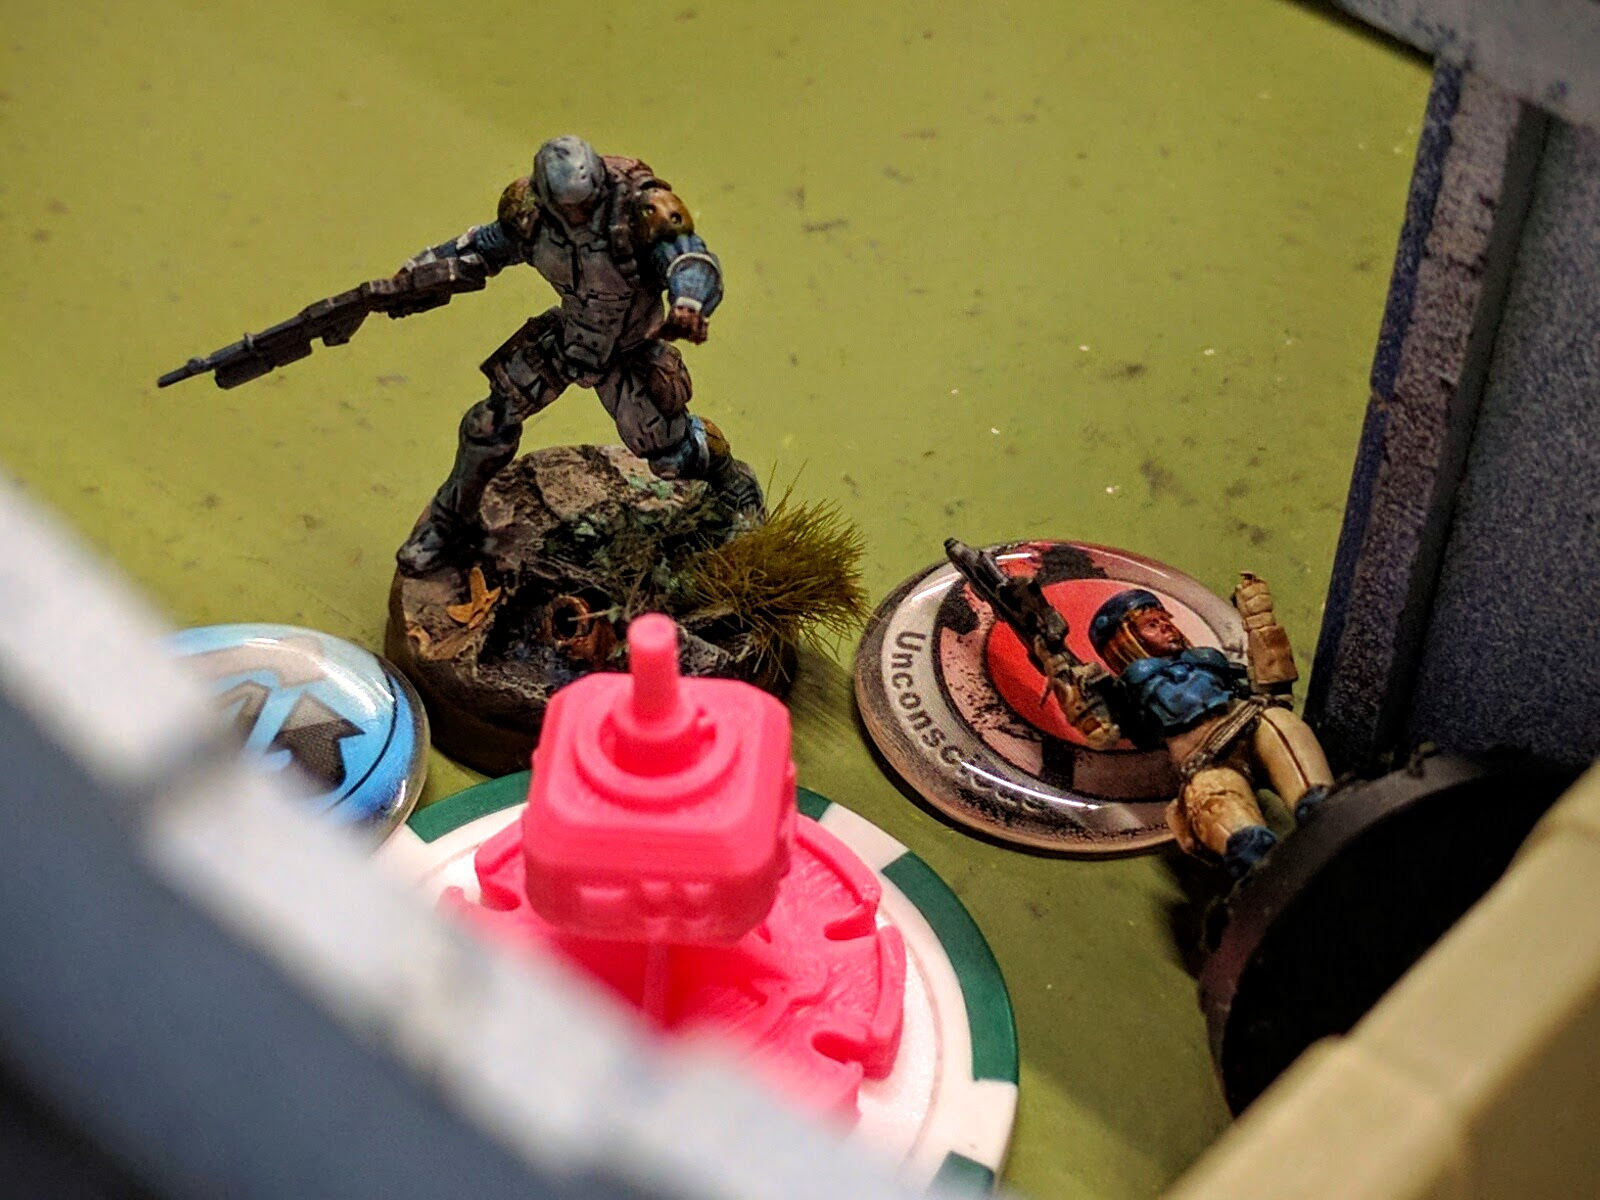
First up was Rae and his Yu Jing in the Exfiltrate mission. With both of us super unfamiliar with the rules, this was a sloppy, slow affair. We only made it through one of the standard three rounds. One notable moment though was actually in deployment, when an Oniwaban with a lethal monofilament close combat weapon failed to infiltrate and had to run up from his backfield. Unfortunately a Ninja did pop up right next to my Father Knight and couldn’t be kept out of close combat. The humble AUXBOT saved the game though in the final actions, just barely managing to tag the charging Oniwaban with its heavy flamethrower and burn the ninja to a crisp before it could grab a civilian.
Outcome: Draw, 0-0 with no civilians rescued and no HVTs claimed. Fortunately for my standings the other table came to a 0-0 draw as well. Most importantly though, coming out of this match I felt reasonably in the groove with the basic mechanics of the game.
Analysis: The AUXBOT was MVP, deployed to guard one of the enemy civilian objectives and doing exactly that to preserve the draw. One note was that the hidden Ninja attack on my Father Knight essentially forced me to reveal my TO Camo Spec Sergeant in my reactive phase in a desperate attempt to stop its charge. Didn’t matter here, but in general that would be unfortunate, wasting the hidden sergeant’s ability to make a surprise shot, late grab for objectives, and so on.
Ninjas, attack!
Round 2
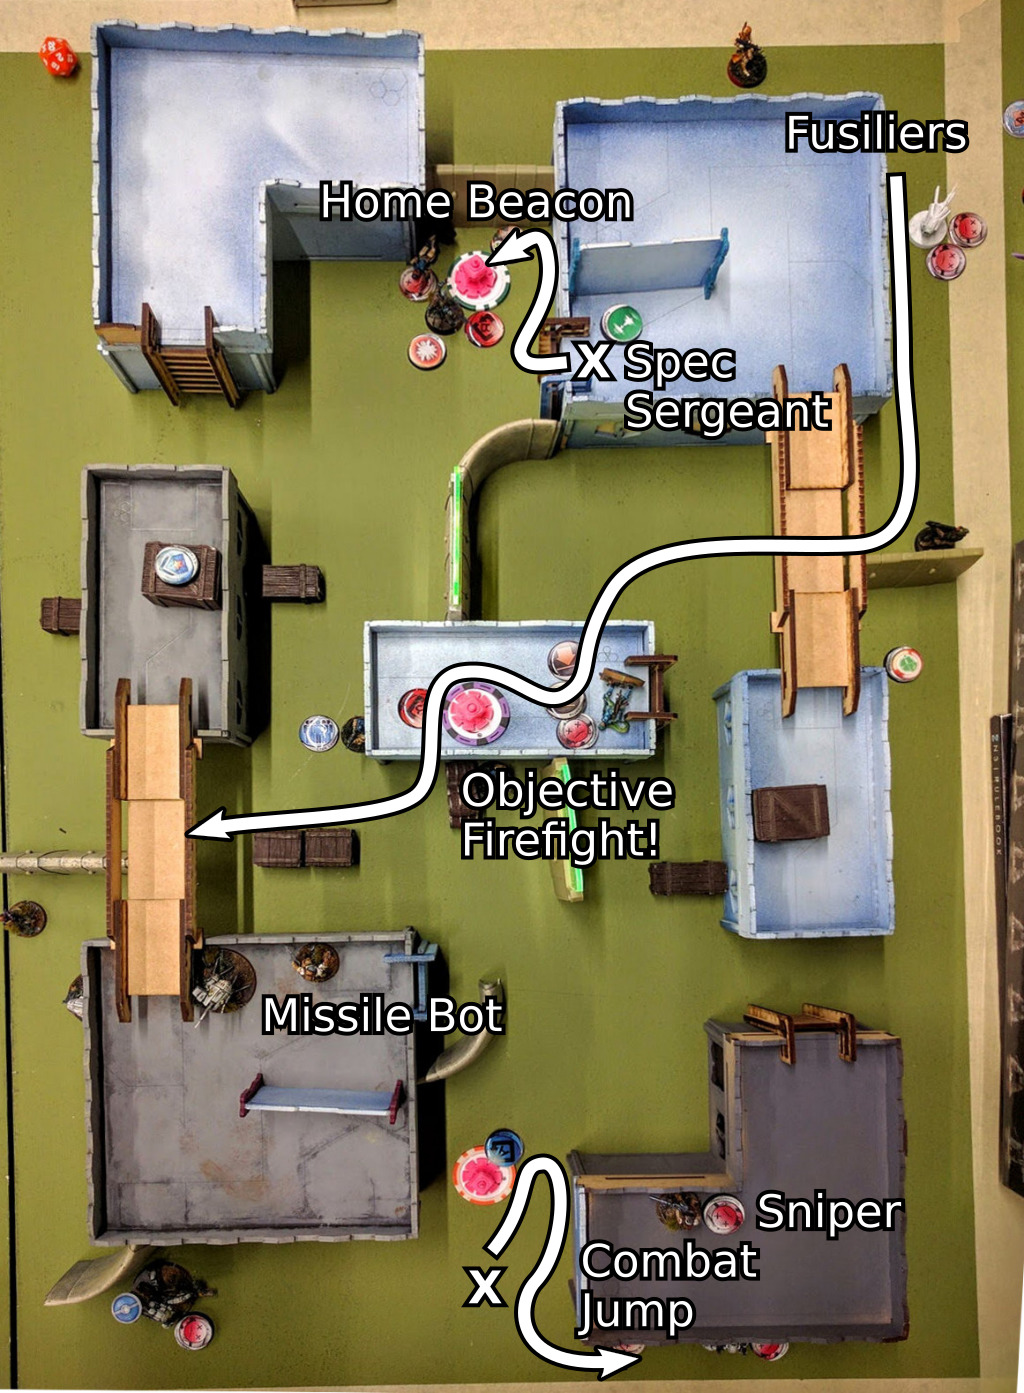
Next was Alex and his Haqqislam in Seize the Antennas. Fortunately I saw his list Thursday when Tim borrowed it for a tutorial. So I knew to watch out for the sniper, missile bot, and the hacker lighting up my models to call down orbital bombardments.
Also very helpful was a short discussion we all had beforehand about the different tables. Bonsky (the TO) pointed out a slight asymmetry on this map: One deployment zone had a wall closing off an alleyway which was clear on the other side. I got to choose deployment zones, so I chose the side with the extra wall. Partly that would prevent any shenanigans with models appearing near my table edge, running behind the buildings, and seizing the antenna objective in the alley. More importantly, if Alex had the extra wall, it would potentially cripple the effectiveness of my Crusader combat jumping into his backfield by limiting firelanes and hampering movement.
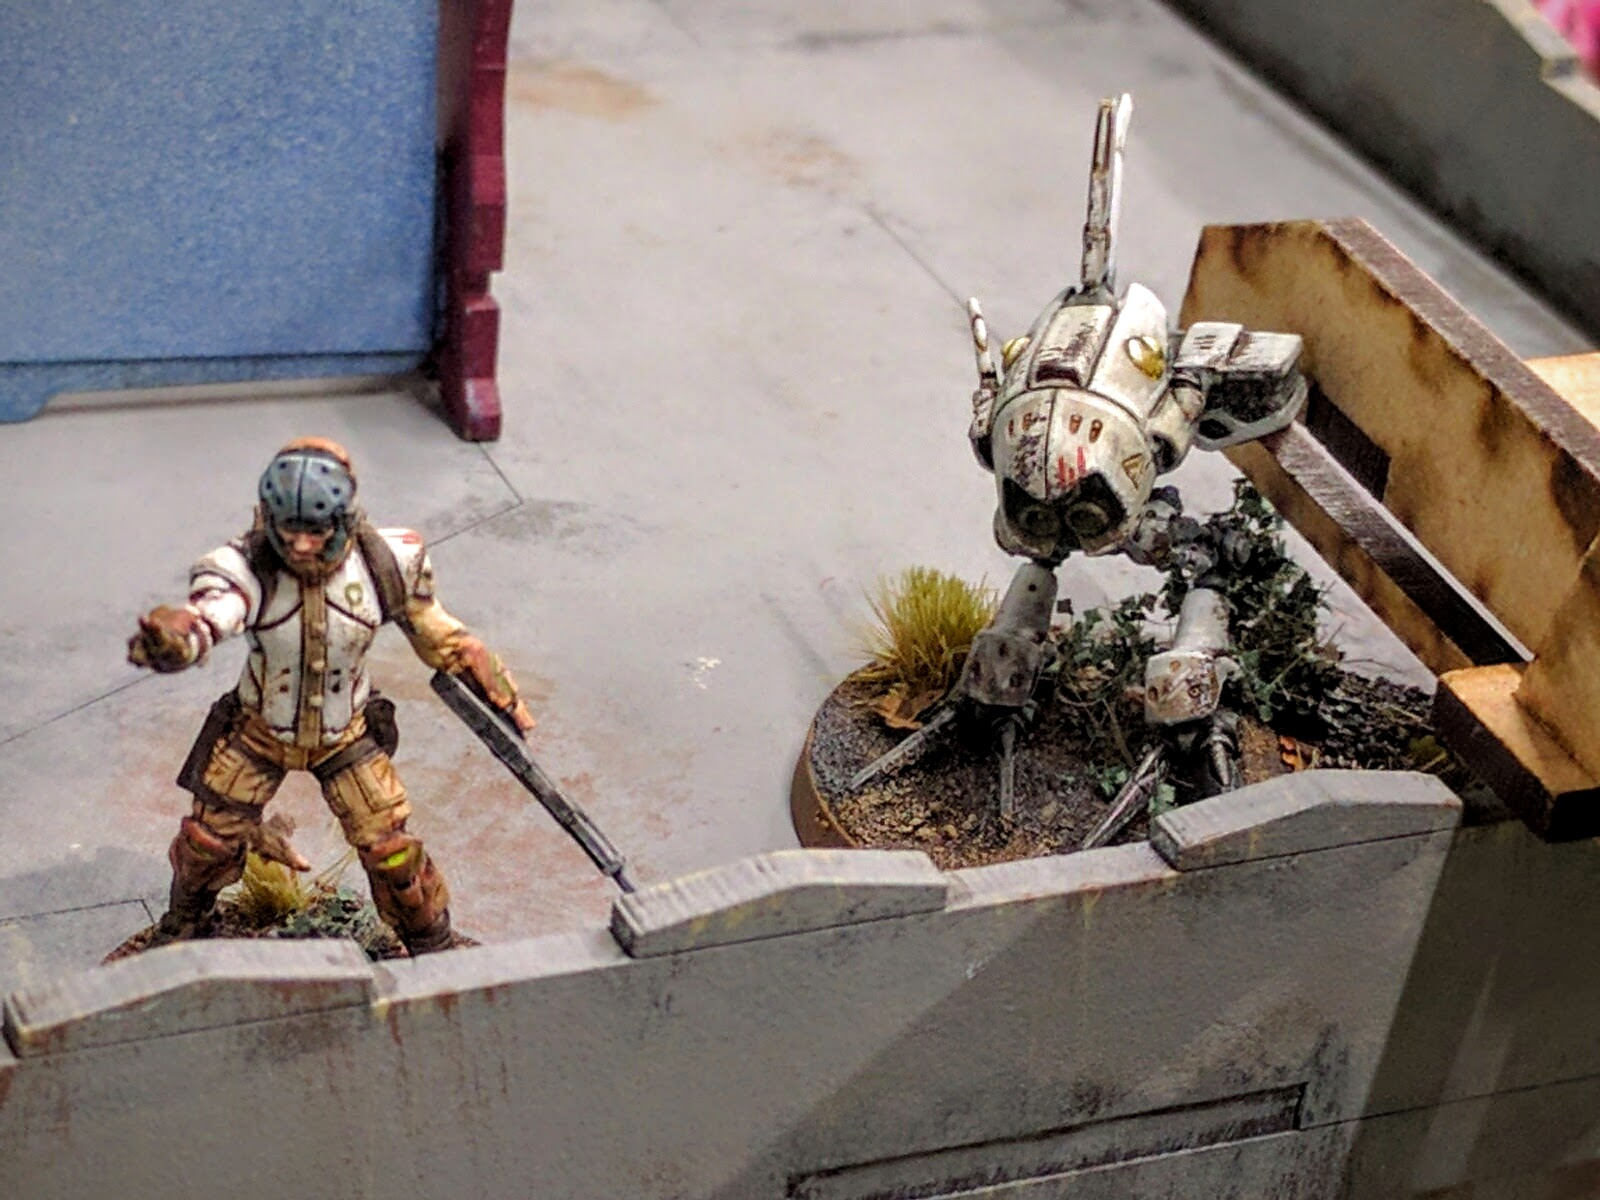
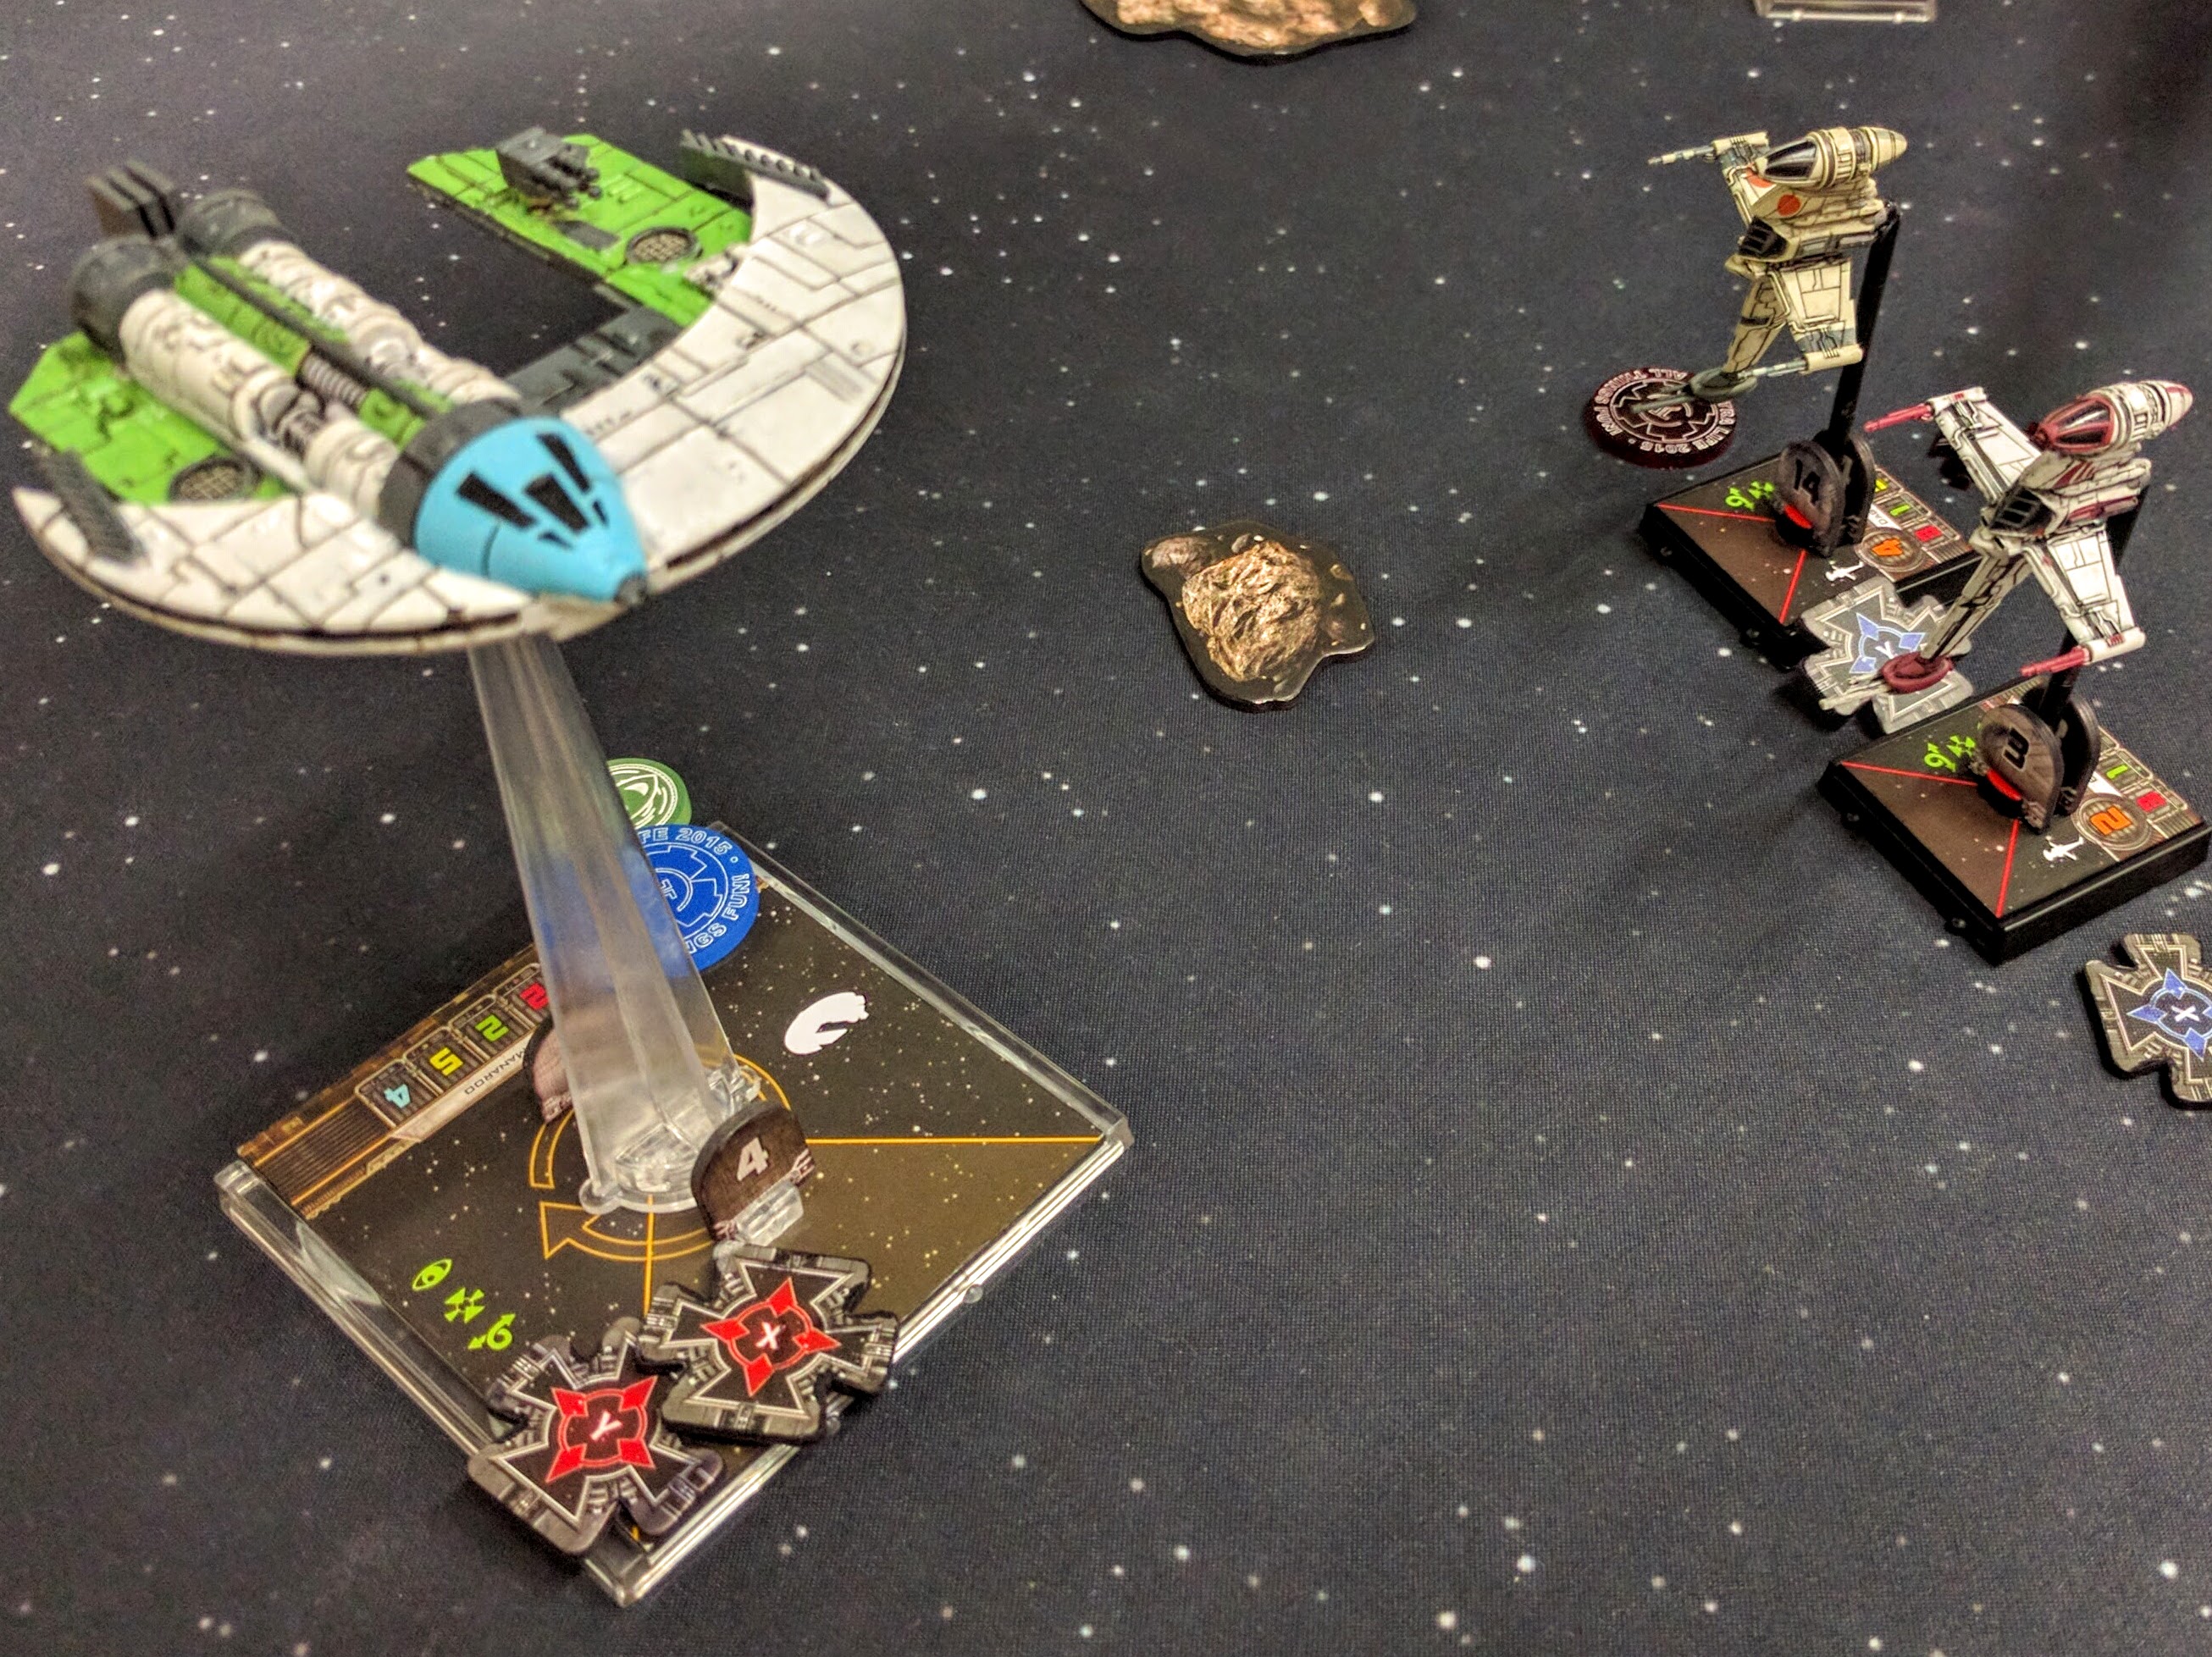
Missile bot.
That decision had huge impact. Alex quickly seized two of the three antennas and set up a bunch of models in defensive postures around the midfield. However, the Crusader came down right in the middle of his deployment zone and went on a rampage with its boarding shotgun. First it went forward to execute a specialist on the antenna—I was worried about Haqqislam doctor tricks bringing her back if left just unconscious—and then ran back behind the buildings to take out both baggage droids and successfully draw and rebuff fire from one of the rooftop teams. Cutting those three orders from Alex’s next turn put us on much more even footing, and taking out the specialist poised to run up the center toward the next antenna didn’t hurt.
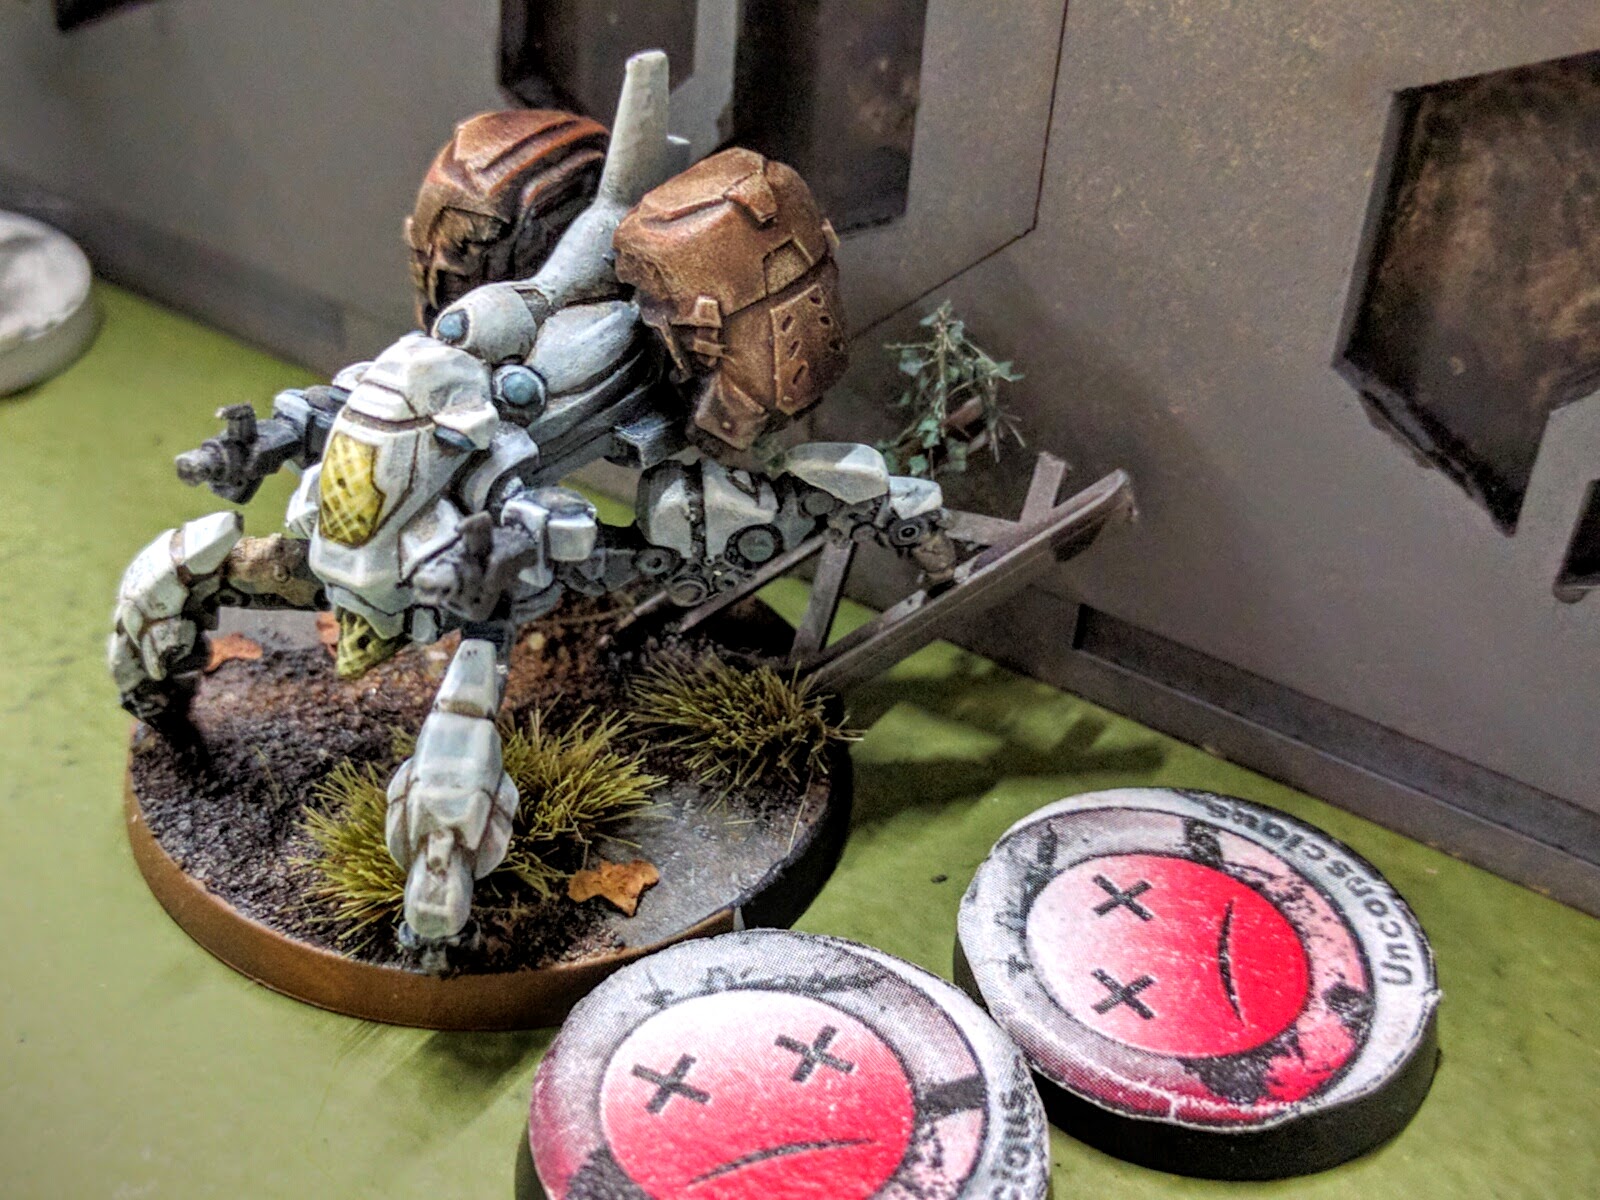
Downed baggage bot.
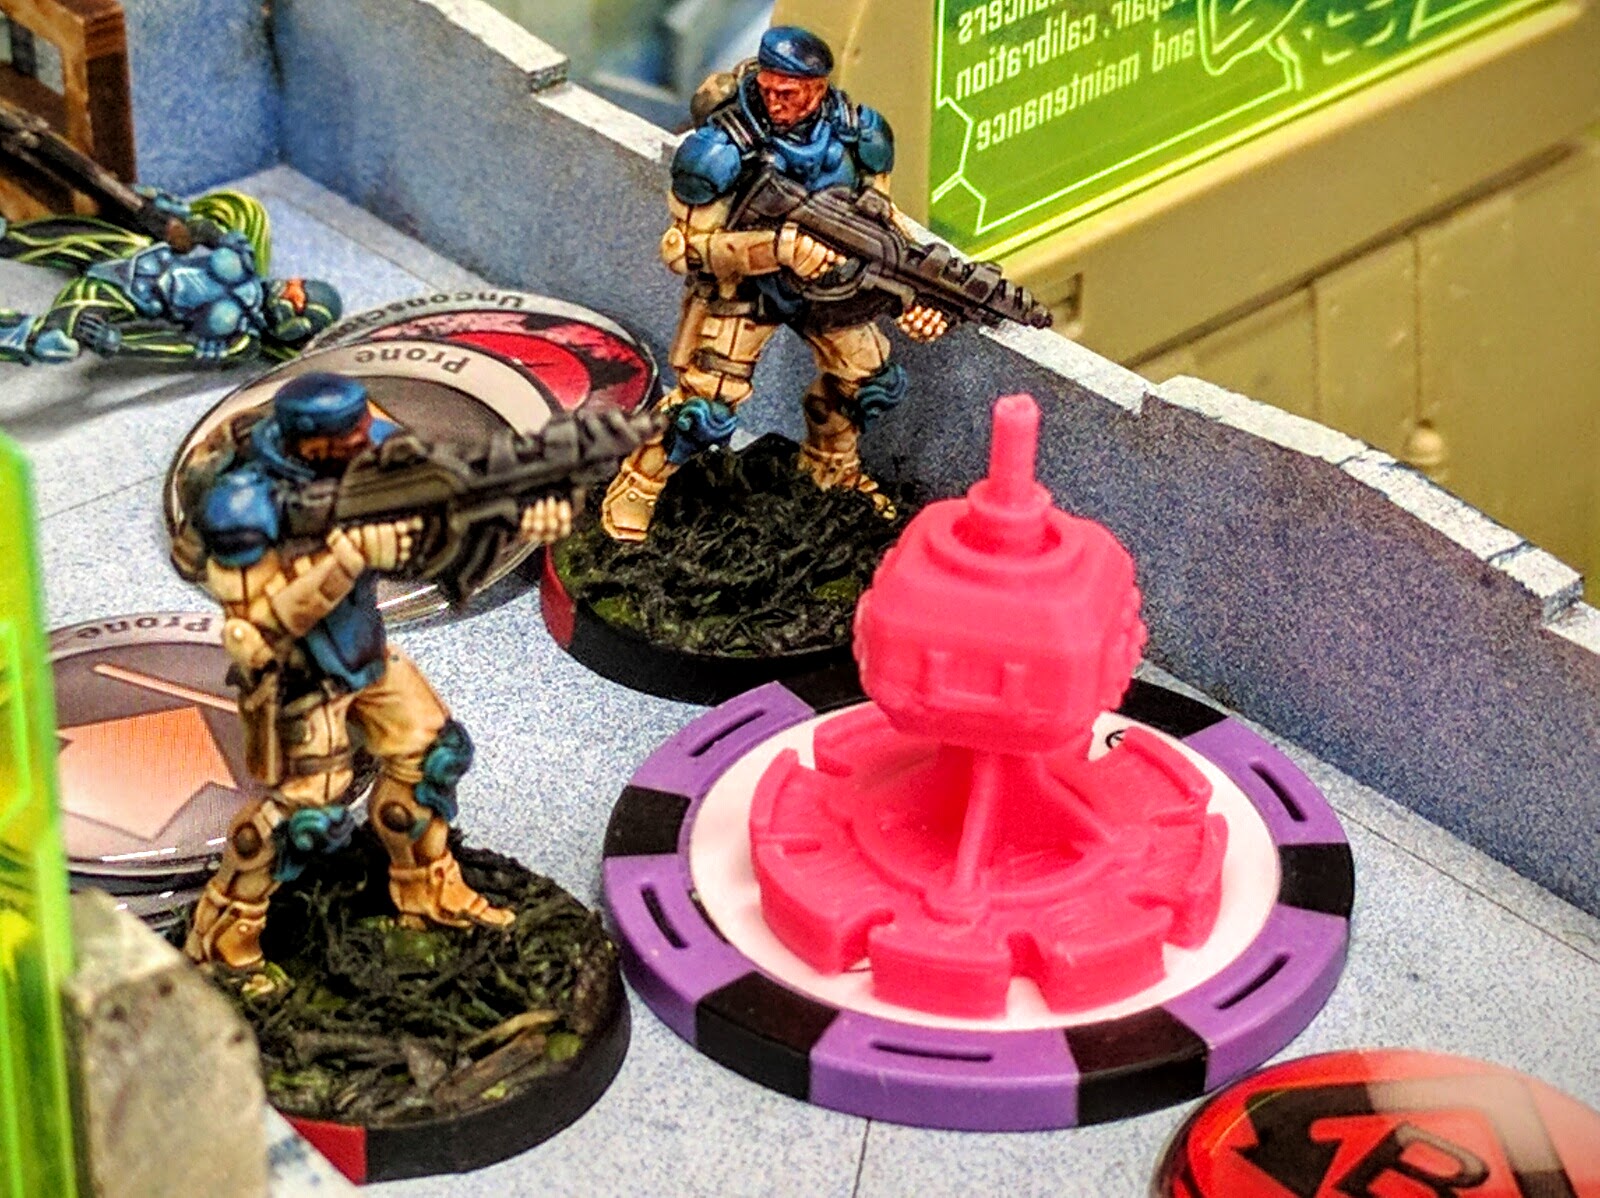
Meanwhile, my Fusilier Forward Observers advanced as a fireteam duo toward the central antenna, carefully using the buildings to stay hidden from long range shooting teams on the rooftops. Then they dashed across an alleyway, dodged the incoming fire, and climbed up the objective building. After a brief but intense firefight with the Haqqislam specialist guarding it and the various models arrayed to shoot on that position, they managed to huddle down and seize that antenna.
From there, Alex’s lieutenant made a play for my home antenna, winning the firefight with my Father Knight leaping at the threat. That put me into loss of lieutenant, but I had just enough command tokens for the final turn to convert the resulting irregular orders to regular. That gave me just enough to get it done. Suddenly my Spec Sergeant in hiding revealed himself on a nearby rooftop, slid down a ladder, and ran up to recapture the antenna. At the same time, with the central antenna secured, the Fusiliers jumped from their position and ran through incoming fire from the rooftop enemies to secure the Haqqislam HVT, counterbalancing the loss of my own HVT.
Battle!
Outcome: Victory for the Military Orders 8-5, with two and one antennas respectively claimed, and both HVTs secured by the opposing sides.
Analysis: My plan to use the Crusader to take out vulnerable order generating units in the enemy backfield worked perfectly. There was also an interesting decision at the very end to send the Fusiliers either toward the enemy HVT or to clear off a light infantry model on my HVT. I went for the former, which worked out. My rationale was that if the Fusiliers were going to take roughly similar fire along both courses, then clearly I should go for the objective that just required moving into place. Otherwise I’d risk failing rolls and not taking out the enemy model.
The real clutch of this game though was deploying the TO Camo Spec Sergeant very defensively, and holding him hidden until the absolute end. At multiple points I was really tempted to have him pop out for some surprise shooting. But it was much more valuable to still have him perfectly positioned for a last minute critical objective grab.
Checking to see if there’s any way to get those pesky Fusiliers.
Round 3
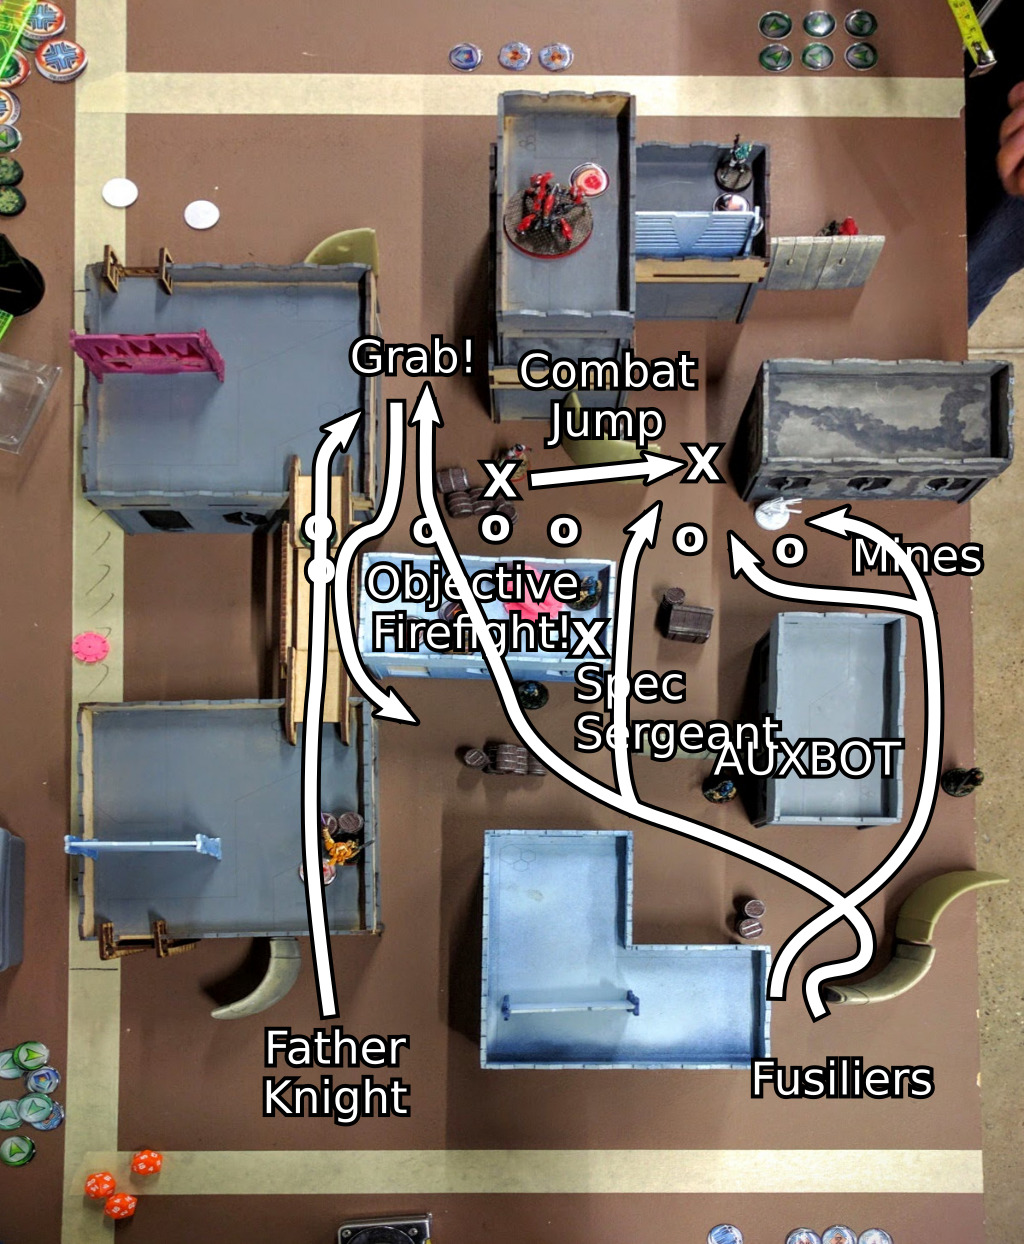
The last round was a minefield, literally. With a central tech-coffin and its data package as linchpin of the Smash and Grab scenario’s capture-the-flag, Tom had his Nomads deploy mines and crazy koalas (basically a hopping mine) all around it.
I tried to trigger all the mines and koalas at once by dropping my Crusader into the thick of them. But it dispersed and only triggered just enough to get killed, not enough to clear the area. So then my infiltrating Spec Sergeant revealed himself right next to the tech-coffin in slim hopes to quickly grab the data package. He didn’t weather everything that came at him, but did set off most of the remaining mines.
Nomad remote oversees the battlefield.
With that a Nomad Moran charged onto the objective building but fortunately failed to operate the tech-coffin and retrieve the data package. That gave one of my Fusiliers time to climb up on the building and take down the enemy, but not enough to grab the data package. Unfortunately, a Jaguar was able to use smoke grenades to make his way unhampered to the tech-coffin, operate it (this mission did not require specialists), and run away with the package before I could respond.
With the endgame approaching, the chase was on! I burned my command tokens to make most of my remaining squad run after the Jaguar in coordinated orders. Charging across the rooftops, rebuffing mines and repeated hacking, the Father Knight was able to gun him down from the back in an alley. A Fusilier then grabbed the data package and ran for safety while everybody else set up a kill box on the only path between him and the remaining enemies. The enemy lieutenant that came leaping down was thus easily dispatched, while my defenders also claimed the enemy HVT.
Battle!
Outcome: Victory for the Military Orders 6-2, after Tom scored the data package at the end of the second round but I scored at the end of round three when it was worth double for the endgame bonus, as well as claiming his HVT.
Analysis: Sacrificing the Crusader in attempt to trigger the mines wasn’t ridiculous, but I probably should have sent it against Tom’s backfield baggage bots just like I did with Alex. Partly I did not because I thought his units back there were more deadly than they are, partly there wasn’t enough space to ideally position the drop zone template. But mostly I wanted to keep the TO Camo Spec Sergeant hidden to pop up and grab the data package after the mines were cleared. However, in the same position, I would now probably have the Crusader go to reduce the enemy order count, while either a Fusilier ran up to trigger all the mines or the Spec Sergeant did—it being well placed to do so perfectly—and the Fusiliers came in to grab the objective.
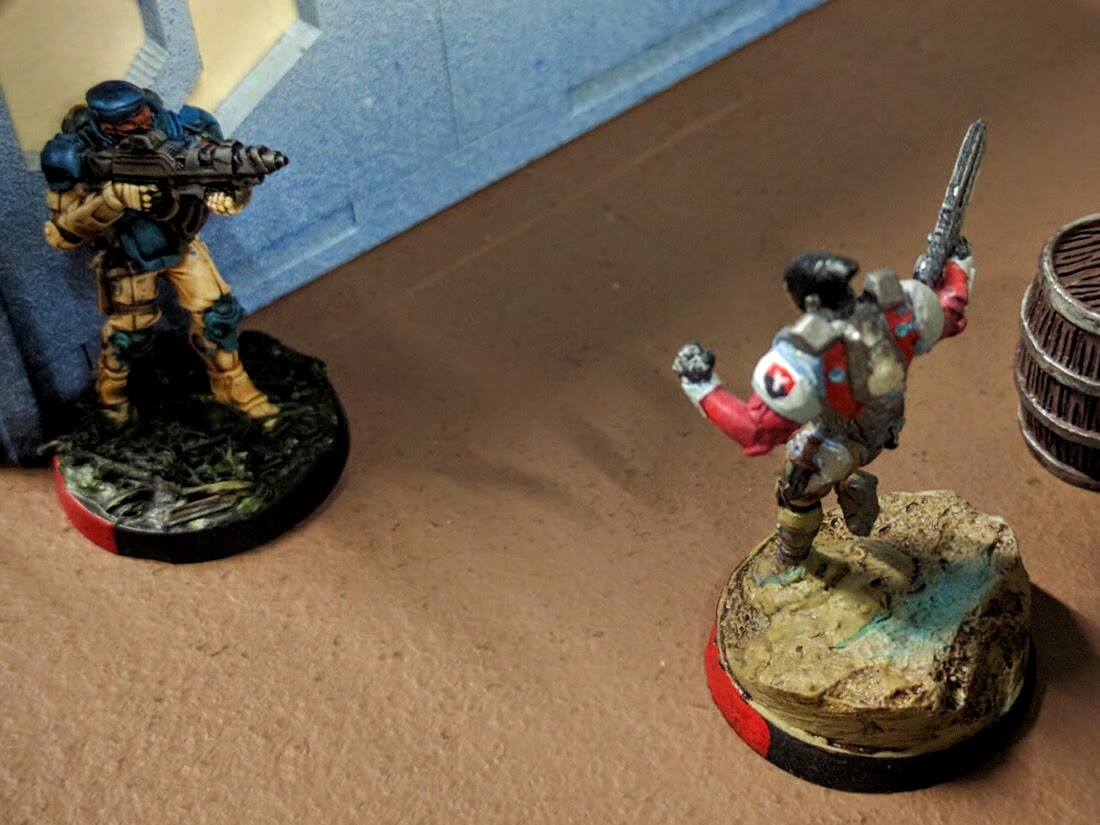
Fusilier engaging a Nomad.
Once the Fusilier was in place to grab the objective, I made a conscious decision to not grab the objective right then. My thinking was that I had no remaining orders to take it anywhere, the Fusilier would probably die exposed on the rooftop so I wouldn’t hold it to score anyway at the end of the round anyway, and it would be better to have Tom potentially fail the test to release the data package after he finally got in position. That logic again wasn’t terrible, but I’m not sure I would do it again. The Fusilier might have survived, and the Jaguar’s smoke grenades made it vastly easier than I expected to just walk up and grab the objective since I couldn’t see to respond at all.
At the very end I failed to put my kill box models into suppressive fire mode. It was a longshot anyway for anything to move through them to get at my data package Fusilier, but I just didn’t think about it due to inexperience.
The Father Knight was probably the MVP here, with his very high BTS 9 shrugging off several critical hacking attacks and enabling him to take down the escaping Jaguar, in addition to knocking down several enemies earlier in reactive shots.
Mines everywhere!
Final Results
With two wins and a draw I came out with the best record and most points. I chose for my prize a small gift card and the Druze Hacker special model that came with pre-release orders of the N3 human Sphere book. I figure it’ll make a good HVT.
Druze Hacker pre-release model.
Observations
Father Knight especially but the Military Orders overall feel very 40k Space Marine-y: Expensive in points, very robust, pretty good at everything, not great at anything. Also echoing 40k Space Marines, the Military Orders units being religious and thus not retreating when your army is well depleted is probably a boon at this low point value, since you might hit that point pretty quickly.
Initially I was really worried about not having enough orders, but seven is probably reasonable for this format. With a single combat group in RECON the max is 10, and only Alex fielded that many in this event. I didn’t feel overly limited.
Ironically for Military Orders, I may have fielded the greatest number of offensively capable models. I’m not sure about Rae, but Alex and Tom both had two baggage remotes and another one or two remotes also without serious shooting capabilities. In some sense I spent those same points on Fusiliers. The tiniest bit more costly, but with reasonable attacks. Both games were really tight until the end. But both those opponents also hit a point a bit before that where I unexpectedly felt they had more or less run out of ways to come at me and the objectives even though they had a similar number of models on the table. In Tom’s case the active attackers were mostly dead, and in Alex’s most of the remaining models were long range shooters and supporting models in backfield positions. Meanwhile, I had just a few more models still actively running around midfield shooting and grabbing objectives even though the number of casualties weren’t very imbalanced. Despite being super worried about Military Orders not fielding enough models, I wound up running comparatively more of a swarm of relatively basic troopers. As another sign of that, note that I spent 0 SWC, i.e., spent no squad points on fancy equipment. Those extra bodies perhaps gave me a bit more robustness to make mistakes and more depth to have a strong end game. That gels with my experience in other miniatures games, especially at low points. There’s a lot to be said for simply having more bodies—the other army list I considered possibly better but less fun and cool looking was just a bunch of Order Sergeants and the Fusiliers. I was considering that primarily in terms of order generation, but simply having more models running around would also be a strength. In preparing a RECON list, you need to be really careful that you’re not bringing so many cool toys that it cuts into your basic ability to suffer some casualties but still fight and maneuver.
Haqqislam lieutenant just rudely pushes the paramedic aside.
The only special ability among my models I didn’t use was the Paramedic, through poor placement on my part either getting her killed early or just not being in position to resuscitate anybody. I’ll have to work on that.
Everybody else though came through in at least one critical moment by leveraging their unique traits, so overall I was really happy with my army list selection. The AUXBOT preserved the draw in the first round by having a good weapon to reliably defend an objective. The Crusader and TO Camo Spec Sergeant enabled the second round win. The Father Knight earned his points in the final round by being tough enough to shrug off a bunch of physical and hacking attacks to chase down and eliminate the Jaguar carrying the data package.
However, the MVPs for the whole day were my Forward Observer Fusiliers, quietly but significantly making the central pushes without which the second and third round victories wouldn’t have happened. Both times they charged up and onto a central objective, won firefights to clear it off, claimed it, and then moved on to also secure enemy HVTs. That’s pretty good for a pair of 12 point models! They proved more resilient and potent than expected. I’m also really happy with their paint job, so I’m pretty pleased with these guys at the moment.
Fusiliers saving the day.
RECON
Although pretty solid for a fan effort, the RECON packet itself could stand some cleanup. There are some clear presentation errors, such as the Smash and Grab mission seemingly copying some text from the full ITS missions about specialists but apparently not actually requiring specialists to operate the tech-coffin. It’s unclear if that’s an oversight or intentional. There are also at least a few substantive changes needed that we made on the fly. Dispersements should be cut down to match the smaller table. We played it as 8″, but I would probably do 9″ in the future so that you would definitely disperse out of any zone of control effects you intended to apply. The second player should also only be able to use a command token to cut one of their opponent’s orders in the first turn, and maybe none at all.
More subjectively, for beginners the missions probably either need to be chosen carefully or some of them tweaked down in difficulty. The Exfiltrate mission in particular seems just too difficult to start off with. Either the scoring needs to be tweaked (e.g., shift the emphasis between grabbing civilians versus bringing them back toward the former) and/or the exclusion & saturation zone needs to be diminished.
Welcome to the Sphere!
That said, RECON was a great format for my first event. I learned quite a bit about Infinity and am eager to play it more often from here on. If you’re in the Philadelphia area, Redcap’s has a small crowd of regular players on Sunday afternoons, and people sometimes play on Thursday nights. There is a small Philadelphia Infinity Facebook group to hook up with people for those or other meetups.
Again, there are a few more photos from this event in my Flickr gallery.
See you out there!
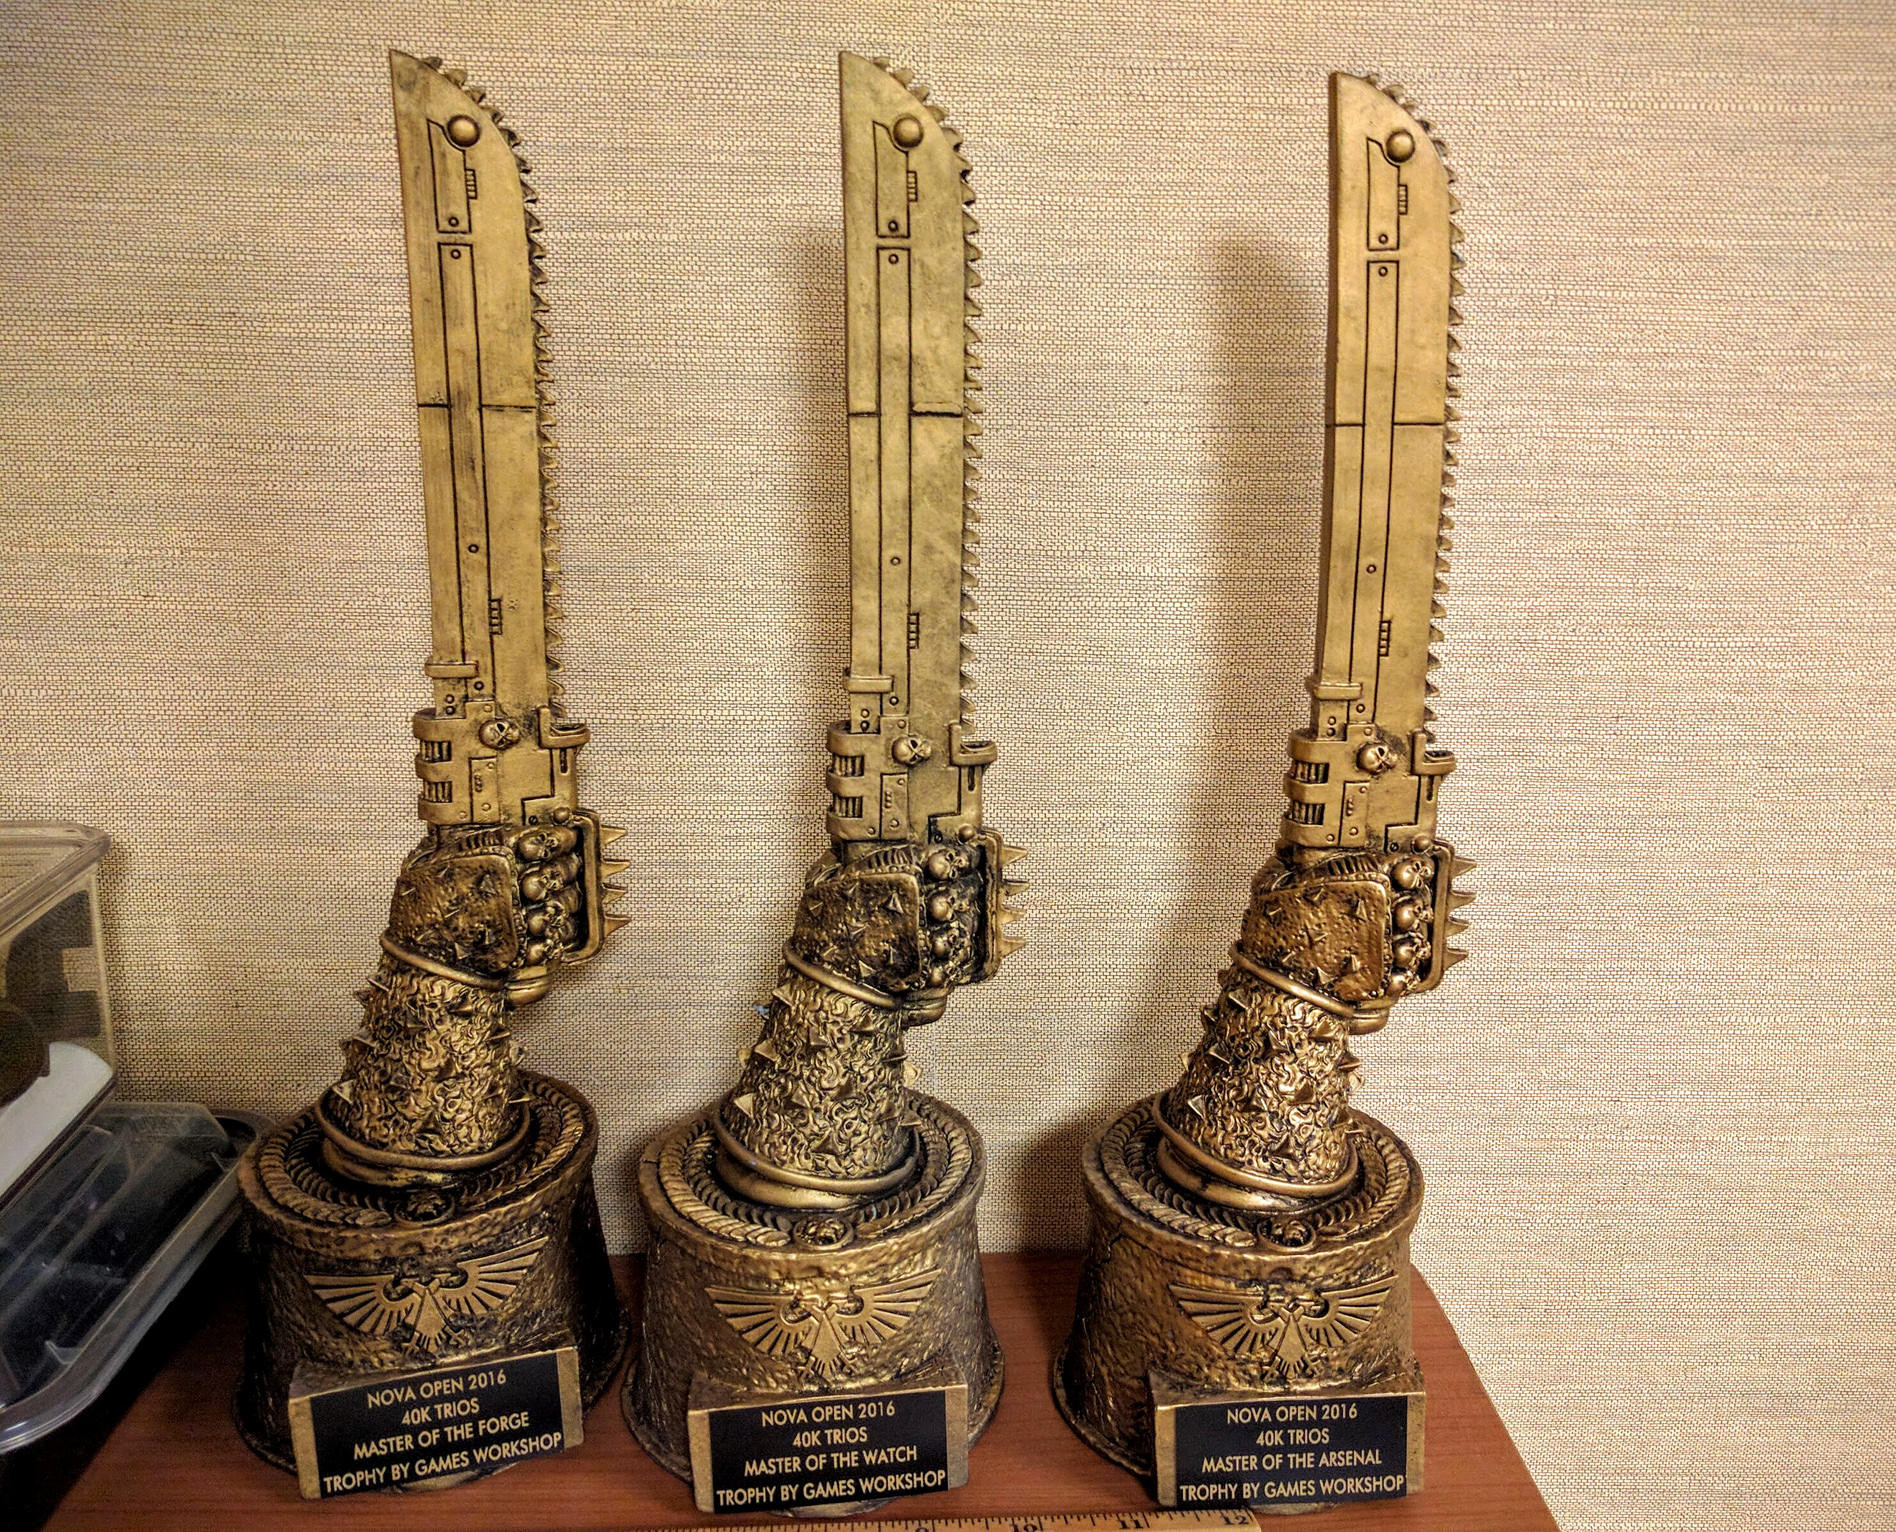
 This year Colin and I assumed direction of the 40k Team Trios Tournament at the