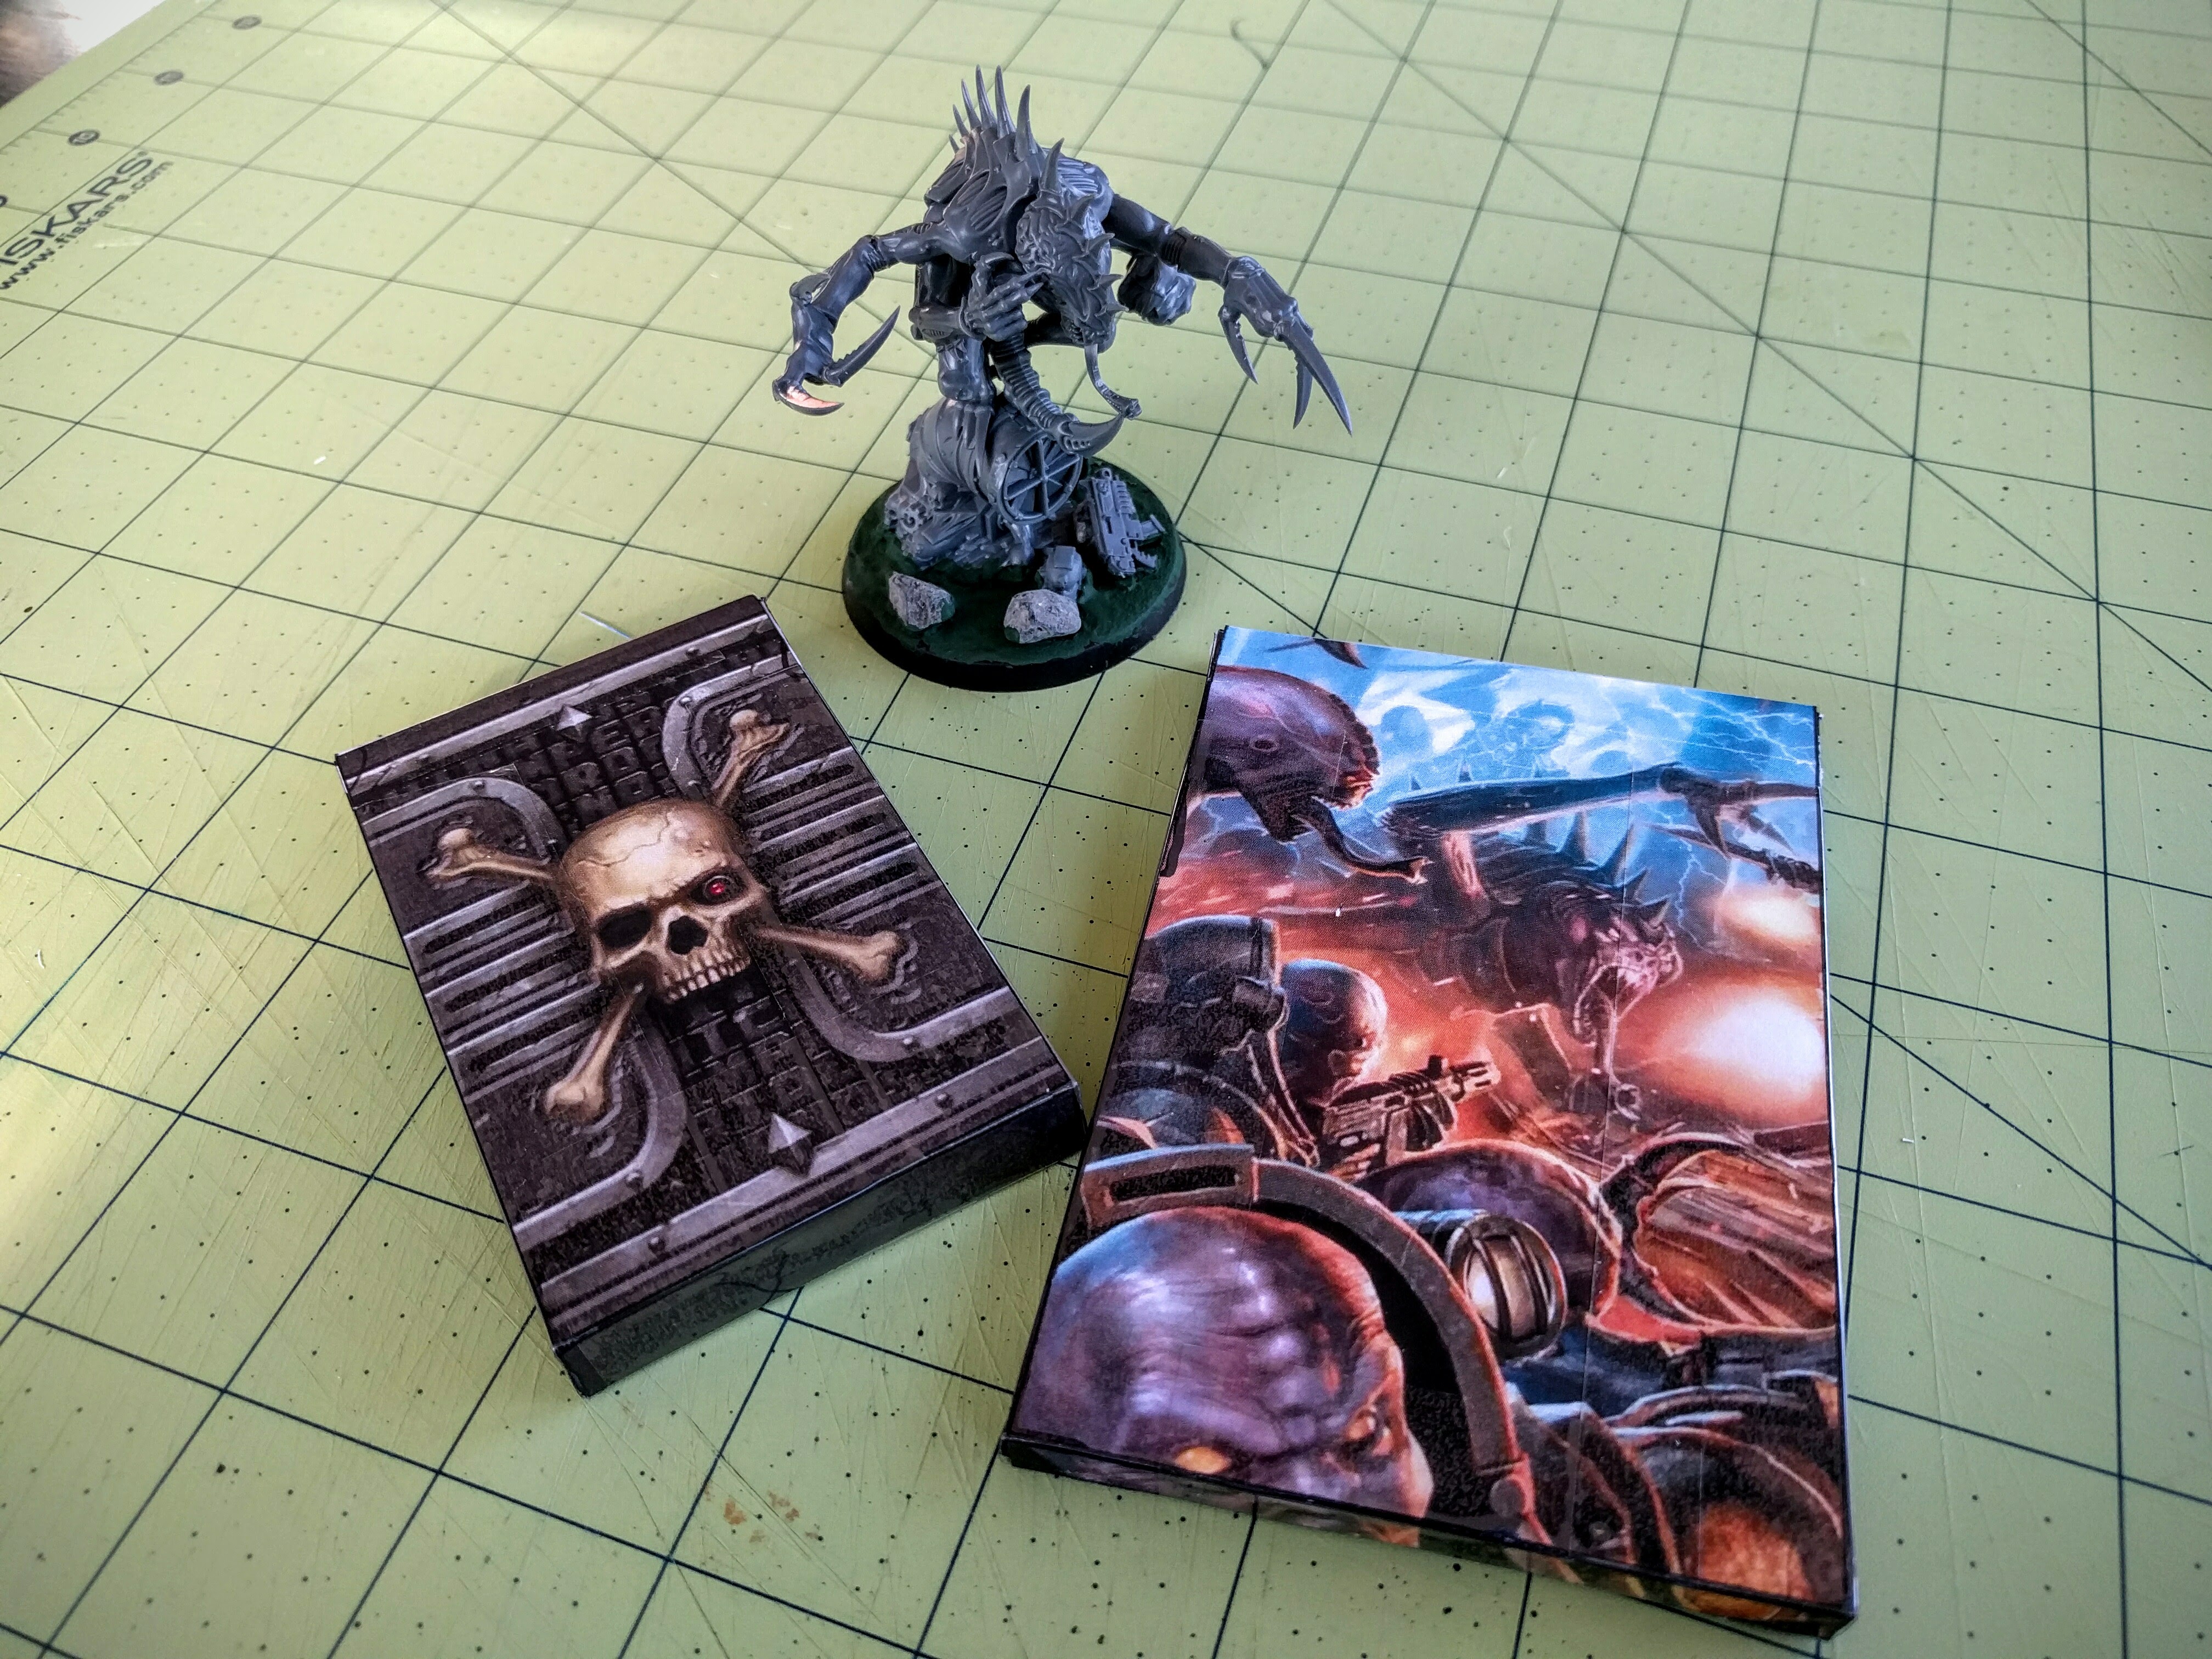
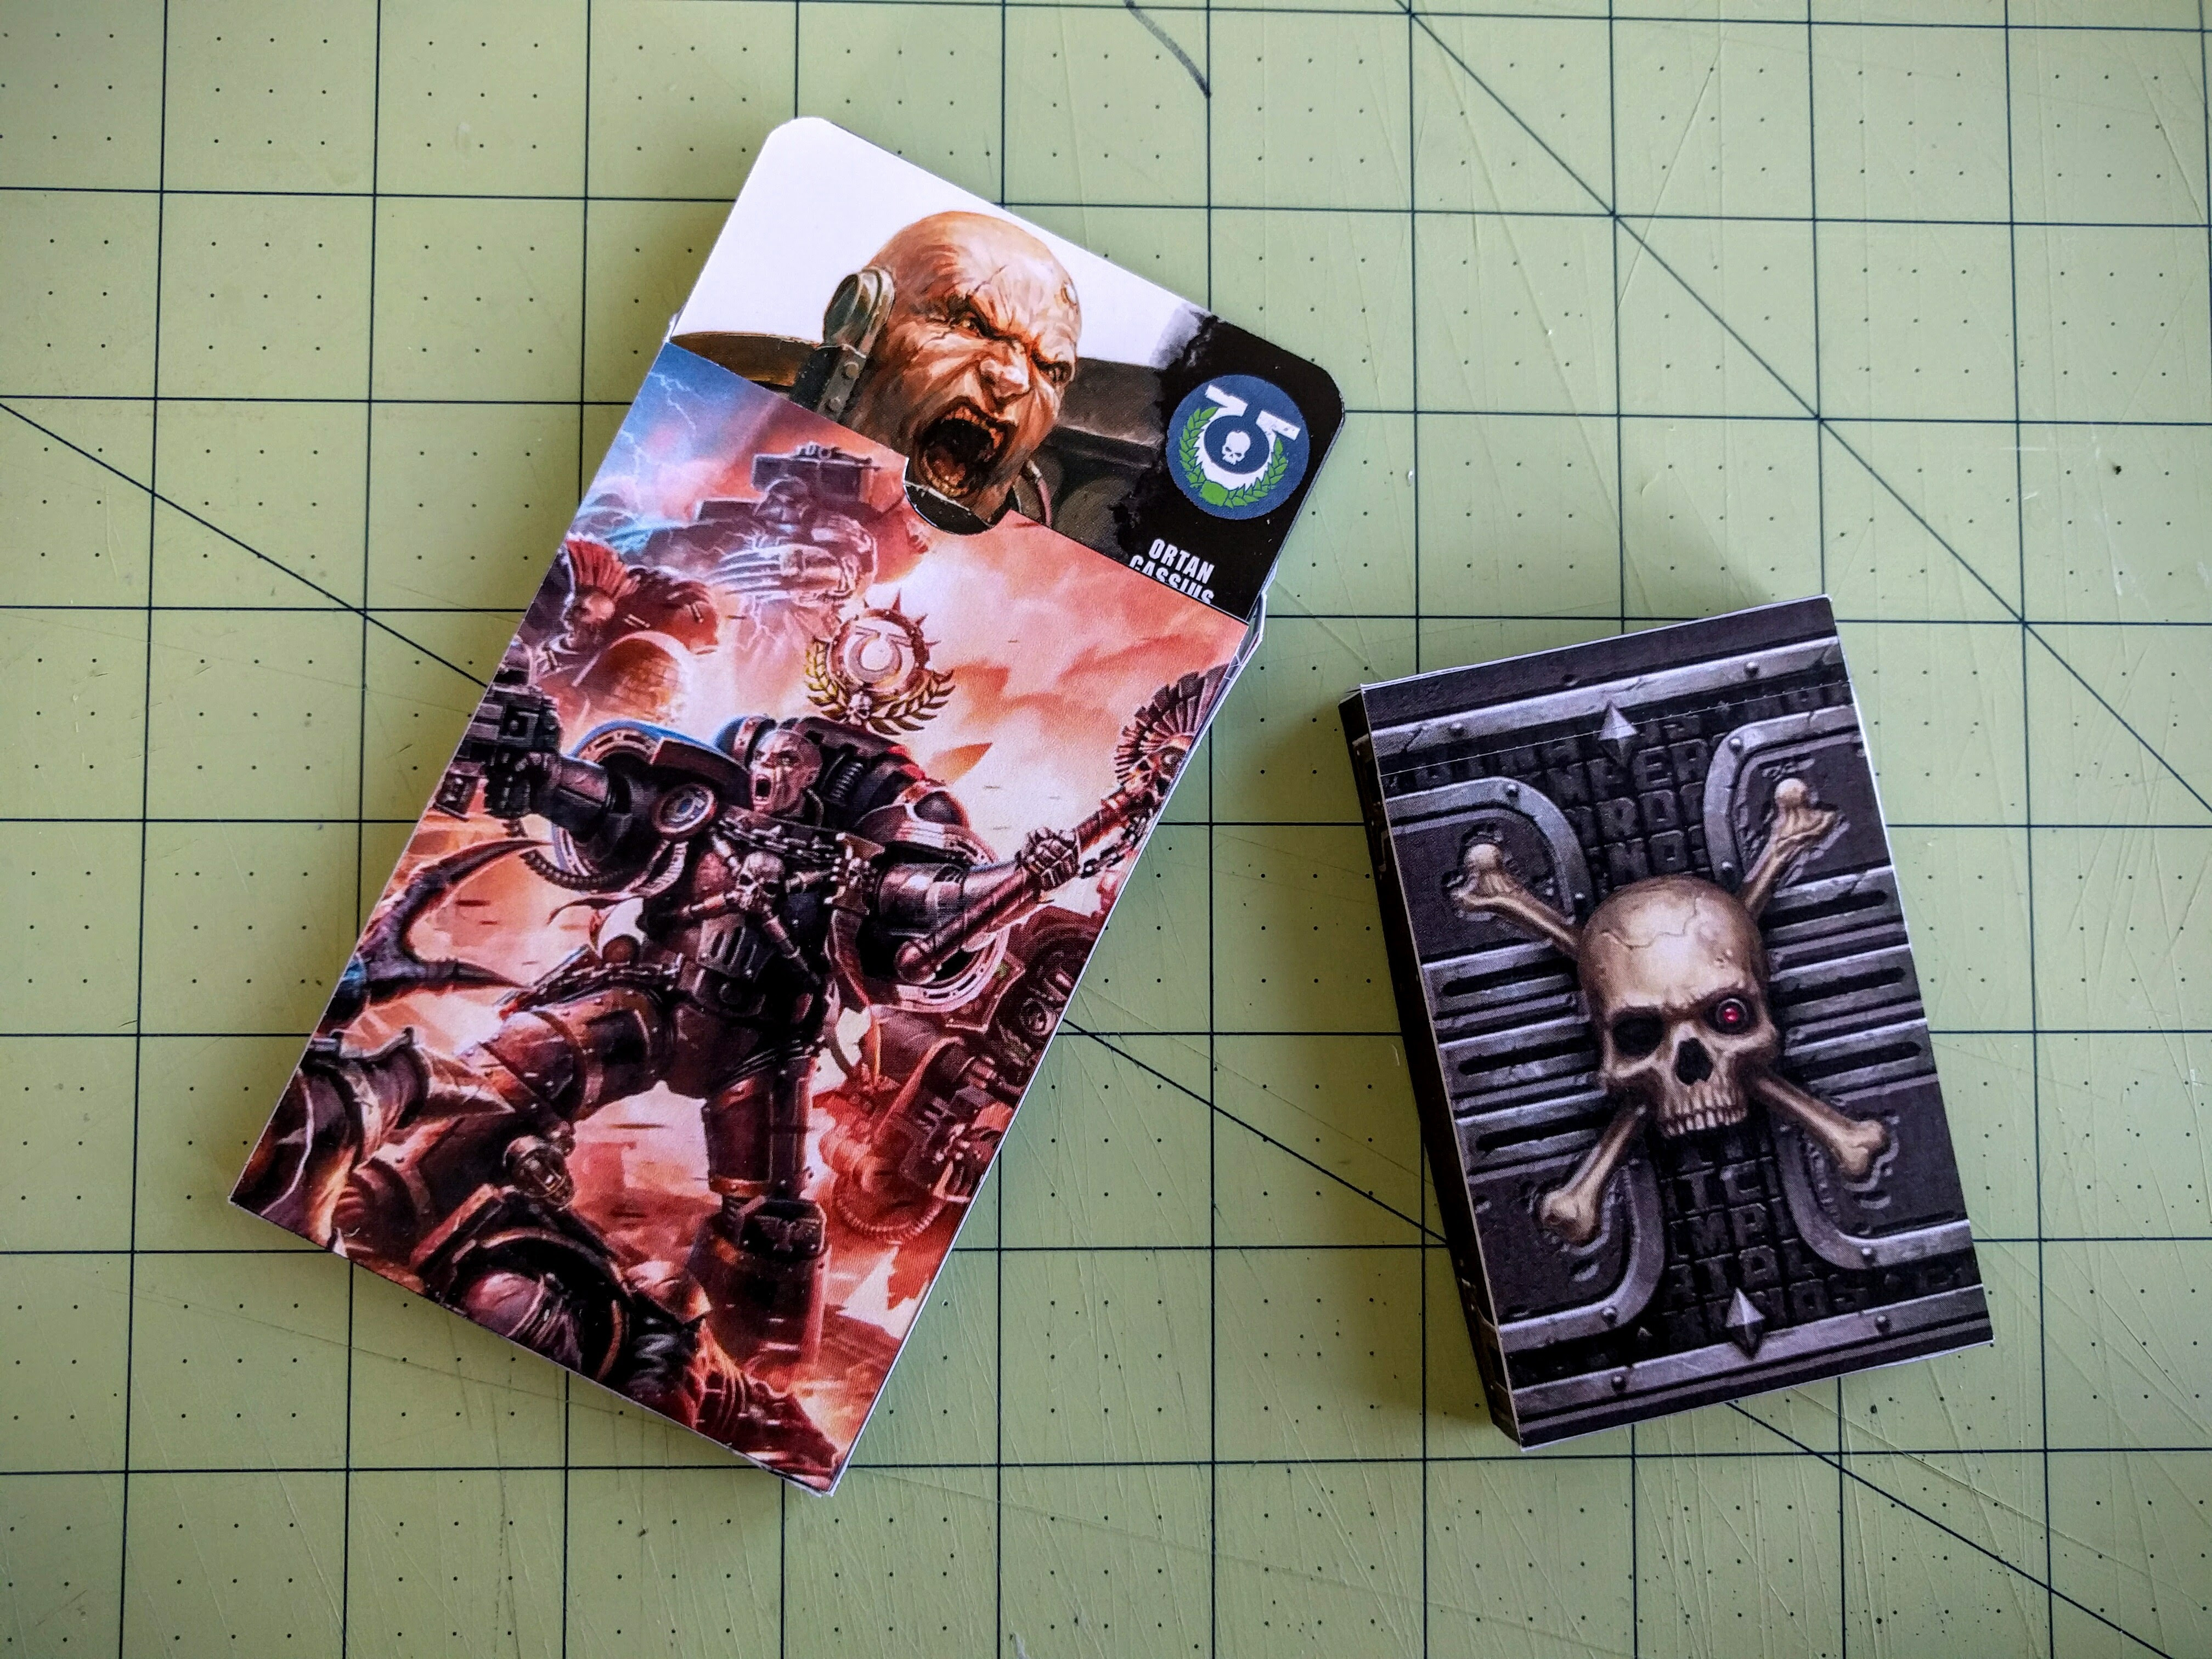
Games Workshop’s new game Deathwatch: Overkill comes with a ton of amazing components. But it doesn’t come with boxes to keep the two different decks of cards organized. Here you can download templates to print, cut out, and assemble to create appropriately sized tuckboxes for them.
The tuckbox pattern is by Craig Forbes. The art is of course by Games Workshop.
Assembly
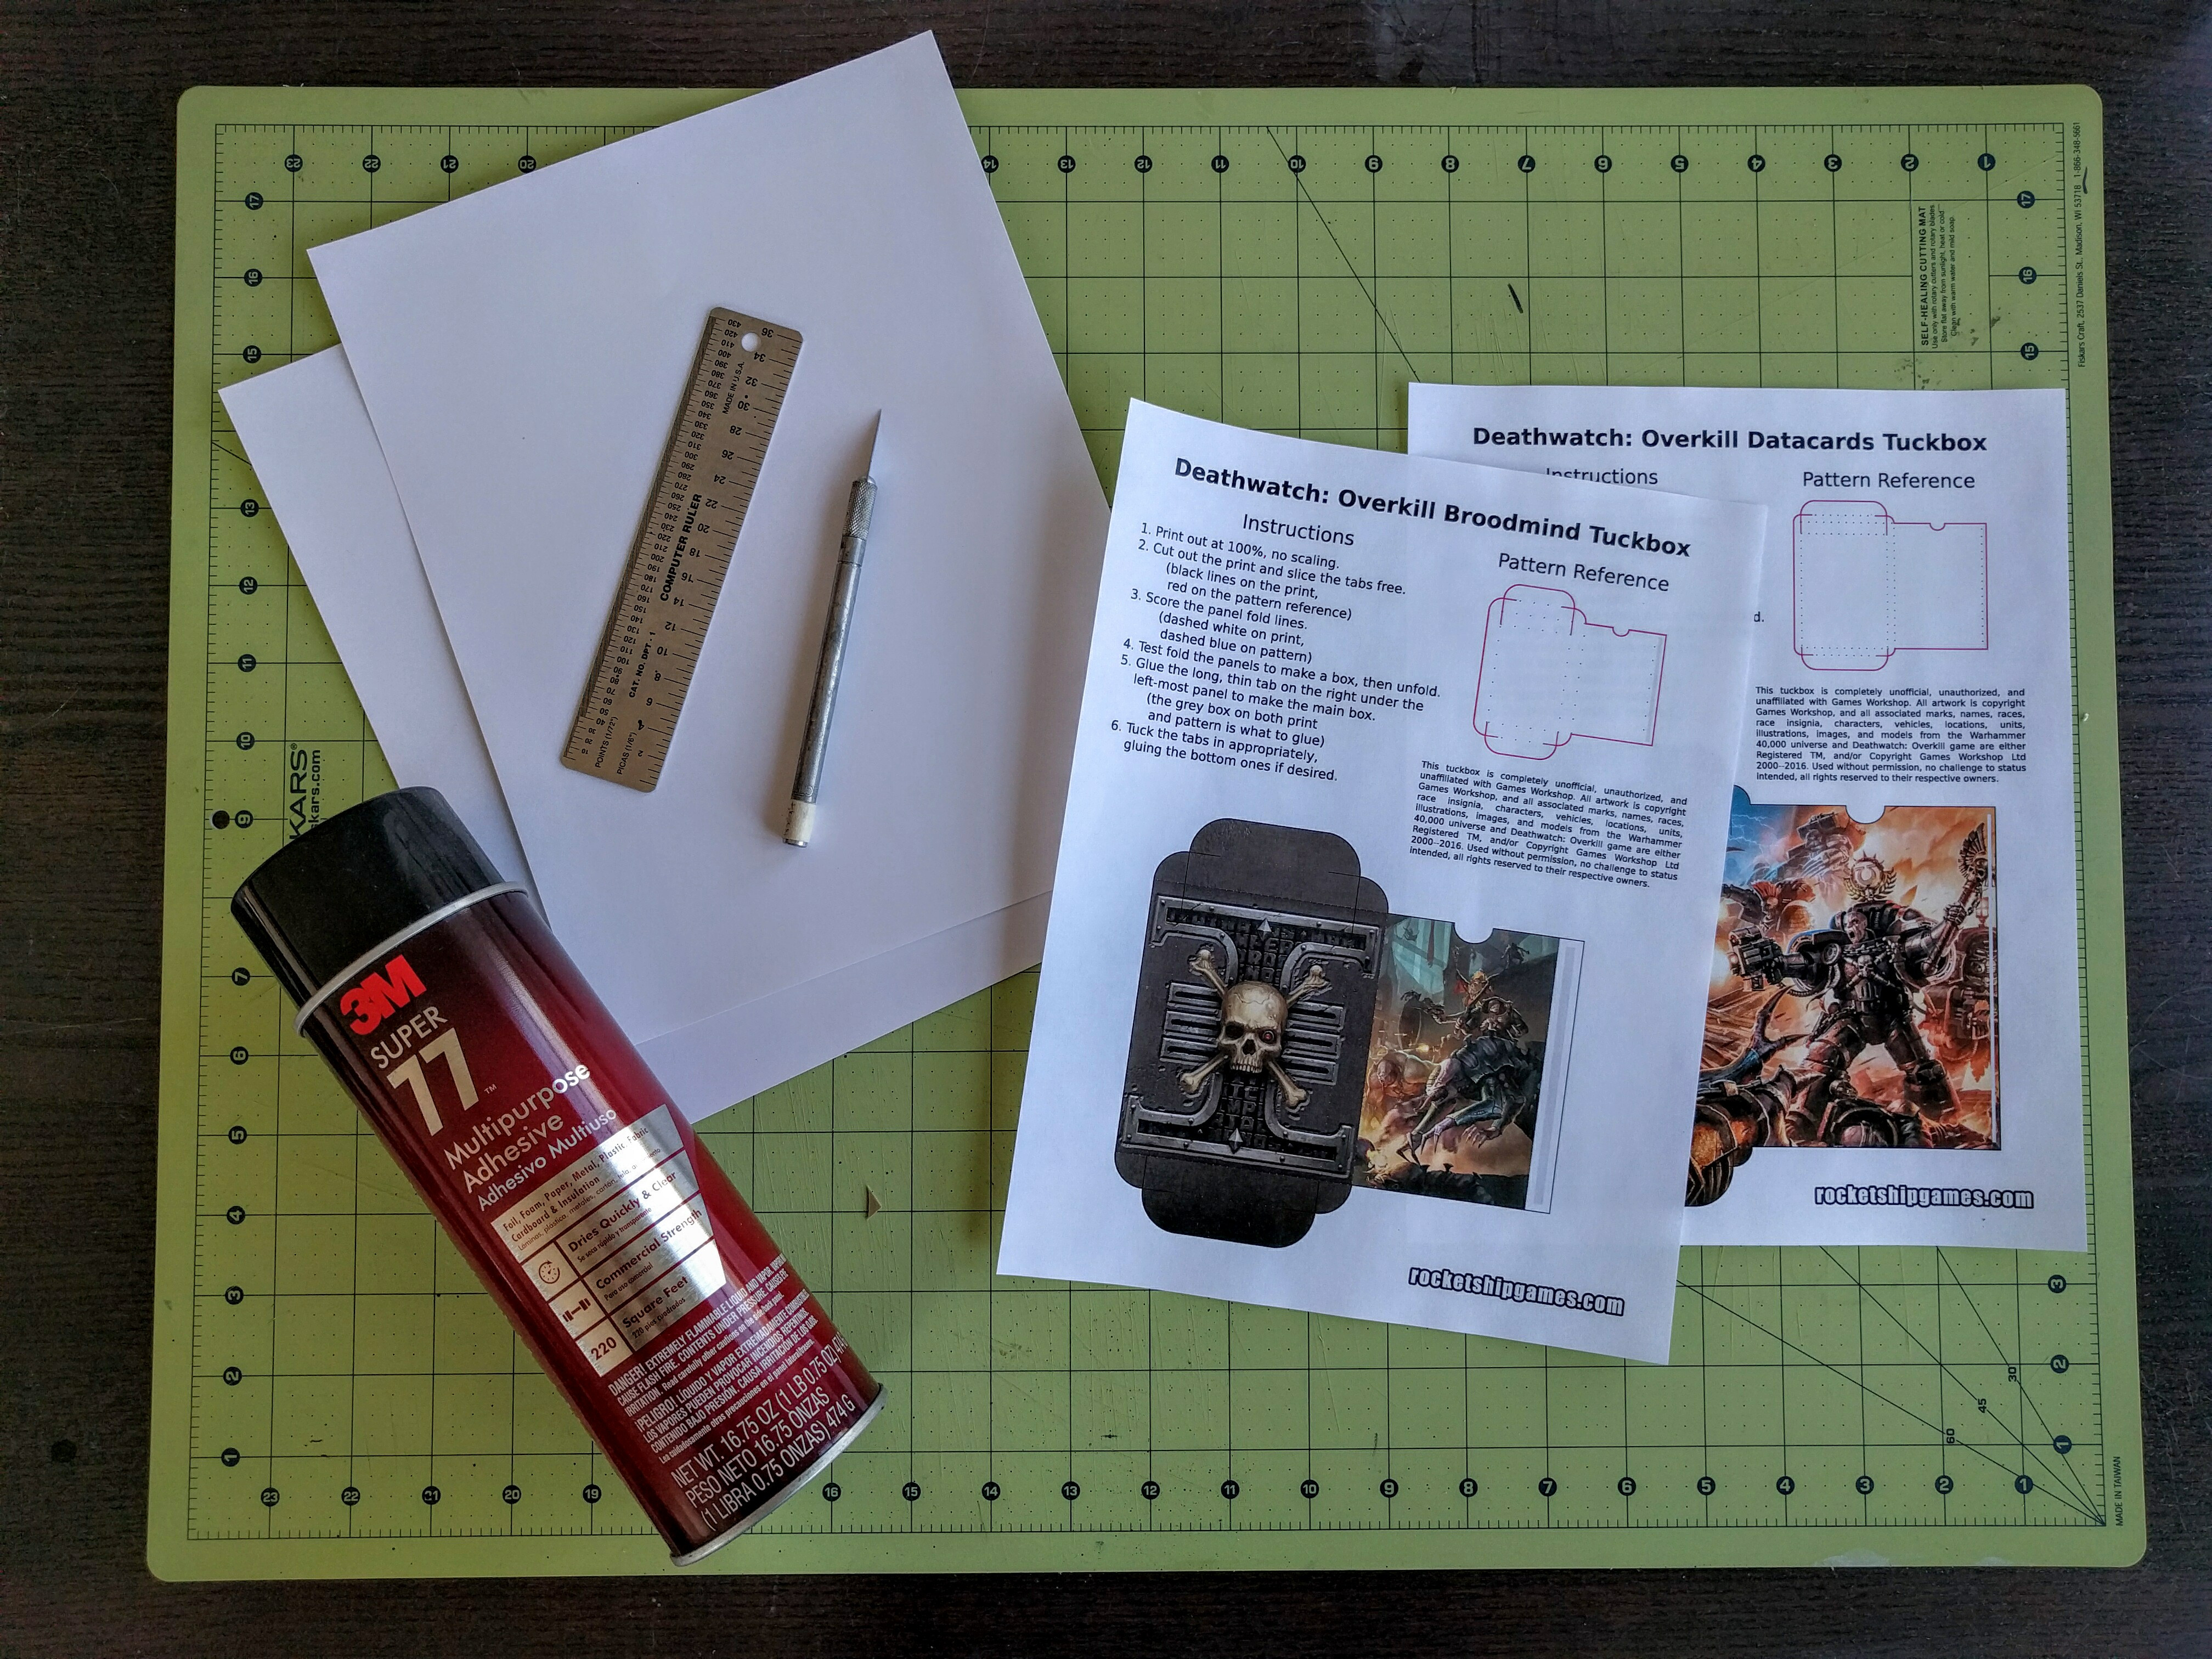
The basic materials needed are printouts of the two PDFs, a sharp hobby knife, a straightedge, and a cutting board. Ideally the PDFs are printed onto thick paper or cardstock and cut out directly from there. Otherwise you will also need some cardstock and either spray adhesive or rubber cement. You may also find a pair of scissors handy, as well as a black permanent marker and packing tape. When printing the PDFs, make sure to print at 100%, no scaling. The margins are sufficient that no downsizing should be necessary on any printer.
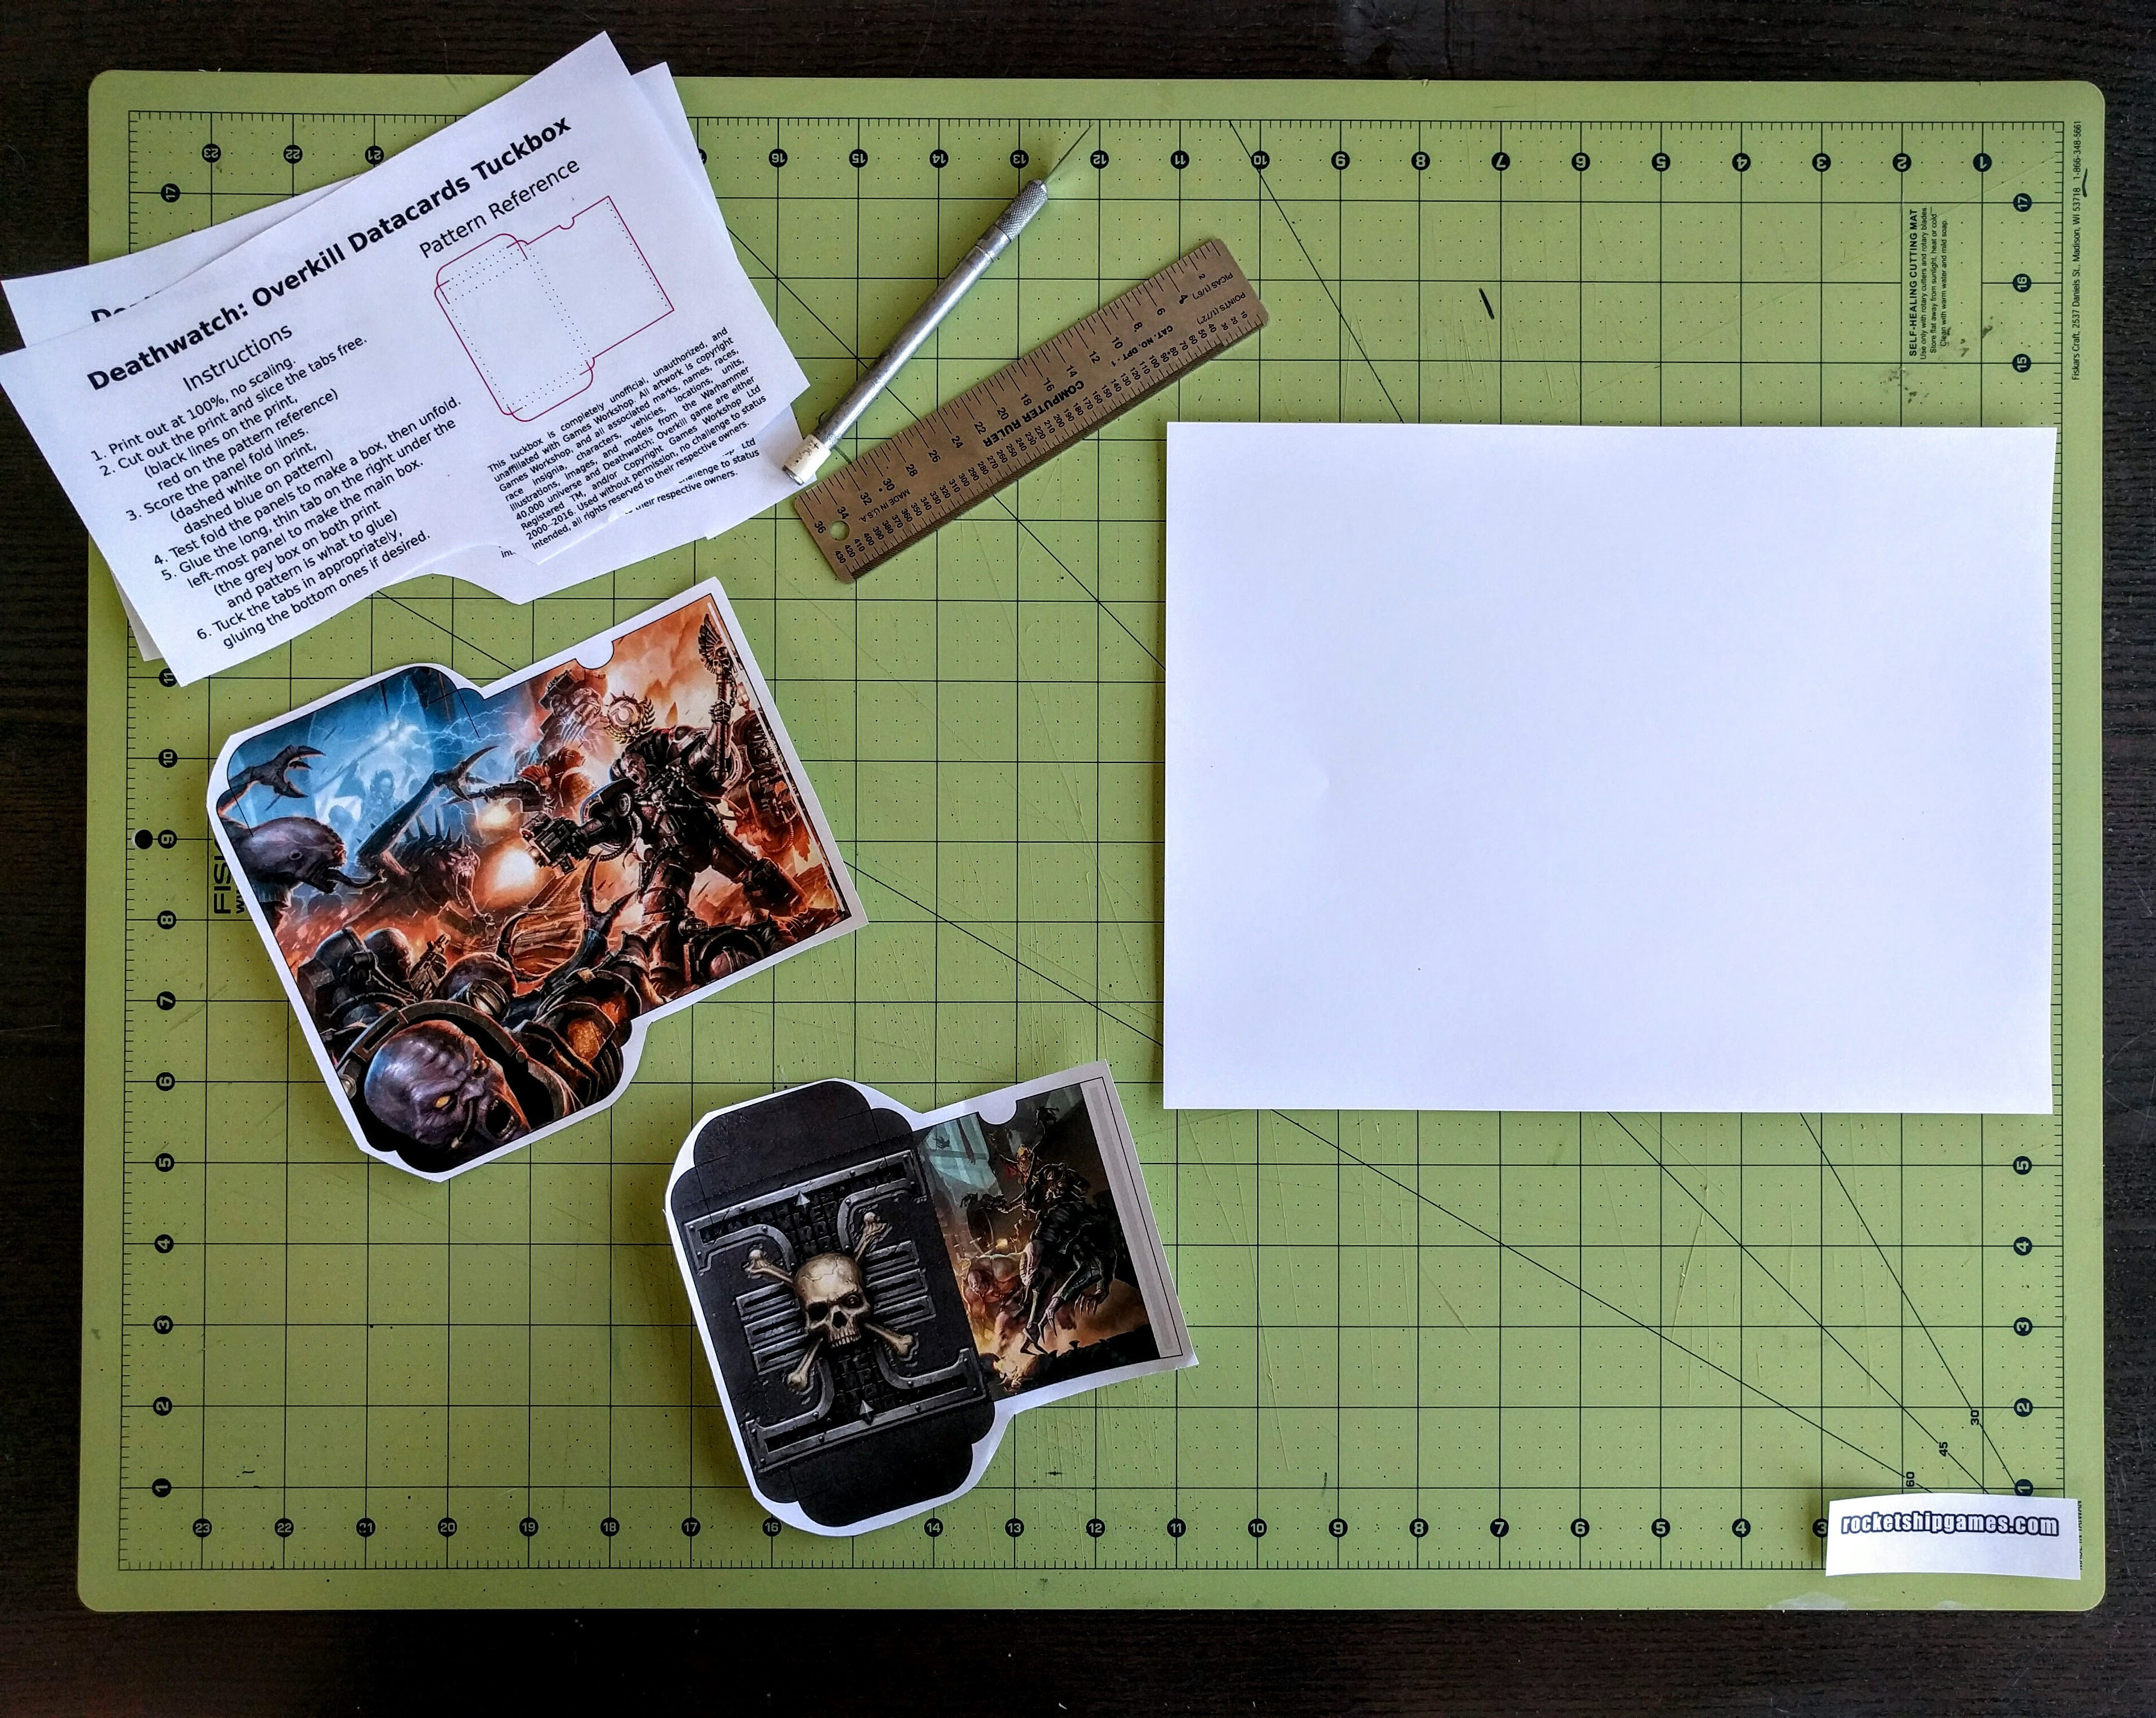
Though not necessary, if you roughly cut out the two designs you can then affix them to a single sheet of cardstock. They are not arranged as such on the PDFs because they won’t fit within the margins most printers require.
Spray adhesive and rubber cement should be used in well ventilated spaces. Make sure to press down and lightly rub the designs with a clean paper towel or cloth to ensure good contact and no air bubbles.
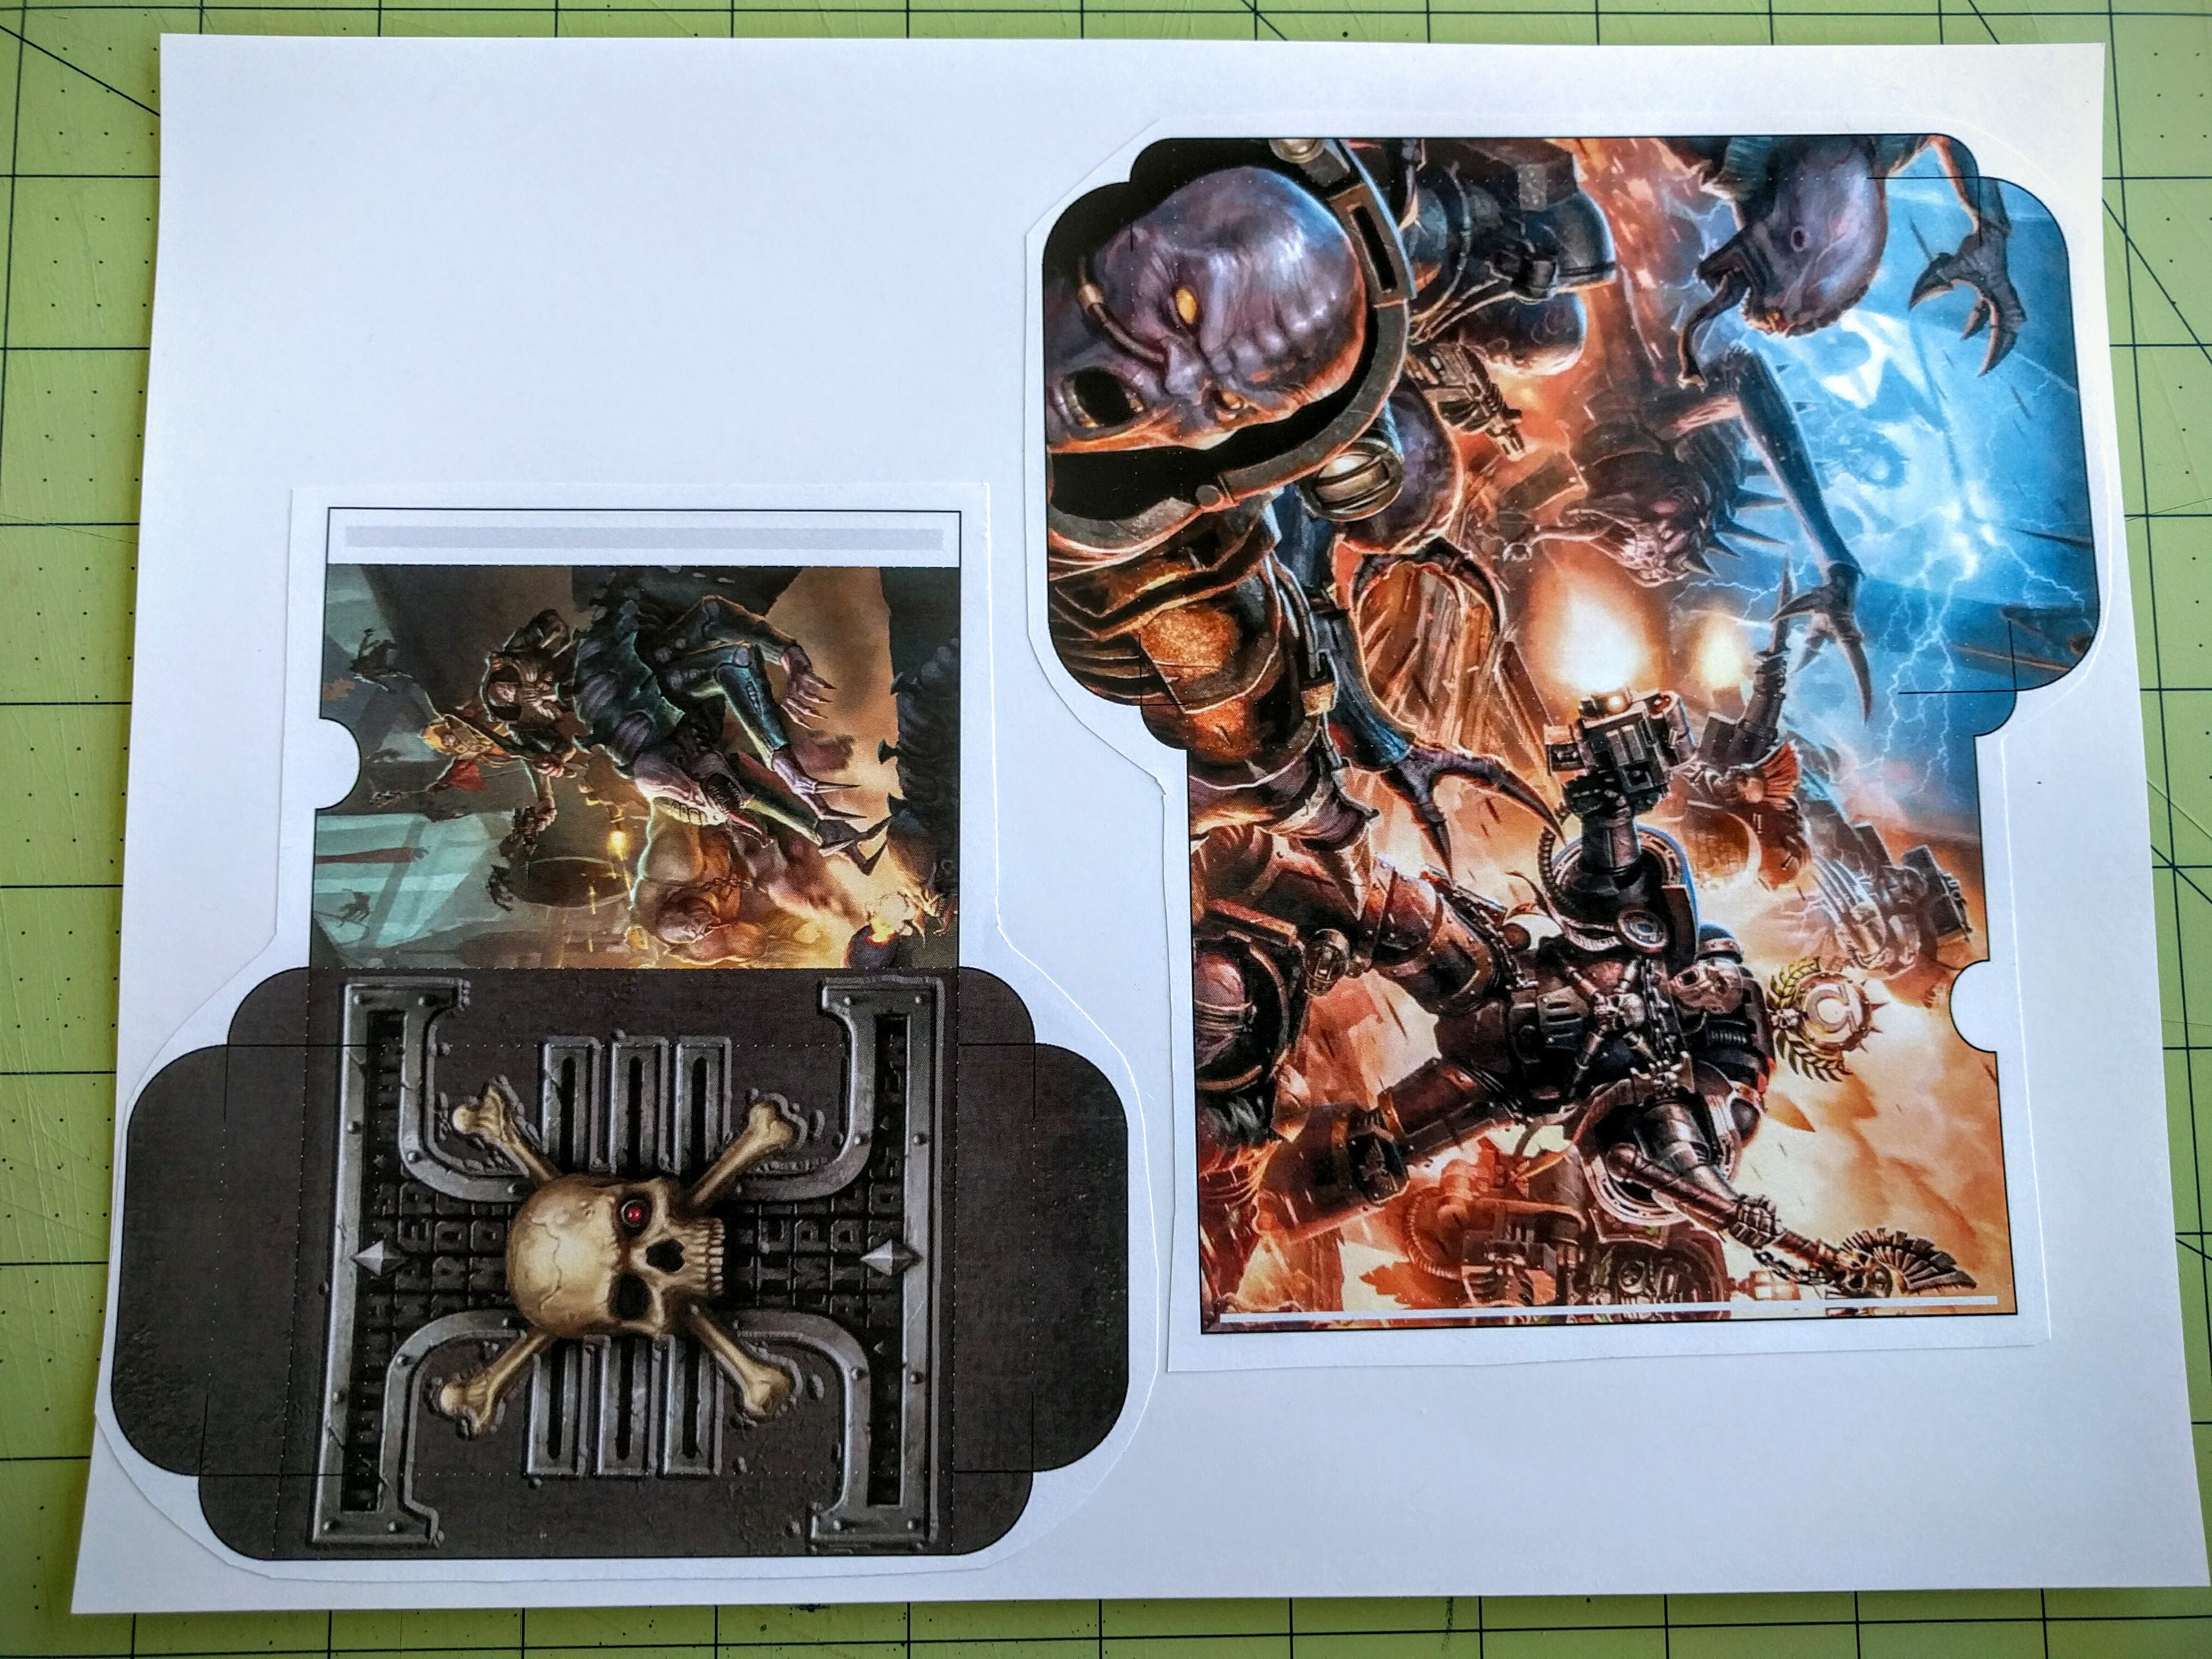
Using a straight edge, cut out along all the straight black lines of the perimeter of the design. Then carefully cut out the curved segments. Using a fresh hobby knife should make this easy, requiring only a single pass. Then, again using the straight edge, cut the shorter interior lines freeing the top and bottom flaps. Looking at the pattern reference on the printed page, all of the red lines are cuts to be made.

With the straight edge, next lightly score all of the fold lines by gently stroking the knife along them. Be sure to only cut the very top surface of the paper. There are a number of scores to make. Faint white dashed lines on the designs provide guides for the actual action, but look at the blue dashed lines on the pattern reference to see where they all are. Once all the scores have been made, carefully fold and then unfold the pieces to set the shape.
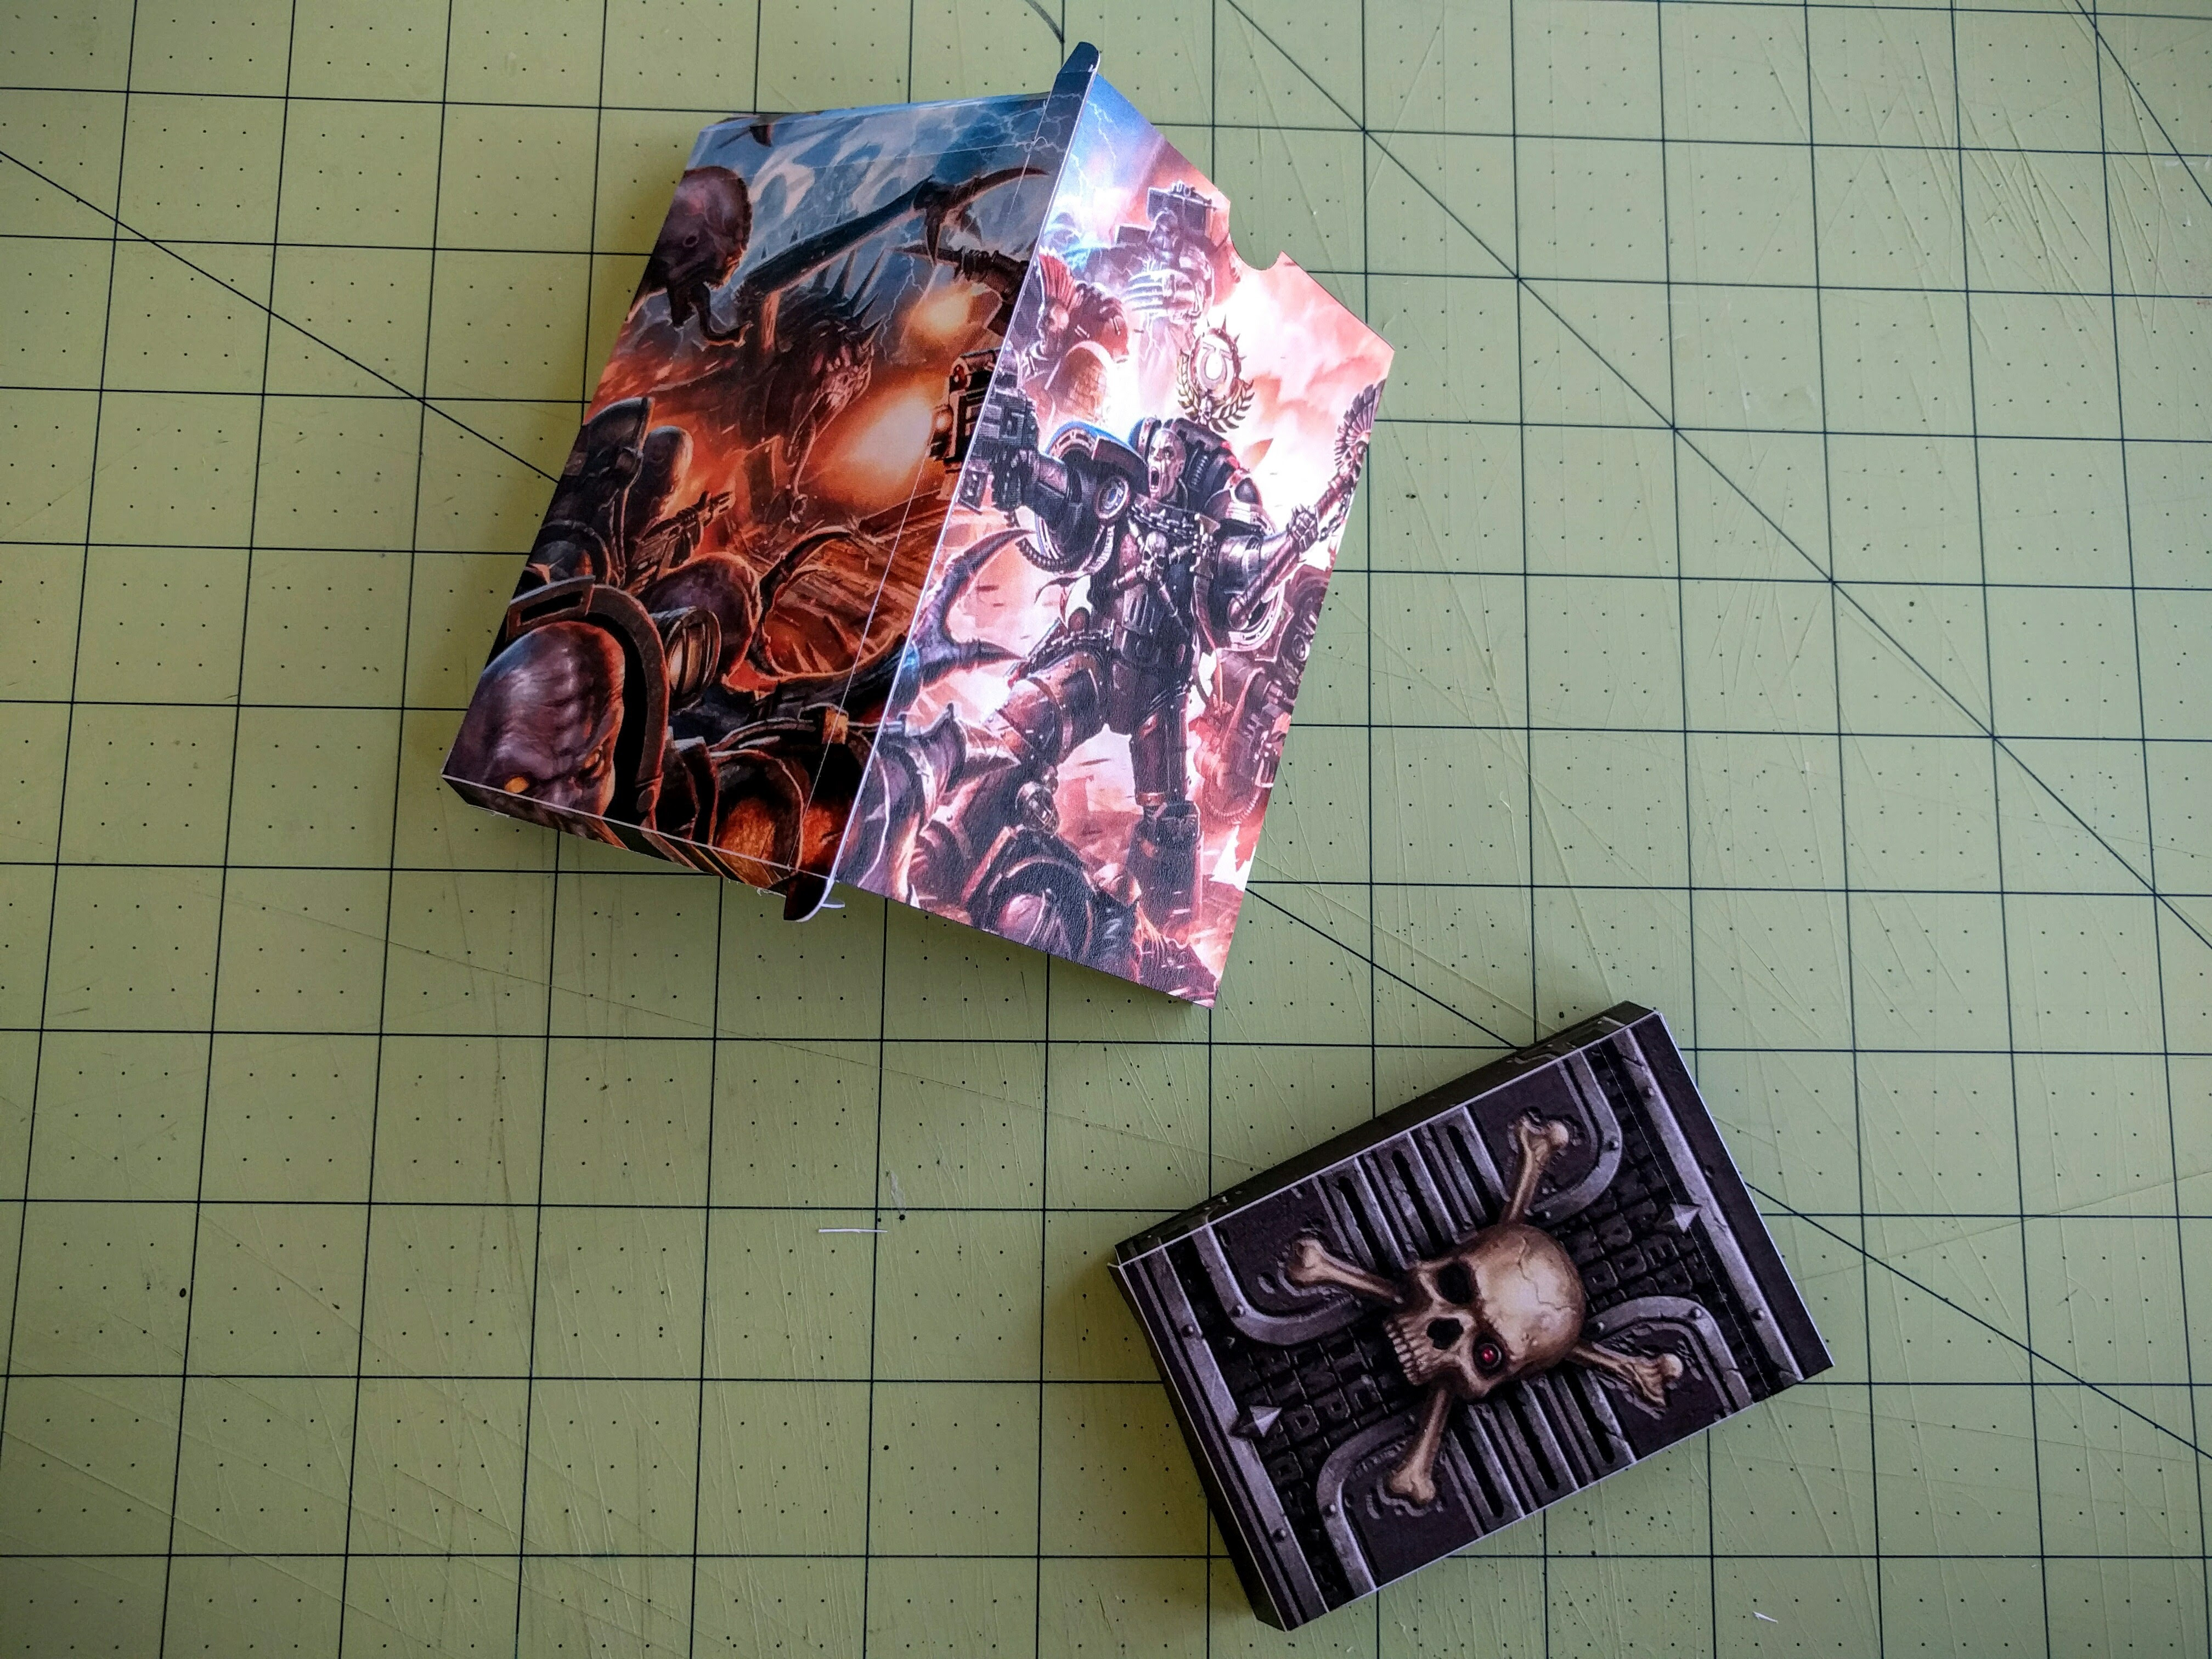
Finally, put glue on the flap on the right and press it against the inside of the left panel. This is probably easiest with rubber cement. Once this has dried, fold the top and bottom panels in to make a box. Success!
An additional, optional step to make from this point is to use a permanent marker to black out the white edges along the folds, making the final product look sharper. You may also want to use packing tape to strengthen the edges of the boxes, especially if you made the fold scores too deep and they start tearing apart.